| |

A Tow Pilot’s Near Disaster

by Lance Stick & Hank Gibson

A couple of months ago, I had a life-threatening experience while flying. Thankfully, with my flight training, along with a lot of luck, I am here to talk about it.

One of my many piloting jobs is as a glider tow pilot. For those not familiar with gliding, since a glider doesn’t have an engine, every time a glider pilot goes and flies, it’s a team effort. A powered airplane (anything from a Super Cub to a turbine powered Air Tractor) is attached to the glider via a tow rope, which is about 200 feet long. Once the glider pilot gives the go ahead over the airport’s CTAF, then the tow plane begins it’s takeoff roll, pulling the glider along behind it.
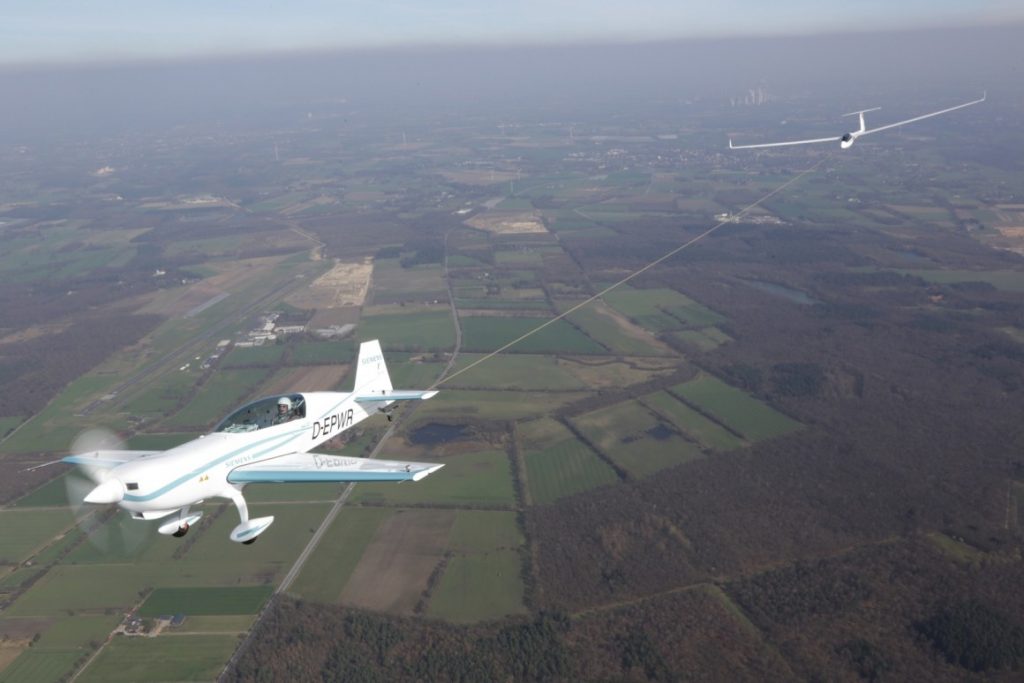
The glider becomes airborne prior to the tow plane, then the tow plane will circle the airport environment till it get’s to the pre-determined altitude to release the glider. Some tows are pattern tows and some are higher (not usually above 3,000 AGL), depending on the request from the glider pilot. Once the altitude is reached, the glider pilot pulls a handle in the glider to release the tow rope, then begins his glide. The rope stays attached to the tail of the tow plane, which in turn descends back down to the runway and lands. The tow plane also has a tow rope release handle in case of emergency.
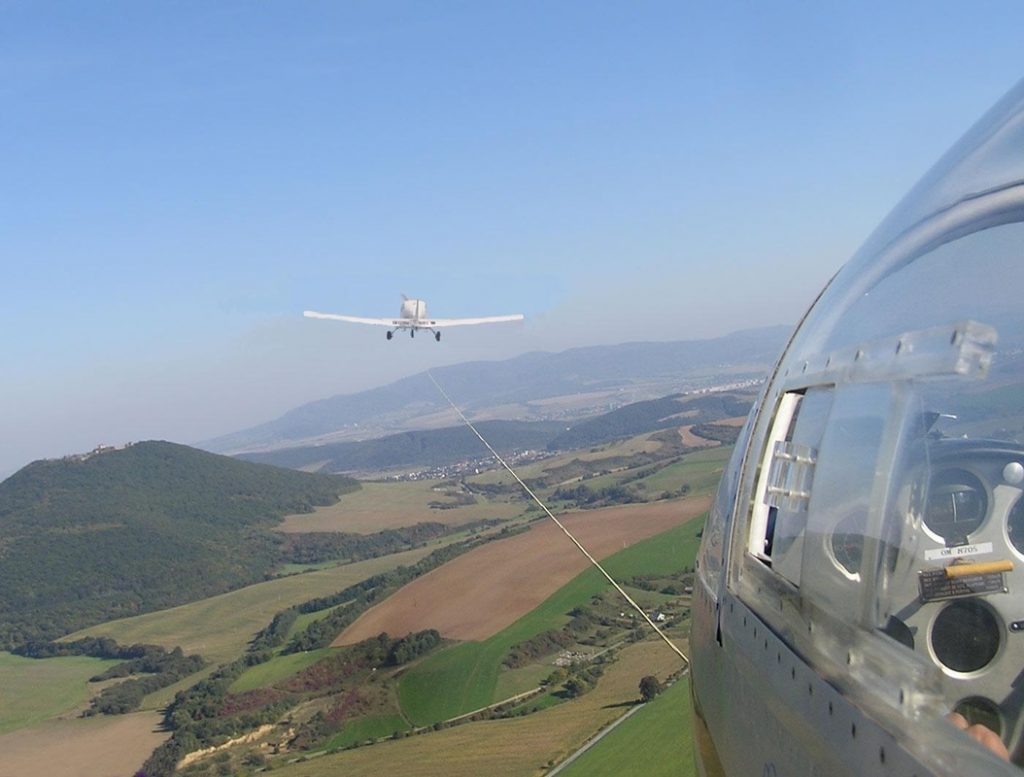
On this particular tow, the plan was to tow the glider up to 3,000 AGL. Upon reaching 2,500 AGL, the glider pilot called me on the radio and stated that his rear canopy had opened up. I looked over my shoulder and sure enough, the rear canopy was fully opened while he was still in level flight behind me. I asked him if he wanted me to tow him closer to the field, but he didn’t reply.

Now, as an experienced tow pilot, I know a glider canopy popping open should not be an emergency situation. It’s definitely abnormal, but would be similar to a door or window popping open in a powered airplane. Not a big deal. If too much force from the relative wind is applied to the canopy, it would snap off; however, a glider can easily land without a rear canopy.

About 5 seconds after I radioed the pilot (and received no reply), I felt my tail instantaneously lift up into a completely vertical position, which caused my nose to go straight down. The next thing I knew, a whole lot of earth suddenly filled my windscreen and I was in what’s known as a graveyard spiral.

A graveyard spiral (as defined from the Airplane Flying Handbook pg 4-23), “is a descending turn during which airspeed and G-load can increase rapidly….the airplane is flying very tight circles, in a nearly vertical attitude and will be accelerating since it isn’t stalled.” It’s also known as a spiral dive.

Back to the story. At this point, I tried to reach for the glider release handle. Unfortunately, due to the shoulder straps holding me against the seat, plus the g’s, and also the quart of oil and tow bar that flew forward and hit me in the back of the head, I couldn’t reach it. I was semi-upside down at a certain point, which dislodged the oil and tow bar from the floor of the baggage compartment. They sailed over the seat and nearly gave me a concussion.

At this point, 2,500 feet above the ground, I had a choice to either fight for my life at a very low altitude or to sit back and become part of a big explosion.

I decided to fight for my life.

As I was spiraling to the ground, I felt the tow rope snap. Up to this point, I had still been attached to the glider. The rope snapping was a good thing, as my airplane was now under my control, not attached to, and being affected by, a glider (more on that later). I now had a lifeline, no pun intended.

After I felt the rope snap, my instincts and training kicked in. I initiated the spin recovery procedure using the PARE acronym. This task was difficult to do as I had a lot of debris flying from the rear of the plane to the front, blocking my view out of the windshield. There was also debris around my feet, hampering my ability to use the rudder pedals. The spiral finally stopped and I recovered approximately 500 feet above the tree tops. It took my heart a lot longer to stop spinning.

After barely regaining my emotions, I tried to evaluate the condition of the plane. Were all the pieces of the plane still there, was the engine damaged, did my control surfaces still work?

Once I advanced the throttle and saw an increase in my engine RPM, I started an immediate climb to give me altitude to get back to the airport. I had engine power but I wasn’t sure how long it would last if I had damage. Now, what they don’t teach you during spin training is that when this happens unexpectedly, you will become very disorientated. You have just been spiraling unexpectedly and your equilibrium will be out of whack. As I leveled out just over the tree tops, I was too low to visually see any landmarks, nor could I see the airport. Once I was able to climb, I was able to orient myself and figure out where the airport was.

I had to be very careful getting back to the airport and landing without radio communication, since my radio was knocked out with all of the FOD from the baggage area. Thankfully, the landing was uneventful. After I landed, I saw the glider limp in over the trees. The rear canopy was totally gone, while the front canopy and other parts of the glider had suffered major damage. Miraculously, my airplane wasn’t damaged, except for the wire from the radio which came loose during the spiral.

So, how did all this happen, you ask? Well, the glider pilot made 2 huge mistakes. First, in gliding, the moment the glider pilot loses visual sight of the tow plane, you are supposed to release the tow rope. He did not do that and almost killed both of us.

Second, as pilots we are taught to always fly the airplane first. Everything else, no matter what it is, always comes after flying the airplane. As I stated previously, the loose canopy is not an emergency situation, but since the glider pilot did not aviate first and was distracted, it was almost a fatal day for 2 people and 2 airframes.

So, what caused this chain of events? By getting distracted by the open canopy, the glider pilot inadvertently pulled back on the stick while trying to close the canopy. Then, by not releasing the glider from the tow plane, the glider pilot climbed rapidly with an excessive rate of climb while still being attached to me. The rapid climb is what pulled my tail up, causing my nose to drop and put me into the spiral. The tow rope snapping set into motion my recovery, since up till that point, I literally had no control. An extremely high lift wing was attached to my tail, pulling it up, and there was absolutely nothing I could do about it.

We all spend time practicing and demonstrating emergency maneuvers during our flight training and during flight reviews. Many times you might think, I’ll never need to use this stuff. Thankfully, some of the procedures I learned in the past kicked in at a time of need, even though my heart was beating out of my chest.

At some point in every pilot’s career, some type of spin training or Upset Recovery Training would be highly recommended. Then, when things go wrong, remember to always aviate first, then handle all the other things that need to be handled.


Interested in spin training or Upset Recovery Training (UPRT)? Check out the list of Malibu & M-Class Owner’s and Pilot’s Association (MMOPA) approved UPRT vendors and schedule UPRT training today.

Similar Posts

  • AOPA Air Safety Foundation Survival Seminar

    The AOPA’s Air Safety Foundation will be returning to Texas this coming week with their After the Crash:  Surviving An Aircraft Accident seminar.  Though aircraft accidents are rare to most pilots, they still happen.  It is best to be prepared with the proper knowledge and supplies in case you are stranded in a remote area while awaiting help to arrive.

    The seminar will cover the following items:

    • How and what to pack in a survival kit
    • Ways to help search parties find you
    • What to do first immediately after the off airport landing
    • How to survive will awaiting rescue

    The seminar will be put on in Houston, San Antonio, and Austin on three consecutive nights, the 20th-22nd, so everyone will get a chance to attend.  The location and times are below.

    No signup is necessary, just show up and be ready to learn.  The seminar does count for WINGs credit and there will be a sign in sheet at each event.

    The AOPA Air Safety Foundation puts on numerous seminars throughout the country during the year covering a wide variety of topics relevant to general aviation pilots.  The content is always interesting and the presenter always knowledgeable and entertaining.  Hope to see you there!

    Tuesday, January 20th

    Wyndham Hotel, Houston West
    14703 Park Row Blvd.
    Houston, TX 77079
    7:00pm-9:00pm

    Wednesday, January 21st

    Doubletree Hotel, San Antonio Airport
    37 NE Loop 410
    San Antonio, TX 78216
    7:00pm-9:00pm

    Thursday, January 22nd

    Omni Hotel, Southpark
    4140 Governor’s Row
    Austin, TX 78744
    7:00pm-9:00pm

    For more information on the event and the locations, please click here.

  • Recurrent Flight Training

    As all pilots know, the Federal Aviation Regulations require licensed pilots to go through recurrent flight training in the form of a Flight Review every 24 months.  The regulations require 1 hour of ground review and a 1 hour flight.  This is all that a pilot has to do to legally maintain his or her VFR currency to fly alone in an airplane.  Of course, when passengers are aboard, the pilot has to have done 3 takeoffs and landings in the previous 90 days.

    What if the pilot in question hasn’t flown in 20 years?  All the regulations require is 1 hour of ground review and a 1 hour flight.  Kind of scary, isn’t it?  (Any instructor worth his salt would not, however, turn a pilot loose with just those flight review minimums if they haven’t flown in 20 years without an extensive amount of recurrent flight training)

    Now, a lot can happen in 2 years in between those flight reviews.  Regulations change, airspace is modified, and skills change (for the better or worse, most often for the worse over a period of not flying).   For a current pilot who flies once or twice a week, those minimums are no problem.  Here’s the thing, though.  Even those current pilots typically don’t do a lot of stall practice or emergency procedure practice on their own.  These are the most critical areas of flight and to only do them every two years leads to a lot of rust building up, sometimes even causing safety concerns in some instances.

    Recurrent Flight Training

    How to remedy this?  Scheduling recurrent flight training as often as possible with a good instructor who puts you through your paces.  Do this often enough and stalls will become second nature.  The stall warning horn goes off?  Well, lower the nose and add power.  Engine failure?  Switch tanks and set best glide.  Recurrent flight training allows you to become as familiar as possible with your airplane, allowing you to know what to do in every circumstance.

    What’s a good recurrent flight training schedule?  There are several options out there.  The WINGs program is a pretty good option, though you will only have 3 flight training sessions in those two years instead of 1, but it’s a good start.  In recent years, the FAA has put out Advisory Circular 61-98B encouraging pilots to begin personal currency programs for themselves.  The suggested schedule for VFR recurrent flight training is every 4-6 weeks.

    Faa safety team

    Texas Top Aviation highly recommends this suggested schedule, for both VFR and IFR.  The AC doesn’t have a specific recommendation for IFR recurrent flight training, but flying 2-3 approaches a month with an instructor helps keep pilots as proficient as possible in the IFR environment.   This way, the instructor can introduce circumstances in a controlled environment that simulate abnormal conditions that might possibly be encountered in flight.  If those abnormal conditions are encountered, then it will be second nature on how to handle them, leading to less accidents and safer flying habits.

    Try to schedule your recurrent flight training every 4-6 weeks and your piloting skills will stay top notch, keeping you safe and proficient in every circumstance.

  • Cirrus Alternator Failure

    A Cirrus is an electric airplane.  There are no vacuum pumps and therefore no vacuum driven instruments. The Klapmeier brothers did this on purpose, trying to make it a modern airplane.  No vacuum systems means no vacuum pump failures, hence there is a lower likelihood of instrument failures in IMC.

    What Cirrus did instead was put a lot of electricity producing and storing devices in the airplane.  All SR20 and SR22s are equipped with 2 engine driven alternators and 2 backup batteries.  Alternator 1 is a 28 volt alternator (the amperage varies based on whether or not you have an air conditioner) while Alternator 2 is a 28.5 volt alternator.  There are 2 24 volt backup batteries, as well.  Battery 1 is also used for starting.

    In traditional airplanes that have 1 alternator, an alternator failure can affect a lot of things.  Depending on how many electronics are in the airplane, the battery can get depleted quite quickly.

    The Cirrus electrical system is quite ingenious.  It’s a little bit different based on whether you have an Avidyne Cirrus or a Garmin Perspective Cirrus.  I will discuss that further below.

    The main goal of this article is to talk through what happens in the event of a #1 Cirrus Alternator Failure (an Alternator 2 failure actually isn’t a big deal at all, though Alt 2 is required for IFR flight), the procedure for trying to fix it, and a technique I have developed that makes the pilot’s job easier.  First, let’s go through the #1 Cirrus Alternator Failure procedure.

    Alternator 1 Failure

    In either avionics configuration, the Cirrus Alternator Failure procedure is the same.

    • Check and reset the circuit breaker for Alternator 1 (Reset only once)
    • Cycle the Alternator 1 master switch
    • If Alternator 1 doesn’t come back online, leave the Alternator 1 master switch off and shed load on the battery

    Avidyne Entegra

    The Avidyne Entegra has 2 busses, the Main Bus and the Essential Bus.  Alternator 2 isn’t set to come on until the engine RPM reaches 1700.  While on the ground, Alternator 1 runs both the Main and Essential Buses.  In the air, Alternator 1 runs the Main Bus and Alternator 2 runs the Essential Bus.  Since Alt 2 is 28.5 volts, the higher voltage won’t allow the power from Alt 1 to cross over and run the Essential Bus.  There are also 2 one-way directional diodes that prevent the voltage from Alt 2 to cross over and run the Main Bus.

    Having said all that, when Alternator 1 fails, Battery 1 is now running the items on the Main Bus.  There are a significant number of items on the Main Bus which causes the 24 volt battery to quickly lose it’s charge. This precipitates the need for shedding load.  Items like GPS 2, the air conditioner and aircraft lights can all be turned off.

    In the above scenario, Alternator 2 is running the Essential Bus still that has all the Essential items on it.  Those include:

    • The PFD
    • Flight Instruments and associated Avidyne computers
    • Engine Instruments and associated Avidyne computers
    • GPS 1
    • Com 1
    • Nav 1
    • Autopilot
    • Stall Warning
    • Charging Battery 2

    Note 2 important items that are not on the Essential Bus:  the flaps and the landing light (which is very handy at night).  Those two are only on the Main Bus, which Battery 1 is now powering.

    Let’s further enhance our scenario.  You are flying over Nevada (quite remote and not a lot of airports) at night, 30 minutes from the nearest airport when your Alt 1 fails.  When you get to the airport you are planning on landing at, you want to have your flaps and your landing light, but we don’t know how long Battery 1 will last.

    The solution (this is where my technique comes in):  Turn off the Battery 1 master switch.  This is an easy solution to ensuring you have battery power to use your flaps and landing light.  Instead of going through and shedding load, simply turn off the source.  You’ll still have all the above items on the Essential Bus, which is all you need to keep safely flying.  Then, when you get to your landing airport, turn Battery 1 back on to utilize your flaps and landing light.

    Garmin Perspective

    Cirrus wired the Garmin Perspective plane a little bit differently.  There are now 2 Main Buses along with the Essential Bus.  Alternator 1 runs Main Bus 1, while Alternator 2 runs Main Bus 2 and the Essential Bus. Both Alternators are running all the time.  The Alternator 1 Failure procedure remains the same.

    The cool thing that comes along with the second Main Bus in the Perspective is the amount of items you still have available to you in the event of an Alternator 1 failure.  The only items you lose will be:

    • Yaw Damper
    • Landing Light
    • Air Conditioner and associated components
    • EVS Camera
    • 12 Volt power supply in armrest

    Everything else is powered off of Alternator 2.  That’s not much.  The only item you really want on the above list is the landing light if you are going to be landing at night.

    Follow the Alternator 1 Failure procedure, then do my technique again.  Turn off Battery 1 to save the battery power in order to use the landing light when needed.

    Cirrus did a great job creating an all electric airplane with plenty of backups in case something fails.  I focused mainly on the Alternator 1 failure here.  If Alternator 2 fails, the system is wired for Alternator 1 to run everything while still charging Battery 1 and 2.  No big deal.

    In my experience, turning off Battery 1 to conserve battery power is just a simpler solution when shedding load in the event of a Cirrus Alternator Failure.

  • Texas Top Aviation at the AOPA Fly-In

    Where were you on April 26th?

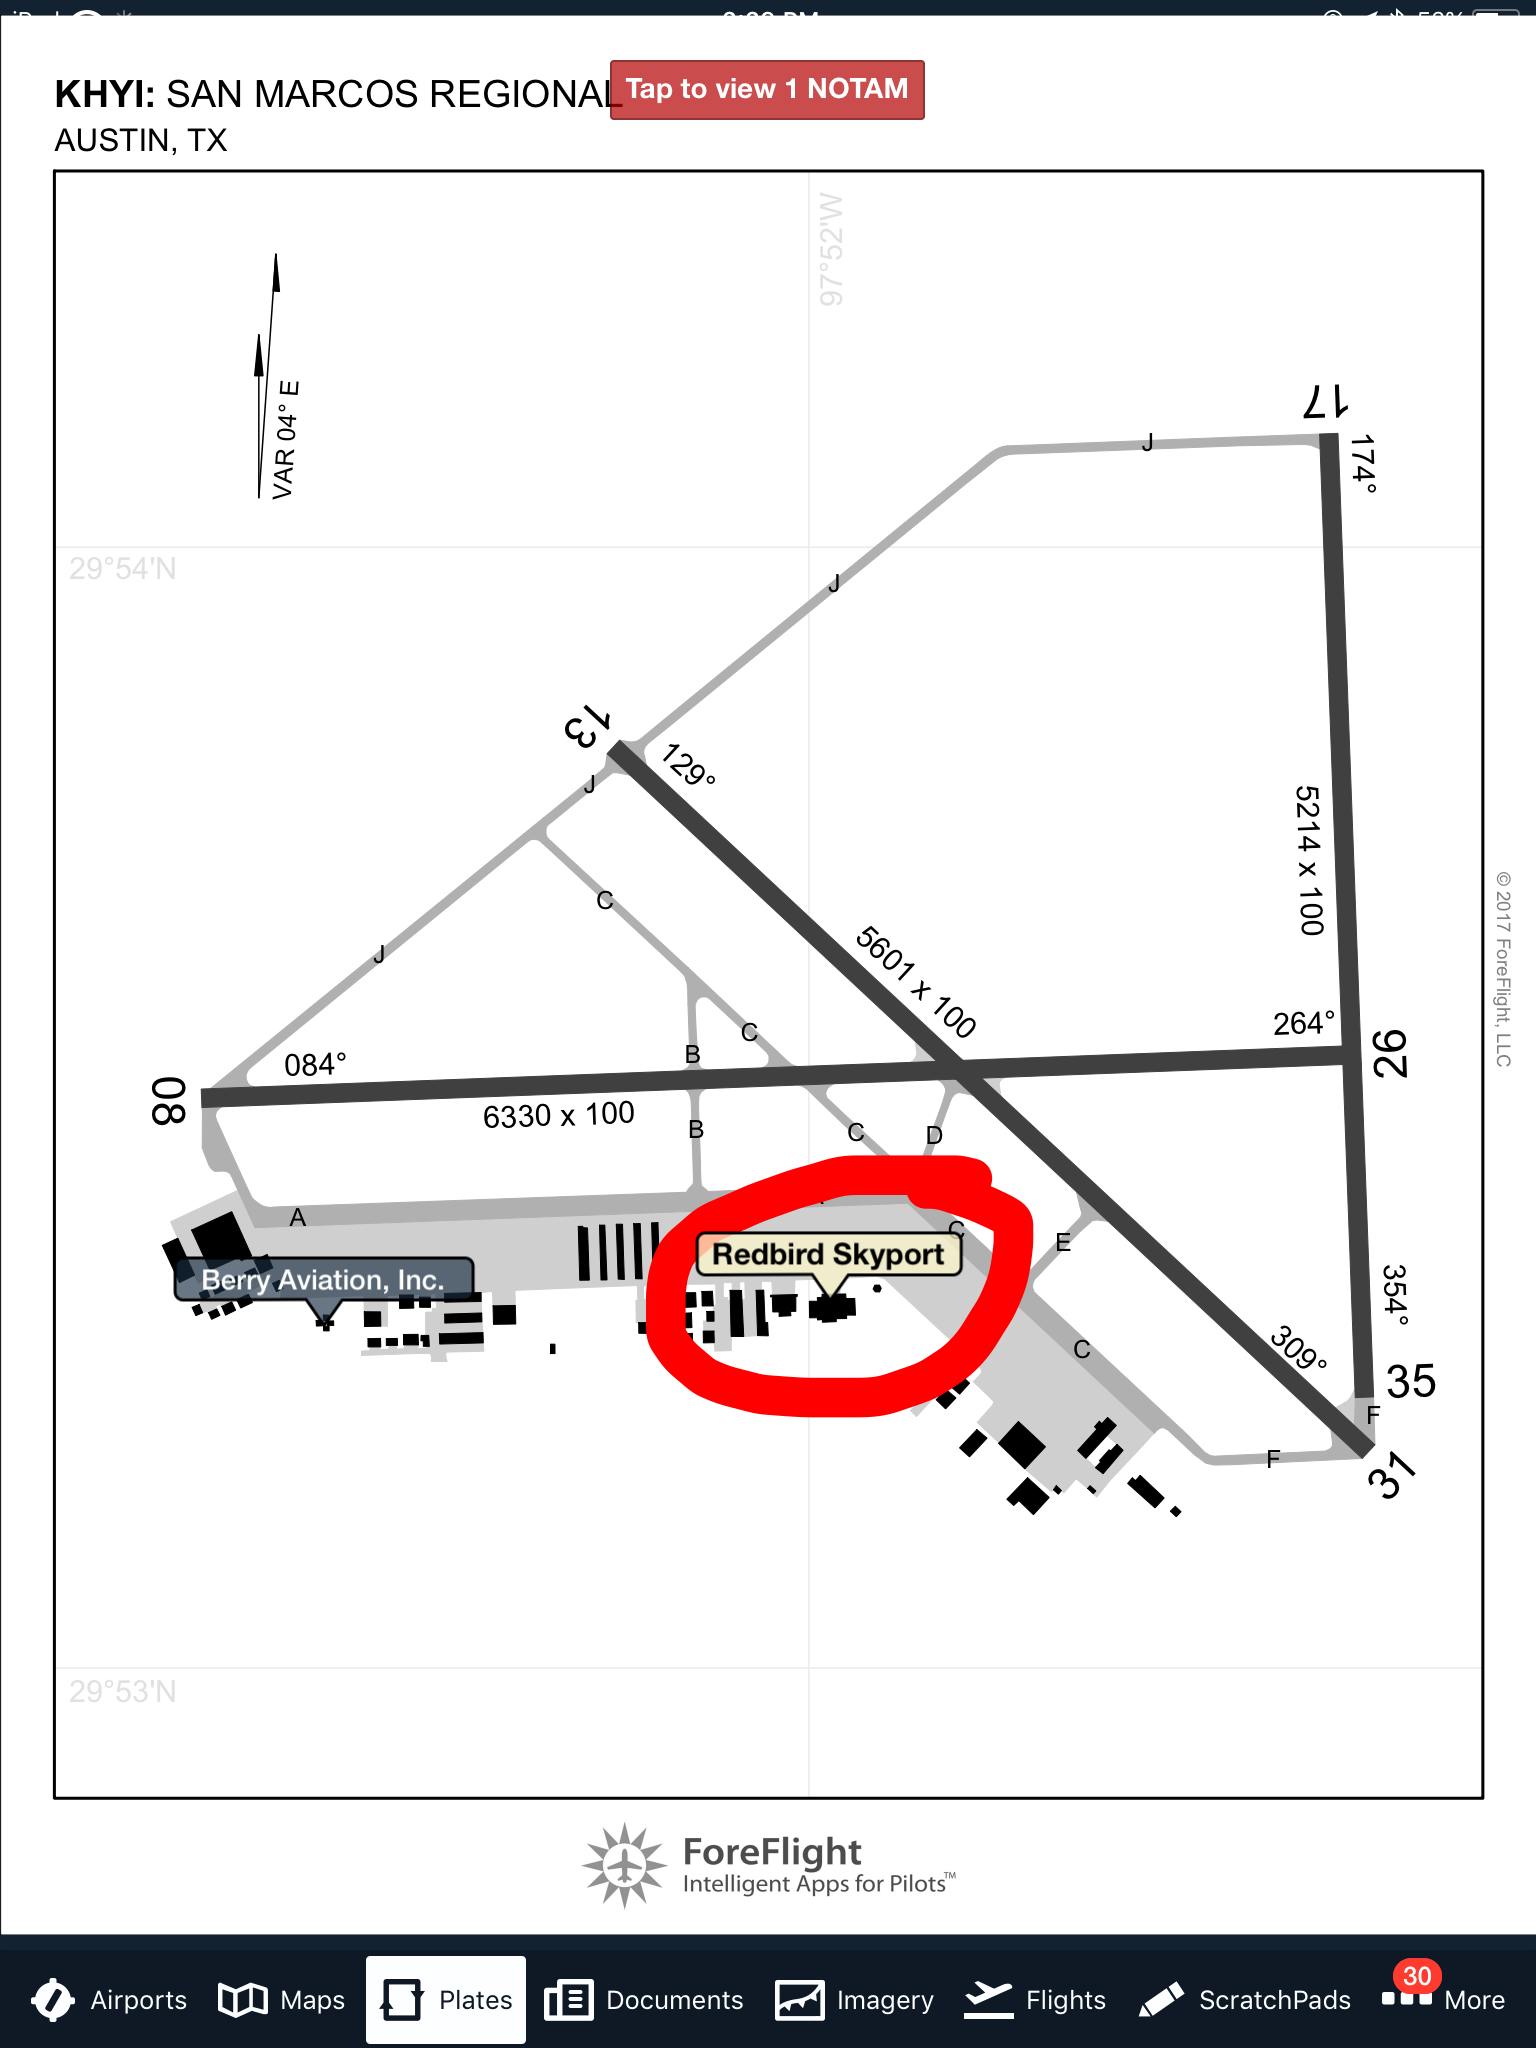
    AOPA Fly In LogoTexas Top Aviation was at the AOPA Regional Fly-In at the San Marcos Regional Airport (KHYI).  If you weren’t there, you certainly missed out spending time with 2,500 other airplane and flying enthusiasts!

    The day began somewhat gloomy and windy with the threat of rain.  Organizers feared that weather would keep a lot of people from coming.  Boy, were they wrong!

    There were many classic airplanes, many modern and pretty nicely equipped airplanes, and everything in between.  There were aviation celebrities, Rod Machado and the Kings of King Schools fame, to name a few.  Not to mention the fabulous BBQ!

    N132BBTexas Top Aviation had several drawings for free training and 3 lucky winners.  We also had a Lancair Super ES for sale, N132BB (which made the San Marcos Record newspaper!). It definitely stood out with it’s unique paint job.  The flames on the tail drew many oohs and aahs.

    Departing the San Marcos Airport after the fly in was like battling traffic in Austin at rush hour (though, Austin doesn’t have any air traffic controllers).  The San Marcos controllers probably hadn’t seen that much traffic since the airport was an Army Air Base back during WWII.  It was quite a sight to see all the exhibitor’s airplanes lined up ready to head skyward.

    Thanks to all of you who stopped by the Texas Top Aviation booth!  It was a pleasure meeting all of you and we look forward to working with you in the future!

    Texas Top Aviation
    Hank Gibson and Russell Moore of Texas Top Aviation


  • Piper PA46 De-Ice Boots Care

    It’s winter time, which means it’s time to use those Piper PA46 de-ice boots a little more often. Most of us know the winter flying rules, don’t stay in ice, get rid of frost, etc. However, most of us aren’t as familiar with how to maintain those Piper PA46 de-ice boots. The do need some TLC every couple of months to keep them in tip top shape.

    Below is the recommendation from Goodrich (the maker of the boots) on what to use to clean and polish the boots and how often to do it.

    Steps 1-3 below are your twice a year items to make your Piper PA46 de-ice boots last through the lifetime of the aircraft.

    Step 1-ShineMaster Prep

    ShineMaster Prep strips all the dirt, grime, grease, oil, silicone products and old ShineMaster on the Piper PA46 de-ice boots to prep them for Step 2.

    ShineMaster Prep can be found on Goodrich’s website.

    Step 2-AgeMaster #1

    AgeMaster is your second step the in the Piper PA46 de-ice boot preservation and protectant process. AgeMaster is a rubber preservative that protects against weathering, ozone, and ultraviolet rays.

    Make the first application when your de-ice boots are 6 months old, then re-apply every 150 hours (or twice a year) after that.

    AgeMaster #1 can be purchased on Goodrich’s website.

    Step 3-ShineMaster

    Step 3 in the Piper PA46 de-ice boot care is ShineMaster. As the name implies, ShineMaster shine’s the boots up after getting rid of all the old gunk & grime with ShineMaster Prep and after AgeMaster is applied. 2-3 coats should be sufficient.

    ShineMaster can be purchased on Goodrich’s website.


    During icing season, Goodrich recommends ICEX II. ICEX II is an ice inhibitor that should be applied every 50 hours during ice season. This will help prevent ice from sticking to the Piper PA46 de-ice boots. ICEX II can be found here.

    Finally, for general cleaning of the boots after each flight, utilize Goodrich Aerospace Cleaner to debug, then follow up with Goodrich Aerospace Protectant. Goodrich claims their Protectant will resist dust, soiling, and staining. There may be less bugs to clean each time!


    With just a few hours a couple times a year spent working on the Piper PA46 de-ice boots, owners will never have to worry about the hefty price tag of boot replacement!

  • The Importance of Transition Training

    In September, the FAASTeam at the San Antonio FSDO put a special emphasis on transition training (AOPA put out a free course last year covering general transition training topics).  A lot of pilots don’t understand the need for transition training or what it even entails.

    Transition training deals mainly with piston engine aircraft, regardless of whether the airplane is a single or twin.  The FAA doesn’t have any special requirements for changing from one piston engine airplane to another, as long as the pilot has the appropriate endorsements (high performance, complex, high altitude, etc.) and is rated in that category and class.

    Transition training is promoted mostly by insurance companies. An insurance company looks at a pilots experience when deciding to insure him or her in a new airplane.  If the pilot has only flown Cherokees and Comanches and is now upgrading to a Malibu, then the insurance company is going to require some transition training with a knowledgable instructor.

    What is transition training?  It is when an appropriate rated pilot needs to learn how to fly a different airplane.  These are referred to commonly as checkouts, but with more complicated airplanes, the training is actually very in depth.

    Using the example above, Pilot A just sold his Comanche 260 and bought a 1987 Malibu.  Pilot A says, “A Malibu is a complex, high performance, single engine piston, which is what I had in my Comanche.  I can fly that, no problem.”  In reality, a Malibu has a lot of differences.

    pa46-transition-training

    First, there are more systems in a Malibu.  You have pressurization, air conditioning, emergency oxygen, turbo charging, and possibly radar.  Not to mention you are dealing with a Continental engine instead of a Lycoming.  And, is it a factory TSIO 520 or a converted 550?  2, 3, or 4 blade prop?  Glass panel or steam gauges?  What kind of autopilot?  Plus, it’s a much heavier airplane so it’s going to fly different, have different rotation and landing speeds and handle differently in stalls.  What’s the sight picture supposed to be on final approach?  What are the emergency procedures?

    Overwhelmed yet?

    An experienced, insurance approved instructor and training program is a necessity when getting into new airplanes.  It makes for safe pilots and safer skies.

    Texas Top Aviation offers Cirrus Transition Training as well as Bonanza Transition Training and Columbia/Corvalis Transition Training.  We are working on an insurance approved Piper PA 46 piston transition course as well (Malibu and Mirage) and will have the course approved by the end of 2016.  Contact us today to schedule your transition training.

Leave a Reply

Your email address will not be published. Required fields are marked *