Flight Watch to be Discontinued

The FAA has decided to discontinue the dedicated En Route Flight Advisory (EFAS or Flight Watch) frequency 122.0.  The effective date will be September 24th, but Flight Service will continue to monitor the frequency for an additional six months to direct pilots to Flight Service Station frequencies.

EFAS services will still be provided by Flight Service, though, on the published Flight Service Station frequencies (and 122.2).

To me, this makes some sense.  In the past, if I accidentally contacted Flight Service on one of their frequencies to issue a pilot report or get a weather update, they would send me over to Flight Watch on 122.0.  More than likely, the Flight Watch operator was sitting right next to the Flight Service operator, but I had to flip frequencies.  This will help alleviate some confusion for pilots.

The deactivation of Flight Watch had been coming for years since the advent of Foreflight and other iPad and tablet apps giving pilots much easier access to weather, both in flight and on the ground.  With Nexrad and Stratus, there isn’t much need for Flight Watch anymore (though you still can’t file a PIREP over the XM Weather!).

For more information, check out AOPA’s website.

Similar Posts

  • Cirrus Autopilot Check

    In the Pre-Takeoff Checklist for any Cirrus aircraft, it calls for pilots to perform a Cirrus Autopilot Check.  It is prudent to check the autopilot before your flight to ensure that all aspects of the autopilot are working properly.  The only problem is, the checklist doesn’t spell out how to perform the Cirrus Autopilot Check.  You would have to go to the POH for the airplane, which is usually in the back seat or a bag somewhere and therefore hard to get to, in order to find the procedure.

    The procedure for checking the autopilot is slightly different depending on what autopilot is in your airplane.  The procedures for all three are below.

    S-TEC 55x

    • Sync the heading bug to your current heading
    • Activate heading mode on the autopilot
    • Twist the heading bug left and right to ensure the ailerons move left and right
    • Sync the heading bug to your current heading
    • Activate vertical speed mode on the autopilot
    • Move the vertical speed bug (or the vertical speed on the altitude pre-selector if you have a steam gauge Cirrus) up and down to ensure the elevator moves accordingly
    • Ensure you can overpower the autopilot
    • Press the autopilot disconnect switch to ensure the autopilot shuts off


    Avidyne DFC 90

    • Press the AP button to activate the autopilot
    • Ensure AP, ROLL, and PITCH Annunciations are depicted in green on the top of the PFD
    • Set the heading bug 90 degrees from the current heading
    • Press the HDG button on the autopilot
    • Ensure the ailerons are moving in the proper direction and HDG is annunciated on the top of the PFD
    • Ensure you can overpower the autopilot
    • Press the autopilot disconnect switch on the stick and ensure the autopilot has disconnected


    DFC90

    Garmin GFC 700

    • Press the AP button to activate the autopilot
    • Ensure you can overpower the autopilot
    • Press the autopilot disconnect switch on the stick to ensure the autopilot has disconnected
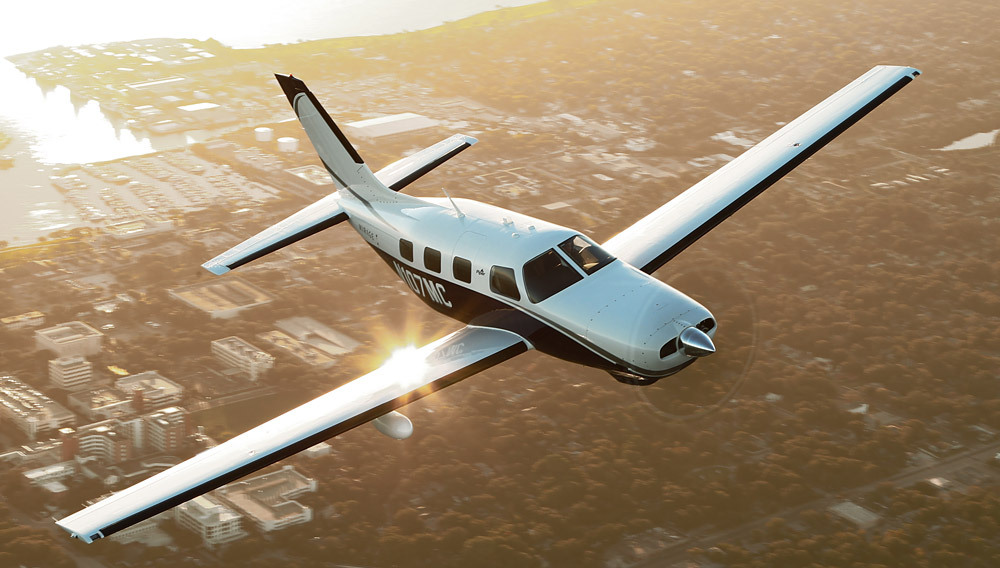
  • Garmin GFC 600 Autopilot Certified for the Piper Meridian

    In the fall of 2021, Garmin announced the long awaited confirmation that the Garmin GFC 600 autopilot is now certified for the Piper Meridian. The Garmin GFC 600 autopilot has been certified for all other types of the Piper PA46 line of aircraft, but the Meridian was last in line. The airplane has to have been manufactured prior to 2009 and have Avidyne avionics, Meggitt, or have been retrofitted with a Garmin G500 (no G1000 aircraft since those already have the GFC 700 autopilot).

    The Garmin GFC 600 autopilot is the ultimate digital autopilot. The integration with the Garmin G500, GTN 750 and GTN 650 units is a beautiful thing. The autopilot communicates with all the heading and altitude bugs, flies approaches smoothly, and even has a level button.

    In the latest technological marvel from Garmin, Garmin Safe Glide, the GFC 600 autopilot is critical in reducing pilot workload in an engine failure situation. It flies the airplane for you and takes you to the nearest airport, reducing the stress and allowing the pilot to troubleshoot the situation.

    Texas Top Aviation recommends Abilene Aero in Abilene, Texas for any and all avionics installs. They have worked with several of our customers in the last year, are extremely knowledgable and do excellent work. Call them for a quote on a new Garmin GFC 600 autopilot in your Piper Meridian.

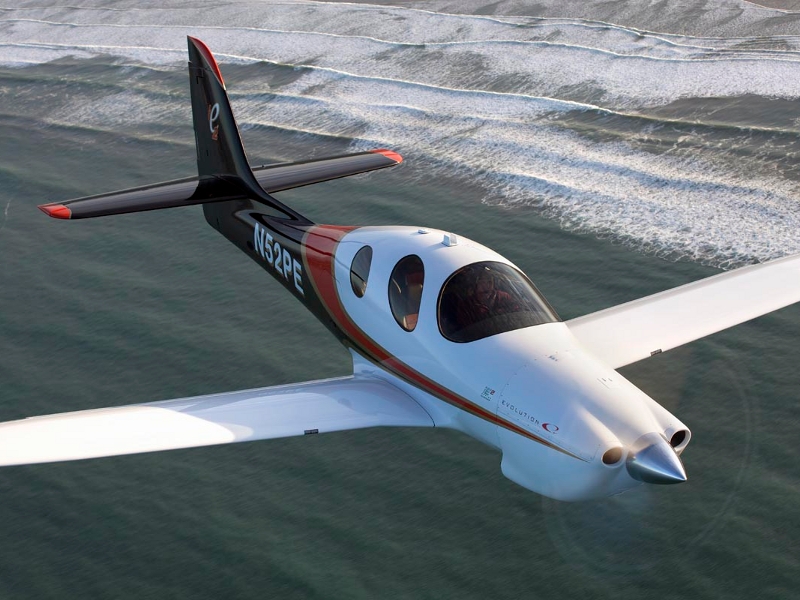
  • The RDD LX7

    Have a Lancair IV-P?

    Want to make it better than a Cirrus or a Cessna TTx?

    Meet the team at RDD creating the LX7.  Just make sure you are sitting down as you are about to be blown away.

    RDD (Research. Design. Development) is a professional building company for the Lancair line of experimental aircraft (Lancair unveiled the Mako at Osh Kosh this summer, which performs slightly less than the advertised values of the LX7, but is available as a new kit).  For those unfamiliar with the experimental world, when an experimental kit is bought, the owner/builder can build the entire aircraft himself, partially build it then send it to a completion center, or have a professional build company put it together.  This last option is what RDD did with Lancair aircraft before Lancair moved from Oregon to Uvalde, TX.

    Once Lancair was sold, RDD started thinking on how to make the IV-P better.  Boy, did they.  What resulted is the LX7.

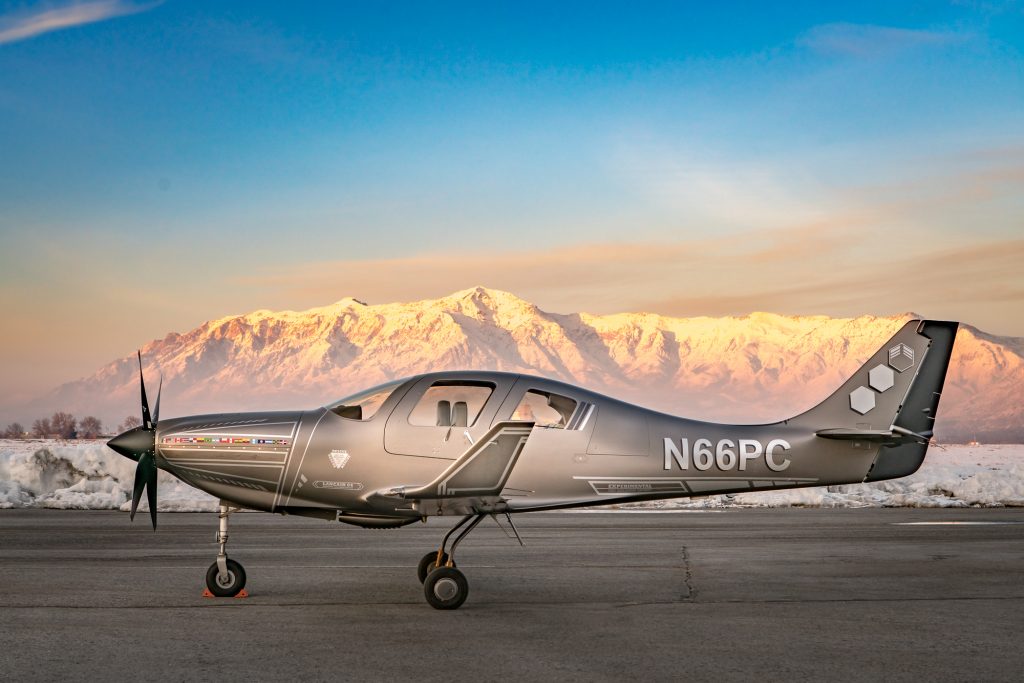
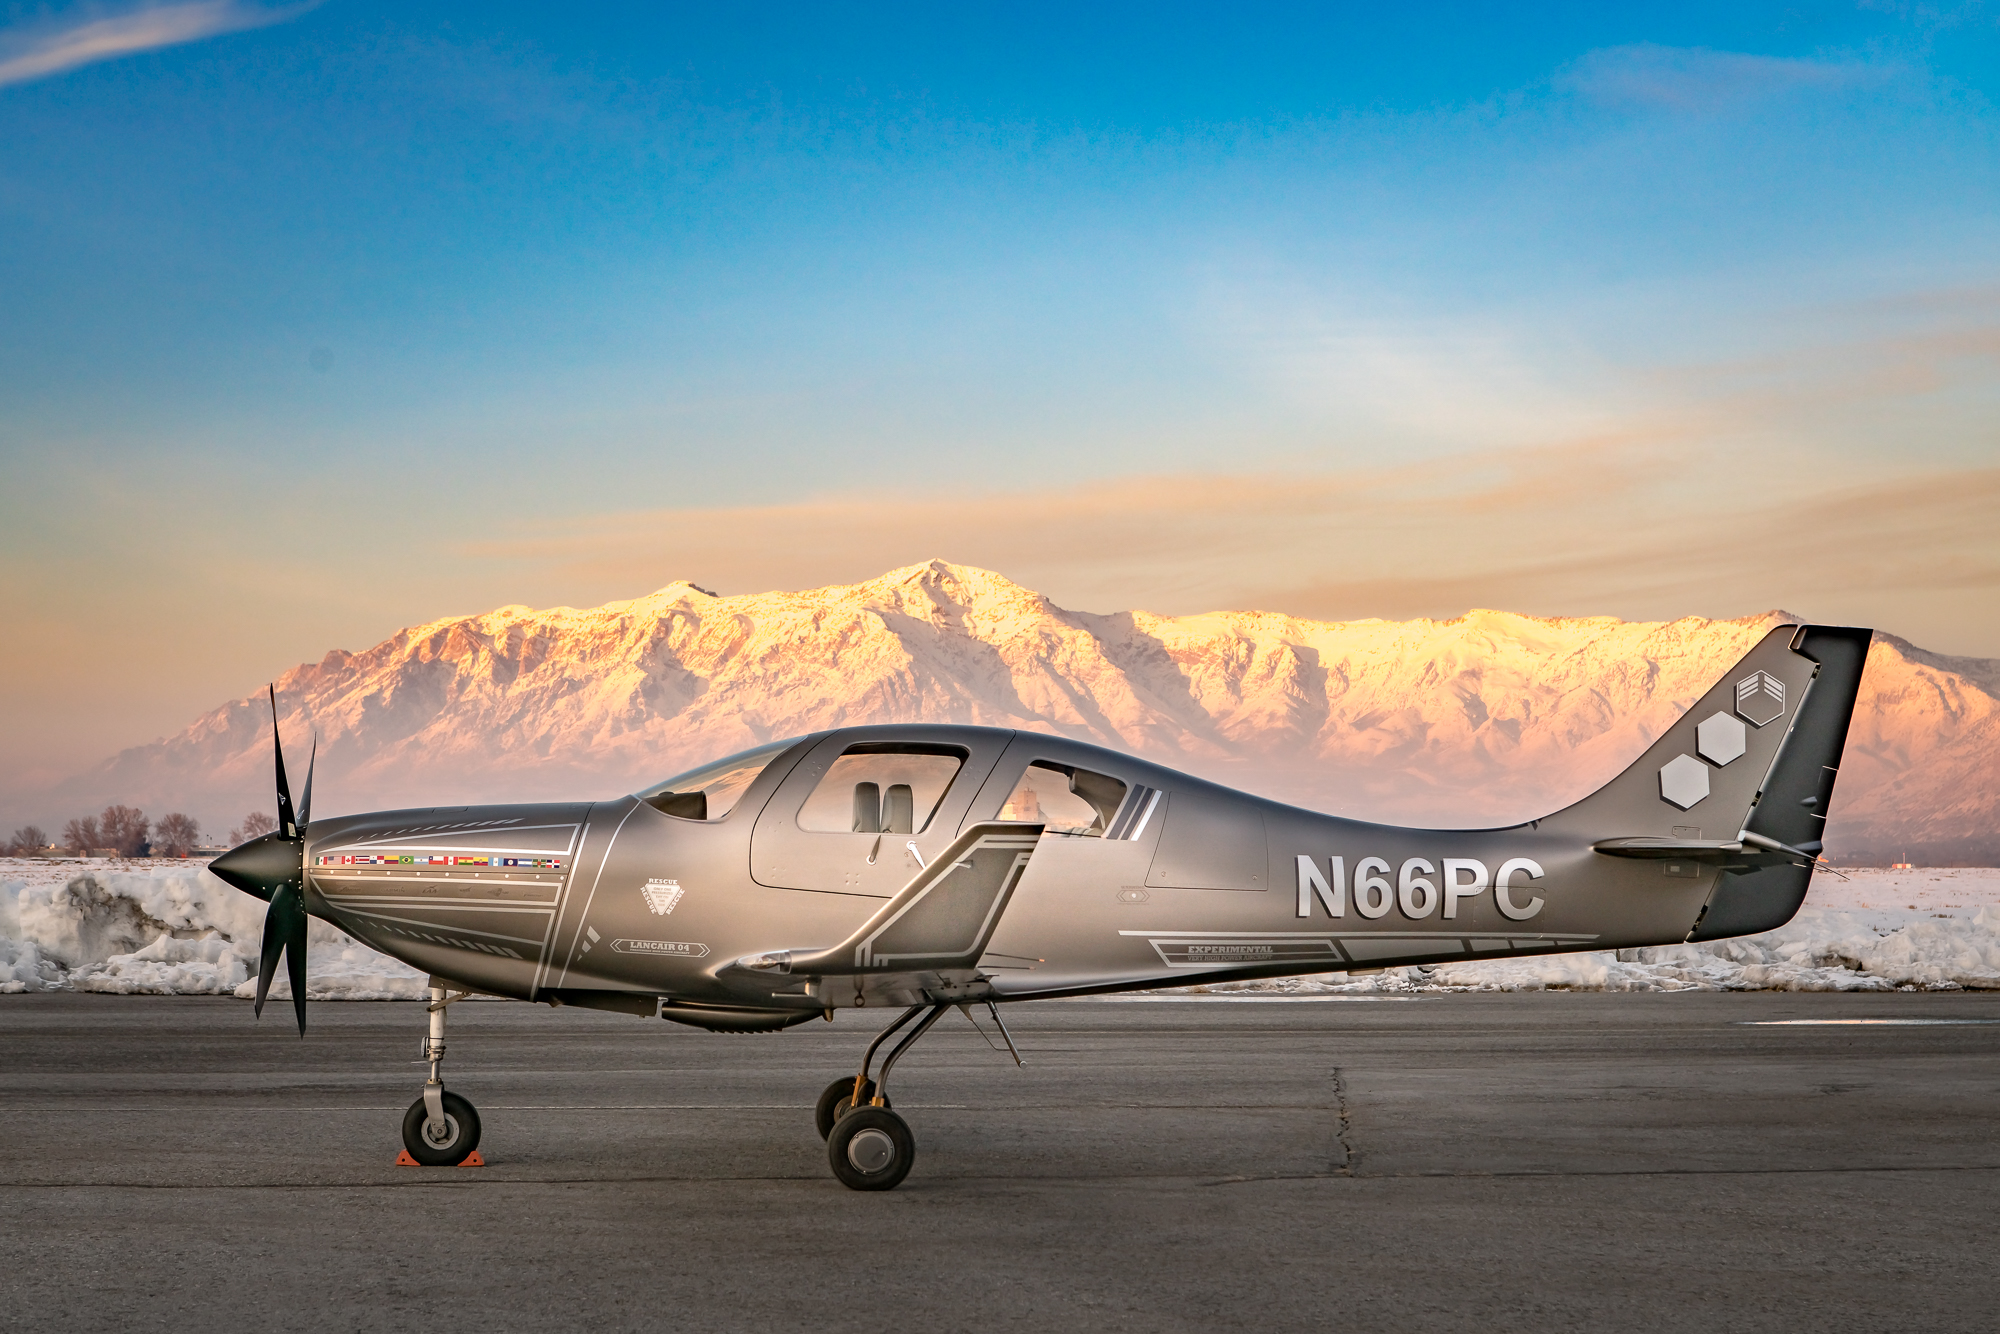
    The LX7 is a retractable gear, single engine piston, pressurized aircraft that sits 4.  See it on the ramp and it looks like a Lancair or a Columbia.  Sit in the cockpit and you’ll know something is different.

    Starting with the power plant, RDD put a Continental TSIO 550-E engine in the IV-P airframe, giving the airplane 350 HP.  They redesigned the wing to hold 180 gallons of usable fuel and a much better stalling envelope (anyone who has looked at a Lancair IV or IV-P wing knows that there isn’t much wiggle room with angle of attack on those airplanes), lowering the stall speed to 62 knots dirty.

    The cabin is roomier and the panel is beautiful.  Equipped with 2 or 3 Garmin G3X Touch panels (the experimental equivalent of the G2000), plus a GTN 750 and a fully digital backup flight instrument from Grand Rapids, plus ESP technology built in to the autopilot, this plane seems like a pilot’s dream.

    I haven’t even gotten to the best part:  the speed.  Being pressurized, the LX7 has a 25,000 foot service ceiling where it can achieve cruise speeds of 260 knots at best power (24 GPH) and 250 knots at best economy (18 GPH).

    Yes, I did just say 250 knots at 18 GPH in a single engine piston.

    With 180 gallons of fuel.

    Make sure you bring a Travel John.

    Worried about an experimental?  The airframe is equipped with a full BRS system similar to the Cirrus SR22, keeping everyone safe and sound.

    There is one flying LX7 currently and RDD is working on 3 more.  The price tag for the full conversion is $550,000.  The kicker is, the owner has to provide the Lancair IV-P airframe.  There are currently 10 Lancair IV-Ps for sale on Controller, varying in price from $200,000-$400,000, bringing the total price of the project to $750,000-$950,000.  Owners who already have a IV-P or a IV-P kit can send it on over to RDD to get started on their project.

  • Flying WAAS GPS Approaches

    When flying a WAAS GPS approach, there are several different levels of WAAS signal that a GPS receiver can get. The most precise is an LPV signal. LPV stands for Localizer Performance with Vertical guidance. An LPV approach has the lowest minimums of all the WAAS GPS approaches, typically in the range of 200-300 feet AGL. A GPS glide path (GP) is guaranteed with an LPV approach and the minimum altitude is a decision altitude (DA).

    Just like a localizer, an LPV course width get’s tighter and the CDI becomes more sensitive the closer the plane get’s to the runway. Even though the LPV approach minimums are so low and the approach is down to a DA, they still aren’t considered precision approaches by the FAA (which leads to some extra planning when selecting an airport as an alternate that only has GPS approaches, since the AIM specifies only the LNAV minimum are to be considered if an alternate airport only has GPS approaches, bringing the 800 foot ceiling requirement to bear)

    An LNAV/VNAV approach is still a WAAS approach that has a GPS glidepath, but is slightly different than an LPV approach. An LNAV/VNAV final approach course does not get more sensitive the closer the plane gets to the runway. The smallest course width on an LNAV/VNAV approach is 0.3 miles either side of center. LNAV/VNAV approaches will, most of the time, have higher minimums than LPV approaches and can have minimums no lower than 250′ AGL.

    The third type of WAAS approach is strictly a non-precision approach with a Minimum Descent Altitude (MDA). These are designated LP approaches, which stands for Localizer Performance. These are like old school Localizer only approaches that, similar to the lateral portion of an LPV approach, the course width tightens the closer to the runway that a pilot is. There is no glide path by definition of an LP approach, though there is a caveat.

    Now, by looking at an approach plate that is a WAAS approach, but only has LP minimums listed, a pilot would assume there would be no glide path. Depending on what type of GPS unit the airplane has, that pilot could be wrong. Garmin Perspective units (Cirrus G1000), all GTN 750s and GTN 650s, All G1000 NXi units, most Garmin 430W and 530W, and all Avidyne IFD 550/540 and 440 units will display an advisory glide path on an LP approach, designated LP+V.

    What does LP+V indicate? An advisory glide path is just advisory, but it is totally legal to follow down on a non-precision LP approach. The kicker is obstacle clearance is not guaranteed and the pilot needs to keep an eye on minimum altitudes at the different waypoints on the approach. The big thing I tell people is, when you arrive at the MDA and the runway is in sight, following the advisory glide path below the MDA could get you in trouble with obstacles. Don’t just hone in on your instruments when you break out of the clouds. Look out the windscreen and make sure you won’t hit anything.

    If you arrive at the MDA on the advisory glide path and the runway isn’t in sight, DON’T GO BELOW THE MDA! Most autopilots won’t level off at the MDA, even if that altitude is set in the altitude pre-select, so this will involve turning off the autopilot before the MDA and manually leveling off, or engaging the altitude mode of your autopilot at the MDA.

    One other type of GPS approach that you will encounter is an LNAV approach. This is a non-WAAS approach down to an MDA, but your GPS unit may still give you a +V. Most modern ones will.

  • That Pesky Rudder

    Whenever I get in an airplane with a pilot for recurrent training, I can assure myself that I will mention rudder usage more than once during the flight.  If it is in a tailwheel (or if the pilot is doing tailwheel training), I’m going to mention the rudder a lot.  How do I know this?  Because basic rudder skills are actually one of the most difficult things to master in flying.

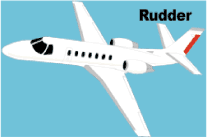
    Let’s start simple.  What does the rudder do?  The dictionary definition is it controls the movement about the vertical axis of the airplane.  If you stick a pole down through the CG of the airplane and rotate the airplane around that pole, this is the vertical axis.  Looking at it another way, the rudder moves the airplane’s nose left and right.  Keep this in mind as we move on.

    Rudder

    Every pilot thinks about the rudder during the takeoff roll.  Because of the torque effect, the pilot must add right rudder during the takeoff roll to stay on the runway centerline.  Depending on the airplane’s horsepower, more rudder pressure is needed in higher powered airplanes.  The problem usually shows up once the airplane gets in the air.

    In the worst situation, after takeoff, the pilot will set both feet on the floor and completely disregard the rudder.  Torque effect and now P-factor are continuing to cause the airplane to yaw left, causing the need for right rudder.  With his feet on the floor, though, the pilot is allowing the airplane to yaw.  It’s not terribly noticeable for him in the front seat, but the back seat passengers (especially in a six seat or larger airplane) are certainly feeling it.

    One particular problem spot on the climb is the climbing left turn.  In a climbing left turn, training says to add left rudder since it is a left turn (see below for the reasoning).  But, since the airplane is climbing and therefore experiencing left yawing tendencies due to the aforementioned effects, the pilot needs to continue pressing the right rudder, though the pressure won’t be as much as in a straight climb.  Watch the ball the next time you make a climbing left hand turn and it’ll make a believer out of you.

    I find only a handful of pilots are this egregious.  Most pilots have rudder problems in turns and in turbulence.  We’ll tackle turns first.  As we all learned when we first started flying, due to adverse yaw, a pilot must add rudder in the turn’s direction.  Again, this isn’t usually where the problem shows up.  During the rollout is the problem area.

    Let’s take a turn to the left.  The pilot rolls in, adding left rudder, arrives at his heading, then begins to roll out with the ailerons.  Left adverse yaw is now being experienced and right rudder is needed to smoothly transition back to level flight.  Need some visual assistance?  Watch the nose the next time you make a turn. If you are working the rudder properly, the nose will pivot on one point in the horizon.  If you aren’t using the rudder properly, the nose will draw a U shape on the horizon.  Try making some turns without rudder, see what it looks like, then use the rudder properly.  You’ll notice a big difference.

    Finally, let’s talk turbulence.  As we all know, turbulence in the hot summer afternoon is quite pronounced. When the airplane experiences a bump, it usually doesn’t bounce straight up in the air.  There is usually some kind of rolling motion involved.  As the pilot corrects this rolling motion by moving the ailerons, adverse yaw is experienced (just like rolling into and out of a turn that we talked about above), so rudder is needed.  There isn’t a need to stomp on the rudder or you’ll cause the airplane to severely yaw in the other direction, but rudder pressure is needed.

    Final approach is where this gets most pilots.  By controlling the nose and not allowing it to move around on final by using the rudder, this will make your approaches a little more stabilized leading to a more successful landing.

    Feeling lost when it comes to the rudder?  Ask your instructor the next time you go fly to do some rudder exercises.  Most instructors don’t emphasize these basic stick and rudder skills which leaves pilots lacking as they move on in their aviation lives.  So make it a point to do some basic rudder work the next time you fly with your instructor.

  • MMOPA Master Aviator Program

    Last fall, the Malibu & M-Class Owner’s and Pilot’s Association (MMOPA) announced a new program to encourage and enhance safety, the Master Aviator Program.

    The MMOPA Master Aviator Program was designed as a system to recognize those in the Piper PA46 community who strive to become the best pilots they can be. Each year, those who have achieved each of the levels in the program will be honored at the MMOPA Convention (the 2020 MMOPA Convention will be in Tucson in the spring of 2020) by getting Wings pinned on.

    What is the heart behind the MMOPA Master Aviator Program, you ask? Here’s a quote from the MMOPA Website:

    This program is the result of MMOPA having identified areas of flight operation that need improvement to increase safety. It provides a path forward for training for the PA46 pilot, honors those pilots that elect to participate in the MMOPA Master Aviator Program, and rewards those pilots that progress upwards to ultimately reach the highest level (MMOPA Master Aviator).

    The main focus areas of the MMOPA Master Aviator Program are pilot flight experience (flying more during a year increases skills), stall/spin awareness, and operations in the runway environment (improper aircraft handling during takeoff, landing, and go around, with a particular emphasis on rudder control).

    The MMOPA Master Aviator Program tackles these three areas in each of the different levels of achievement: Aviator, Senior Aviator, and Master Aviator.

    To achieve the Aviator Wings, a PA46 pilot must do the following:

    • Complete Initial Training with an Approved Training Provider
    • Fly 100 total hours in a PA46
    • Attend an Approved Mid-Year Training Event (M-Class, MMSTF, MMOPA Safety Standown, MMOPA Maintenance Standown, to name a few)
    • Attend the MMOPA Convention once in the last 3 years
    • No accidents/incidents in a PA46 in the last 3 years

    To achieve the Senior Aviator Wings, a PA46 pilot must have received their Aviator Wings and do the following:

    • Completed at least one yearly Recurrent Training Event
    • Fly 200 total hours in a PA46
    • Go through an approved Upset/Recovery Training course provided by an approved training provider
    • Attend the MMOPA convention once in the last 3 years
    • No accidents/incidents in a PA46 in the last 3 years

    To achieve the Master Aviator Wings, a PA46 pilot must have received their Senior Aviator Wings and do the following:

    • Completed at least two yearly Recurrent Training Events
    • Fly 300 total hours in a PA46
    • Receive a tailwheel endorsement
    • Attended the MMOPA convention once in the last 3 years
    • No accidents/incidents in a PA46 in the last 3 years

    To incentive PA46 pilots, MMOPA offers a $400 voucher to program participants to accomplish the Aviator Mid Year Training, the Senior Aviator Upset/Recovery Training, and the Master Aviator Tailwheel Training. A PA46 pilot is only eligible for one voucher per year.

    I received the Master Aviator Award at the MMOPA Convention this year. All told, there were close to 40 participants who received one of the three levels of achievement at the MMOPA Convention in Amelia Island, FL this year.

    Interested in applying to be a part of the MMOPA Master Aviator Program? You can find out more information on MMOPA’s website.

Leave a Reply

Your email address will not be published. Required fields are marked *