The Cirrus Pilot Proficiency Program is once again returning to Houston, TX the first weekend in November. Henrickson Jet Center at the Houston Executive Airport (KTME) will be the host FBO this year. If you are a Cirrus owner in the South Central US, the Houston CPPP weekend is definitely worth your while.
What is it? The Houston CPPP is a combination ground and flight training weekend. With ground classes ranging from engine management, to loss of control prevention, to avionics best practices, an attendee will not lack a better Cirrus education by the time he or she leaves.
The flight training side of the weekend gives an attendee several options. A Houston CPPP attendee can do 1 or 2 flights with a highly qualified Cirrus Standardized Instructor Pilot (CSIP), one on Saturday and one on Sunday (if the 2 flight option is selected). The Cirrus Owner’s and Pilot’s Association (COPA) brings in exceptional instructors for each of the CPPP events, so the training is top notch. Folks who want to take in more ground school, but still want to fly a little bit have the option of just doing 1 flight, either Saturday or Sunday, in order to increase their Cirrus knowledge.
The Houston CPPP event will be November 2nd, 2018-November 4th, 2018, a Friday through a Sunday. The weekend kicks off with a welcome dinner Friday night, then ground sessions and flying on Saturday and Sunday, plus a dinner on Saturday night.
For those who want to challenge themselves, there are simulator sessions available with a challenging instrument approach that doesn’t quite meet up with the normal, ho-hum type of approach.
The Houston CPPP also provides a Partner in Command course for those right seaters out there wanting to learn more about what to do in an emergency situation.
Hank Gibson of Texas Top Aviation will be at the Houston CPPP as a flight instructor. For more information and to sign up, please click here.
Want to make it better than a Cirrus or a Cessna TTx?
Meet the team at RDD creating the LX7. Just make sure you are sitting down as you are about to be blown away.
RDD (Research. Design. Development) is a professional building company for the Lancair line of experimental aircraft (Lancair unveiled the Mako at Osh Kosh this summer, which performs slightly less than the advertised values of the LX7, but is available as a new kit). For those unfamiliar with the experimental world, when an experimental kit is bought, the owner/builder can build the entire aircraft himself, partially build it then send it to a completion center, or have a professional build company put it together. This last option is what RDD did with Lancair aircraft before Lancair moved from Oregon to Uvalde, TX.
Once Lancair was sold, RDD started thinking on how to make the IV-P better. Boy, did they. What resulted is the LX7.
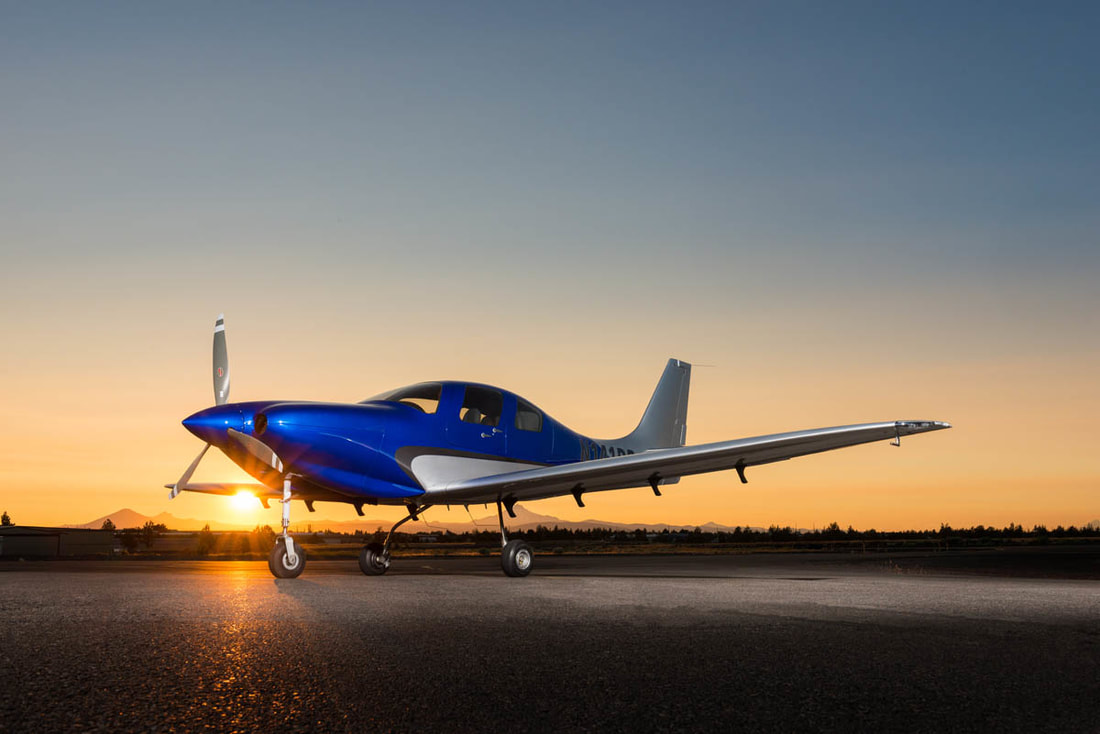
The LX7 is a retractable gear, single engine piston, pressurized aircraft that sits 4. See it on the ramp and it looks like a Lancair or a Columbia. Sit in the cockpit and you’ll know something is different.
Starting with the power plant, RDD put a Continental TSIO 550-E engine in the IV-P airframe, giving the airplane 350 HP. They redesigned the wing to hold 180 gallons of usable fuel and a much better stalling envelope (anyone who has looked at a Lancair IV or IV-P wing knows that there isn’t much wiggle room with angle of attack on those airplanes), lowering the stall speed to 62 knots dirty.
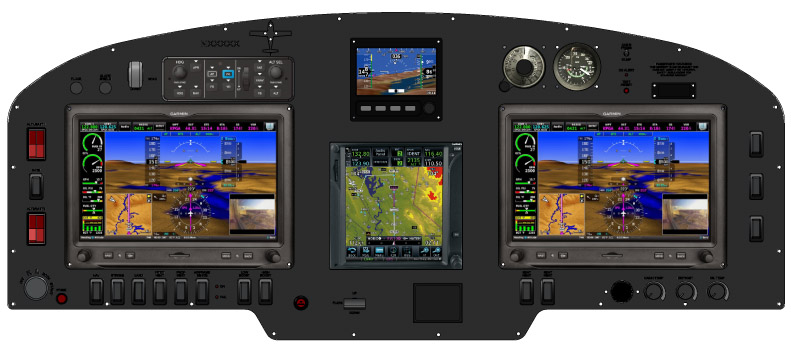
The cabin is roomier and the panel is beautiful. Equipped with 2 or 3 Garmin G3X Touch panels (the experimental equivalent of the G2000), plus a GTN 750 and a fully digital backup flight instrument from Grand Rapids, plus ESP technology built in to the autopilot, this plane seems like a pilot’s dream.
I haven’t even gotten to the best part: the speed. Being pressurized, the LX7 has a 25,000 foot service ceiling where it can achieve cruise speeds of 260 knots at best power (24 GPH) and 250 knots at best economy (18 GPH).
Yes, I did just say 250 knots at 18 GPH in a single engine piston.
Worried about an experimental? The airframe is equipped with a full BRS system similar to the Cirrus SR22, keeping everyone safe and sound.
There is one flying LX7 currently and RDD is working on 3 more. The price tag for the full conversion is $550,000. The kicker is, the owner has to provide the Lancair IV-P airframe. There are currently 10 Lancair IV-Ps for sale on Controller, varying in price from $200,000-$400,000, bringing the total price of the project to $750,000-$950,000. Owners who already have a IV-P or a IV-P kit can send it on over to RDD to get started on their project.
Are you still trying to master the Garmin 430 in your airplane? Is it giving you fits because you keep twisting the big knob instead of the small knob? Would you like a step-by-step guide to each and every part of the Garmin 430?
Pilot proficiency website PilotWorkshops.com has published a very thorough, step-by-step manual on how to use the Garmin 430. Want to load a flight plan? There’s a section for that. Want to load an approach? There is a section for that as well.
The Pilot-friendly Garmin 430 manual is a great reference to have for Garmin pilots. Pilot Workshops offers a guide for the Garmin 430 and the Garmin 430W, depending on if you have WAAS or not.
The hard copy guides are $44.95, but you can also download the PDF version of each for $19.95.
To get more information on the guide or to order one, you can visit the Pilot Workshops website. (Have another Garmin or King GPS unit? Pilot Workshops has guides for a variety of different GPS units)
There was a bill introduced in Congress recently to take control of Air Traffic Control away from the FAA and give it to a private, for profit, corporation. The initial reaction of pilots is “Ahhh! User fees!” which we are all adamantly opposed to. There are a myriad of reasons why this is a bad idea (the “Flying” article makes a comparison to giving NASA to Richard Branson and Jeff Bezos) and we as pilots should be against it.
On March 30th, Texas Governor Greg Abbott issued an Executive Order mandating that all travelers (including Texas air travelers operating or traveling in private aircraft) from the following designated areas were to self-quarantine for 14 days (or the extent of their stay in Texas, whichever was shorter) upon entering the State:
California
Louisiana
Washington State
Atlanta, Georgia
Chicago, Illinois
Detroit, Michigan
Miami, Florida
If you traveled to Texas by air from any of the above designated areas, you are required to fill out the Arrivals from Areas Designated for Mandatory Self-Quarantine Form. Failure to do so could lead to a $1,000 fine or 180 days in jail, or both. For private aircraft owners/operators, put your Tail Number in for Flight Number and “Private” for Airline.
Aircraft owners, stay away from the designated areas listed above and you won’t have any worries. A lot of you reading this are from Texas, so make Louisiana a fly over state for now and don’t make any landings in Cajun country.
A new app came out last year that fits a need for many owners. Coflyt, available on the Apple App Store for $14/month for up to two airplanes, helps immensely with staying organized. Those questions of, “When is my oil change due?” or “Has the plane had it’s IFR inspections?” are easily answered by checking the app instead of having to dig through maintenance logs.
Not only does Coflyt help keep track of maintenance, but it also houses squawk lists that owner’s can send to maintenance shops as well as keeping track of Airworthiness Directives. If the pilot remembers at the end of flights to put the amount in, it even shows how much fuel is remaining in the airplane.
For flying clubs and partnerships, it provides easy scheduling without having to share calendars. Payments can also be taken and flights tracked. No more paper flight sheets after flights to track down.
As a pilot, it helps immensely to be organized. For $14 a month ($36/month for partnerships or flying clubs), that’s a small price to pay.
Four things moved this market between July and the end of September, and each one changes the arithmetic on what your airplane is worth today. Inventory is thinner than it was a year ago and has stopped draining. Asking values have split. The Fed raised rates and has penciled in one more increase for December. And the FAA ended single-pilot operation in the legacy Citations. Here is the short version, and what I would do about it before December 31.
The short version
Turboprop inventory is running about 12% under last year, and the field stopped shrinking in September.
Piston asking values are still giving back. Turbine asking values have turned up.
The federal funds rate is 3.75–4.00%, with one more quarter-point increase projected for December.
The FAA rescinded the legacy Citation single-pilot exemptions on September 29, with no wind-down.
Accepted offer to closing runs 30 to 45 days. To close before December 31 you need an offer accepted by about November 15 — which means listing by October 31.
Inventory is thin, and it stopped draining
In September, used single-engine piston inventory in the U.S. and Canada was down 12.2% against last year. Turboprops were down 12.0% worldwide. Jets were down 23.6%, with the large-cabin end off 39.8%. The field your airplane competes against is smaller than it was a year ago.
The monthly direction is the other half. Piston inventory was flat in September, turboprops rose 3.5% and jets rose 5.1% — the second month running that inventory added rather than drained. So the field is thin by the standard of a year ago, and it is no longer getting thinner.
Asking values have split
The three categories stopped moving together. Piston singles fell 0.74% on the month and are down 2.36% against last year. Turboprops rose 0.22% on the month and are up 0.57% on the year. Jets rose 2.02% on the month and are up 0.71%, led by the super-mids at plus 5.29%.
Asking prices are not values, and I will keep saying that. What they give you is the leading edge — VREF and the closed comps follow a quarter or two behind. Right now that edge says the turbine market has turned the corner and the piston market has not.
Rates went up, and may go again in December
On September 16 the Federal Open Market Committee raised the federal funds rate a quarter point, to 3.75–4.00% — the first increase since 2023, on a unanimous vote. The Committee’s own projections point to one more quarter-point increase in December. A financed buyer’s payment is higher than it was in the spring, and his offer reflects it.
The FAA ended single-pilot flying in the legacy Citations
On September 28 the FAA published a policy change rescinding the training-provider exemptions that let a single pilot fly the transport-category Citations. Effective September 29, no wind-down. Thirteen of the fourteen exemption holders reviewed were rescinded or denied renewal.
It catches the two-crew airframes: the 500, 550, S550, 552, 560, 550 Bravo, 560 Encore and Encore+. It does not touch the 501, the 551, the CJ/525 family, the Mustang, or any turboprop.
A large share of those airplanes are owner-flown. That owner now hires a second pilot for every leg, or he stops flying. NBAA and Citation Jet Pilots asked for a 90-day pause on September 29. No answer yet.
The 500-series Citations. The single-pilot exemption ended September 29, with no wind-down.
Why single-engine turboprops gain from it
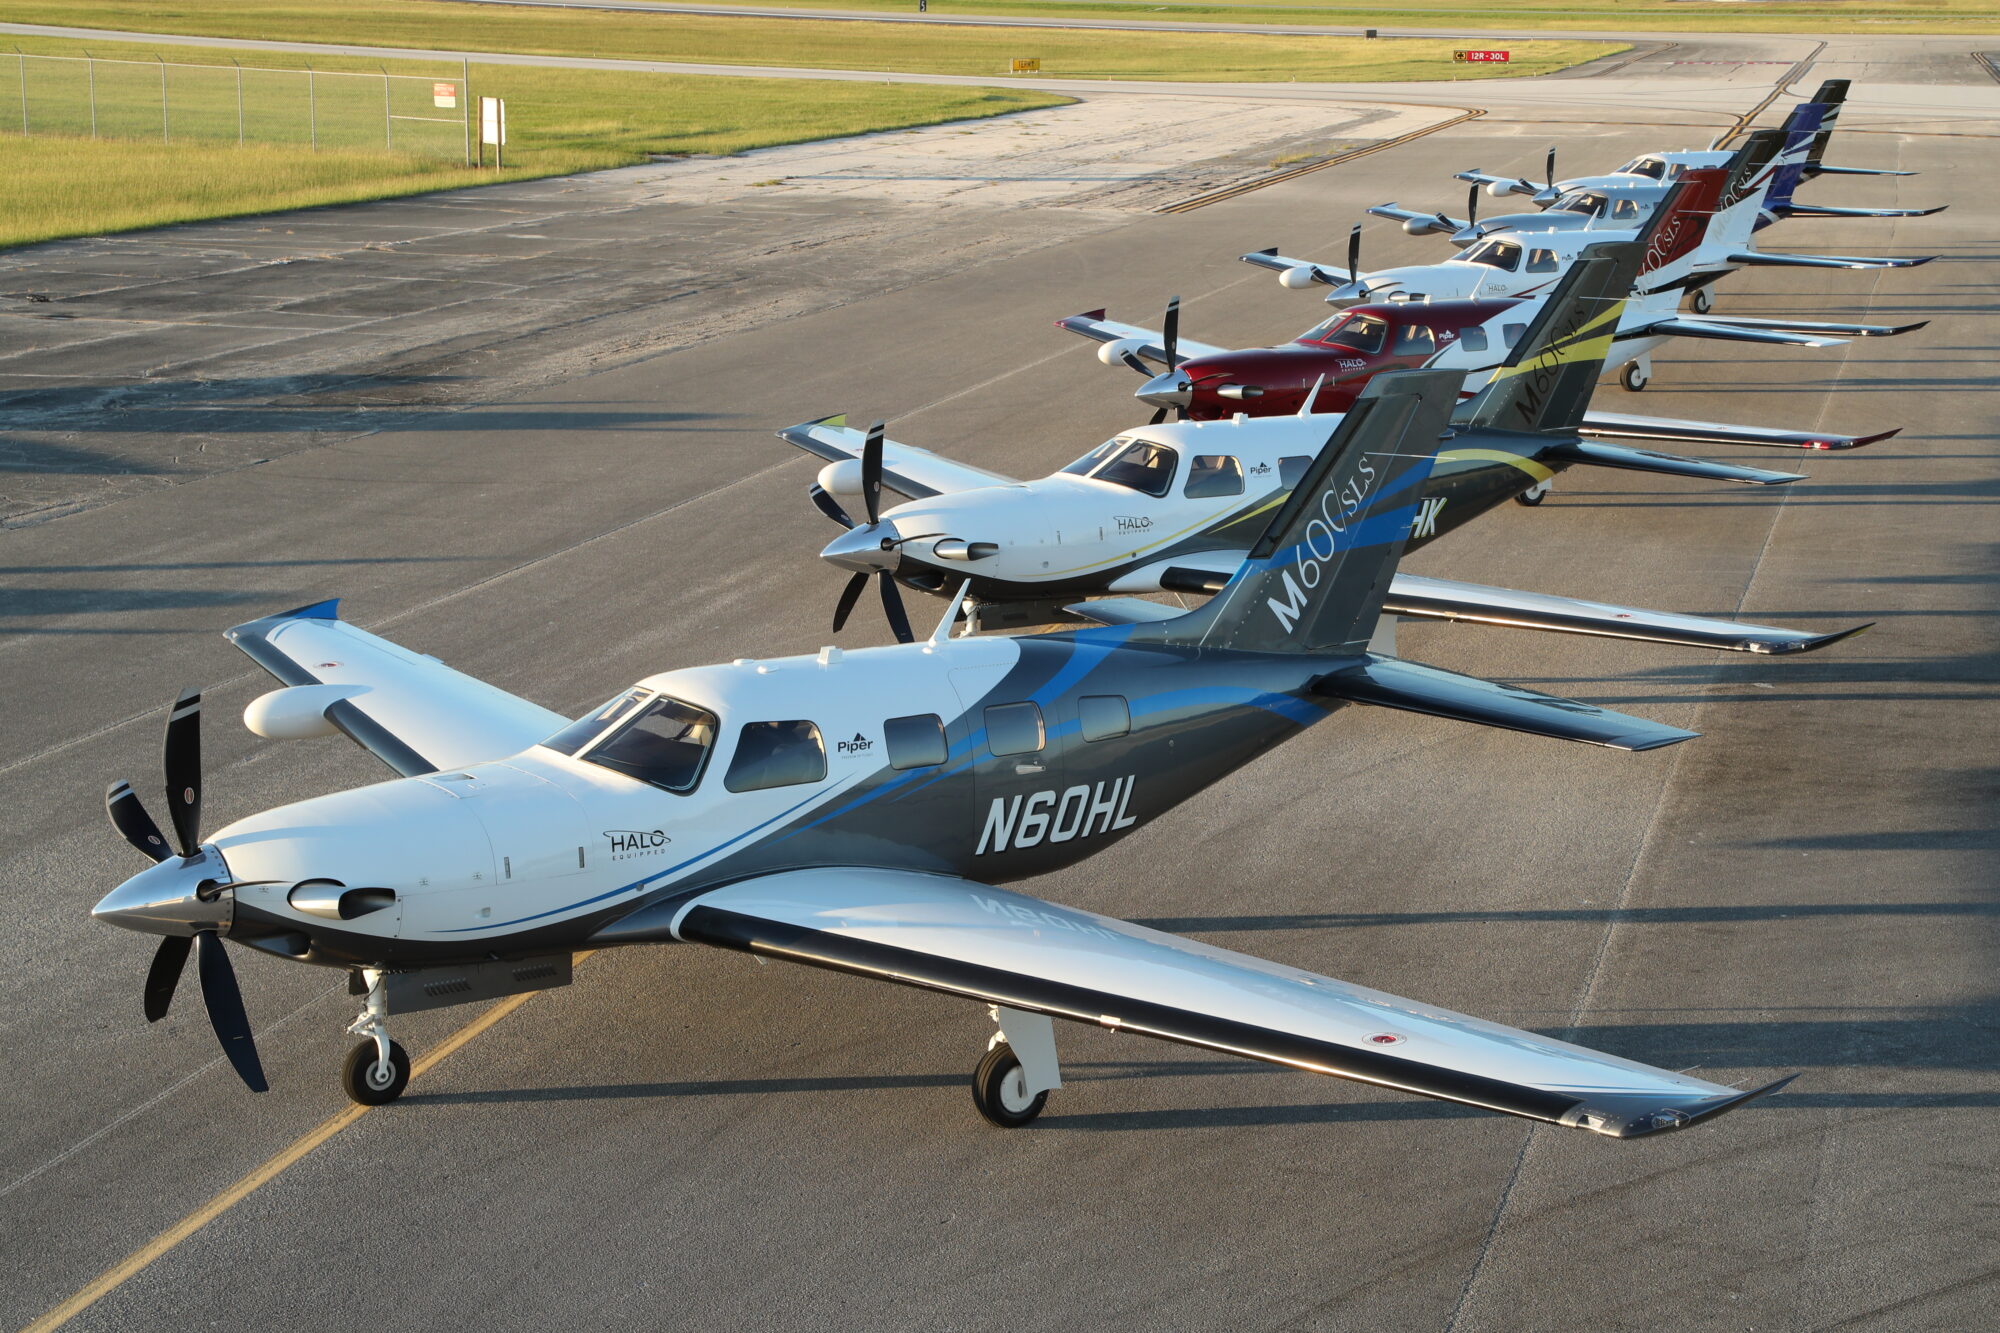
The demand moves, it does not disappear. The owner-pilot still wants to fly himself, and what he can legally fly is a short list: the CJ family, the Vision Jet, and the single-pilot turbines — TBM, M500, M600, M700, PC-12, JetProp. Those are legal single-pilot by type certificate, not by exemption.
The budgets line up. A clean legacy Citation’s price buys a strong TBM or a good PC-12, so these buyers arrive at the top of the turboprop market, where supply is thinnest and inventory is already 12% under last year.
Expect it in the leading indicators first — inquiries, showings, days on market — with price following a quarter or two behind.
The single-pilot turbines are where the displaced Citation owner-pilots can legally land.
The number that should drive your decision
Our airplanes went from listing to closing in a median of 98 days last year. This year that median is 178 days, an 81% increase. Buyers take longer, financing takes longer, pre-buys are more thorough.
At that pace an airplane listed today closes in March, not December. The year-end buyer is the exception — he is working to a December 31 placed-in-service deadline and moves far faster than the median.
Work the calendar backwards from that deadline. From an accepted offer, 30 to 45 days covers scheduling the prebuy, the inspection itself, the acceptance window and then escrow and title. To close before December 31 the offer has to be accepted by about November 15. To have an offer in hand by then, the airplane needs to be in front of buyers by the end of October. That is the whole reason for the date.
Our closings this year came in a median of 4.8% under the ask the airplane carried when it sold, and 7.1% under its original list price. We reduce the ask; we do not haggle.
On the fence about selling? List by October 31
If you own a Meridian, M500, M600, JetProp, TBM, Epic, PC-12 or Vision Jet and you have been going back and forth, here is the case for the next three weeks.
The buyers are shopping now. The displaced Citation owner-pilots are working through their options this quarter, and what they can legally fly is close to that list. An October listing puts your airplane in front of them while the field is thin. A March listing puts it in the spring wave, beside every other owner who had the same idea over the winter.
We took a full-price offer on one of our single-engine turboprops after a week on the market.
The call is yours. The calendar is the part that is not negotiable.
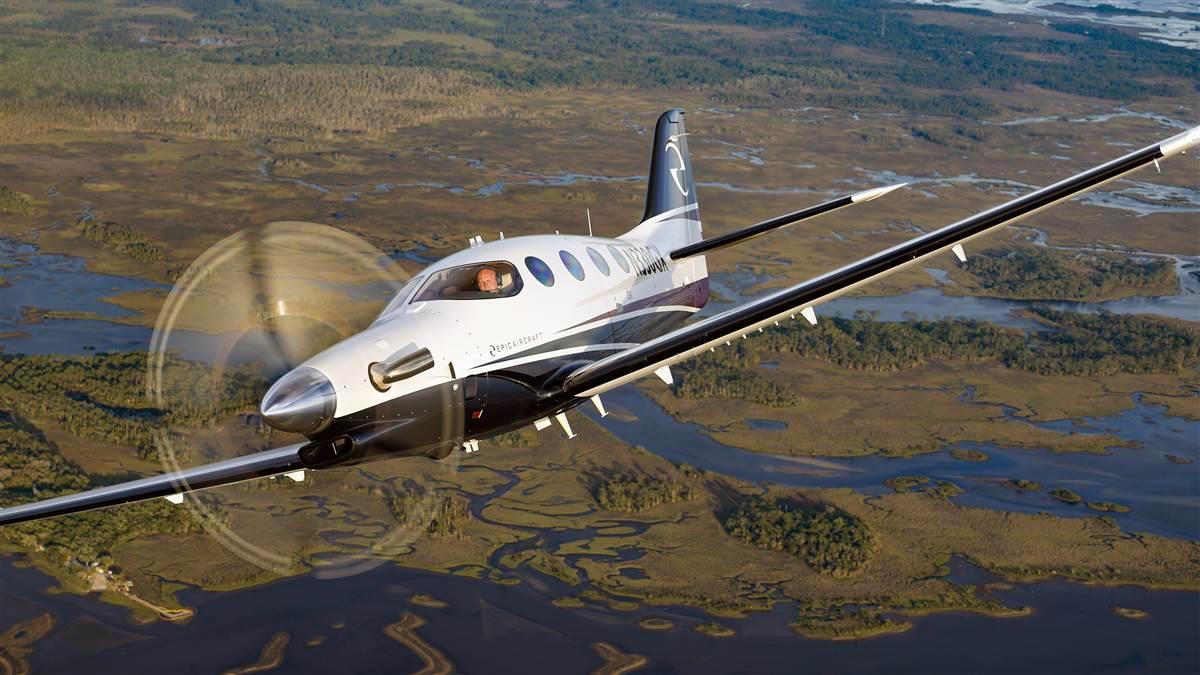
The Epic E1000, one of the eight types a year-end buyer is shopping right now.