Are oxygen cannulas rubbing your nostrils raw?
Is turbulence giving you back problems?
Would you like to be above the bumps, breathing without tubes stuck up your nose or a mask on? Would you like a quiet ride?
Sounds like you need pressurization. Need more convincing?
What’s that you say? You don’t have a multi-engine rating? You don’t want to spend the money on a turbo prop?
Have no fear, there are options galore for you to choose from in the single engine piston marketplace, both certified aircraft and experimental.
A word of caution, though; once you go pressurized, you don’t go back….
Here is my review of the certified, pressurized single engine piston options.
Piper PA46 Malibu/Mirage/M350
In 1983, Piper shocked the world with an amazing airplane. The pressurized, Continental TSIO-520 (310 HP) powered PA46 Malibu hit the market in the fall of that year taking the piston world by storm. A six seat, cabin class, pressurized single engine piston that easily cruised at 190-200 knots while only burning 16-17 GPH. It was awesome. It even had an air stair door that felt like getting on a private jet.
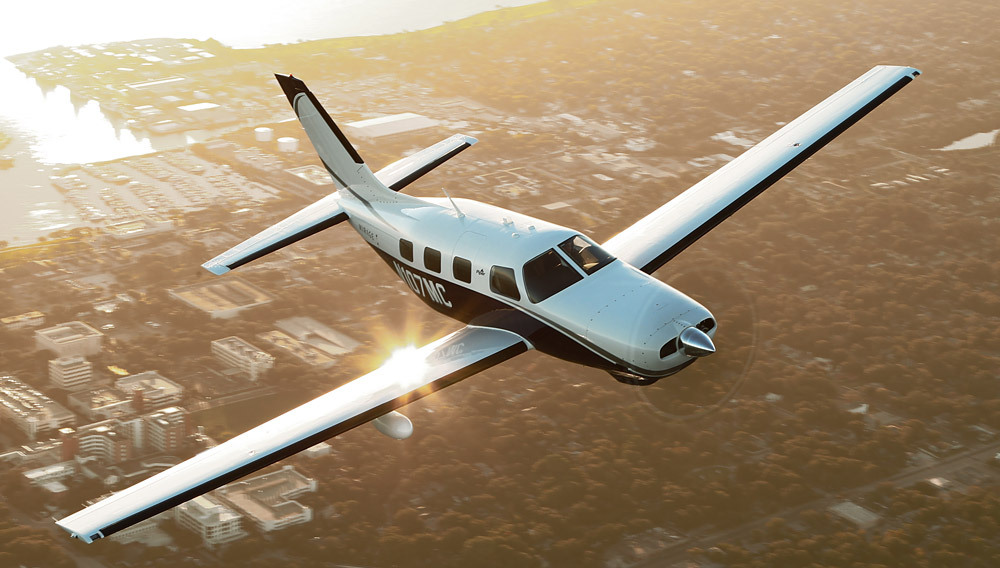
I love the original Continental powered Malibu, specifically the ’86-’88 models. Piper initially had hydraulic flaps, which were clunky and had several issues (most notably, the hydraulic system would randomly kick offline while the flaps were in motion at very in-opportune moments). Piper switched to the electric flaps in ’86, making the ’86-’88 year models very desirable.
Unfortunately for Piper, the Continental TSIO-520 was not the engine manufacturer’s best product. There were several Malibu crankshaft problems and engine failures, so much so that Piper decided to go with the Lycoming TIO-540 engine in 1989, creating the Malibu Mirage (all the current Malibu’s operating the -520 engine have been overhauled many times over, so there are no safety concerns with the -520 engine). The Lycoming powered Mirage (350 HP), cruises a little bit faster than the Continental powered Malibu, but burns about 5 more GPH. Piper still makes the Mirage, now dubbed the M350, complete with the Garmin G1000 NXi panel.
The 4 seat, cabin class back seat is very roomy (unlike a Bonanza or Saratoga). There is plenty of rooms for bags, both behind the back seat and in the handy nose compartment, which is wide enough to fit golf clubs, minus the driver. The 1600 pound useful load (880 pound payload with full fuel), allows for a lot of people and gear to be loaded on board. The airplane is a little stingy on CG, though. You do not want to have a CG that is out of the rear limits.
The airplane is fun to fly. It has a heavy elevator, similar to a Bonanza, which requires a lot of trim on landing. It’s very long wings cause it to float a bit on landing if the pilot comes in too fast. It’s very docile in stalls and extremely comfortable for cross country flying. The air conditioning system works very well, though it is still hot on the front seats when sitting on the ramp on a Texas July afternoon.
Many of the airplanes have upgraded to glass panels. Most are still equipped with the King KFC 150 autopilot, some with a Yaw Damper, some not. The KFC 150 is a good autopilot, but when Garmin certifies their GFC 600 for the PA46, that will be a popular retrofit.
If I had my pick, I would buy an ’86-’88 Malibu with an upgraded Continental TSIO-550 engine. Climbs a bit better and does a bit better in cruise than the original -520 engine. See why here.
I would rate the PA46 line as the best pressurized single engine piston option out there.
Cessna P210 Centurion
The P210 was introduced by Cessna in 1978. It also came with the Continental TSIO-520 engine that the Malibu was certified with. Climbing at about 700-800 fpm (equal to the Malibu), the P210 cruises at around 190 KTAS as well, burning around 17-18 GPH. Like the Malibu, the P210 had a Continental TSIO-520 power plant, but, unlike the Malibu, the P210 makes the pilot work to keep the CHTs cool. With smaller cowl openings and a tighter cowl, cooling isn’t as good as the Malibu.
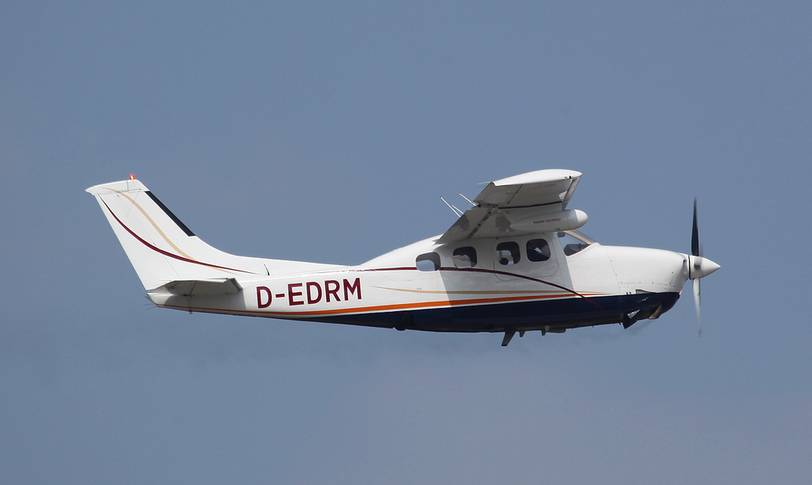
Even though the P210 has six seats, the forward facing, Cessna style 3 rows aren’t quite as comfortable as the Malibu. The single door on the pilot’s side makes loading and unloading a bit of a chore (especially compared to the air stair door in the Malibu). The third row of seats isn’t extremely useful, as the ceiling is lower and the proximity of the second row of seats decreases the amount of leg room, making it uncomfortable for a full size adult. Most operators remove the pilot’s side second row seat to add an aisle to get to the back row for people and bags. It also has a smaller cabin then the Malibu.
There is less baggage in the P210, with the singular baggage compartment accessed through a baggage door behind the cabin. The Air conditioning system is also not as good as the Malibu.
It’s hard to get the P210 out of CG and overloaded. A useful load of 1500 pounds (with 90 gallons of fuel, it drops to only 960 pounds) allows the airplane to be loaded to the gills without being overweight.
There are some engine upgrades out there for the P210 (the Silver Eagle conversion puts a Rolls Royce turboprop on it). The best piston conversion is the Vitatoe Conversion that swaps the engine out for a Continental Turbo-Normalized IO-550, which is a much better engine than the -520. You still have to monitor the CHTs, but cooling is less of an issue. These are much higher priced on the market, though.
Because of the size of the cabin and the true reputation the P210 has of being a maintenance hog, I would rate it below the PA46 line.
Extra EA-400
There are 3 pressurized, single engine piston airplanes out there today: the Piper PA46, the Cessna P210, and the Extra EA-400. Extra is the famous German aerobatic aircraft manufacturer that created the Extra 300 and 330. In the early 2000s, Extra tried it’s hand at the pressurized single market with the EA-400 (Extra also tried to get into the single engine turbo-prop market with the EA-500, but the project fizzled before much progress was made). Sadly, only 27 EA-400s were built before the company ran into financial trouble.
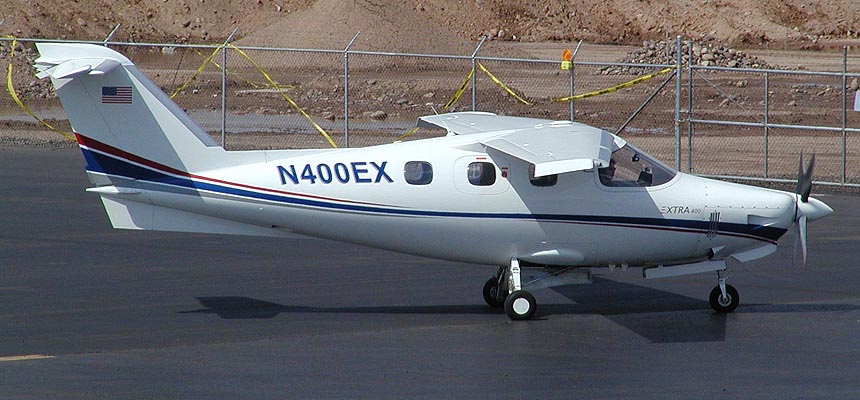
The concept sounds cool. A fully composite, pressurized, liquid cooled, cabin class piston. The engine was the Continental TSIOL-550, liquid cooled power plant. Liquid cooling means no concern about hot CHTs while you are climbing. The problem with the engine is that there are so few liquid cooled Continental engines out there, finding a mechanic familiar with one could be an issue.
I have never flown an Extra 400, but there are several floating around out there. Most have steam gauges and the STEC-55x autopilot. The price on the only one on Controller right now is comparable to the P210N but above the Continental powered Malibu.
If you are in the market, an Extra 400 might be fun to test fly and who knows, you might fall in love with it!
Experimental Options
There are a handful of experimental pressurized singles out there. I have not flown any of them, so I can’t be a good resource on recommending them. Here is the list, however.
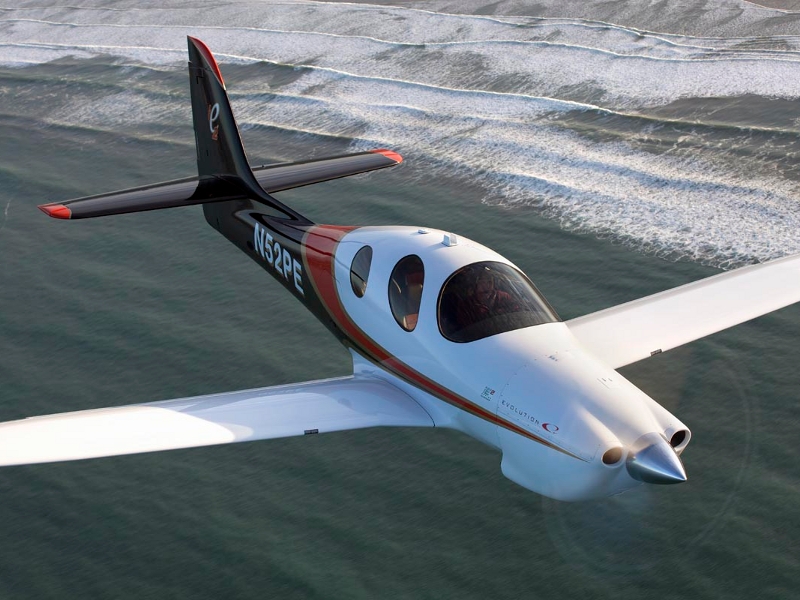
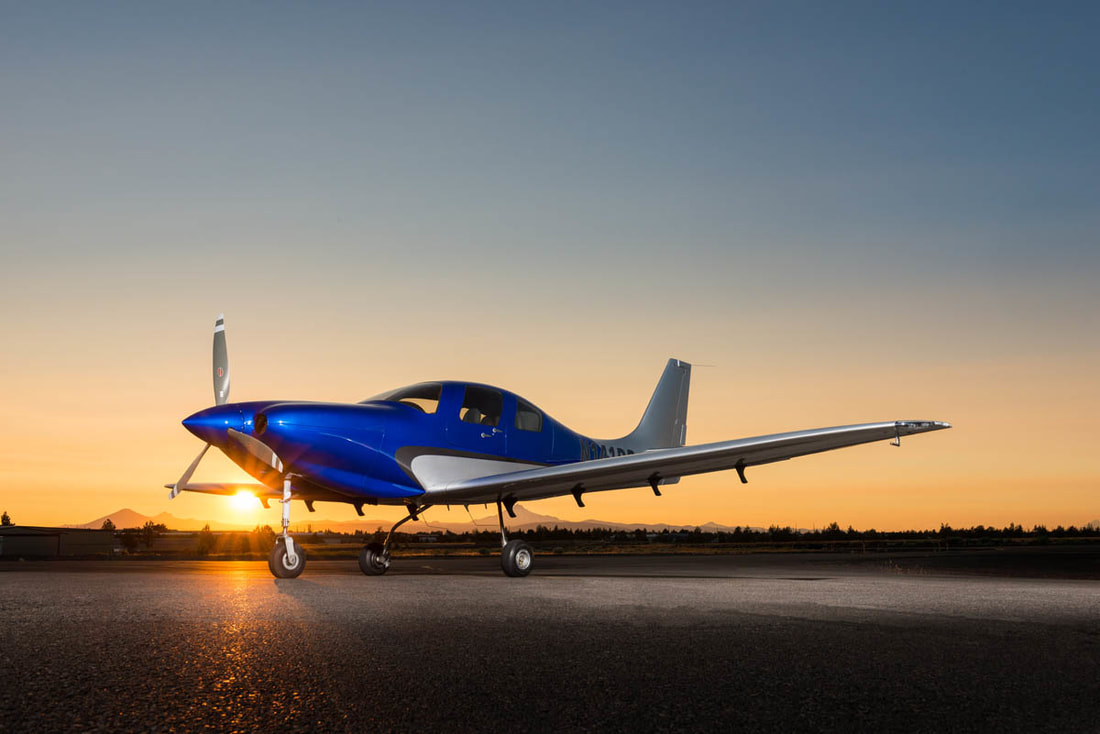
Lancair Evolution Piston
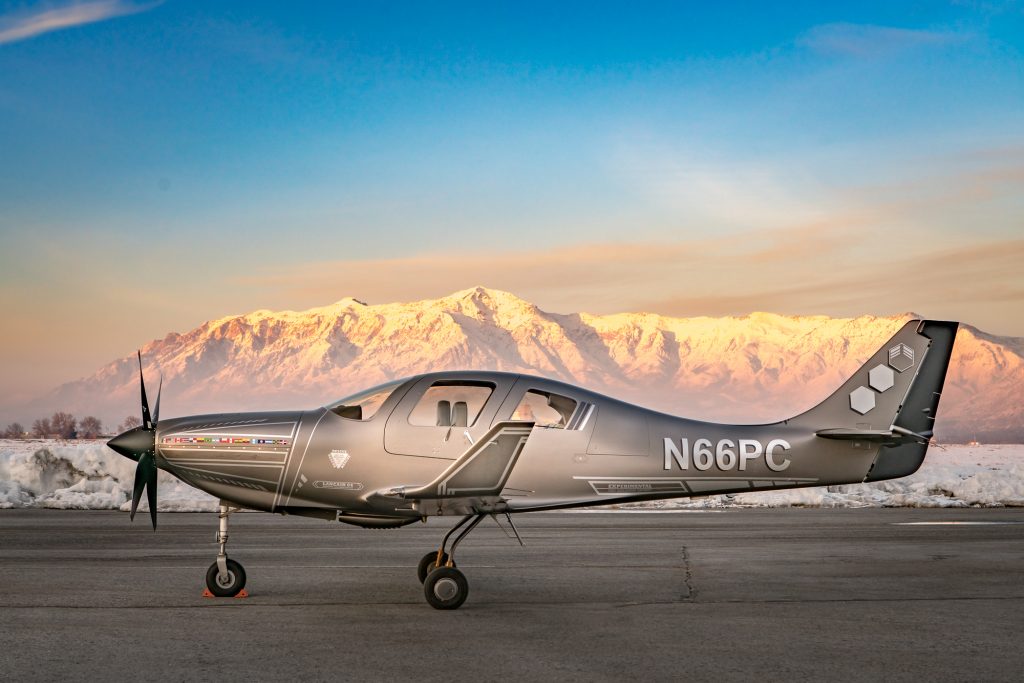
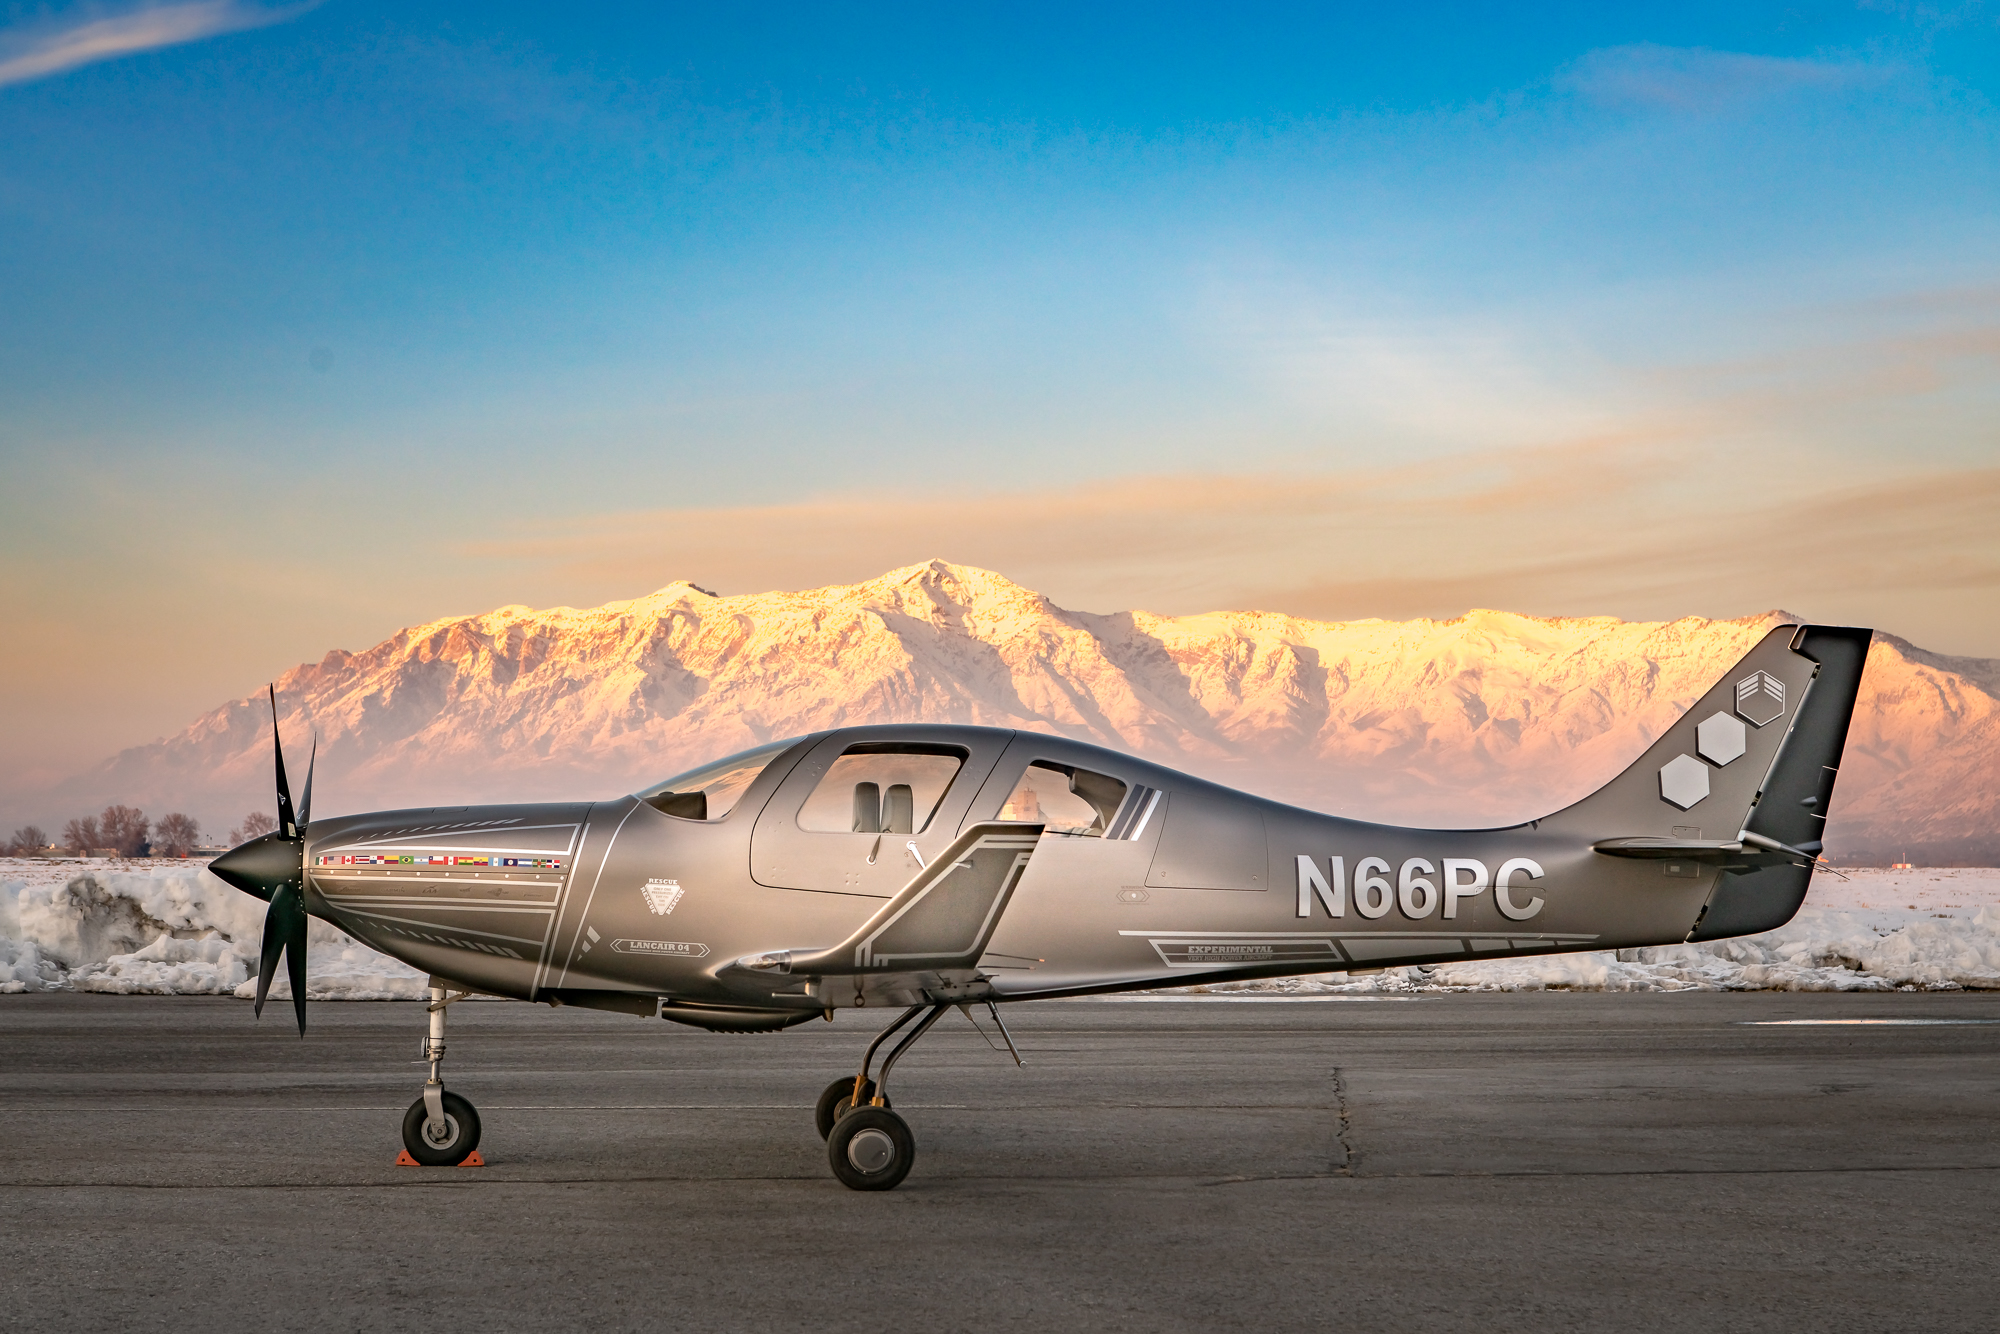
Lancair IV-P
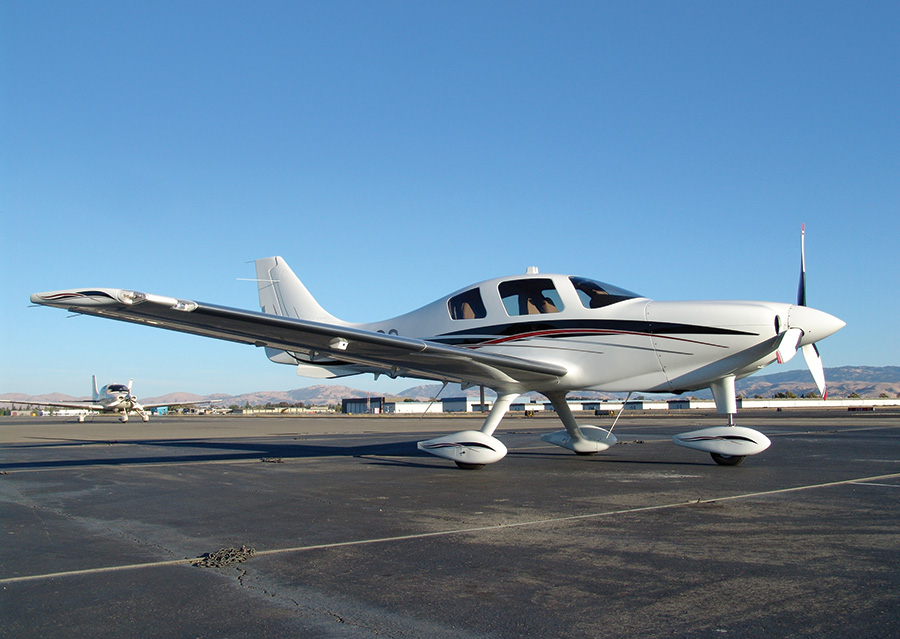
Lancair ES-P
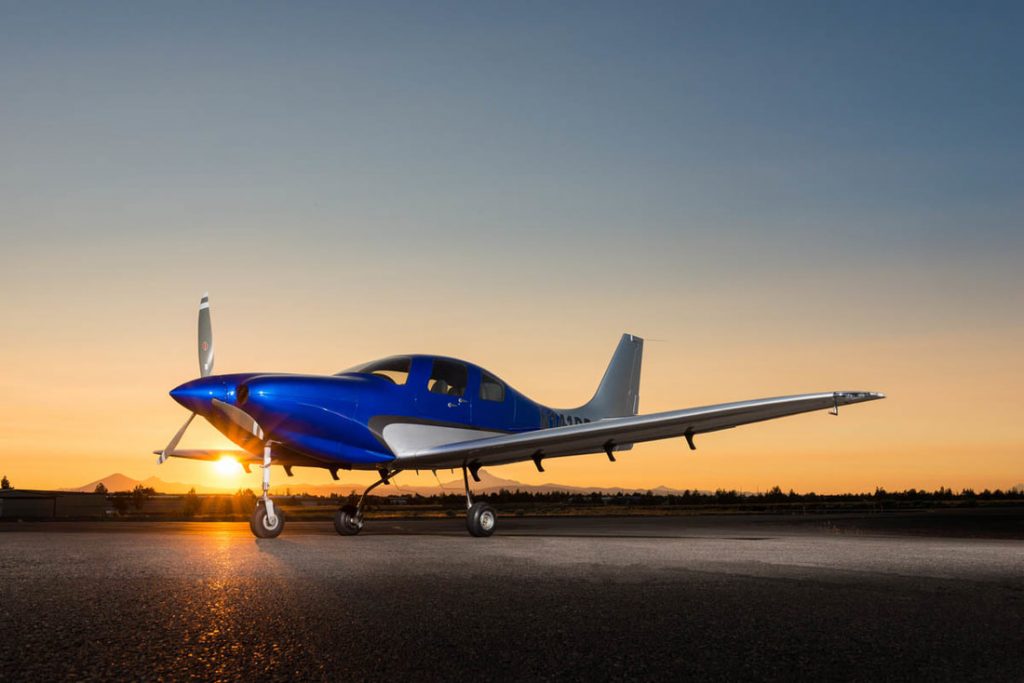
Lancair LX7
As far as availability on the market goes, there are 8 Malibus on Controller (1 1986 model) ranging from $315,000 and down, 24 Mirages ranging from $705,000 (equipped with the Garmin G1000) and down, 25 P210s ranging from $405,000 and down, and 2 Extra EA 400s, priced at $369,000 and down. Check out the available Experimental Lancair options here.
Have you decided to upgrade, but don’t know what to buy or how to buy it? Check out Texas Top Aviation’s Acquisition Services. We’ll get you the best airplane for you, your mission, and your budget. Contact Us today to find out more information.
Are oxygen cannulas rubbing your nostrils raw? Is turbulence giving you back problems? Would you like to be above the bumps, breathing without tubes stuck up your nose or a mask on? Would you like a quiet ride? Sounds like you need pressurization. Need more convincing? What’s that you say? You don’t have a multi-engine…