From the time I started flying, I have always had the dream to learn how to fly a seaplane. As I learned in November, it’s actually learning to land a seaplane, and the veterans call them floatplanes.
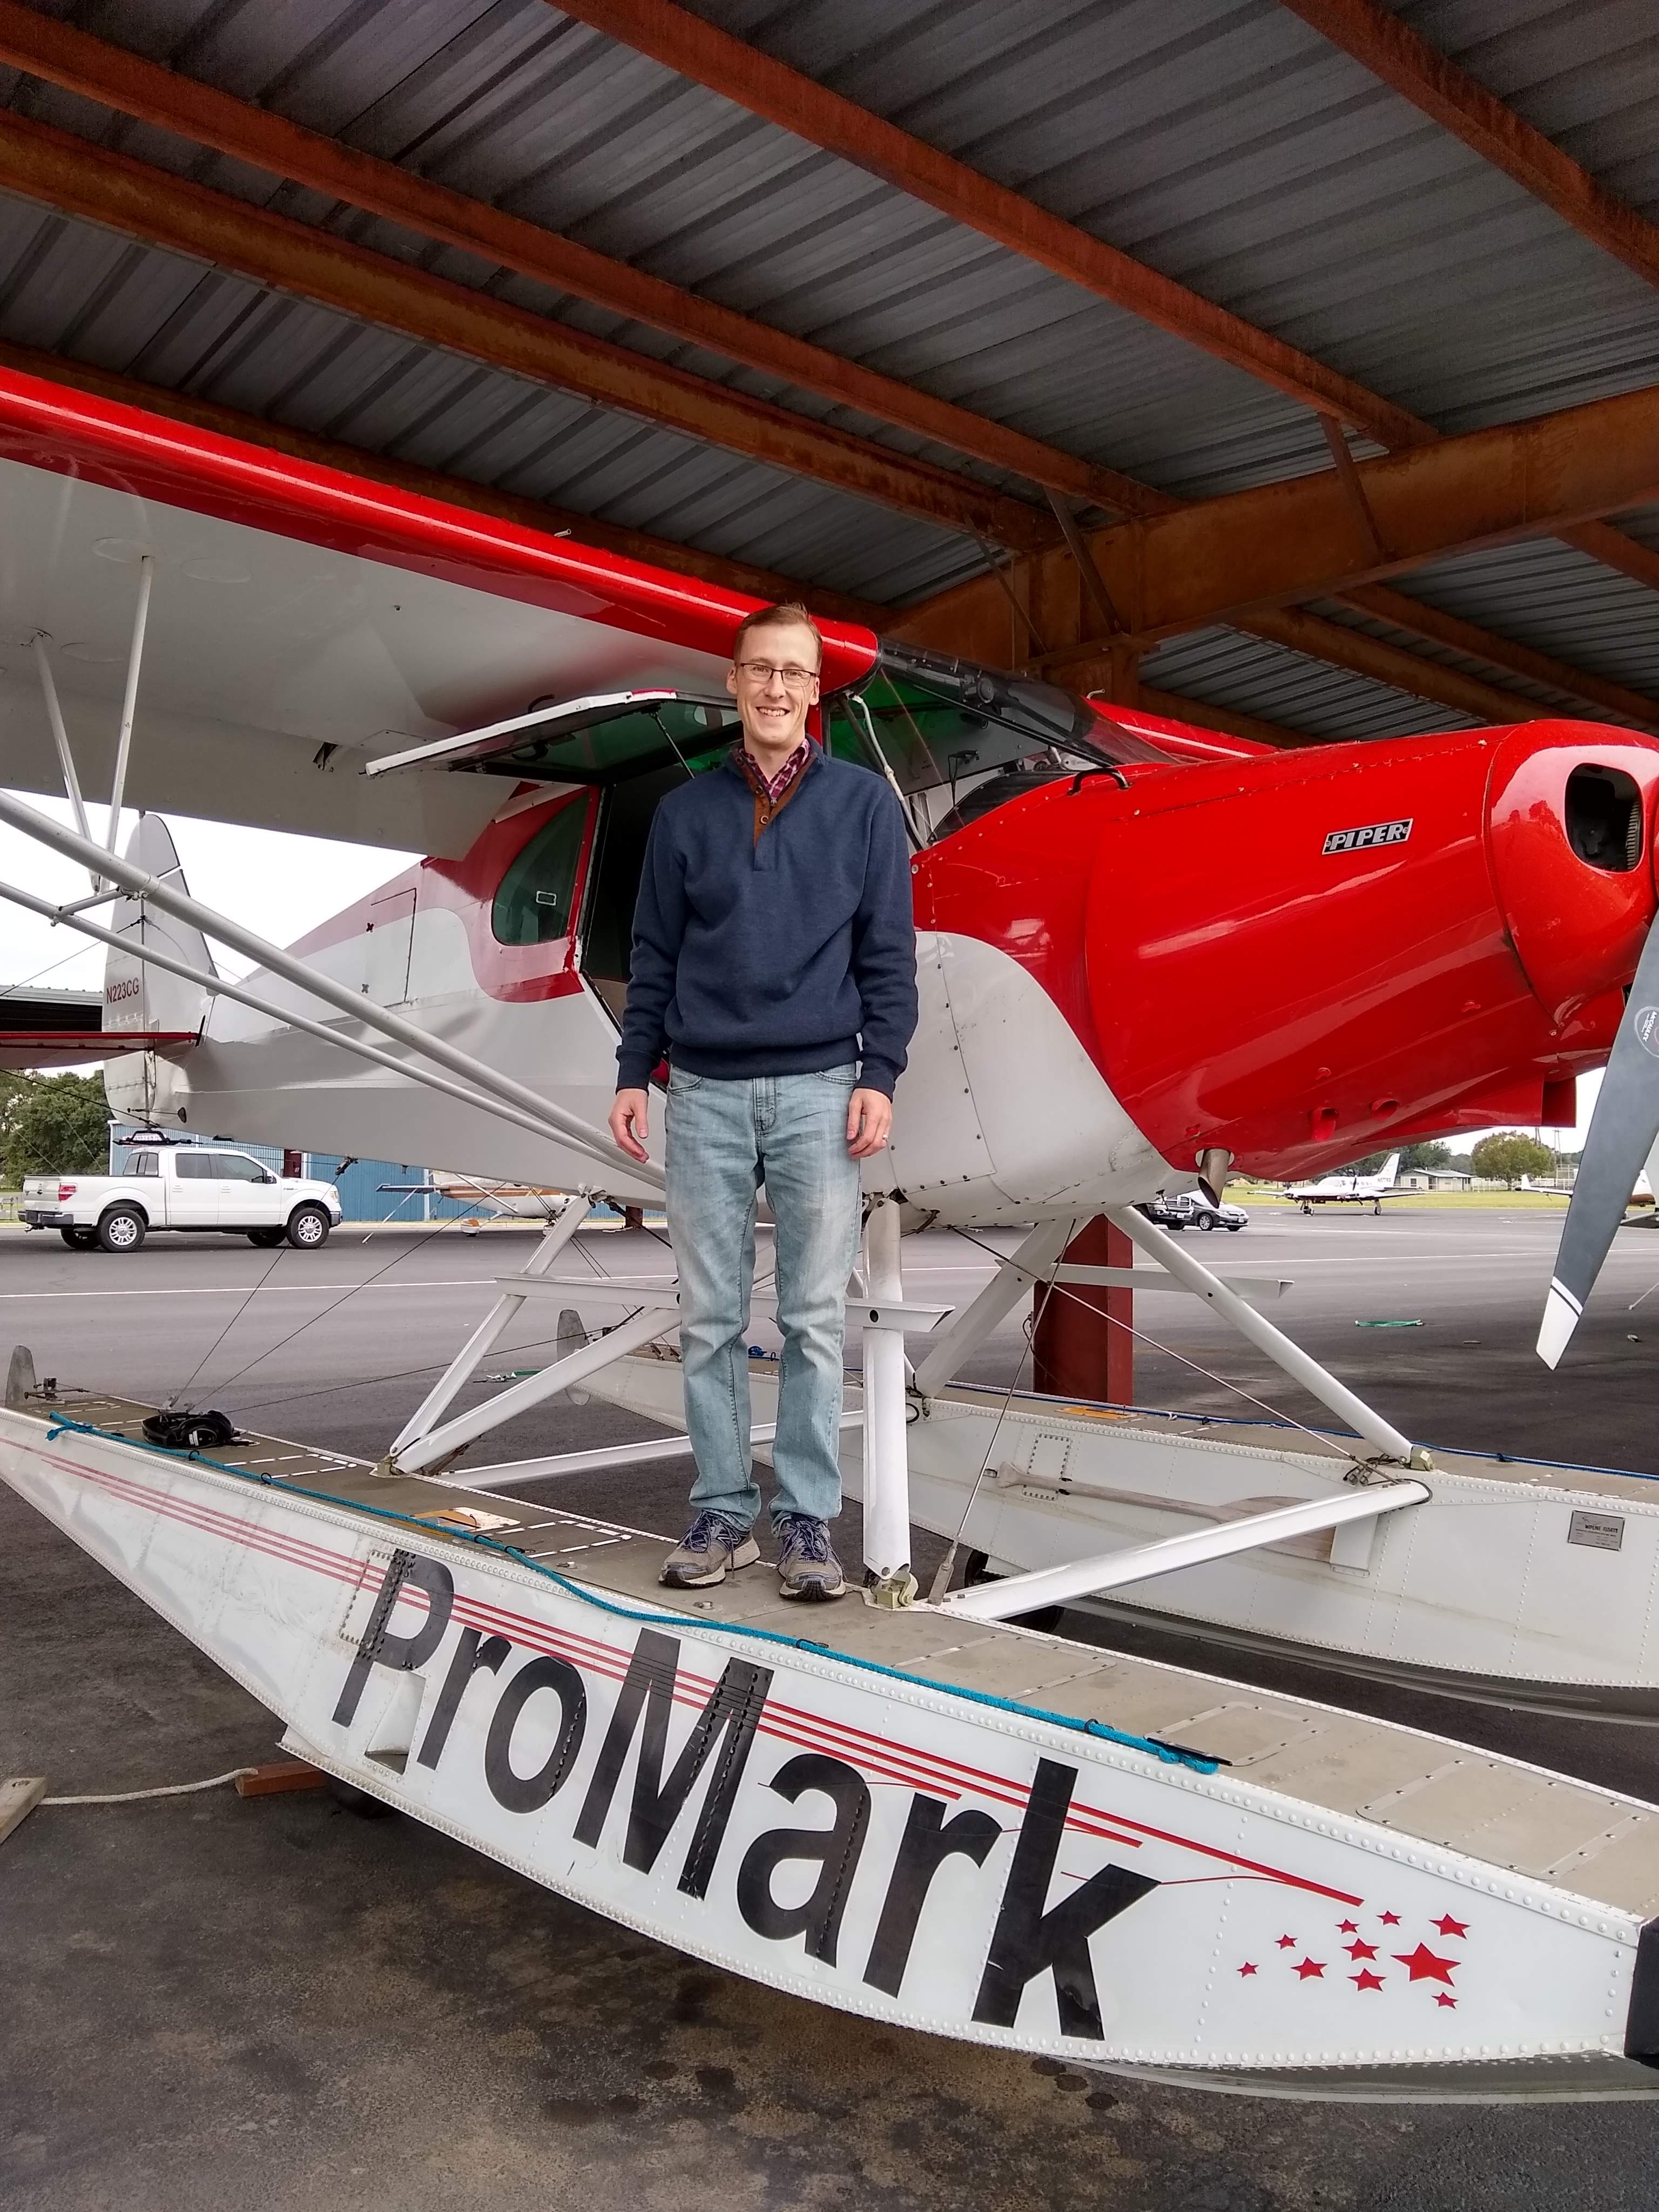
ProMark Aviation at the Burnet Airport (KBMQ) offers a weekend float plane course that is high on fun and low on stress. The school has a Piper PA12 Super Cruiser on amphibious floats (amphibs as I was corrected at one point. I mean, if you’re going to fly a seaplane, er, floatplane, you have to know the lingo) that will land and takeoff on water, but does little else with ease and grace. At 150 HP with those big floats and all the associated rigging hanging underneath the airplane, you are lucky to get to 500 feet before you get to your destination.
We weren’t working on setting any speed records. I was learning the lay of the water. I learned about the step, the keel, pumping the floats, how to read the water, currents, ducks (yes, ducks and birds are important to know about when you are flying low on the water), buoys, docking, and ditching. Step taxiing was fun as you are basically at 3/4 throttle screaming across the top of the water just below flying speed. It’s the best way to taxi a seaplane (truly, it is. You get more air in your engine, you can see better, and you are moving. Just don’t try and turn sharp).
Floatplanes also don’t have any shock absorbers, so the higher the wave, the more you get knocked around, so wind velocity and, in turn, wave height is very important.
A very important nuance of an amphibious floatplane compared to a straight floatplane (one that doesn’t have wheels that come out of the floats), is at one point, you want to make sure your gear is down for landing (runway landing) and at another, you want to make absolutely sure your gear is up for landing (water landing). If you land wheels down in the water, you will capsize, 100% of the time. Thankfully from my good instruction, I did not capsize.
Ken Wittekiend, my instructor, and I spent the majority of the weekend landing and taking off on Lake Buchanan (I was informed by locals it is pronounced “Buk-cannon”, not “Bue-cannon”), which is more open and therefore has more waves. We did one landing on Inks Lake so my kids could see me land, which they thought was the best thing since cheese sticks.
There is a check ride at the end of the training, but, as Ken reassured me, it’s the most fun check ride you’ll ever have. I still hate check rides, but that one I think I hated least of all.
I hope someday I can put my floatplane skills to practice, but for now, I can vouch that I now speak seaplane!
The 2020 Texas Top Aviation Santa Fe Golf Fly In has been re-scheduled due to the COVID-19 pandemic and quarantine. The new date is September 3rd-5th at the Santa Fe Buffalo Thunder Resort and Towa Golf Club.
For more information on the event and to register, please click here.
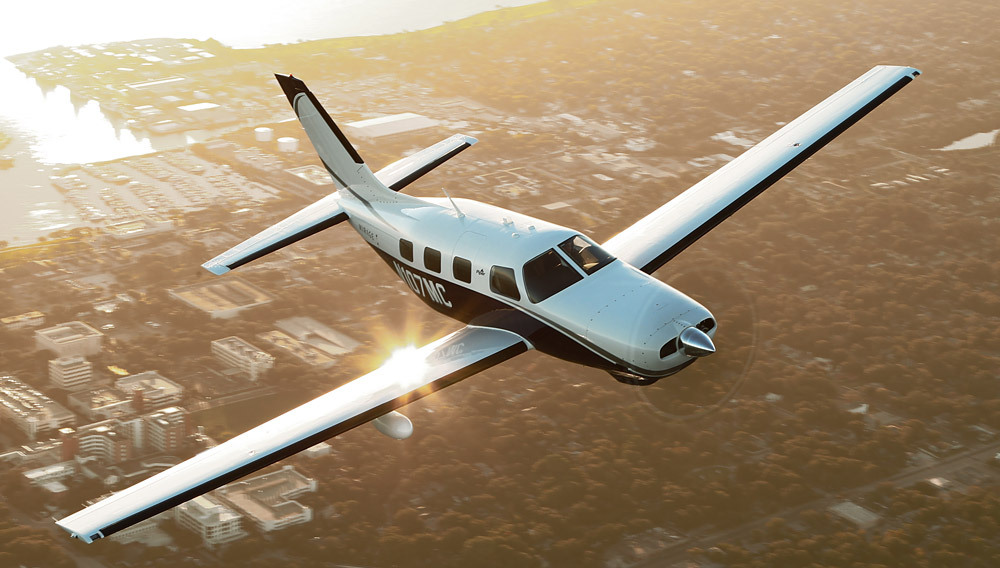
I began flying a Piper Malibu earlier this year. For those of you not familiar with the original PA-46, a Malibu has a Continental TSIO-320 engine, with 310 HP. It’s pressurized and cruises at about 185-200 KTAS.
A few things are introduced to the equation when pilots start flying higher, faster, and farther. When you start flying over longer distances, weather becomes more of an issue. On a quick hop from, say, Austin to Dallas, you can be pretty sure of what the weather will be since it’s a short trip. When you fly from Austin to LA, leave in the morning, land once along the way, and arrive in the afternoon after spending six and a half hours in the air, weather can change a lot in that amount of time.
A must for any pilot flying high and over long distances is some kind of Nexrad system, whether it be a Garmin 696, or it shows up on your GPS or MFD. Having this situation awareness is very helpful when planning ahead as to what to do about weather. A stormscope is also a handy tool, since you can see where the lightning is with it.
Cold fronts can be pretty nasty, depending on how strong and how fast they are moving. A strong, fast moving cold front usually has a lot of convective activity associated with it. The tricky thing with storms associated with fronts is that storms form in lines, most of the time. If you’re trying to cross a front in the morning, you can usually get high enough over the clouds with a pressurized airplane since the temperature is still relatively low to get clear of the cumulonimbus clouds. The cloud tops will only be around ten or twelve thousand feet.
Crossing fronts in the afternoon when daytime heating is pushing the tops of the CBs up to the 20-40 thousand foot range, it’s best to land, have a meal, stretch your legs, and wait till the sun starts to go down before pushing on. Do not, under any circumstances, try and go through the cumulonimbus clouds associated with a cold front in a small airplane. Not only is it uncomfortable (the turbulence bounces you around pretty good), but you’ll get ice, scare the passengers, and, if you’re in the heart of a storm, the plane could come apart.
When crossing mountains, the weather is always highly unpredictable. If it’s a clear day, no matter your altitude, you’ll probably pick up some turbulence from all the rising air off the peaks. If there is moisture in the air, there are going to be isolated to scattered thunderstorms in the summer time. The advantage of flying high when there are isolated or scattered storms is you can utilize the see and avoid method.
See and avoid is simple. When the storms aren’t embedded in other clouds, it’s actually rather easy to spot the big, rising clouds and go around them. The same concept holds true when avoiding those pesky pop up thunderstorms in humid areas like Houston and Florida.
One thing that I learned this summer was this. Sometimes, with an area of closely grouped storms, the cloud base is actually quite high (some storms I went underneath in New Mexico had cloud bases of 15,000 MSL). The thing to do here is just stay below the bases of the clouds and go around the areas of rain. These will be visible and you’ll be able to navigate around them. With bases even as low 9-10 thousand feet, it’s a much better idea to stay below the clouds, sacrifice some speed, and dodge the rain shafts.
The most important concept to take away is don’t fly into a thunderstorm. If there are a bunch of really high clouds in front of you and you don’t see a safe way around them, descend down and land, wait it out, and then continue on your way.
Have you looked longingly at the Aspen PFD or Garmin G500, imagining those beautiful glass panels set in your airplane? Think it’s too advanced for your flying skills? Well, think again! Hank Gibson of Texas Top Aviation will be hosting a seminar at the Redbird Skyport FBO at the San Marcos Airport (KHYI) on Thursday, September 25th at 7pm to enlighten everyone on all the different glass panel and modern GPS options out there.
No panel is too complex! No GPS is too complicated! Come hear about how you can upgrade your steam gauge airplane to a modern, glass panel cockpit that will be the envy of all your pilot buddies.
The seminar begins at 7pm in the large conference room at the Redbird Skyport. Come see this beautiful facility which hosted the AOPA Fly In this past April. There will be two drawings for free flight training in your airplane, so make sure you get your entry in once you arrive. WINGS credit will also be given.
Redbird welcomes pilots flying in for the event. If you are flying in, please show your support for Redbird by purchasing fuel!
Signup is required for the event. To sign up, please click here.
Texas Top Aviation was at the AOPA Regional Fly-In at the San Marcos Regional Airport (KHYI). If you weren’t there, you certainly missed out spending time with 2,500 other airplane and flying enthusiasts!
The day began somewhat gloomy and windy with the threat of rain. Organizers feared that weather would keep a lot of people from coming. Boy, were they wrong!
There were many classic airplanes, many modern and pretty nicely equipped airplanes, and everything in between. There were aviation celebrities, Rod Machado and the Kings of King Schools fame, to name a few. Not to mention the fabulous BBQ!
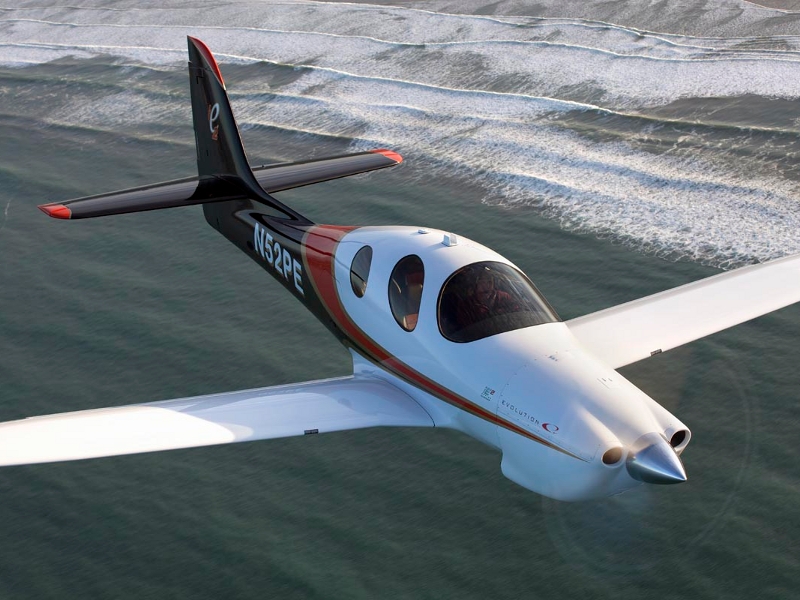
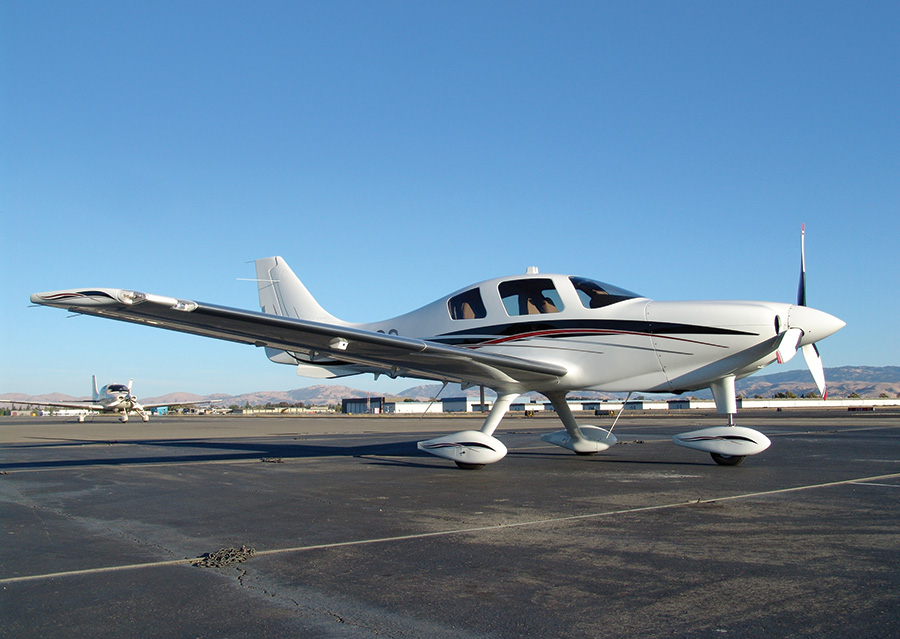
Texas Top Aviation had several drawings for free training and 3 lucky winners. We also had a Lancair Super ES for sale, N132BB (which made the San Marcos Record newspaper!). It definitely stood out with it’s unique paint job. The flames on the tail drew many oohs and aahs.
Departing the San Marcos Airport after the fly in was like battling traffic in Austin at rush hour (though, Austin doesn’t have any air traffic controllers). The San Marcos controllers probably hadn’t seen that much traffic since the airport was an Army Air Base back during WWII. It was quite a sight to see all the exhibitor’s airplanes lined up ready to head skyward.
Thanks to all of you who stopped by the Texas Top Aviation booth! It was a pleasure meeting all of you and we look forward to working with you in the future!
Hank Gibson and Russell Moore of Texas Top Aviation
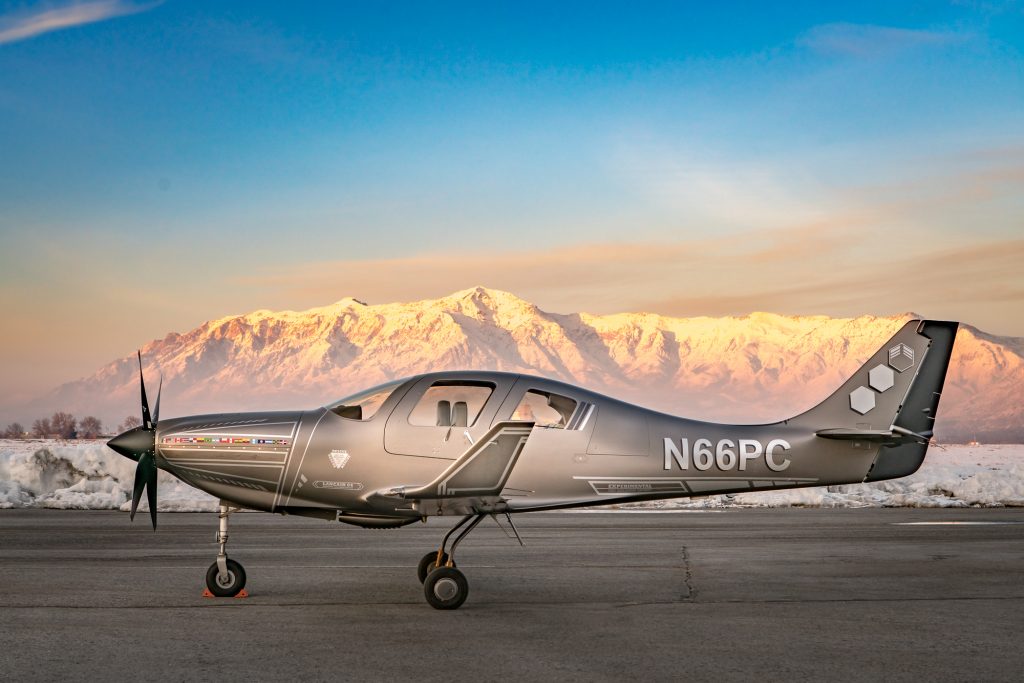
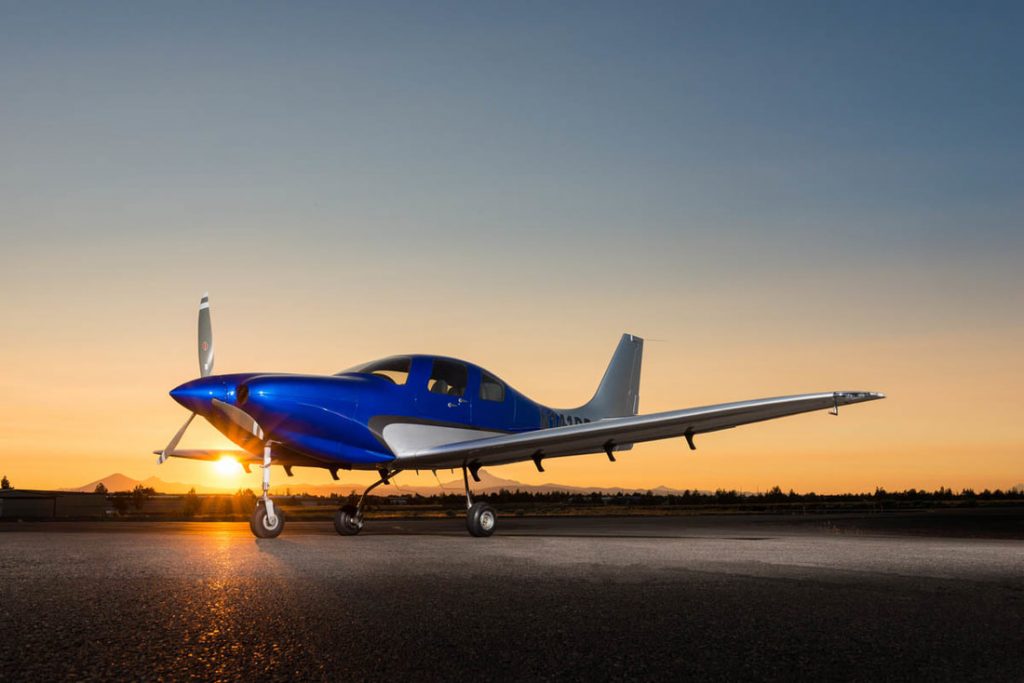
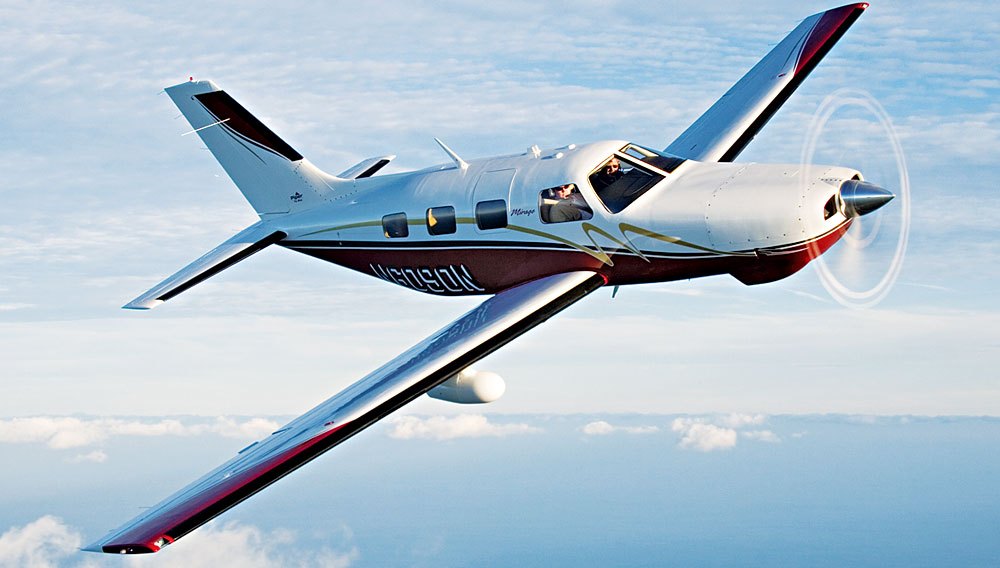
I get to fly a lot of different airplanes in my chosen career. There aren’t many airplanes that I take off in, then say “Wow,” and have a big smile on my face. The RDD LX7 was definitely one of those.
I wrote about the RDD LX7 in the past, bragging about everything I read about it. The blogs all advertised 250 KTAS and 17 GPH and FL250, all of which are eye popping numbers.
Lo and behold, those numbers are true.
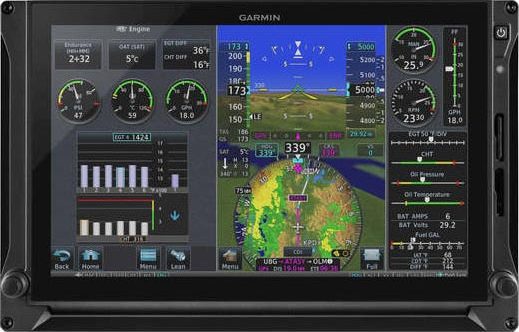
I got to go up to RDD’s Redmond, Oregon facility in April 2021 to get my initial training in the RDD LX7 and I couldn’t wipe the smile off my face. The 3 screen G3X Touch layout is very impressive and not crowded like I thought it would be. Being familiar with the G500TXi, there are some G3X specifics that take a little getting used to, but overall, it’s a good system. The main GPS and number 1 radio is a GTN 750Xi.
We took off from RDM and proceeded to climb at 140 KIAS, which equated to 2,000 FPM. We only had half tanks (which is still 90 gallons of fuel!), but it climbed with no problem. It’s extremely responsive as I learned while doing the basic flight maneuvers. The stall speed of the airplane (the biggest problem with the Lancair 4P, the airframe that the RDD LX7 is derived from, was the terrible wing design and extremely high stall speed), was in the low 60s or high 50s, with the stall being extremely docile.
The airplane handled very similarly to a Columbia 400, but seemed even more responsive. The glide ratio isn’t as good as some, but it’s still better than a Cirrus (plus it still has a BRS system to boot).
The big test was the flight to San Antonio from Redmond to bring the plane home. The new owner and I departed RDM with the tanks full of Avgas (180 gallons), then got up to a cruise altitude of FL210. After setting power and leaning, the numbers came out true to spec: 252 KTAS, 17.5 GPH.
The greatest part? We stopped in Santa Fe to stretch our legs and we didn’t need fuel. We still had 100 gallons left! That left us plenty to get to San Antonio with 40-50 gallons left over. Another RDD LX7 owner flew his piston direct from Redmond, OR to Jacksonville, FL, non-stop. It was over 9 hours. That’s impressive.
You can’t beat the purchase price, either. A new Cirrus SR22T runs a little north of $1.2m. A piston engine LX7, that is pressurized, 70 KTAS faster with a much longer range, and still has a BRS, is between $850,000-$900,000. An LX7 starts to make a whole lot of sense when you weigh all that. There is also a PT6 option with several different sizes and horsepowers to choose from, which costs more, but you see 300 KTAS.
To learn more about the RDD LX7, check out the company’s website: RDD LX7.
One evening this summer, my wife and I were flying down the southern shore of Long Island in my father’s E33 Bonanza. We enjoyed the sunset as we flew westbound and our plan was to fly the New York Hudson corridor, where we would arrive just after dark. As we approached New York’s airspace, two voices in my head started having a debate.
The first voice said: “You should turn on your landing light when you get to New York to make the airplane more visible.”
The other voice said: “That’s true, but I bet you’ll burn the landing light out”
Well, as it turned out, both voices were right. My landing light fired right up when I needed it to fly the Hudson, but when it came time to land back home I had no such luck. Unfortunately, this was not the first time that I had been given the chance to practice my blackout landings. This Bonanza model has only one landing/ taxi light which is mounted in the lower cowling behind the propeller. This location is less than ideal because the filament in the bulb is fragile and can be damaged by engine vibration.
We landed uneventfully and after putting the airplane away, I decided it was time to look into upgrading the lighting to something a little more modern. I was unsure of my options, but seeing as the airplane needed a replacement bulb regardless, it seemed like a good opportunity to make a change.
After doing a little reading, I learned that HID or LED landing lights would be the best solution to my problem. I was familiar with LED aircraft lights, but had never heard of HID before.
Here is what I learned:
HID Landing Lights
HID, or High Intensity Discharge landing lights, create light by arcing electricity through a sealed gas capsule. They are brighter than LED and traditional incandescent, and the light created more closely resembles the look and feel of sunlight. HID installations require a ballast to carefully regulate the flow of electricity to the gas capsule and also require a “warm up” period after being turned on in order to reach their full brightness.
Fitting an aircraft with HID landing lights tends to be more expensive and time consuming than installing an LED light and would likely require involvement by an A&P/ IA. However, if you want the brightest light available, HID is probably the best bet.
Pros
Brighter, more natural looking light
Draws less power than standard bulbs
Long bulb life
Does not generate much heat
Cons
More expensive than other lighting options
Lights must “warm up” after being turned on
Cannot be pulsed easily
Cost/complexity of installations
LED Landing Lights
LED, or Light Emitting Diode landing lights, have no filament and work by moving electricity through diodes which are connected into a circuit. These lights have become very popular for many uses due to their simplicity, low cost, and brightness.
While not as bright as HID light, the LED lights require no “warm up period” and can be easily pulsed. LED lights draw much less power from the aircraft’s electrical system than traditional bulbs and boast incredible life length. LED bulb installation is very simple and can often serve as a direct replacement for the original lights.
Pros
Instant light (no warm up)
Incredible life length (>5,000 hours)
Low Cost
Simplicity of installation
Can be pulsed easily
Low power draw
Cons
Not as bright as HID lighting
After weighing the options, I decided to replace the incandescent bulb in the Bonanza with an LED bulb. I read the reviews online and talked to some of my friends who work in aviation and eventually decided on the Lycoming Alphabeam. The Alphabeam is FAA/PMA approved and is available through Aircraft Spruce and other aviation parts vendors. The bulb cost around 250-300 dollars and I was able to install it as a direct replacement for our old light. All I had to do was take the old one out, put the new one in, and make a logbook entry.
Below are some pictures of the installation:
After removing the old bulb, I double checked the information on the back to be sure I ordered the correct LED replacement.
You can see that the bulb is a 13V, 250W landing light, #4313.
The new light mounted easily into the existing bracket with no modification.
After mounting the new bulb, I reconnected the wiring and installed the bracket back into the nose bowl.
It works!
Last weekend I finally had an opportunity to take the airplane out after dark and see how the new light compared to the old one. I am pleased to say that it did a wonderful job and exceeded my expectations.
If you are interested in seeing a side by side comparison of the different lighting options, a quick Google search should provide what you are looking for. In my own experience, I would say that the LED light was brighter than the old light and did a very good job illuminating the taxiway and runway. It was extremely nice not to be concerned that my light wouldn’t work as I was setting up for landing at an unfamiliar field after dark. I also enjoyed feeling that I had the option to leave it on during climb and cruise in order to increase my visibility to other aircraft.
Many models of aircraft have multiple landing/ taxi lights installed which greatly reduces the likelihood of having to land without one. In our case, spending the extra money to upgrade to the LED bulb made sense because of the desire for increased reliability. If you are looking for a relatively inexpensive way to upgrade your airplane, LED or HID lighting may be something to consider.
Andrew Robinson is a 135 Charter Pilot and flight instructor who lives with his wife and 2 daughters in Pennsylvania. He flies Pilatus PC-12s and instructs in Beechcraft Bonanzas.