The Anatomy of a Hot Start

Are you one of those pilots who hates fuel stops simply for the fact that the engine doesn’t have time to cool off?  You pump gas into the plane, hit the bathroom, get in the plane and the oil temperature is still up at 160-170 degrees, leading you to have to figure out how to get the plane going again with a hot engine.  For those without proper training, this usually means a lot of jockeying around with the throttle, mixture, and fuel pump to try and get the thing started without flooding it.  After coughing and wheezing several times, the engine finally comes to life, leaving you to only guess what worked and without the knowledge of how to duplicate it.

Hot Start 2

Let’s take a step back for a minute to see what is actually happening with a hot engine.  Once the engine is shut off, the fuel in the lines leading from the tank to the engine is vaporized, meaning there is more air in the fuel lines than liquid fuel.  In the engine block itself, there is still liquid fuel in the injectors, but only enough for the engine to cough then quit if started.

When a normal priming and starting procedure is performed, too much fuel is forced into the cylinders and the engine becomes flooded.  A flooded engine just means that the stoichiometric ratio is way too rich, meaning there is too much fuel and not enough air.  The prime does the trick of getting the fuel vapor out of the fuel lines, but it shoves too much fuel into the cylinders.  Once the engine is flooded, it’s a waiting game to allow air into the engine to get the mixture right.  All Lycoming powered high performance and turbo charged engines are notoriously easy to flood when hot.

So, what’s the solution?  By taking a step back to see what is actually happening, you can attack the problem from the source, which is the fuel lines.  You need to get the vapor out of the fuel lines and get some liquid fuel in there.  The procedure for this varies based on the make and model of engine, but I’m going to use the example of the Continental IO-550-N that is in a Cirrus SR22.  I found this procedure in the Continental Engine Manual and it works every time.

(Pilots of other airplanes, keep reading.  I have sections below for PA46s, Columbias, and Bonanzas as well )

  • Mixture:  Full Lean (this allows fuel in the fuel lines, but prevents it from going past the mixture control into the engine, sending all fuel back to the fuel tank; a small amount of fuel leaks past the mixture control providing prime for the engine)
  • Throttle:  Idle
  • Low Boost Pump:  Run for 30-60 seconds (see note below)  (15 seconds in the Turbo Cirrus)
  • Mixture:  Full Rich
  • Throttle:  Open about 1/4 travel (not 1/4″, that won’t be enough)
  • Boost Pump:  Off, but have your finger on Low Boost
  • Starter:  Crank (engine will turn over a few more times before firing, this is normal)
  • At the first indication of start, turn the Low Boost on, increase the throttle to ensure the engine catches,  then adjust the throttle for 1,000 RPM
    • The engine will fire right about the time you start thinking it isn’t going to work

A few notes regarding engine temperatures:

  • If the oil temperature is above 150 degrees, a hot start will be required.  If oil temp is close to 200 degrees, run low boost for 60 seconds in a non-turbo.  If oil temp is 175, run low boost for 45 seconds in a non-turbo.  If oil temp is 150, run low boost for 30 seconds in a non-turbo.  Use 15 seconds for all temps above 150 in a Cirrus Turbo.
  • If the oil temperature is between 125-150, skip the hot start procedure, don’t prime the engine, leave the boost pump off, and crank the engine, then boost pump on when it starts and slightly increase throttle to make sure the engine catches
  • If the oil temperature is between 100-125, skip the hot start, don’t prime the engine, and perform a normal start with the boost pump on
  • If the oil temperature is below 100, perform a normal prime and start

Piper Malibu (PA46-310P with Continental Engine)

  • Mixture:  Full Lean (this allows fuel in the fuel lines, but prevents it from going past the mixture control into the engine, sending all fuel back to the fuel tank; a small amount of fuel leaks past the mixture control providing prime for the engine)
  • Throttle:  Idle
  • Low Boost Pump:  Run for 15-30 seconds depending on oil temperature…
    • Greater than 150 degrees: 30 seconds
    • Less than 125-150 degrees:  15 seconds
    • Less than 100-125 degrees, no need to run the Low Boost
    • Perform normal cold start below 100 degrees
  • Mixture:  Full Rich
  • Throttle:  Open about 1/4 travel (not 1/4″, that won’t be enough)
  • Boost Pump:  Off, but have your finger on the Primer Button
  • Magnetos:  On
  • Starter:  Crank (engine will turn over a few more times before firing, this is normal)
  • Engine should fire with the Low Boost Pump off, but…
    • If the engine starts to die, simultaneously increase the throttle a little bit and hit the primer button.
    • Only tap the primer button, don’t hold it as you’ll flood the engine if you hold it At the first indication of start, turn the Low Boost on, increase the throttle to ensure the engine catches,  then adjust the throttle for 1,000 RPM

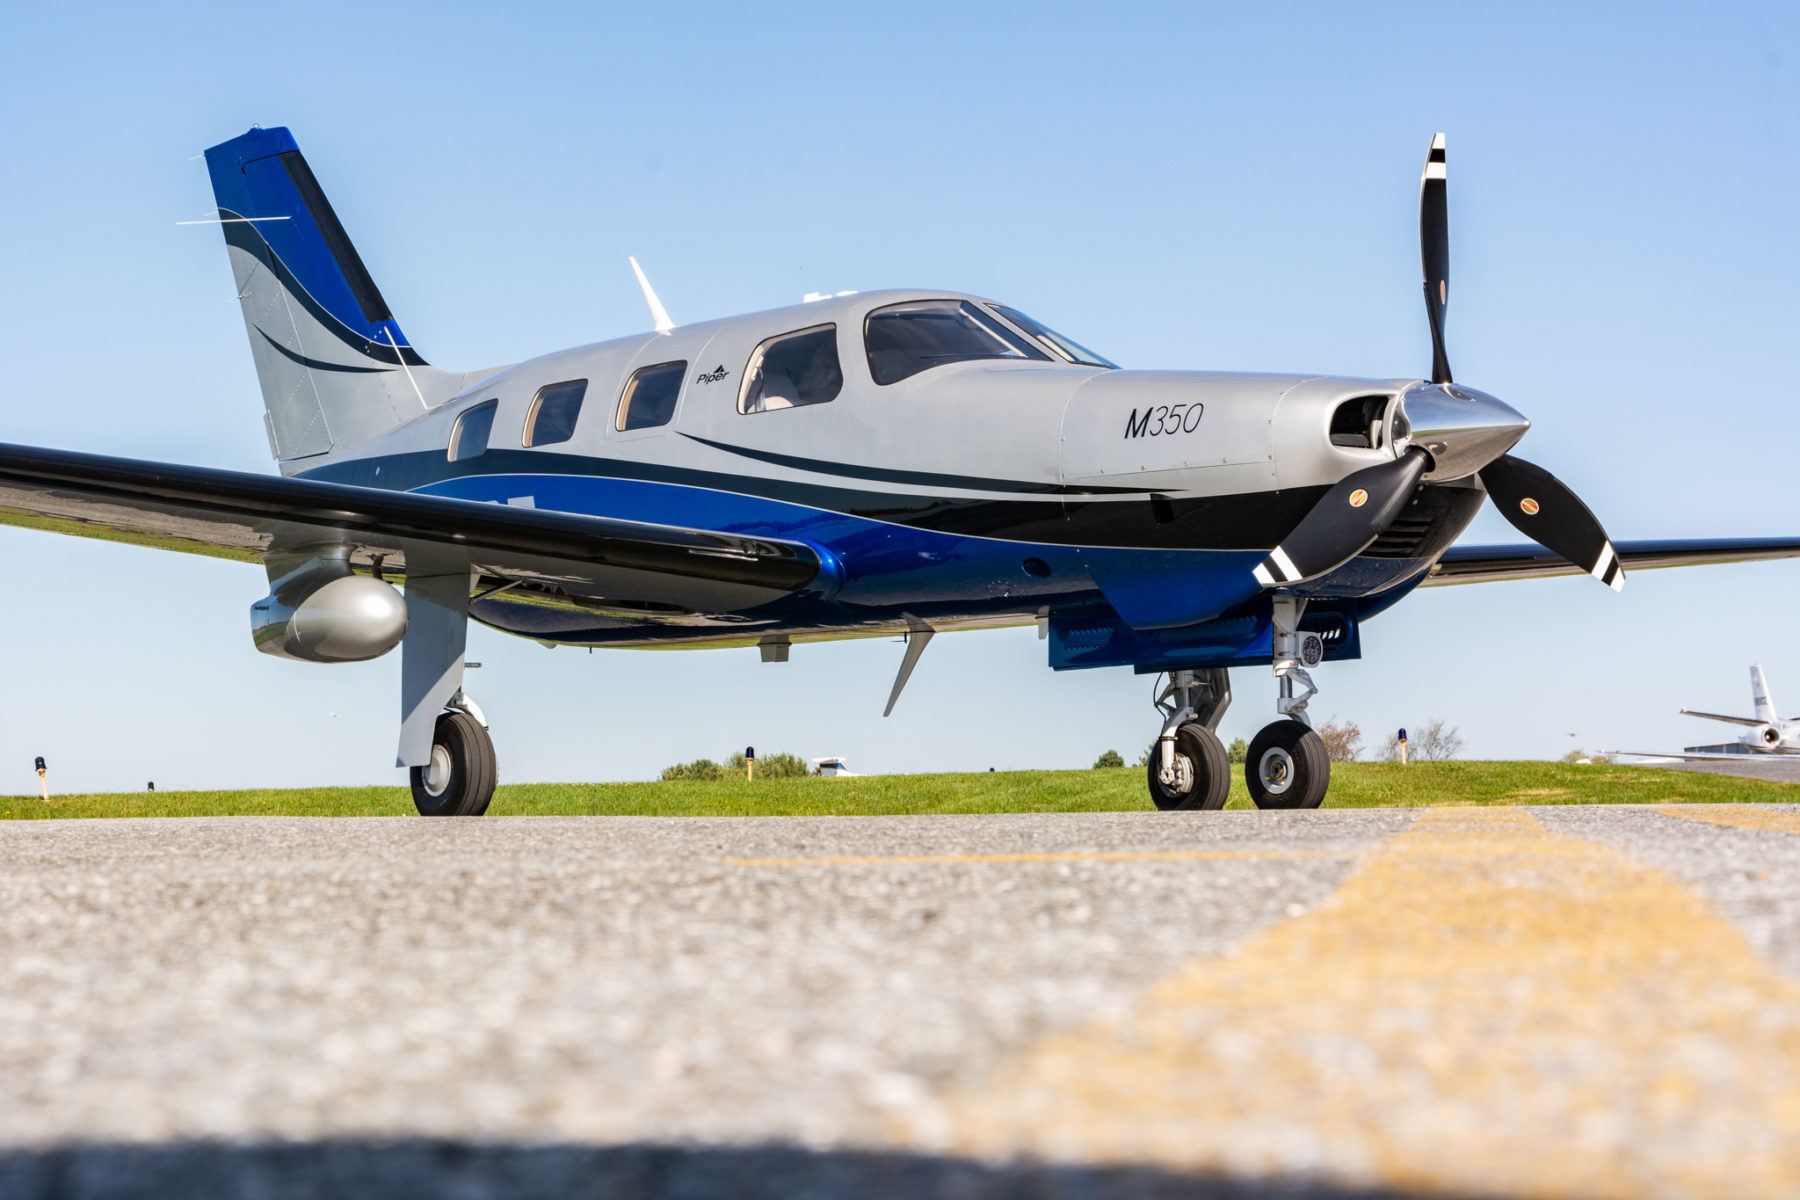
Piper Mirage & Matrix (PA46-350P and PA46-350T with Lycoming Engine)
  • Leave throttle and mixture idle
    • Before you turn the battery on, ensure the mixture is idle cutoff
    • If the mixture is forward and the battery is on, the low boost pump in the fuel tank will start pumping fuel to the engine and quickly flood it
  • Ensure Magneto switches are on
  • Open throttle 1/4 travel (not 1/4″ as this won’t be enough)
  • Crank
  • As soon as the engine begins coughing and wheezing (and this is what it will sound like), push the mixture 3/4 of the way forward
  • Once the engine has a good solid fire, smoothly and swiftly push the mixture all the way forward
  • Reduce throttle
  • Note:  The Emergency Boost Pump can be used as part of the hot start technique, but I usually leave it off.
    • Pro to the Emergency Boost Pump is it can help suck more fuel in and purge vapor during the start
    • Con is that if the engine doesn’t start on the first try, you are flooding your motor

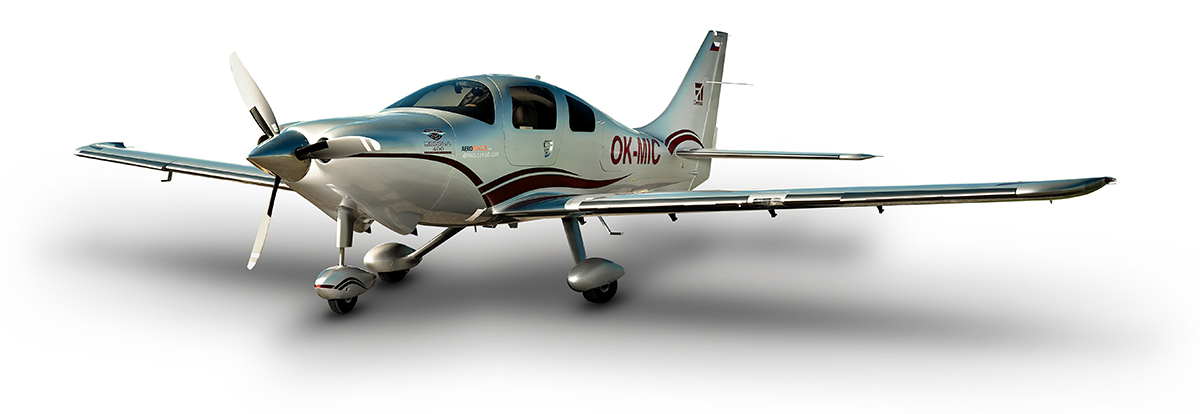
Columbia 400
  • Throttle and Mixture Idle Cutoff
  • Vapor Suppression:  Run for 30-60 seconds.  Reference above temperatures on the non-turbo Cirrus for run times
  • Mixture full forward
  • Throttle 1″ in
  • Prime for 3 seconds, then off
  • Crank
  • Once engine fires, primer might need to be pushed momentarily to purge excess vapor
    • On Columbia 350s, the throttle should be twisted (or pushed depending on if it’s an Avidyne or Garmin Columbia) in while cranking
    • Be prepared to reduce power once engine fires

Beechcraft 36 Bonanza

  • Throttle and Mixture Idle Cutoff
  • Low Boost:  Run for 30-60 seconds.  Reference above temperatures on the non-turbo Cirrus for run times
  • Mixture full forward
  • Throttle open 1″
  • High Boost until fuel flow peaks, then off
  • Crank
  • Once engine fires, Low Boost might need to be engaged momentarily to purge excess vapor

There are other “procedures” for hot starting out there, but most of them involve starting with full throttle, which can lead to the airplane shooting ahead on a ramp or taxi way if the brakes aren’t properly set.  This can lead to high repair costs, so always be cautious.  Figuring out what is happening when the engine is hot will give you a better chance of getting it started right away.

Similar Posts

  • Flight Service Station

    When is the last time you talked to the Flight Service Station?

    Believe it or not, FSS is still in existence.  Over the past 10 years, they went from FAA run, the being bought by Lockheed Martin, to now being privately run by a company called Leidos. 1-800-WX Brief will get you connected with a weather briefer, but you’ll hear “Leidos Flight Service Station” now when the briefer picks up.

    Since the advent of Foreflight, most pilots these days get their weather briefings digitally on the iPad. Foreflight has come a long way since it’s inception.  The briefing part of their Flights page is quite comprehensive, with lots of information, and counts as a legal weather briefing (which pilots are still required to get before a flight).

    Why does a pilot even need to call Flight Service?  Well, when’s the last time you tried to interpret everything the Briefing on Foreflight told you?  As I said before, it’s a lot of information and a lot of it can be confusing.  Pilots are not fully trained on interpreting Prog Charts and getting an overall weather picture for a flight.  A weather briefer is.

    I have over 5,000 hours and I still call a weather briefer before almost every flight.  On the way to the airport is a great opportunity to get a weather briefing.  I get a great picture of what’s going on in my area or over my route, frontal movement, bad weather areas, and whether or not it’s a good idea to even take off. Calling in the car alleviates the main complaint I hear about calling the Flight Service Station, which is it’s inconvenient and causes a delay since you have to call them on the phone.

    I don’t do much private pilot training anymore, but when I do, I always teach my students how to get a weather briefing from the Flight Service Station.  I’ll show them how to get the briefing on Foreflight too, but usually their eyes bug out of their heads when they start trying to read everything.  A breathe of relief is released when I tell them there is a trained professional just a phone call away who can clear everything up.

    The other thing that the Flight Service Station provides that is important to a lot of folks are PIREPs.  It’s vital in sketchy weather areas for the FSS to get a report of what’s actually going on in the air.  This helps other pilots out greatly as they are getting information about icing, cloud bases and tops, turbulence and a myriad of other things from airplanes who are actually in the conditions.

    Finally, the most used portion of the Flight Service Station is the Clearance Delivery line (888-766-8267). At airports without a tower or a clearance delivery frequency, with IFR conditions present, the only way to get your IFR clearance is to call Clearance Delivery.  Yes, it can take a little time sometimes, but you will get a clearance every time, unlike taking off and trying to dodge the clouds without hitting anything, while trying to call Center on the radio (which isn’t safe or legal).

    Been a while since you’ve talked to the Flight Service Station?  Give them a call, either on the phone or on the radio.  Odds are, they are bored and just wanting someone to talk to, just like you are on that long cross country flight!

    Checkout 1800WXBrief.com to see all the cool stuff the Flight Service Station does.

    When is the last time you talked to the Flight Service Station? Believe it or not, FSS is still in existence.  Over the past 10 years, they went from FAA run, the being bought by Lockheed Martin, to now being privately run by a company called Leidos. 1-800-WX Brief will get you connected with a…

  • Diamond DA50 RG

    Diamond Aircraft announced in June that the company is going to bring it’s Diamond DA50 RG to market. The company expects European certification in early 2021 and FAA certification toward the end of 2021.

    This is not the first iteration of the Diamond DA50, but it is the first with retractable gear. Diamond is known for it’s use of Jet A burning piston engines and you can’t beat the efficiency. The technology in the Continental CD-300 Jet A piston engine is new, but it has been in development for a long time. Diamond advertises 180 knots on only 9 GPH, which is just about as efficient as you can get with a single engine piston.

    The addition of the retractable gear from previous iterations of the Diamond DA50 RG is a nice touch. Diamond already had the RG technology from the DA42 Twin Star as well as the more powerful cross country machine, the DA62. Equipping the single engine Diamond DA50 RG with retractable gear just makes sense. It definitely puts the airplane in a class of it’s own.

    Diamond’s website shows a nice roomy cabin in the DA50 RG with plenty of space to spread out, plus plenty of baggage. The fuel tanks only hold 50 gallons of Jet A (which still gives a 4 hour + range with an hour reserve at 9 GPH), so the payload, even with full fuel, is an eye popping 897 lbs, though Diamond’s site does not mention if that includes TKS, air conditioning, and oxygen. If it does, then compare that to a fully fueled Cirrus SR22T (which would give an equal speed) at 537 lbs and the Diamond DA50 RG has an argument.

    As with all new airplanes these days, the Diamond DA50 RG has the Garmin G1000 NXi complete with keypad and the GFC 700 autopilot with yaw damper. The interior has a 3 person bench seat for the back seat, which, at least to the naked eye, appears that it might actually fit 3 adults, albeit small ones. Diamond’s signature stick in the middle of the seat is still present for the front seats, but the right seat stick in the Diamond DA50 RG is removable for passenger comfort, a nice touch.

    The single engine piston market is a hard one to break in to since Cirrus has such a leg up on the competition. However, with a Jet A burning engine, a higher payload, and a roomier cabin, the Diamond DA50 RG might actually be able to make an impact. Look for this bird at Sun N Fun and Osh Kosh in 2021.

    Diamond Aircraft announced in June that the company is going to bring it’s Diamond DA50 RG to market. The company expects European certification in early 2021 and FAA certification toward the end of 2021. This is not the first iteration of the Diamond DA50, but it is the first with retractable gear. Diamond is known…

  • Simplified Instrument Approach Briefing

    In instrument flying, I am all about keeping things simple.  There is a ton of detail that an instrument pilot can get bogged down in.  When an instrument pilot gets bogged down, he gets distracted from flying the airplane.  When he gets distracted from flying the airplane, dangerous circumstances can happen.

    I like to keep things simple.  When I first started instructing, I developed a very simple instrument approach briefing that captures everything that is necessary on an approach plate, but prevents getting bogged down in the details.

    I call it the BBC instrument approach briefing.  Here it is:

    Brief

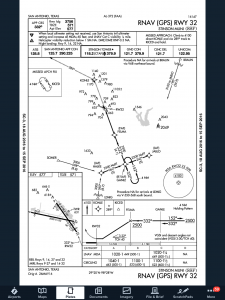
    rnav-32-kssfFirst things first.  The first step of an instrument approach briefing is to brief the approach plate.  There are a bunch of acronyms out there that instructors tell their students to memorize that only cause confusion instead of helping get the plate briefed.  To keep it simple, just work your way across the plate and you’ll get all the information you need.
    Start in the top left hand corner of the plate, with the approach course, then work your way right and down, as follows:

    • Approach Course (or Nav frequency if flying a VOR/ILS/LOC)
    • Runway information
    • Notes (these are good to brief the night before as a lot are irrelevant to GA pilots
    • Missed approach
    • Frequencies
    • Planview and MSA
    • Profile View and Minimums

    Simple enough, right?

    Build

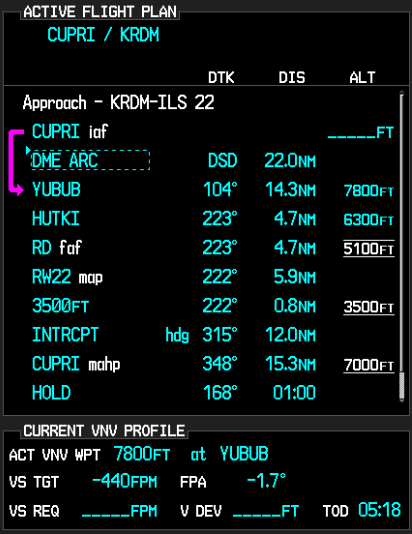
    Now that you know what you are planning on doing, you can now take the second step in the instrument approach briefing and build the approach in your GPS.  You know your approach type, you know your transition, and you know what your minimums are.  Taking all that information, you can now build it in to your system.

    Checklists

    Once everything else is done, don’t forget the checklists.  The descent and before landing checklists still need to be done as part of an approach.  The best time to do these is before joining the approach so that you don’t have to worry about flying the approach and looking at a checklist at the same time.  Even better, memorize the checklist and you don’t have to look at anything!

    Most importantly, you want to be configured properly for the approach by the final approach fix.  Gear, flaps set, power set, so all you have to worry about at that point is following the needles and trusting your instruments.

    ifr-cartoon

    In instrument flying, I am all about keeping things simple.  There is a ton of detail that an instrument pilot can get bogged down in.  When an instrument pilot gets bogged down, he gets distracted from flying the airplane.  When he gets distracted from flying the airplane, dangerous circumstances can happen. I like to keep…

  • Garmin VNV

    The Garmin G1000/Perspective combined with the Garmin GFC 700 Autopilot can be a great tool in descent planning.  When you want to end up at pattern altitude a certain distance from the airport or you get a clearance to cross a fix at a certain altitude, Garmin VNV is a great tool.  Here’s how to use it.

    VFR Garmin VNV Use

    Let’s say you want to end up at pattern altitude 3nm from your destination, but you don’t want to descend down into the bumps before you have to.  Here’s how to set it up:

    • Go to the Flight Plan page on the MFD
    • Press the ATK OFST soft key on the bottom of the MFD.  It stands for Along Track Offset, which, in laymen’s terms, means you are setting a point along your track a certain distance from your destination.  In this case, it will be 3nm
    • Input the distance using either the keypad or the small FMS knob and press enter
    • Select the altitude you want to be at (in this case pattern altitude) and press enter
    • You will see a point 3nm before you destination appear on your magenta line and a Top Of Descent (TOD) appear where you need to start your descent
    • 1 minute before the Top Of Descent, an indicator will appear next to your altimeter
    • To have the GFC 700 Autopilot fly the descent for you, you have to do two things
      • Set the Altitude bug for the desired altitude
      • Press VNV on the autopilot
    • All you have to do now is manage power

    IFR Garmin VNV Use

    Let’s say you are told to cross a fix at a specific altitude.  Here’s how to use Garmin VNV to plan it out.

    • Go to the Flight Plan page on the MFD
    • Turn the cursor on and highlight the altitude blank next to the fix in the flight plan
    • Input the desired altitude
    • You will see a Top Of Descent (TOD) point appear along your course where you need to start your descent
    • 1 minute before the Top Of Descent, an indicator will appear next to your altimeter
    • To have the GFC 700 Autopilot fly the descent for you, you have to do two things
      • Set the Altitude bug for the desired altitude
      • Press VNV on the autopilot
    • All you have to do now is manage power

    The Garmin G1000/Perspective combined with the Garmin GFC 700 Autopilot can be a great tool in descent planning.  When you want to end up at pattern altitude a certain distance from the airport or you get a clearance to cross a fix at a certain altitude, Garmin VNV is a great tool.  Here’s how to…

  • An Educational Runup

    When a pilot thinks of an engine runup in a single engine piston airplane, typically it is let’s find out if the engine is running rough or not, meaning a spark plug is fouled.  Believe it or not, there is a little more to learn from a runup than just checking the spark plugs.

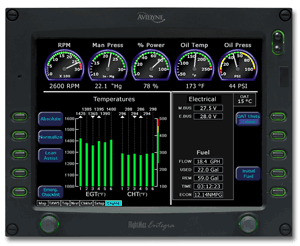
    A distinct advantage to having an engine monitor that monitors all EGTs and CHTs is you get a better idea of engine health.  When switching to one magneto or the other during the runup, all the EGTs should rise, showing that the temperature of the exhaust gas is going up from each cylinder.  This occurs because when running on only one magneto and one set of spark plugs in each cylinder, the mixture takes longer to burn, so, when the exhaust valve in the cylinder opens, the burn is still on going and this hits the EGT probe, causing a temperature rise.  An indication of a magneto failure in flight would be a rise in all the cylinders EGT without a change in mixture setting.

    Now that we know what to look for when checking each magneto, what would one look for to show that there is a problem?  The basic that each student pilot is taught still applies.  The engine manufacturer puts a limit on RPM drop during the runup.  When checking one magneto or the other, watch for an excessive RPM drop.  If the RPM drops past the limit, this usually will be accompanied by engine roughness.

    Why is that?  Let’s look at the cause for the excessive RPM drop.  For this, we need to go back to our EGT indicators.  Let’s say we have a 6 cylinder engine.  When the key is turned to the right magneto, the RPM drops 250 RPM and the engine gets very rough.  Look at the EGT gauge.  The cylinders where the spark plugs are firing normally will all show a temperature.  The cylinder (or cylinders) where there is no combustion, meaning a bad plug, will show no temperature.  This is because the mixture is just sitting in the cylinder and not igniting, therefore, no exhaust gases will be pushed out so there will be no EGT indication for that cylinder.  This is also how you tell a mechanic which cylinder to check for the bad plug.

    It could also be a bad magneto.  If multiple cylinders EGT all drop, or the engine wants to quit entirely, you have a bad magneto or bad ignition harness.

    What else can you learn during the runup?  Electrical system health is key, especially in all electric airplanes (meaning no vacuum system).  It’s a very good idea to turn on all the lights and pitot heat to ensure that a rise is indicated on the ammeter.  This means the alternator is carrying the load and working properly.

    The next time you do your runup, keep an eye on your EGT to see the rise during a magneto check.

    When a pilot thinks of an engine runup in a single engine piston airplane, typically it is let’s find out if the engine is running rough or not, meaning a spark plug is fouled.  Believe it or not, there is a little more to learn from a runup than just checking the spark plugs. A…

  • Recurrent Flight Training

    As all pilots know, the Federal Aviation Regulations require licensed pilots to go through recurrent flight training in the form of a Flight Review every 24 months.  The regulations require 1 hour of ground review and a 1 hour flight.  This is all that a pilot has to do to legally maintain his or her VFR currency to fly alone in an airplane.  Of course, when passengers are aboard, the pilot has to have done 3 takeoffs and landings in the previous 90 days.

    What if the pilot in question hasn’t flown in 20 years?  All the regulations require is 1 hour of ground review and a 1 hour flight.  Kind of scary, isn’t it?  (Any instructor worth his salt would not, however, turn a pilot loose with just those flight review minimums if they haven’t flown in 20 years without an extensive amount of recurrent flight training)

    Now, a lot can happen in 2 years in between those flight reviews.  Regulations change, airspace is modified, and skills change (for the better or worse, most often for the worse over a period of not flying).   For a current pilot who flies once or twice a week, those minimums are no problem.  Here’s the thing, though.  Even those current pilots typically don’t do a lot of stall practice or emergency procedure practice on their own.  These are the most critical areas of flight and to only do them every two years leads to a lot of rust building up, sometimes even causing safety concerns in some instances.

    Recurrent Flight Training

    How to remedy this?  Scheduling recurrent flight training as often as possible with a good instructor who puts you through your paces.  Do this often enough and stalls will become second nature.  The stall warning horn goes off?  Well, lower the nose and add power.  Engine failure?  Switch tanks and set best glide.  Recurrent flight training allows you to become as familiar as possible with your airplane, allowing you to know what to do in every circumstance.

    What’s a good recurrent flight training schedule?  There are several options out there.  The WINGs program is a pretty good option, though you will only have 3 flight training sessions in those two years instead of 1, but it’s a good start.  In recent years, the FAA has put out Advisory Circular 61-98B encouraging pilots to begin personal currency programs for themselves.  The suggested schedule for VFR recurrent flight training is every 4-6 weeks.

    Faa safety team

    Texas Top Aviation highly recommends this suggested schedule, for both VFR and IFR.  The AC doesn’t have a specific recommendation for IFR recurrent flight training, but flying 2-3 approaches a month with an instructor helps keep pilots as proficient as possible in the IFR environment.   This way, the instructor can introduce circumstances in a controlled environment that simulate abnormal conditions that might possibly be encountered in flight.  If those abnormal conditions are encountered, then it will be second nature on how to handle them, leading to less accidents and safer flying habits.

    Try to schedule your recurrent flight training every 4-6 weeks and your piloting skills will stay top notch, keeping you safe and proficient in every circumstance.

    As all pilots know, the Federal Aviation Regulations require licensed pilots to go through recurrent flight training in the form of a Flight Review every 24 months.  The regulations require 1 hour of ground review and a 1 hour flight.  This is all that a pilot has to do to legally maintain his or her…

2 Comments

  1. Used the hot start procedure and the ‘warm start’ procedure (oil temp 130 – 150) on my new SR20 and worked like a charm! Thanks so much for this excellent guidance. Explaining the science of it, as well as the temperature distinctions and modified procedures, helps to explain why my previous hot start attempts seemingly produced inconsistent results.

Leave a Reply

Your email address will not be published. Required fields are marked *