|

Using the ICARUS Device to Simulate IFR Conditions

Most of us who have been through instrument training are familiar with the traditional view limiting devices. There is the original hood, which does a decent job of blocking a pilot’s view of outside, but there are still gaps that allow “peeking”, though that peeking doesn’t really help a pilot fly an approach. It does help them figure out which way is up, so it’s not a true simulation.

The other problem with a hood is the process of putting it on to begin simulating IFR conditions, then taking it off when it’s time to land. This process takes time and the instructor has to take the controls (or the autopilot flies), losing some of the realism of the simulation.
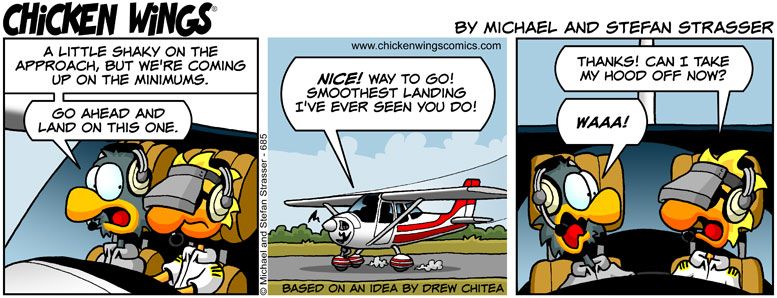
Overall, an IFR hood is relatively comfortable. The elastic band sits under your headset, doesn’t squeeze your heard, and doesn’t press underneath your ear cups of the headset, giving you a headache. Hoods are large and somewhat unwieldy.

Foggles are another way to simulate IFR conditions for training. Most of the time, these are safety glasses that have most of the lens blacked out or fogged out, leaving little slits at the bottom for the pilot’s eyes to see the instruments.
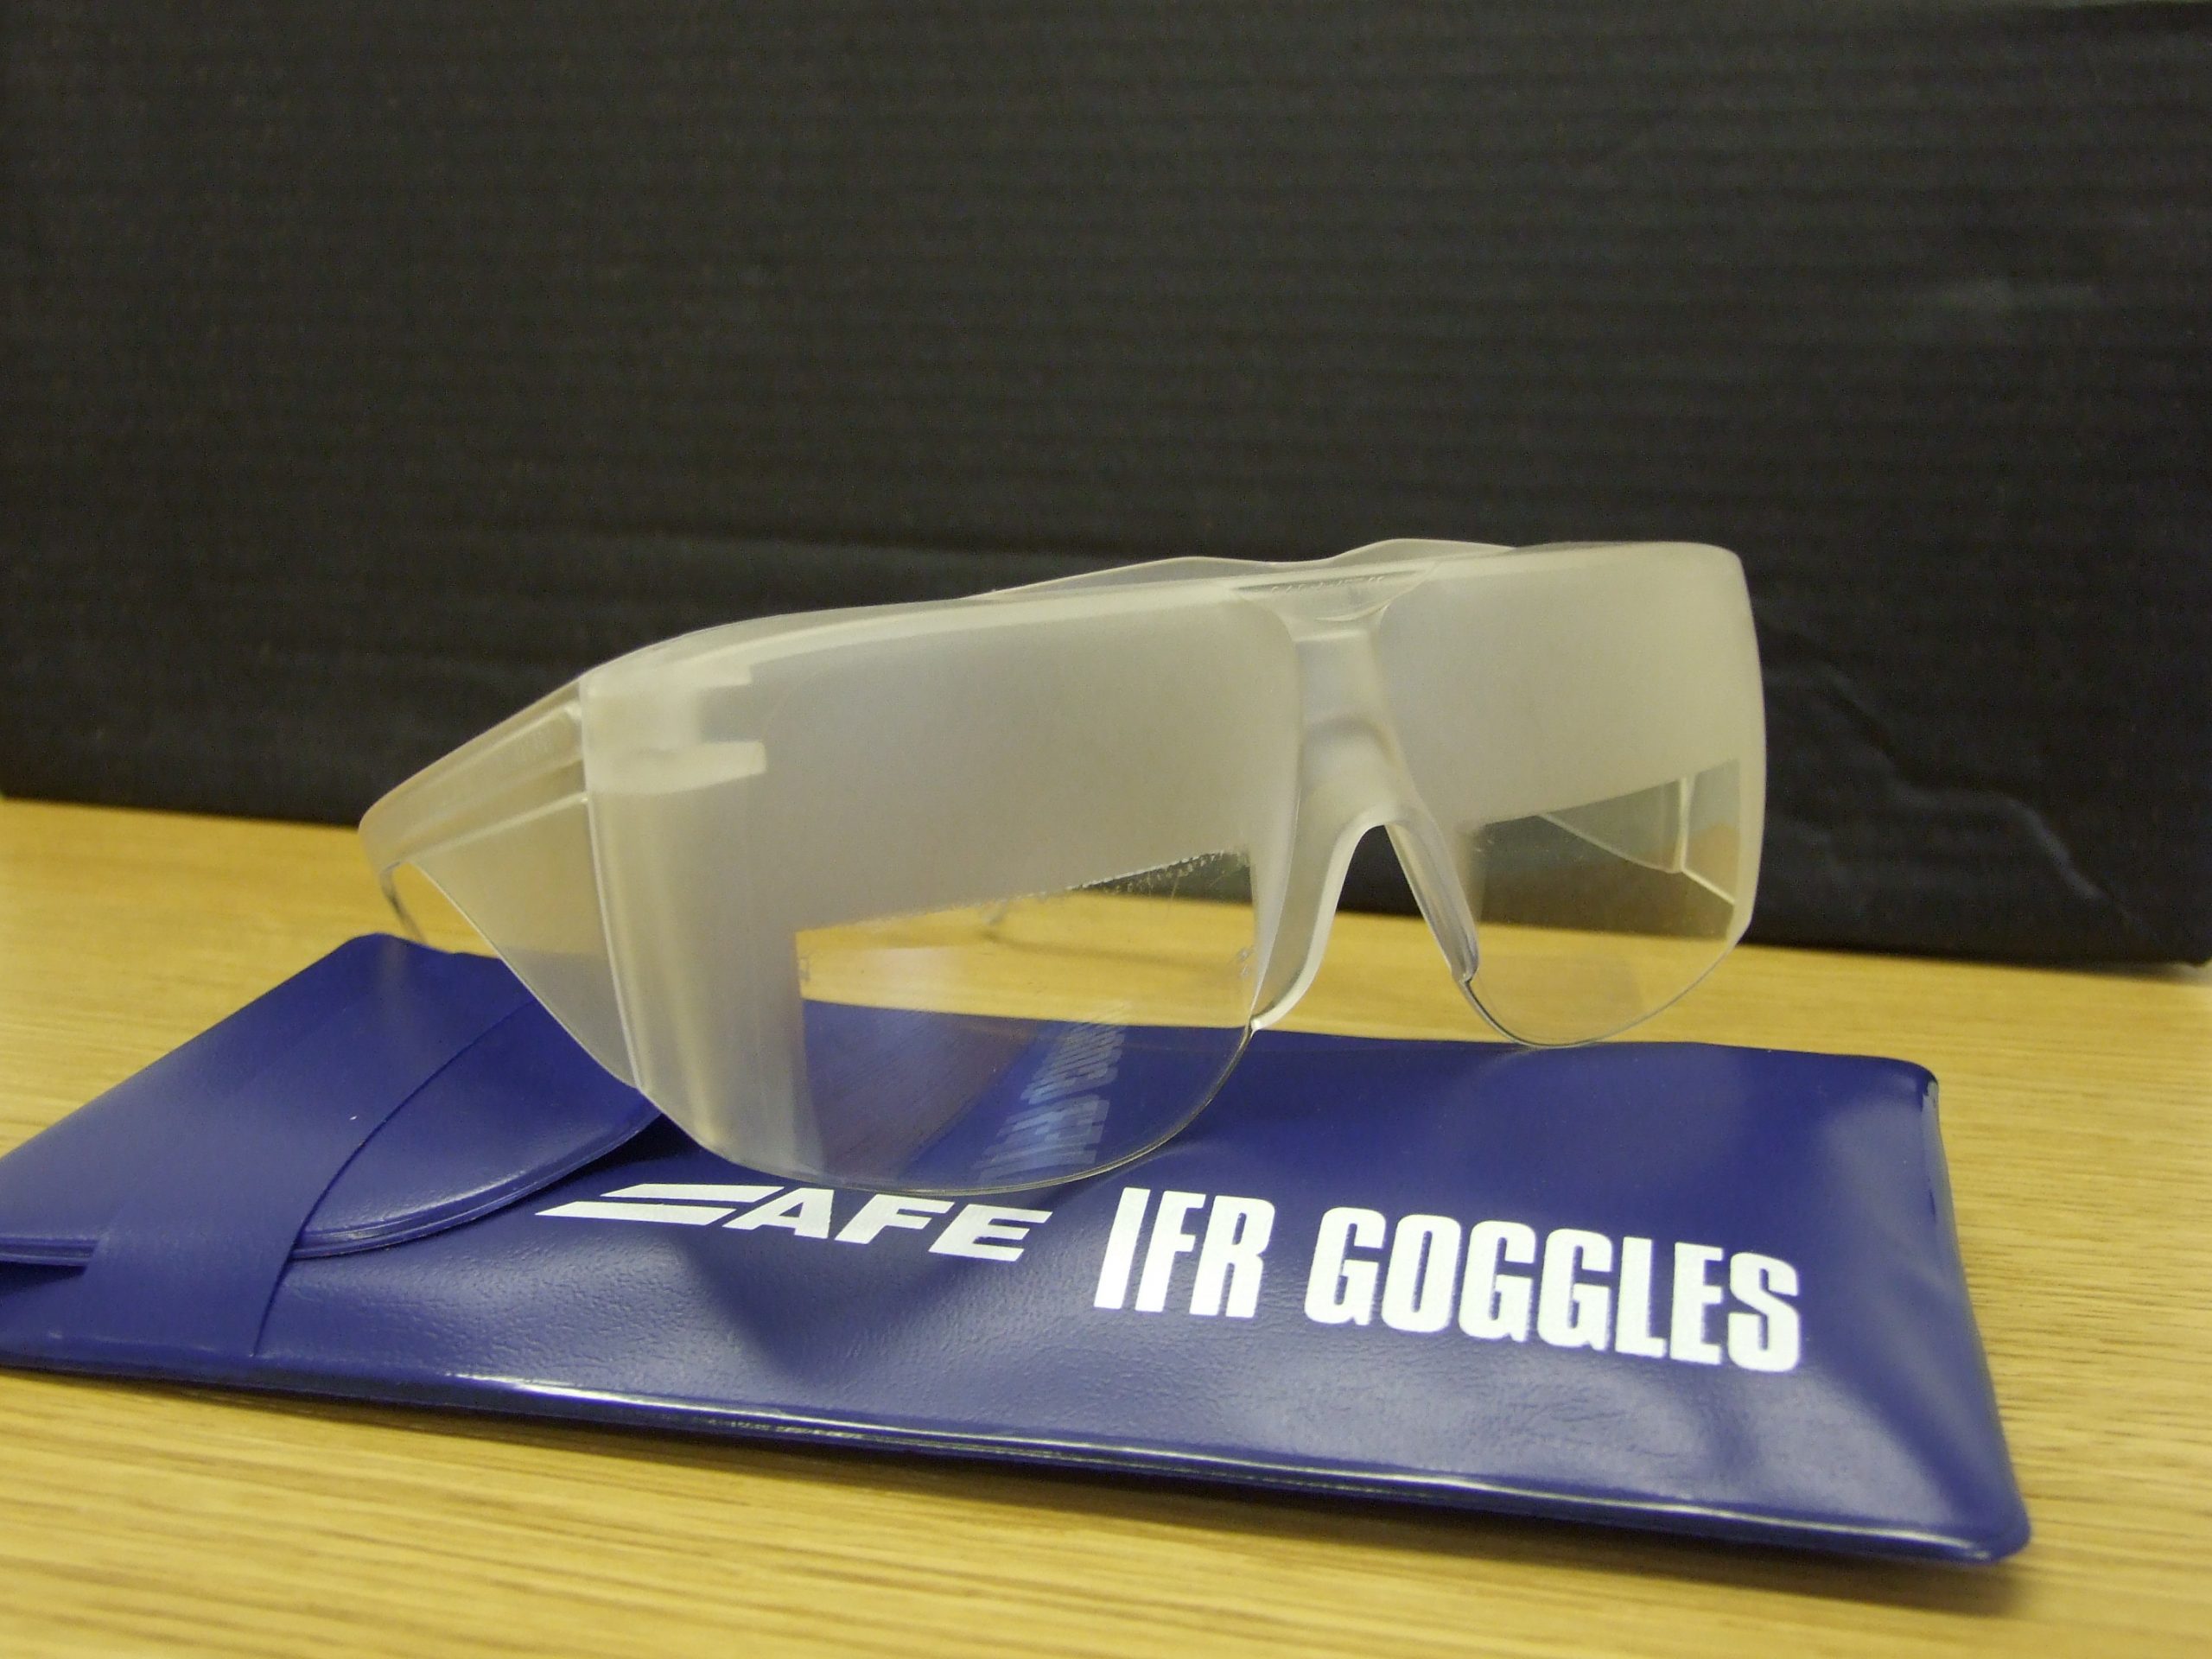
Foggles aren’t quite as good as an IFR hood at blocking the outside. Due to their shape, there are often cracks that allow more “peeking” then a hood. The process of beginning to simulate IFR conditions and ending the simulated IFR conditions is easier though, since all the pilot has to do is put the foggles on or slip them off, which can often be done one handed (putting them on can be more difficult one handed since they have to fit underneath your headset). Wearing them for a long period of time can get painful as your headset is probably going to start crushing them against the side of your head.

The best comfort and view limiting combination I have found, so far, is called the ViBAN. It’s very comfortable and does a really good job of simulating IFR by blocking a view of the outside.

What’s the whole goal behind a view limiting device? When a pilot starts instrument training, ideally, all the training would take place in the clouds, since that is why someone get’s an instrument rating. As we all know, this isn’t possible, hence the need to simulate IFR conditions. The problem with simulating IFR is, it’s not true IFR. True IFR conditions are different then what a hood or a set of foggles can simulate. This can lead to spatial disorientation if a fresh instrument pilot enters the clouds for the first time, having done all his training in simulated conditions.

I’ve even heard a story of a pilot who did all his IFR training with a hood, passed his check ride, went into the clouds the first time, and put the hood on because he was getting disoriented since he hadn’t ever experienced true IFR.

What about full motion simulators? How I wish every airport had a full motion simulator for instrument training. Full motion sims are truly the best way to simulate IFR conditions. A pilot can easily get spatially disoriented in a sim if he or she isn’t careful. It’s a great way to simulate IFR conditions, but, alas, this just isn’t possible.

Are we doomed to just do an okay job of training instrument pilots in simulated IFR conditions with a hood or foggles?

Nope, at least not anymore.

Enter the ICARUS Device. The ICARUS Device, which stands for Instrument Conditions Awareness Recognition and Understanding System, is an amazing piece of equipment which truly simulates IFR conditions in the training environment. The ICARUS is a plastic shield that uses a Polymer Dispersed Liquid Crystal film that allows the degradation of a pilot’s visibility. It clips on to a baseball cap and is attached to a battery. That battery is then bluetoothed to an iPad or iPhone App that allows the instructor to put the pilot into and take him out of simulated IFR conditions.
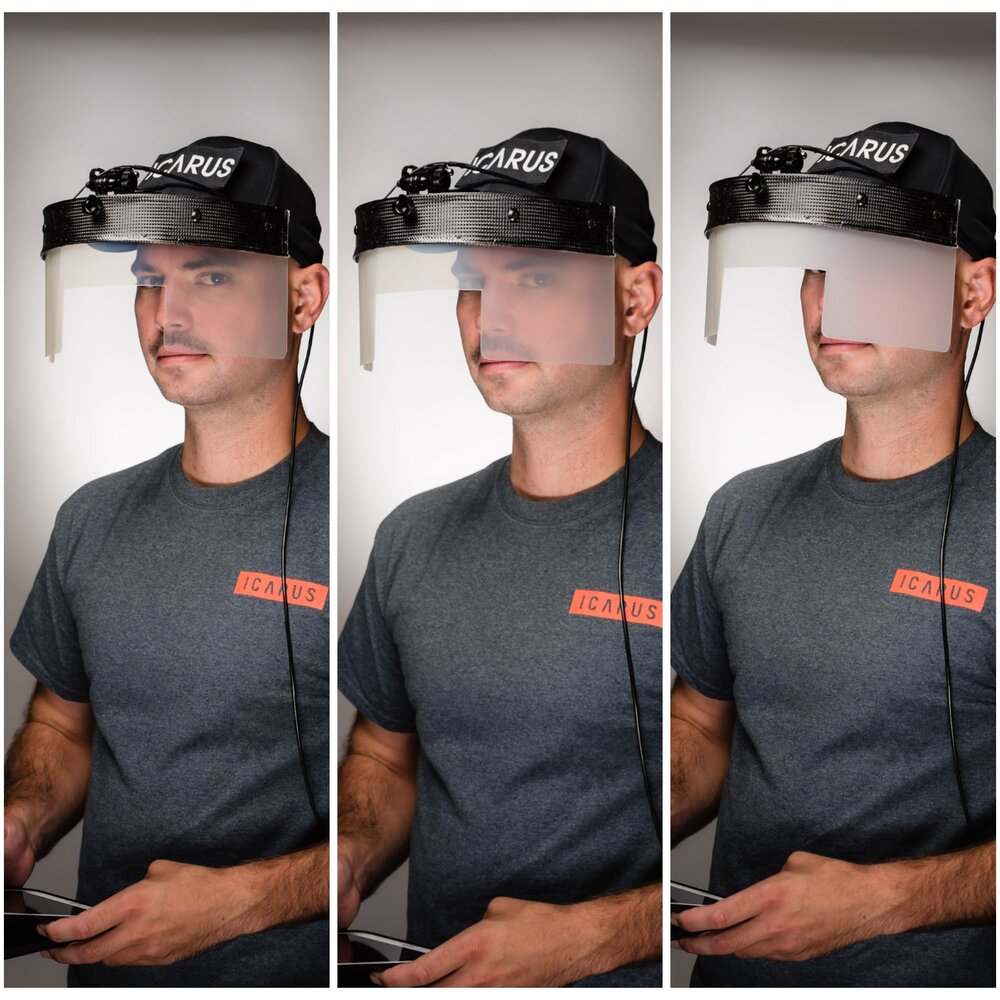
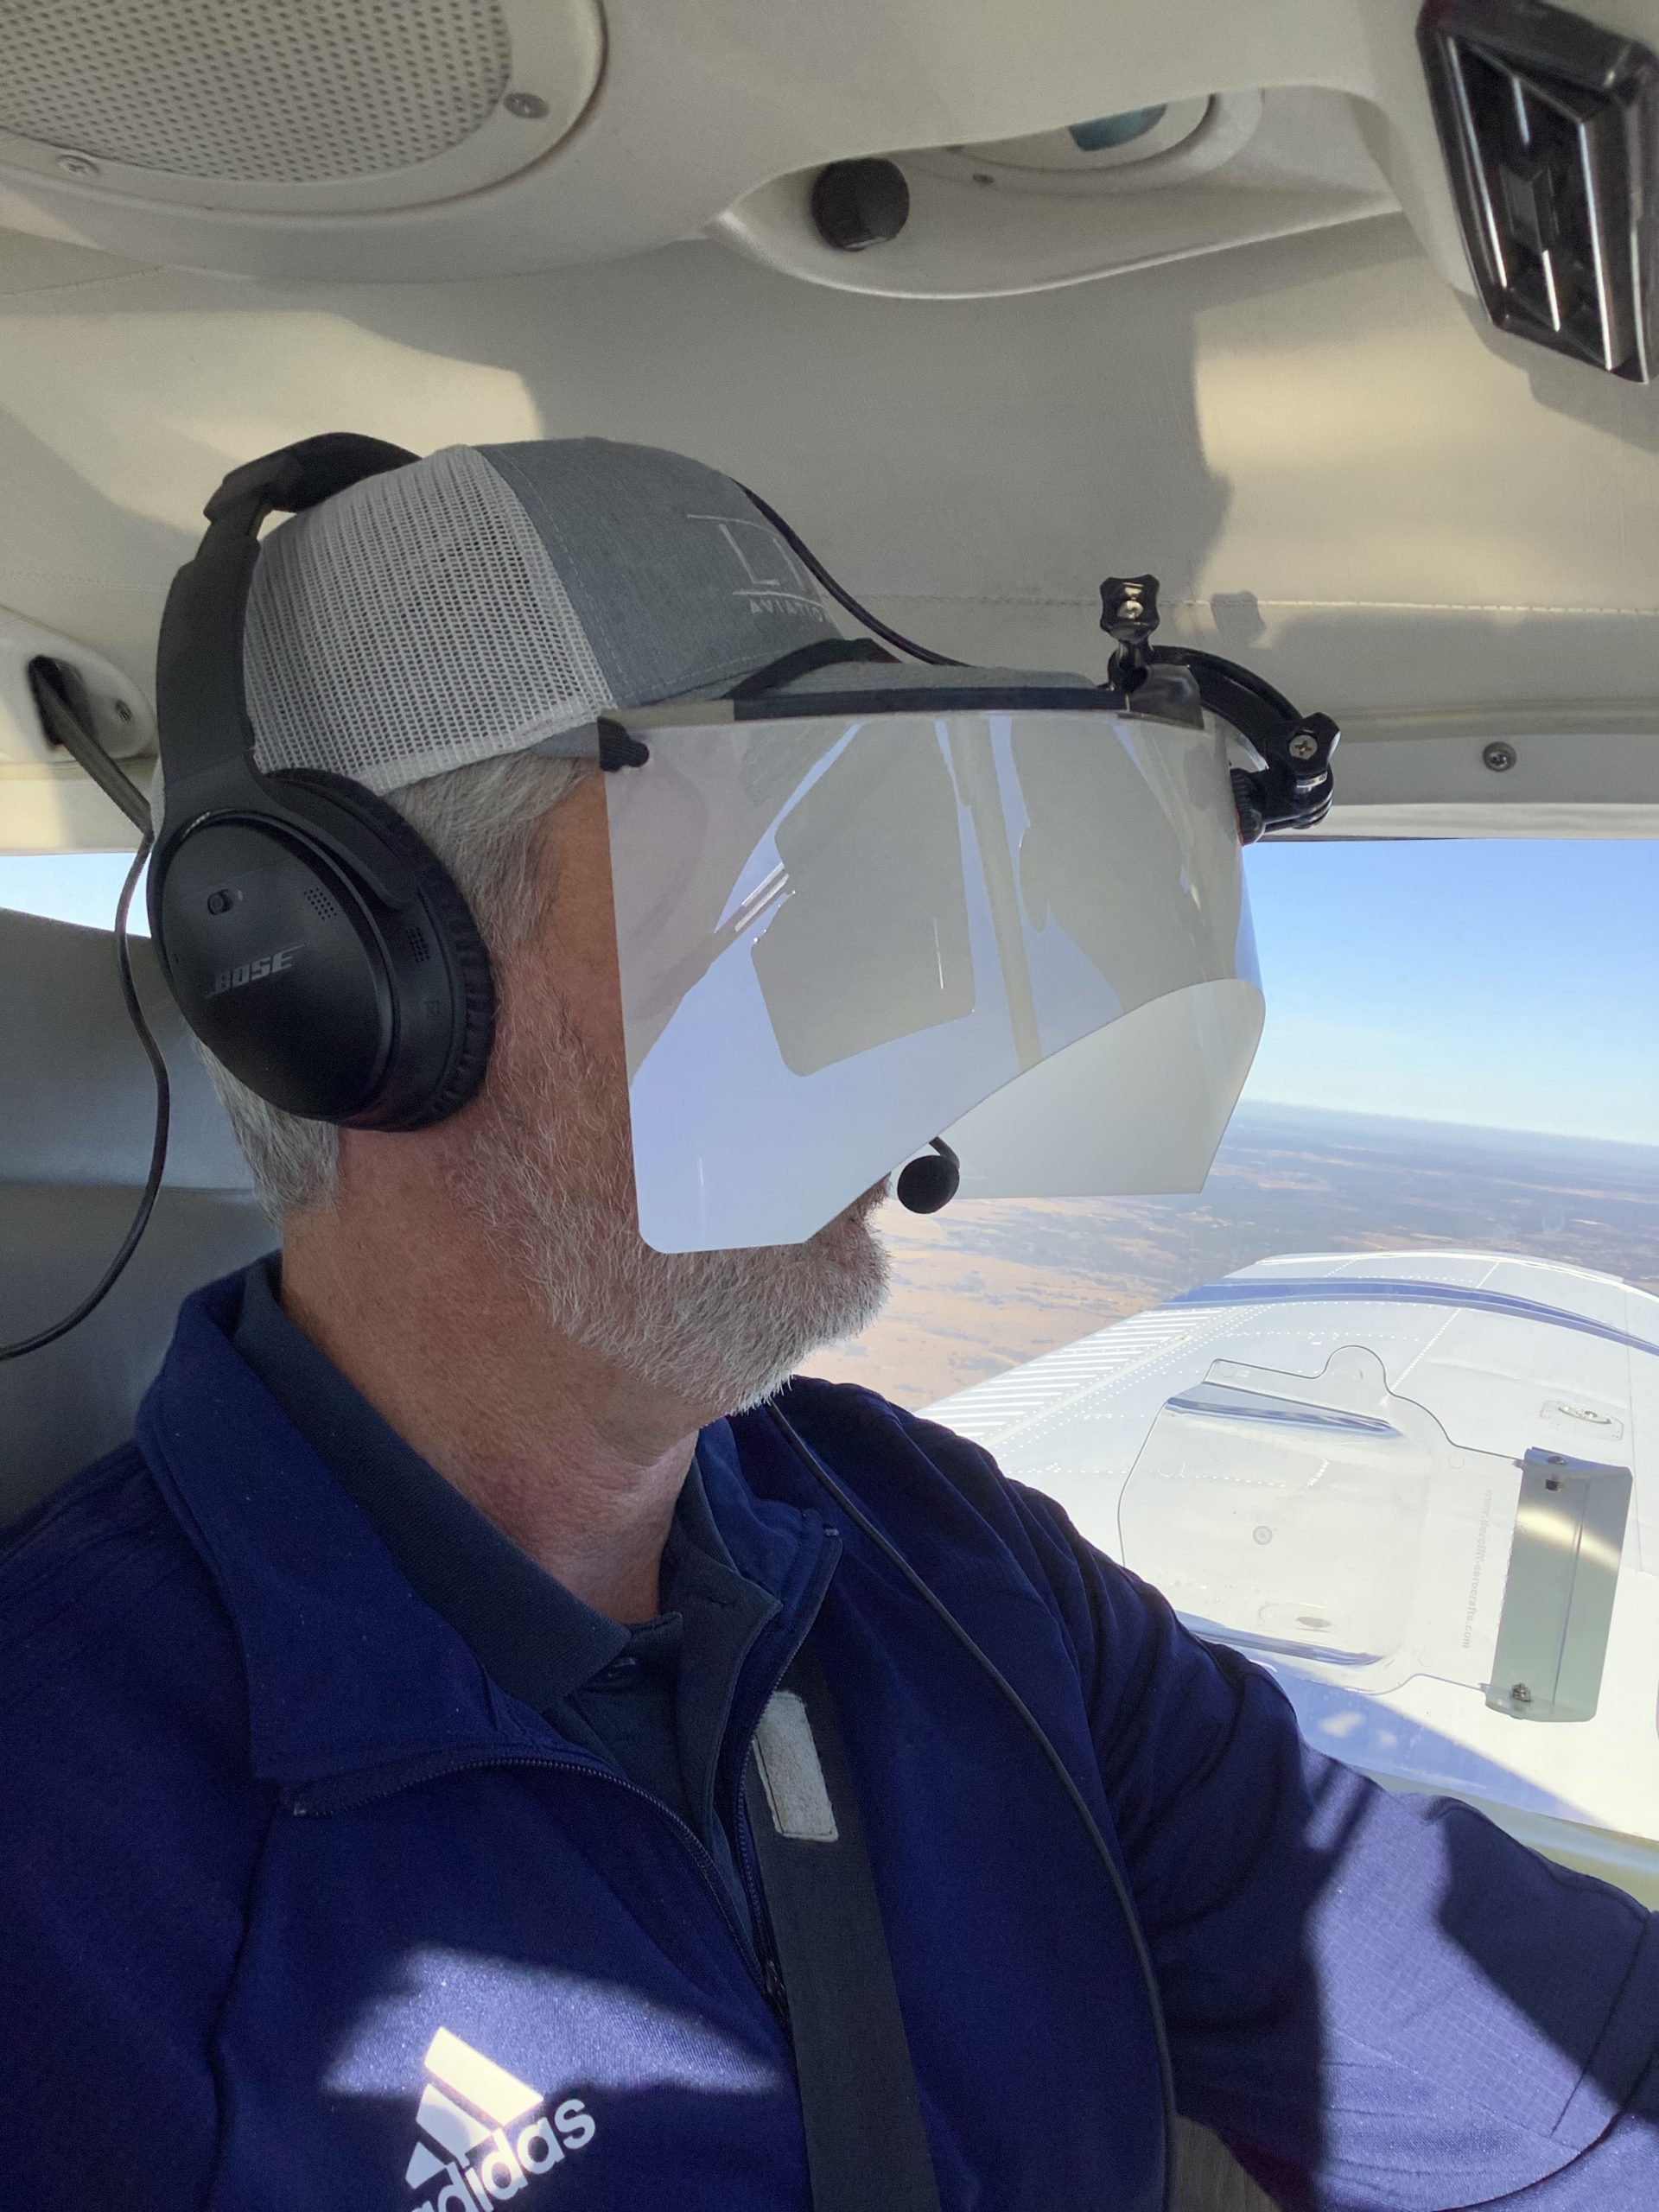
Originally designed for helicopter training, it’s an excellent tool for fixed wing IFR training too. I’ve been using it for the last month and a half and I am hooked. The customer’s that I have used it with truly say that they cannot see a thing outside. Because the plastic shield turns white, it really does give the view that the pilot is in the clouds. The inner ear certainly believes it. The curve of it fits the glare shield in most planes nicely (there is some custom cutting that would have to take place for specifically rounded glare shields, but it fits Cirrus and Piper Saratogas nicely, the two planes I have used it in), and it sits away from the pilot’s face, blocking out all windows, which is what clouds do.
The greatest thing from an instructor’s standpoint is the ICARUS Device app. The pilot puts the device on before taxi and I set the app to VMC. This completely clears the ICARUS Device so the pilot can see just fine for taxi and takeoff. Then, at about 400 AGL, I tap the <1/2 VIS button on the app, and boom, the pilot is in the clouds. I even have a time delay to slowly make the ICARUS Device opaque to simulate slowly entering the clouds. I do the same thing on an approach, except in the reverse order, simulating we are slowly exiting the clouds.

The ICARUS Device is a game changer for IFR training. It’s comfortable, easy to use, the battery lasts for a long time (though bring a standard USB charging cord with you in the plane because the battery failure mode makes the ICARUS Device opaque instead of transparent. You don’t want that to happen at 200 AGL!), and, most important, it truly simulates IFR conditions.

After using it, I believe all flight schools and CFII should get one of these, both in the fixed wing and helicopter world. It’s the best option for simulating IFR conditions.

Checkout the ICARUS Device website for more information and to hear the story of the company.


Texas Top Aviation, LLC was given an ICARUS Device by the ICARUS Device company to test. Texas Top Aviation, LLC was not paid for our above opinion on the ICARUS Device (trust me, if it was terrible, I would have told you!).

Similar Posts

  • AOPA’s Year In Review

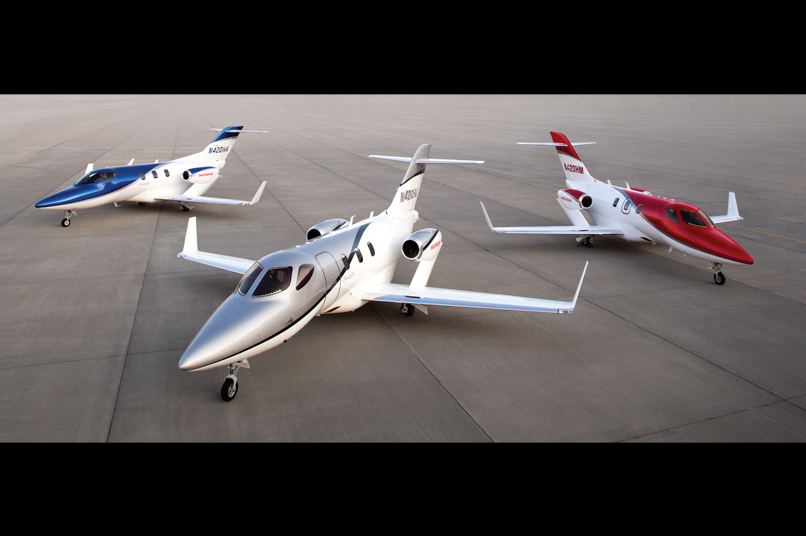
    AOPA recapped the year in the general aviation industry recently.  A lot happened in 2016 including the certification of both the Cirrus Vision Jet and the Honda Jet.  Several other manufacturers debuted new models, including Mooney with their Ovation Ultra and it’s 2 doors and Cub Crafters with their faster XCub.

    To read the full year in review, you can read the AOPA Article here.

    trio-of-hondajets


  • Texas STOL Roundup

    Looking for a fly in this fall?  Check out the Texas STOL Roundup at the end of September in Hondo, KHDO.  Interested in entering?  All are welcome!  There are several different categories including LSA, Experimental, and others.  Come in for a fun weekend and see how short an airplane can be landed!

    There will be bands, a STOL seminar, and even a hangar dance.

    Fly in or drive in.  Camping will be available on the airport.

    For more information, you can visit the event website.

  • The Avidyne Equipped Cirrus Upgrade

    A History Lesson

    11 years ago, in April of 2009, the Avidyne Corporation unveiled the much bally-hooed Release 9, or R9 as it is commonly known, as a hardware replacement for the Avidyne EX5000 Entegra system in Cirrus Aircraft. The Entegra system was way outdated by that point. Even though Avidyne was the first company to put together a glass PFD in a single engine piston airplane, the company had quickly fallen behind Garmin in keeping up with the ever changing technology landscape.

    Rewind to 2008. Cirrus had been going strong with the Avidyne Entegra since the SR20 and SR22 went to full glass in 2003 (a PFD and an MFD; prior to that, Cirrus aircraft only had an MFD with steam gauges and a Sandel Electronic HSI). Cessna, on the other hand, vaulted past the Avidyne Entegra and went straight to the Garmin G1000 in it’s aircraft, starting in 2004 with the 182 G1000 and 2005 with the 172 G1000. Beechcraft and Columbia went to the G1000 (Columbia started with the Avidyne as well) in 2005.

    Garmin’s technology in 2007 was so much better than Avidyne’s technology that Cirrus decided to switch. I’m sure there were many promises made by Avidyne to Cirrus about what Avidyne was working on (the R9), but the G1000 was out there, available, and being used in a lot of different airplanes with very good results.

    So, in 2008, Cirrus made the switch from the Avidyne Entegra to the Garmin G1000, dubbing it the Cirrus Perspective by Garmin avionics package. Avidyne finally got the R9 to market in 2009, but by that time, Piper was the only airplane manufacturer left putting factory Avidyne panels in their airplanes, and they switched to G1000 later that year.

    The R9 is a fabulous product. It’s fully integrated, has great graphics, has fully redundant displays, a QWERTY keypad (which, by the way, Garmin didn’t do for another 8 years), and a lot of other neat features. There’s a bit of a learning curve, but it’s a really good product for what it is.

    Avidyne, though, was late to the game with their technology. By the time it debuted in 2009, all the GA aircraft manufacturers had long since switched to the Garmin G1000 and weren’t looking back. That left Avidyne with the retrofit market for the many different Avidyne Entegra Cirrus aircraft out there. The only problem was, the retrofit was $80,000 ($95,000 if you wanted to throw in the DFC 100 Autopilot, which is a must have) and not many owners were up for paying that much money, then or now.

    To sum up our brief history lesson, Avidyne knew the Entegra needed to go, but couldn’t get the R9 out quickly enough to convince anyone to stick with Avidyne products. The retrofit market didn’t amount to many sales, so Avidyne doesn’t even make the R9 anymore.

    As a side note, I really, really like the Avidyne R9 and am sad that it didn’t make it into more airplanes.

    So, when the Avidyne Entegra starts to have issues, what’s an owner to do? Keep reading!

    There is Hope

    There are thousands of Cirrus aircraft out there flying with the Avidyne Entegra instrumentation, which is basically 20 year old technology (I’ve had a computer engineer tell me the programming in an Entegra is Windows 98 tech). These things are going to start having problems at some point (many already have), but what solution do owners have that is cost effective and get’s them new technology?

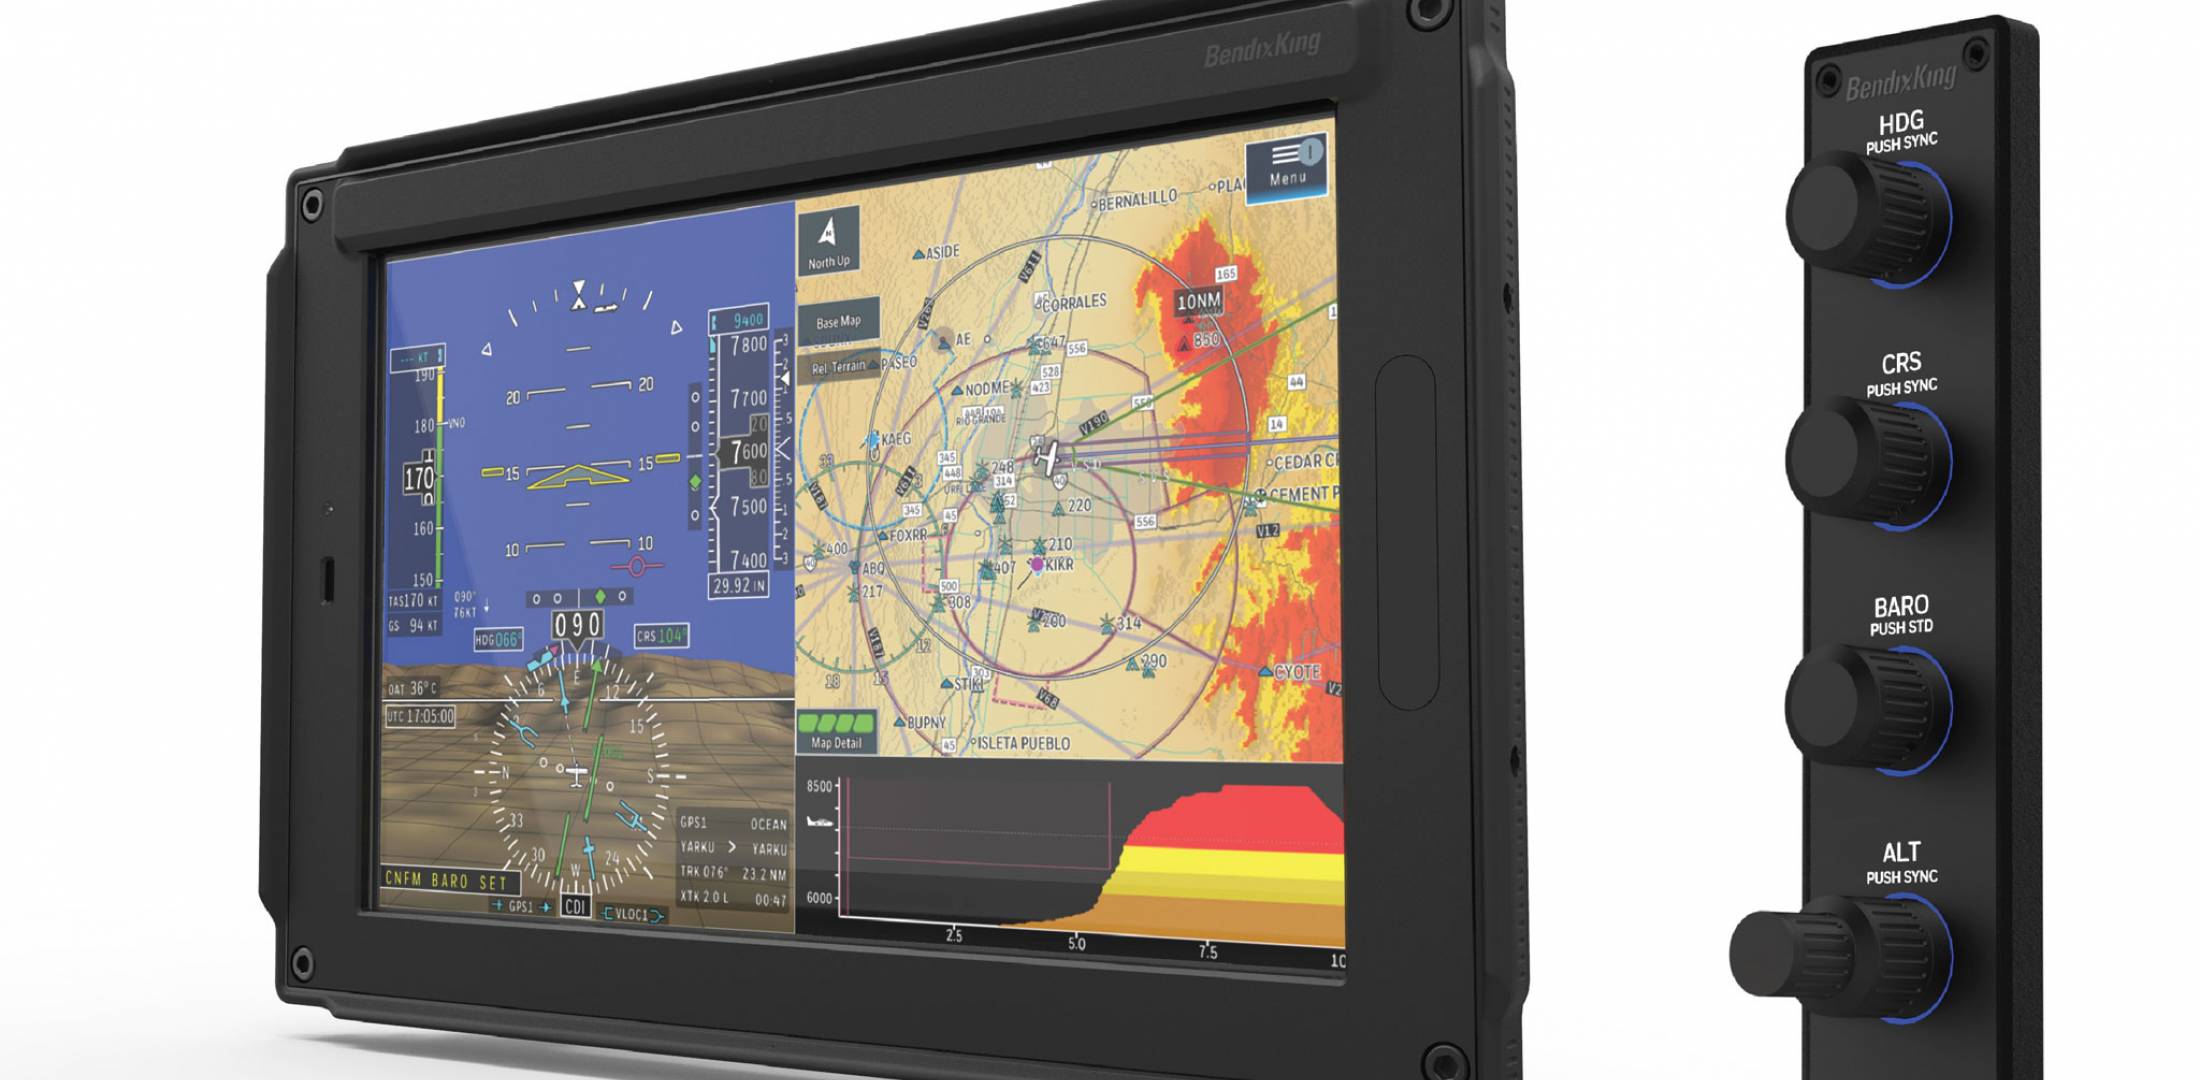
    Remember that little company named Garmin? Well, they have come through again. Announced this summer, the Garmin G500 TXi is now certified as a replacement in the Cirrus Avidyne Entegra equipped aircraft. This means pulling out both the PFD and MFD and replacing them with the G500 TXi on both sides. Engine data is also displayed on the G500TXi MFD, including the percent power and TIT indications, if equipped.

    Cirrus SR22 Equipped with Dual G500 TXi Screens and Dual Garmin GTN 650Xi GPS Units

    The cost for the panel? Two 10.6″ G500 TXi’s run about $16,000 apiece for the units, not including labor. $32,000 for a brand new panel isn’t terrible. Plus, the G500 TXi’s work with the DFC90 autopilot if the Cirrus is already equipped with it. If not, the Garmin GFC 500 autopilot is now approved for the Cirrus at a relatively low price of $7,000, including the servos.

    Still have the original Garmin 430s in your Cirrus? Upgraded to the Avidyne IFD 540/440 stack? Put in dual GTN 650Xi’s? Put in a GTN 750Xi? All are compatible with the G500 TXi panel.

    Want to upgrade everything? It does get kind of pricey at that point, but for just equipment, the cost for a complete panel conversion is somewhere in the area of $65,000 plus labor, still below what the R9 cost, but not cheap either. That would include 2 G500 TXi’s, 2 GTN 650Xi’s, a GFC 500 Autopilot, and all the engine monitoring equipment that the G500 TXi would need.

    Cirrus SR22 Equipped with Dual G500 TXi Screens, a GTN 750Xi, and a GTN 650Xi

    Thankfully, some new technology has finally come to the Generation 1-3 Cirrus. Oh, and by the way, your steam gauge Cirrus is fully upgradable as well.

    Want to read more? Check out Garmin’s website.

  • A Takeoff Briefing

    Takeoff briefings are one of those things that most pilots are taught when they first learn how to fly, but once they get into flying themselves around, quickly fall by the wayside.  There is a reason student pilots are instructed to perform a takeoff briefing before departure.  It gets them thinking about what the plan is after they get off the ground and what to do if something goes wrong.

    Takeoff Briefing

    Takeoff briefings are a good habit to get into.  Airline crews do a takeoff briefing before every departure, even though they have performed a takeoff in that particular airplane thousands of times.  It enhances safety and provides repetition, keeping that knowledge at the forefront of the crew’s minds.

    In general aviation, a takeoff briefing should cover what the takeoff procedure is, what the abort plan is, and what the plan after takeoff is.

    Takeoff Procedure

    Most pilots fly the same airplane all the time, so the familiarity with what goes into a takeoff is there.  But, habits should be formed to brief the takeoff procedure as part of the takeoff briefing.  It doesn’t need to be extensive, just covering the basics of how the airplane is getting off the ground.  Something like this:

    • Throttle setting (if turbo charged, will full throttle cause an overboost?)
    • Rotate speed
    • Expected takeoff roll

    That’s it.  Nothing fancy for the takeoff procedure.

    Abort Plan

    What is the plan if something goes wrong?  It doesn’t have to be an engine failure, maybe the engine coughs when full power is added or maybe the engine doesn’t produce peak RPM.  Maybe the takeoff roll is longer than anticipated and something doesn’t seem right.  Maybe on climb out a door pops open.  Maybe the engine fails at 1,000 feet.  It’s good to keep the plan in the foreground for what to do if an abnormal or emergency situation takes place.

    • Brief the aborted takeoff procedure
      • Pick an abort point on the runway based on the expected ground roll
      • What is the procedure if the airplane isn’t off the ground by then?
      • What is the procedure if the engine quits on the runway?
    • Brief the engine failure procedure at low altitude
      • If the engine fails over the runway, will you try to land on the runway?
      • What altitude would you elect to turn back as opposed to landing straight ahead?
      • If the plane is too low to turn back, would you land straight ahead or aim left or right?
      • What airspeed will you aim to hold if the engine fails?
    • In a Cirrus, what is your minimum parachute deployment altitude?

    After Takeoff Plan

    After the airplane is off the ground, what’s the plan then?  Are you staying in the pattern or departing the area?  Do you need to adjust your power at a certain altitude?  What altitude are you climbing to?  What heading are you going to fly?  Is your flight plan in your GPS?  This is an excellent time to set up altitude and heading bugs if your airplane is so equipped.

    Get in the habit of doing a takeoff briefing before you call the tower or announce your departure.  It get’s your mind focused on the task at hand and then what is going to be happening next.

  • Lightspeed Zulu 2 vs. The Bose A20

    The debate about which headset is the better product will never cease.  We do know this for sure, though, Lightspeed and Bose make the best noise canceling headsets out there.  David Clark’s offering doesn’t match up with these two.  Newcomer AKG has a light (weight-wise that is, as the headset is equipped with a pair of LED lights as well) ANR headset that the jury is still out on.  For now, Lightspeed and Bose sit atop the ANR kingdom.

    The comparison for this article will be between the Lightspeed Zulu 2 and the Bose A20 headsets, both of which I have used quite extensively in my flying career.  I am officially in the Lighspeed camp at this point and after reading my comparison below, you’ll see why.

    ANR Functionality

    Bose A20

    Between the two, the Bose A20 cancels out more noise, no argument there.  This isn’t to say that the Lightspeed Zulu 2 doesn’t.  Quite the opposite, actually.  The Lightspeed Zulu 2 does a great job of canceling the noise.  But with the A20 on in a C172, you can barely hear the engine running.  The difference before you press the power button and after is extremely noticeable.  I had one client turn to me after turning on the noise canceling function of his new A20 headset and state, “These things are awesome!”

    The other advantage Bose has is a continuation of the noise canceling.  About the only thing I don’t like about the Lightspeed is if you don’t have the headset sized just right on your head, each time you turn your head to look at something, then the suction gets broken around the ear cup and you get some ambient noise.  My glasses probably don’t help with this.  It’s not that big of a deal, you just have to readjust the size of the headset, but, since I’m a little OCD, it bugs me.  Once I get the set sized right, it’s smooth sailing.

    Comfort

    Lightspeed Zulu 2

    Far and away, the Lightspeed Zulu 2 is much more comfortable than the Bose A20.   I flew for 5 hours in the right seat with my Lightspeed set on the other day.  I switched to the left seat for the last leg and used the owner’s A20 headset since it was plugged in on that side already and I noticed quite a bit of difference.  The ear cups seemed to press against my head more.  The pad on top of my head didn’t seem to be as cushiony.  It just wasn’t overall as comfortable as the Lightspeed Zulu 2.

    Bose has made a lot of progress from their original noise canceling headsets.  Those didn’t have much of a cushion on top at all.  After about 2.5 hours, the slim ear cushions began to dig in to the side of your head.  So, the A20 has made some progress, but the Lightspeed Zulu 2 takes the cake in comfort.

    Weight Distribution

    “Wait!”  You Bose boys scream (no pun intended).  “The A20 is lighter than the Zulu 2!”  While this is true (the Zulu 2 weighs in at 15.7 oz while the A20 is only 12 oz), the way that weight is distributed makes a massive amount of difference.  The Lightspeed Zulu 2 feels lighter on top of your noggin than the A20 because the weight of the A20 is firmly planted on the top of your head in a single point.  With the Zulu 2, the weight is distributed evenly across the top of your scalp, so even though the set is heavier, it feels lighter on your head because the weight is not all concentrated on one point.

    All this adds up to why I like the Lightspeed Zulu 2 more than the Bose A20.  As for a practical example, I wore my Lightspeed Zulu 2 set for 9.1 hours one day two weeks ago.  Needless to say, it was a long day.  But, once I climbed out of the airplane, I had no pain on the top of my head and only a very little where my glasses ran along the side of my head.  Now I call that a winner.

  • Thunderstorm Avoidance

    Thunderstorms are not to be taken lightly. I know you have probably heard that many times in your flying career. Weather related accidents account for approximately 25% of airline and GA accidents.

    The Airman’s Information Manual suggests giving a 20 mile berth around thunderstorms. If you are an experienced aviator or a newbie please take this piece of advice seriously. At one flight school where I taught, we had the policy of maintaining a 25 mile buffer around isolated thunderstorms. A bit excessive you think? Maybe, but safety is a good thing!

    On this particular day, I was operating a Bell Jet Ranger helicopter during a power line patrol. Power line patrol by itself offers numerous challenges. The job consists of flying along electric power transmission lines at approximately 40 feet above the ground at 40 knots. The crew consisted of me (the pilot) and an observer. The observer is an employee of the power company and it is his job to determine which line(s) will be patrolled during the given day. As I fly along the lines, the observer is checking for anything out of the ordinary such as broken, cracked, or even shot out insulators, excessively large bird nests at the top of structures, or woodpecker holes in wooden poles. The observer knows the lines and he is also a great help in letting me know there is a crossing, and potentially higher, line in our flight path. That makes him a true safety asset!
    Power line thunderstormIt was late afternoon during the summer and we were about to finish up for the day. We only had about another 10 miles of line to follow before calling it a day. Up ahead, I noticed an isolated thunderstorm near our power line. I could see the heavy rain falling below the anvil shaped leading clouds. It appeared to be well beyond the end of our day’s work so we pressed on.

    As we drew closer to the thunderstorm, we were suddenly tossed up on our left side like a dog toy in mid-flight! It seemed like we were 90 degrees to our normal cruise attitude and, to make it worse, we had the doors off on that hot summer day. I was able to recover and we did an immediate about face and high tailed it home. Forget the rest of that line, tomorrow is another day.

    The destructive force of thunderstorms cannot be overstated. In addition to extremely heavy rain, they can contain strong wind shear, large hail, and severe turbulence, each of which can damage or destroy an aircraft. Take care when one of these bad boys is near your flight path. Give it plenty of respect and a lots of room, for safety’s sake.

    Alan VanDoren is a 7000 hour ATP pilot.  He has flown both fixed wing and helicopters as a police pilot, missionary pilot, flight instructor, and most recently as an EMS pilot.  He has flown in five countries around the world and also teaches university level aviation courses in his spare time.

Leave a Reply

Your email address will not be published. Required fields are marked *