Cirrus SR20 vs. Diamond DA40

Note:  For this article I am comparing a 2008 Cirrus SR20 G3 and a 2008 Diamond DA40 XLS.

Aircraft shopping can be a tedious process.  First, a buyer needs to know what the mission is.  How far will flights typically be, how many people will be on board, and how fast does the airplane need to be.  Then, the buyer has to figure out what the budget is.  Finally, a prospective owner needs to figure out how much airplane he or she can handle.

Two very good airplanes for newer pilots transitioning from a flight school 172 who need a faster airplane to build experience in, but also want to experience a glass panel, are the Cirrus SR20 G3 and the Diamond DA40 XLS.

Cirrus SR20 G3

The 2008 Cirrus SR20 G3 is a good airplane.  The G3 is equipped with the 6 cylinder, Continental IO-360-ES, 200 HP engine.  Performance-wise, an owner can expect 135-140 knots true at 9 GPH (Lean of Peak) or 145-150 knots true at 11.5-12 GPH (Rich of Peak).  The 3 blade propeller equipped models have better takeoff and climb performance than the 2 blade propeller equipped planes, especially in high density altitude conditions.
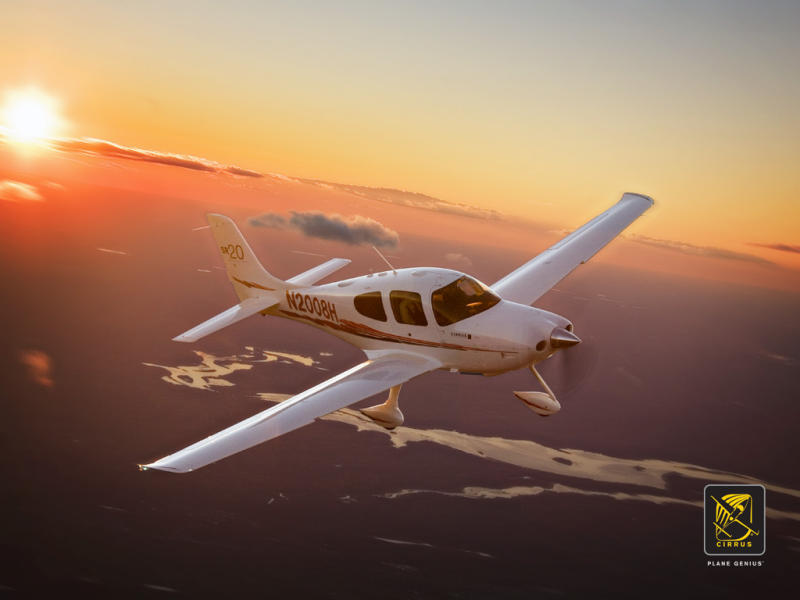
Cirrus SR20 Comparison

The airplane is equipped with the Avidyne Entegra EX 5000 glass panel system.  Most models out there will have Avidyne’s CMAX (Chart View) and all will have the Avidyne EMAX (Engine Monitoring).  All came from the factory with the STEC 55x autopilot (though a handful will have the STEC 55 SR, which doesn’t have glideslope functionality).  They also came from the factory with dual Garmin 430s. Most units have been upgraded to WAAS.

Some owners have upgraded the autopilot to the Avidyne DFC 90, which is a nice upgrade.  The STEC 55x is a rate based autopilot which takes it’s commands from a hidden turn coordinator that is behind the instrument panel in front of the co-pilot’s seat.  The STEC has some crosswind limitations on approaches where the pilot can actually fly better than the autopilot.

The DFC 90, however, is an attitude based autopilot that  takes it’s commands from the attitude indicator on the Primary Flight Display (PFD).  It also adds a Straight and Level button as well as an Indicated Airspeed hold button, adding safety and functionality.  It does much better in crosswinds on an instrument approach then the STEC.

A select few SR20s have been upgraded to a single (or dual) Garmin GTN 650 touch screen GPS unit.  The GTN 650 is a very nice upgrade.  The Garmin 430 is a great unit, but the learning curve with the GTN 650 is much less.  The touch screen setup makes a little more sense to the new user.

Values on the 2008 SR20 G3 with 1,000 hours or less run somewhere between $220,000-$260,000, depending on total time and equipment.

Diamond DA40 XLS

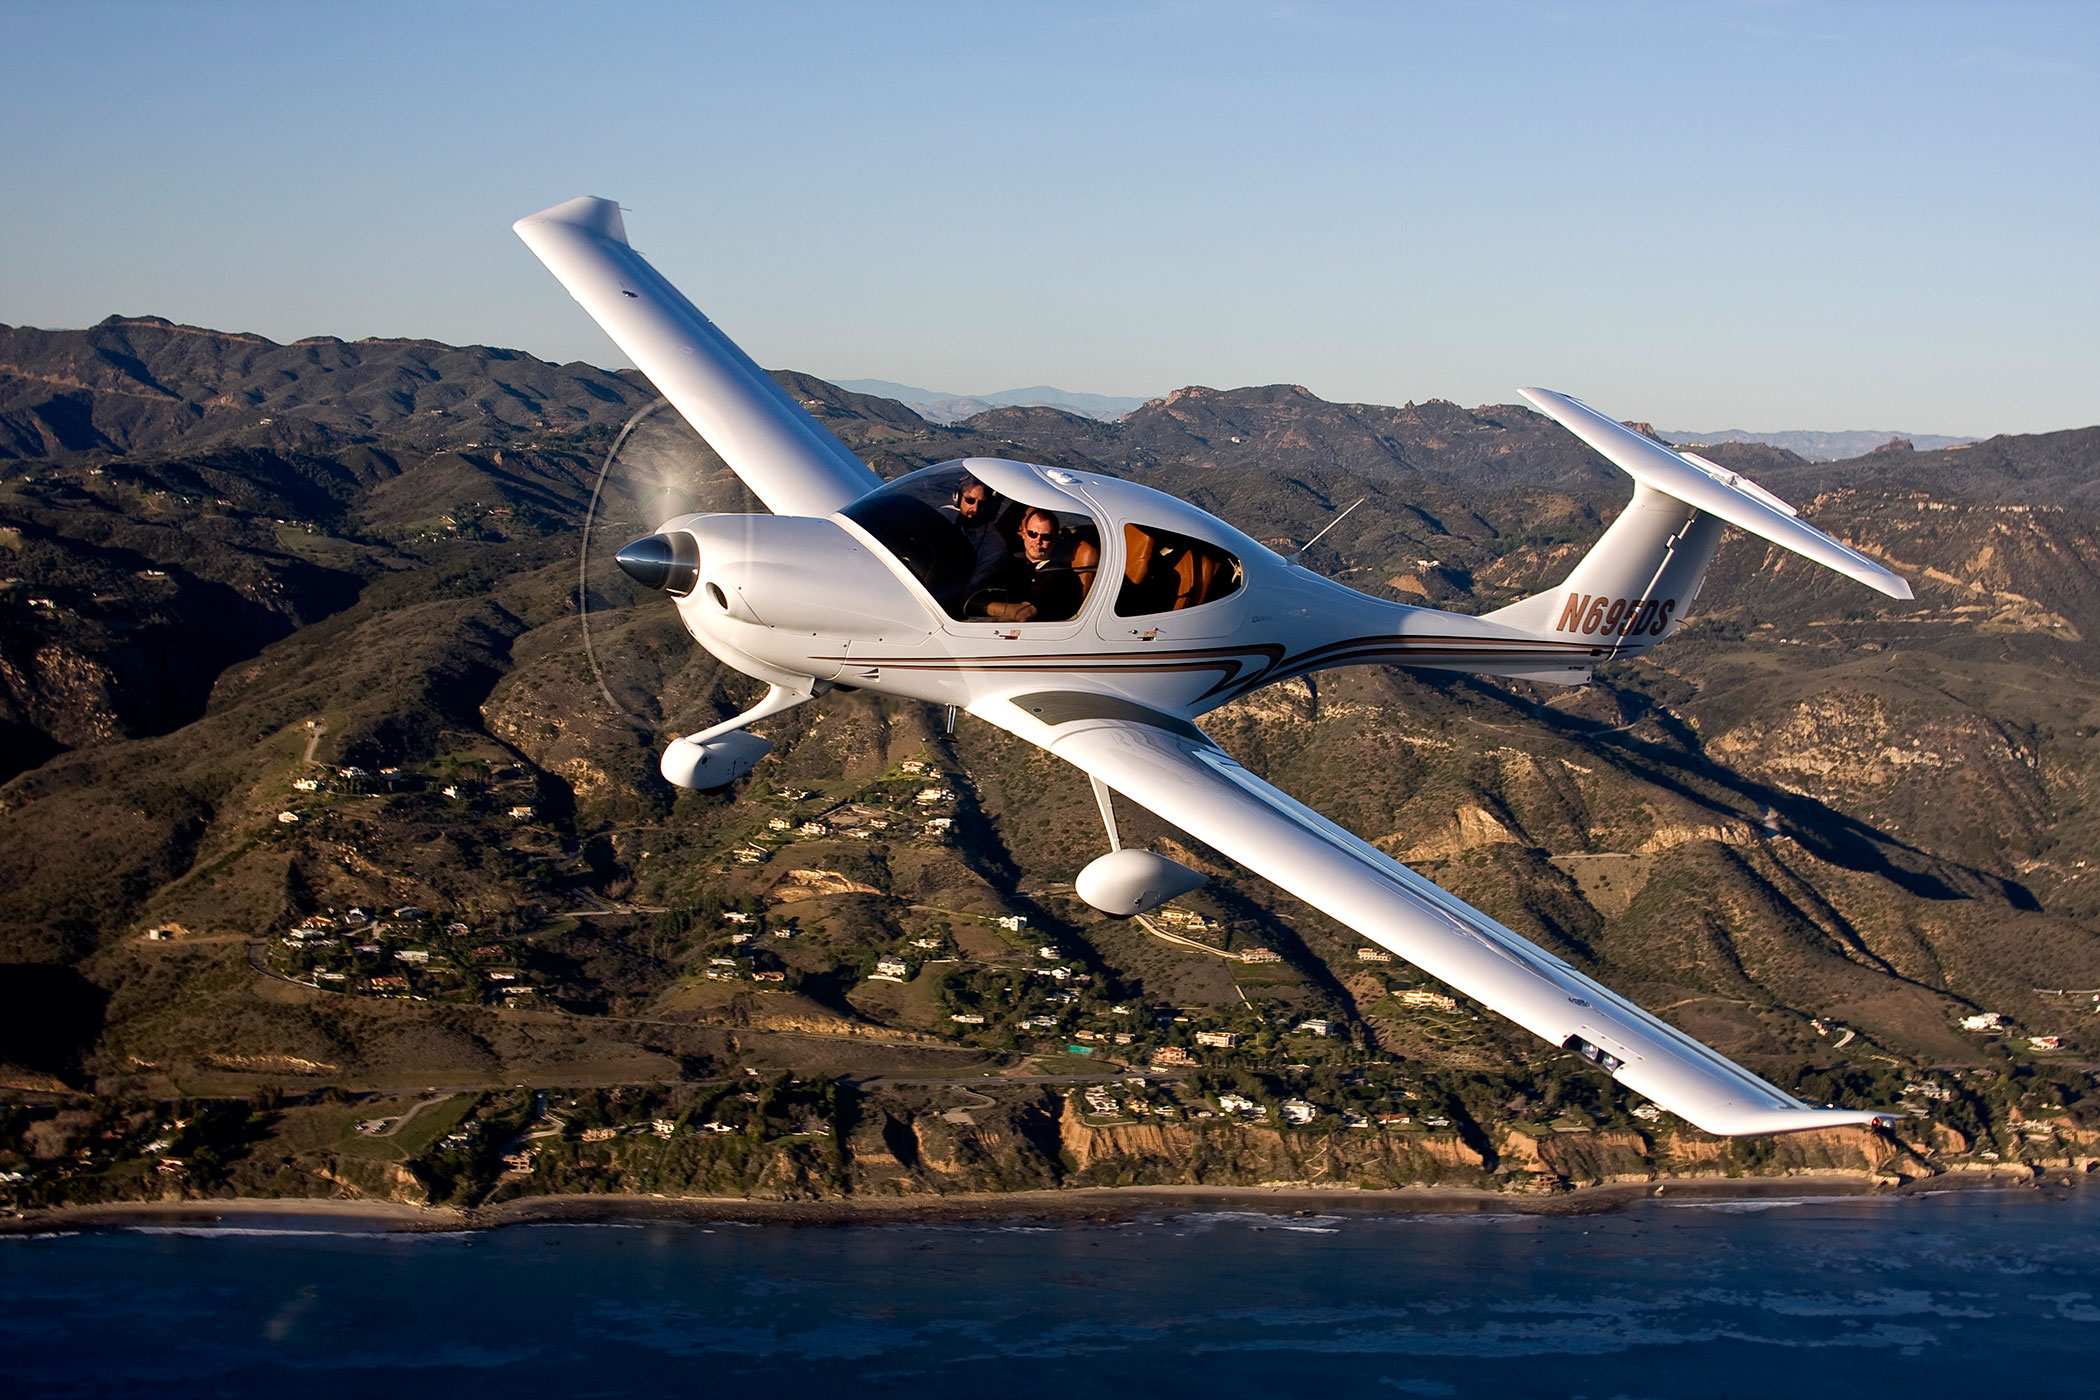
A handful of 2007 XLS DA40s were made, but not many.  Most XLS models you will see are 2008 and later. These are equipped with the Lycoming IO-360, 4 cylinder, 180 HP engine with the Powerflow Exhaust STC. Due to the Powerflow Exhaust, the performance is equal to the SR20.  At 6,000-8,000 feet, you will routinely see 140 knots true at 10-10.5 GPH.  Higher altitudes will give slightly better performance and lower fuel burn.  Like the SR20, the Diamond DA40 XLS comes with either a 2 blade or 3 blade prop.  Go with the 3 blade as the takeoff and climb performance is much better.
Diamond DA40 Comparison

Where the DA40 XLS has a leg up on the 2008 SR20 G3 Avidyne is in the avionics.  Diamond got on the Garmin G1000 train a little sooner than Cirrus did and the XLS is equipped with the G1000 and GFC 700 autopilot.  The Garmin GFC 700 autopilot is the best GA autopilot I have flown with.  It is an amazing piece of equipment.

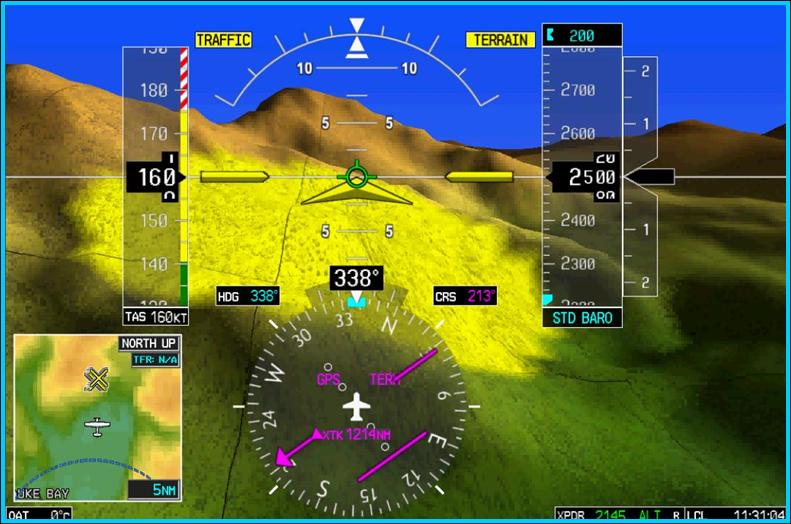
Most, if not all, DA40 XLS models will have both WAAS and Synthetic Vision.  Cirrus didn’t get Synthetic Vision till they put the Cirrus Perspective by Garmin in their aircraft in the middle of 2008.

The DA40 has great visibility due to the massive amount of glass surrounding the pilot.  The big glider wings give it excellent pop off the runway, but quite a different climb pitch attitude than most other piston single engine airplanes.  The airplane does like to float on landing if the pilot doesn’t get the speed right.

Values on the 2008 Diamond DA40 XLS equipped with the Garmin G1000 are around the low-mid $200,000 range.

Comparison

Performance wise, the airplanes are about equal.  Rich of peak, the Cirrus out performs the Diamond, but uses more fuel.  Both have about 5 hour ranges (though the Cirrus has bigger fuel tanks, 56 gallons usable compared to the Diamond long range tanks of 50 gallons usable).  Useful load is slightly better in the Diamond due to the fact that the Lycoming engine has 2 fewer cylinders than the Cirrus.  The Cirrus does have a roomier back seat, a larger baggage area, and a side stick instead of a center stick, but the DA40 has a back door.  The Cirrus also has the CAPS system, though an owner has to do a $15,000 repack every ten years.  Airplane values are about the same.

I give a slight edge to the Diamond, though, and here’s why.  For about the same price, a purchaser can get the Garmin G1000 system complete with the GFC 700 autopilot in the DA40 XLS.  The Avidyne and STEC system is great, but the Garmin system is definitely above and beyond.  To get the Garmin G1000 in an SR20, you’d have to look at the Cirrus Perspective by Garmin, which came out in late 2008, and you’d be paying $300,000 or more for a single engine piston with 200 HP (though you do get Air Conditioning!).

So for my money, I would go for the Diamond DA40 XLS.  I believe you get a little bit more bang for your buck and you don’t lose anything with the DA40 XLS.  Don’t get me wrong, I love the Cirrus, but comparing the two, I think the Diamond DA40 XLS rates a little higher.

Similar Posts

  • The RDD LX7

    Have a Lancair IV-P?

    Want to make it better than a Cirrus or a Cessna TTx?

    Meet the team at RDD creating the LX7.  Just make sure you are sitting down as you are about to be blown away.

    RDD (Research. Design. Development) is a professional building company for the Lancair line of experimental aircraft (Lancair unveiled the Mako at Osh Kosh this summer, which performs slightly less than the advertised values of the LX7, but is available as a new kit).  For those unfamiliar with the experimental world, when an experimental kit is bought, the owner/builder can build the entire aircraft himself, partially build it then send it to a completion center, or have a professional build company put it together.  This last option is what RDD did with Lancair aircraft before Lancair moved from Oregon to Uvalde, TX.

    Once Lancair was sold, RDD started thinking on how to make the IV-P better.  Boy, did they.  What resulted is the LX7.

    The LX7 is a retractable gear, single engine piston, pressurized aircraft that sits 4.  See it on the ramp and it looks like a Lancair or a Columbia.  Sit in the cockpit and you’ll know something is different.

    Starting with the power plant, RDD put a Continental TSIO 550-E engine in the IV-P airframe, giving the airplane 350 HP.  They redesigned the wing to hold 180 gallons of usable fuel and a much better stalling envelope (anyone who has looked at a Lancair IV or IV-P wing knows that there isn’t much wiggle room with angle of attack on those airplanes), lowering the stall speed to 62 knots dirty.

    The cabin is roomier and the panel is beautiful.  Equipped with 2 or 3 Garmin G3X Touch panels (the experimental equivalent of the G2000), plus a GTN 750 and a fully digital backup flight instrument from Grand Rapids, plus ESP technology built in to the autopilot, this plane seems like a pilot’s dream.

    I haven’t even gotten to the best part:  the speed.  Being pressurized, the LX7 has a 25,000 foot service ceiling where it can achieve cruise speeds of 260 knots at best power (24 GPH) and 250 knots at best economy (18 GPH).

    Yes, I did just say 250 knots at 18 GPH in a single engine piston.

    With 180 gallons of fuel.

    Make sure you bring a Travel John.

    Worried about an experimental?  The airframe is equipped with a full BRS system similar to the Cirrus SR22, keeping everyone safe and sound.

    There is one flying LX7 currently and RDD is working on 3 more.  The price tag for the full conversion is $550,000.  The kicker is, the owner has to provide the Lancair IV-P airframe.  There are currently 10 Lancair IV-Ps for sale on Controller, varying in price from $200,000-$400,000, bringing the total price of the project to $750,000-$950,000.  Owners who already have a IV-P or a IV-P kit can send it on over to RDD to get started on their project.

  • Beechcraft Flap Issues

    There has always been something that felt wrong to me about how the walkway on many models of Beechcraft extends onto the right hand flap. I have never felt right about stepping onto the flap as I make my way into and out of my dad’s E33A Bonanza and therefore I generally try to step over top of it and place my foot on the wing instead. But does this effort actually make any difference, or am I just making my self look silly for no reason?

    Nutplate Cracking 3

    Well, as it turns out, it wasn’t such a bad idea. In 2007, a pilot flying a Beech reported a split flap condition. Upon inspection, it was found that there was damage to the actuation rod attachment as well as the nose rib and nut plates. Six other aircraft were checked and found to have similar damage. These findings were submitted to Hawker Beechcraft and in 2008 and they issued a maintenance alert regarding the issue. In 2011 the FAA issued SAIB CE-11-21 (Special Airworthiness Information Bulletin) to alert owners, operators, and maintenance personnel about the problem; specifically warning of the potential for cracking in the nose flap rib (part number 35-165050-84). And while its true that this type of damage is not limited to the right hand flap, it is known to be much more common on that side. Stepping over the flap instead of on it is recommended by both the FAA and Beechcraft as a solution.

    Unfortunately, the flap cracking is known to span a wide variety of aircraft types. A 2011 “Safety Communique” issued by Hawker Beechcraft lists the affected models as:

    -Bonanza 33, 35, and 36
    -Baron 55, 56, 58, and 95
    -Duke 60

    Damage at the flap actuator point (Photo Courtesy of AOPA)
    Damage at the flap actuator point (Photo Courtesy of AOPA)


    According the the FAA, the cracking can been found most commonly on airframes which are between 4,000 and 6,500 hours, but has also been found on aircraft with as few as 2,000.

    So, what do we do about it?

    First off, although much of the damage is difficult to detect without dis-assembly, the paperwork from both the FAA and Beechcraft recommend taking a look at the flap yourself to see if there are any obvious signs of problems. They also suggest taking special care looking in this area during your preflight inspections.

    Next, if you have an airplane which may be susceptible to cracking, talk to who ever is doing your maintenance work and have them look carefully during your annual inspections. I talked to one of the IA’s at our shop who has dealt with this issue before and he told me that most shops will remove the flap and send it away to a repair station to have it fixed. It’s possible that if you purchased your airplane used it may have already had this issue taken care of; a quick look through the maintenance logbooks should clear up any questions.

    Repaired rib next to a damaged rib (Courtesty:  AOPA)
    Repaired rib next to a damaged rib (Courtesty: AOPA)


    Regardless of whether your airplane is known to suffer from this problem or not, do your best to avoid stepping on the flap when getting in and out of the cockpit. It is also a good idea to ask your passengers to do the same as this simple act could end up saving you big headaches and big money someday down the road.

    For more information regarding the flap issues discussed above, talk to your maintenance provider and visit these links:

    ABS Flight Controls, Flaps, and Trim System Inspection, Repair and Rigging Guide (See Page 17)

    ABS Information on SAIB CE-11-21

    Andrew Robinson is a 135 Charter Pilot and flight instructor in Pennsylvania.  He flies Pilatus PC-12s and instructs in Beechcraft Bonanzas.

  • Cirrus Braking Systems: A Hot Topic

    You just bought your Cirrus SR22. You do some flying, and soon find yourself with a brake temp sticker that isn’t white anymore. You remember from your transition training that any color other than white is a no go. You now ponder…. I don’t remember getting on the brakes hard, or riding the brakes while taxiing, but sure enough they aren’t white anymore. You now start thinking that all the horrible rumors of Cirrus brakes are true. They overheat so fast!

    I would like to share some little-known facts about the Cirrus factory equipped braking system. Following the procedures below can help make the brakes last a little longer. There is also a very popular STC that allows upgraded brakes to be installed on all SR series aircraft. More to come on that.

    Notice the Top Yellow sticker is far darker than the Bottom. The Yellow temperature indicator turns at 300 Degrees, while the bottom Blue indicator turns at 330 Degrees. This is an indication to the pilot that if the bottom sticker has turned colors, that the braking system has exceeded 330 degrees and is in need of servicing.

    Above is a photograph of an SR22 G1 braking system with turned brake temp stickers. The first things you may notice is that there are in fact two brake temperature stickers. We can only see the bottom blue sticker from the inspection port on the wheel pants. The other is higher on the caliper; in order to see it, the wheel pant must be removed. This isn’t common knowledge because there is no mention of this additional indicator in the POH.

    Now you may be asking yourself, what can I do to extend the service life of my factory equipped Cirrus brakes? Here are some tips. First, always taxi at 1000 RPM and use the rudder as much as you can while only tapping the brakes. This is not fool proof, since sometimes, depending on the grade, you will have no choice but to utilize brake tapping to keep the aircraft going straight. Taxiing is not typically where the brakes get overheated, though, but this is still a good practice to follow.

    What we tend to see is that the Cleveland brakes are generally overheated on landing. We always recommend to make sure your final approach speed is not excessive, land in the first 1/3 of the runway, and let the aircraft rollout to a smooth stop. What tends to happen is that the aircraft is too fast, and the pilot tries to exit at a certain taxi way, or brakes hard and continues to ride the brakes after landing during taxi. If you do your best to avoid these habits, it will serve you well.

    This braking system remained unchanged all the way until the 2016 G5 Cirrus SR series. Starting in 2016, the factory equipped G5 and G6 Cirrus SR series all now come standard with a single piston hydraulic braking system from Beringer. The Cirrus Beringer brakes far exceed the braking power and durability of the old system. The new system is more robust, withstands heat better, and is is very well built. There is also an option for an upgraded dual caliper system to increase durability and stopping power. A braking system STC for the older Cirrus G1 through early G5 models was created to upgrade those airplanes to the better stopping power and cooling of the Cirrus Beringer brakes.

    Seen above is a page from a Beringer catalog highlighting the Cirrus SR series STC kits. Your local Cirrus service center will be able to quote prices for the kits. We have over 1000Hrs spent behind Beringer equipped Cirrus aircraft and the difference is quite apparent. The pilot has better control of the aircraft, no spongy pedal, and the confidence to get the plane stopped without possibly overheating the braking system. This, in our opinion, is one of the best upgrades you can do to your Cirrus.
    Above is what an STC upgraded braking kit from Beringer looks like, as well as the new temperature indicator for the pre/post flight inspection. Notice the black spot on the left hand picture. These brakes have been overheated.

    One other difference for a pilot to note is that once upgraded to the Cirrus Beringer brakes, there is only one temperature indicator and it changes color at a whopping 450 Degrees Fahrenheit! Needless to say, it can handle some heat! The new temperature indicator is now Orange in color and turns grey/black when overheated.

    On the left are the original Cirrus factory brakes. On the right is the caliper to the new Beringer brakes for a Cirrus.
    Dual Caliper Cirrus Beringer Brakes

    The Cirrus Beringer brakes upgrade is quite a step up in the world of slowing down. However, this doesn’t mean that they are completely issue free. There is one little-known problem with Beringer brakes that is not that big of a deal and can be fixed with relative ease.

    The rotor on the Beringer braking systems is “free floating,” meaning it is not necessarily “fixed” in position when secured down to the spindle. It is “keyed” into the wheel rim with the male and female side interlocking.

    The brakes occasionally will get noisy, causing a “knocking” noise when brakes are applied. This noise is caused by the small metal tabs that tighten up the space between the wheel and the brake rotor. This is so the small tabs wear with use instead of the aluminum rim that they are fixed to. So, if your Beringers are making a knocking noise when brakes applied, this is most likely your culprit.

    These gaps above are the “keyed” position where the rotor finds home in the rim. Without these tabs that wear with use, we would be replacing the rim more often than the much cheaper replaceable tabs.

    It is highly recommended to upgrade your original Cirrus factory brakes to the new Beringer braking system. You will deal with less maintenance, less chance of a brake overheat, and less confusion on whether or not your brakes are airworthy. For more info, you can check out the Cirrus website for the single or dual caliper Beringer brakes.


    Zach Anderson is a Cirrus Standardized Instructor Pilot (CSIP) for Texas Top Aviation. Zach comes from a auto mechanic background and is very familiar with the ins and outs of maintenance. He started working for Texas Top Aviation in December 2020.

  • The Glass Panel Cockpit Seminar

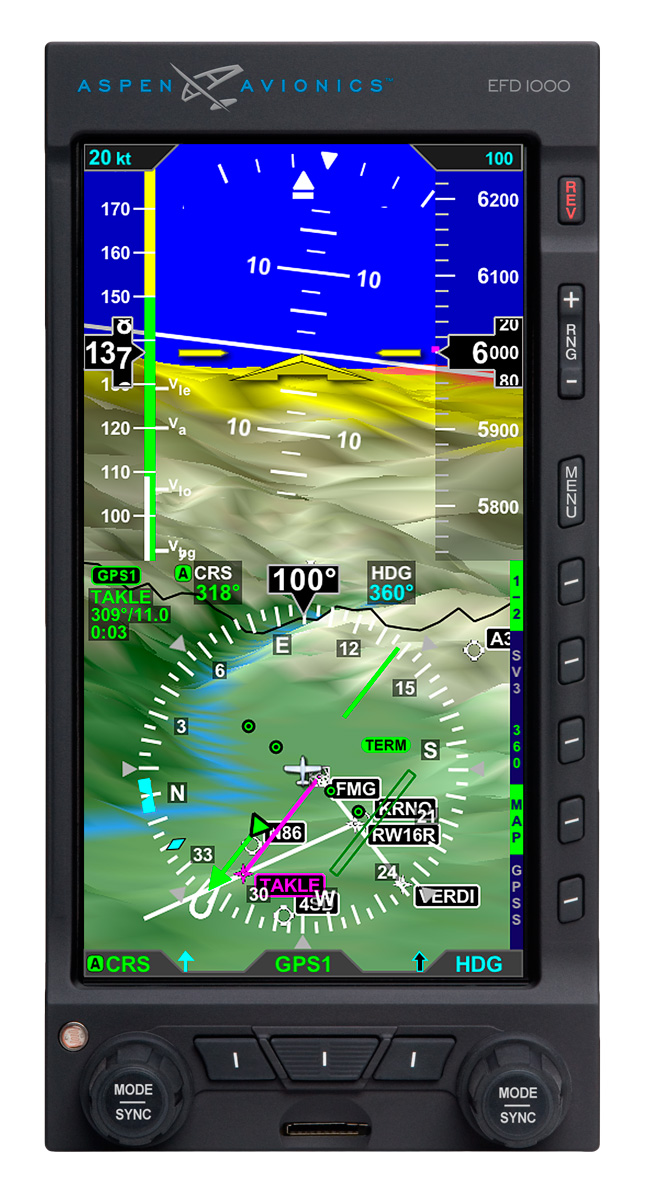
    Have you looked longingly at the Aspen PFD or Garmin G500, imagining those beautiful glass panels set in your airplane?  Think it’s too advanced for your flying skills?  Well, think again!  Hank Gibson of Texas Top Aviation will be hosting a seminar at the Redbird Skyport FBO at the San Marcos Airport (KHYI) on Thursday, September 25th  at 7pm to enlighten everyone on all the different glass panel and modern GPS options out there.

    Aspen 2500 The Glass Panel Cockpit Seminar

    No panel is too complex!  No GPS is too complicated!  Come hear about how you can upgrade your steam gauge airplane to a modern, glass panel cockpit that will be the envy of all your pilot buddies.

    The seminar begins at 7pm in the large conference room at the Redbird Skyport.  Come see this beautiful facility which hosted the AOPA Fly In this past April.  There will be two drawings for free flight training in your airplane, so make sure you get your entry in once you arrive.  WINGS credit will also be given.

    Redbird welcomes pilots flying in for the event.  If you are flying in, please show your support for Redbird by purchasing fuel!  

    Signup is required for the event.  To sign up, please click here.

    We hope to see you there!!!

  • Iridium Zoleo Allows In Flight Messaging

    Satellite communications company Iridium now has a really nifty little product called the Iridium Zoleo Satellite Communicator. Most pilots who fly newer Cirrus Aircraft will be familiar with the company name Iridium. Iridium manufactures the built in satellite phone that is an option in all Cirrus after 2012. The Iridium Zoleo brings messaging capability to any airplane in a cost effective and simple manner.

    The Iridium Zoleo is a device roughly the size of a walkie-talkie. It links up with the Iridium satellite network to send and receive messages and emails anywhere in the world (or air!). To make things easier, the Iridium Zoleo links with a phone via Bluetooth to a free app that allows the user to write a message directly from the phone and send through the device.

    The Iridium Zoleo is affordable at only $200. A plan has to be purchased in order to send messages, with 3 different levels of subscription offered: 25 messages a month for $20, 250 messages a month for $35, or unlimited messages per month for $50. Each plan offers a $6 upgrade to allow unlimited worldwide breadcrumbs and tracking.

    The Iridium Zoleo has a 200 hour battery life and is designed to be shock, dust, and water resistant. Plus, the device has a built in SOS that can be used anywhere in the world. So, you can take it rafting down the Grand Canyon, hiking in the Andes, flying over the Atlantic, or SOS if you are stranded in the middle of the Indian Ocean.

    Click here to read more about Zoleo and here to read more about the Zoleo plans.

  • Dallas Airspace Changes

    As was the case with the Class B Airspace around Houston several months ago, the Class B Dallas airspace has been overhauled as well.  These changes were implemented at the last database update on September 18th.  If you’ll be flying into any of the Dallas airspace airports IFR, make sure you have current charts and your GPS databases are updated.

    According to AOPA, 14 SIDs and STARs were deleted, a number of new procedures were added, and changes were made to most of the other remaining procedures.  The new procedures in the Dallas airspace consist mainly of RNAV procedures for turboprops and jets, so most GA aircraft won’t be affected by those.  The legacy procedures that remained in place over went changes, including new frequencies, so piston aircraft going into the Dallas airspace are still affected.

    From AOPA, departures from Dallas Love (KDAL) that file their flight plan with special equipment /G in their flight plan will automatically be given an RNAV departure procedure.  This does not appear to affect piston aircraft as all the new RNAV SIDs in the Dallas airspace are for turboprops or turbojets.

    The reason for the changes to the Dallas airspace?  Similar to the changes in Houston, these airspace changes are meant to streamline departures and arrivals in the Dallas airspace area, reduce controller workload, and give continuous descent angles for arriving high altitude traffic.

    Don’t be surprised the next time you are in the Dallas airspace area if you receive a clearance that states:  “Descend via the arrival.”  In that case, just check the chart and aim for the appropriate altitudes at the appropriate fixes.  As we move closer to the ADS-B requirement, I believe we will see more and more of these terminal procedure overhauls, so be prepared and keep those charts and databases up to date.

Leave a Reply

Your email address will not be published. Required fields are marked *