Garmin Perspective Missed Approaches

Are you a Cirrus pilot with a Garmin Perspective?  Still can’t figure out the use of the go around button?  Read on!

When it comes to flying an instrument approach, we as pilots are assuming we are going to land.  Most of the time, we won’t even take off if the ceilings or visibilities are below the minimums for an approach.  95% of the time, we do land.

There is the other 5% of the time when something unexpected happens, whether we get a full scale deflection, or we don’t see the runway at the published minimums, and we have to perform a missed approach.

When instructing, missed approach procedures are actually what I see the most deficiency in when instructing an instrument rated pilot.  It’s not necessarily configuring the airplane for a missed approach procedure, it’s the button pushing involved in setting up the GPS properly.  When a pilot isn’t proficient in the button pushing, that button pushing distracts the pilot from actually flying the airplane, which can lead to a dangerous situation.

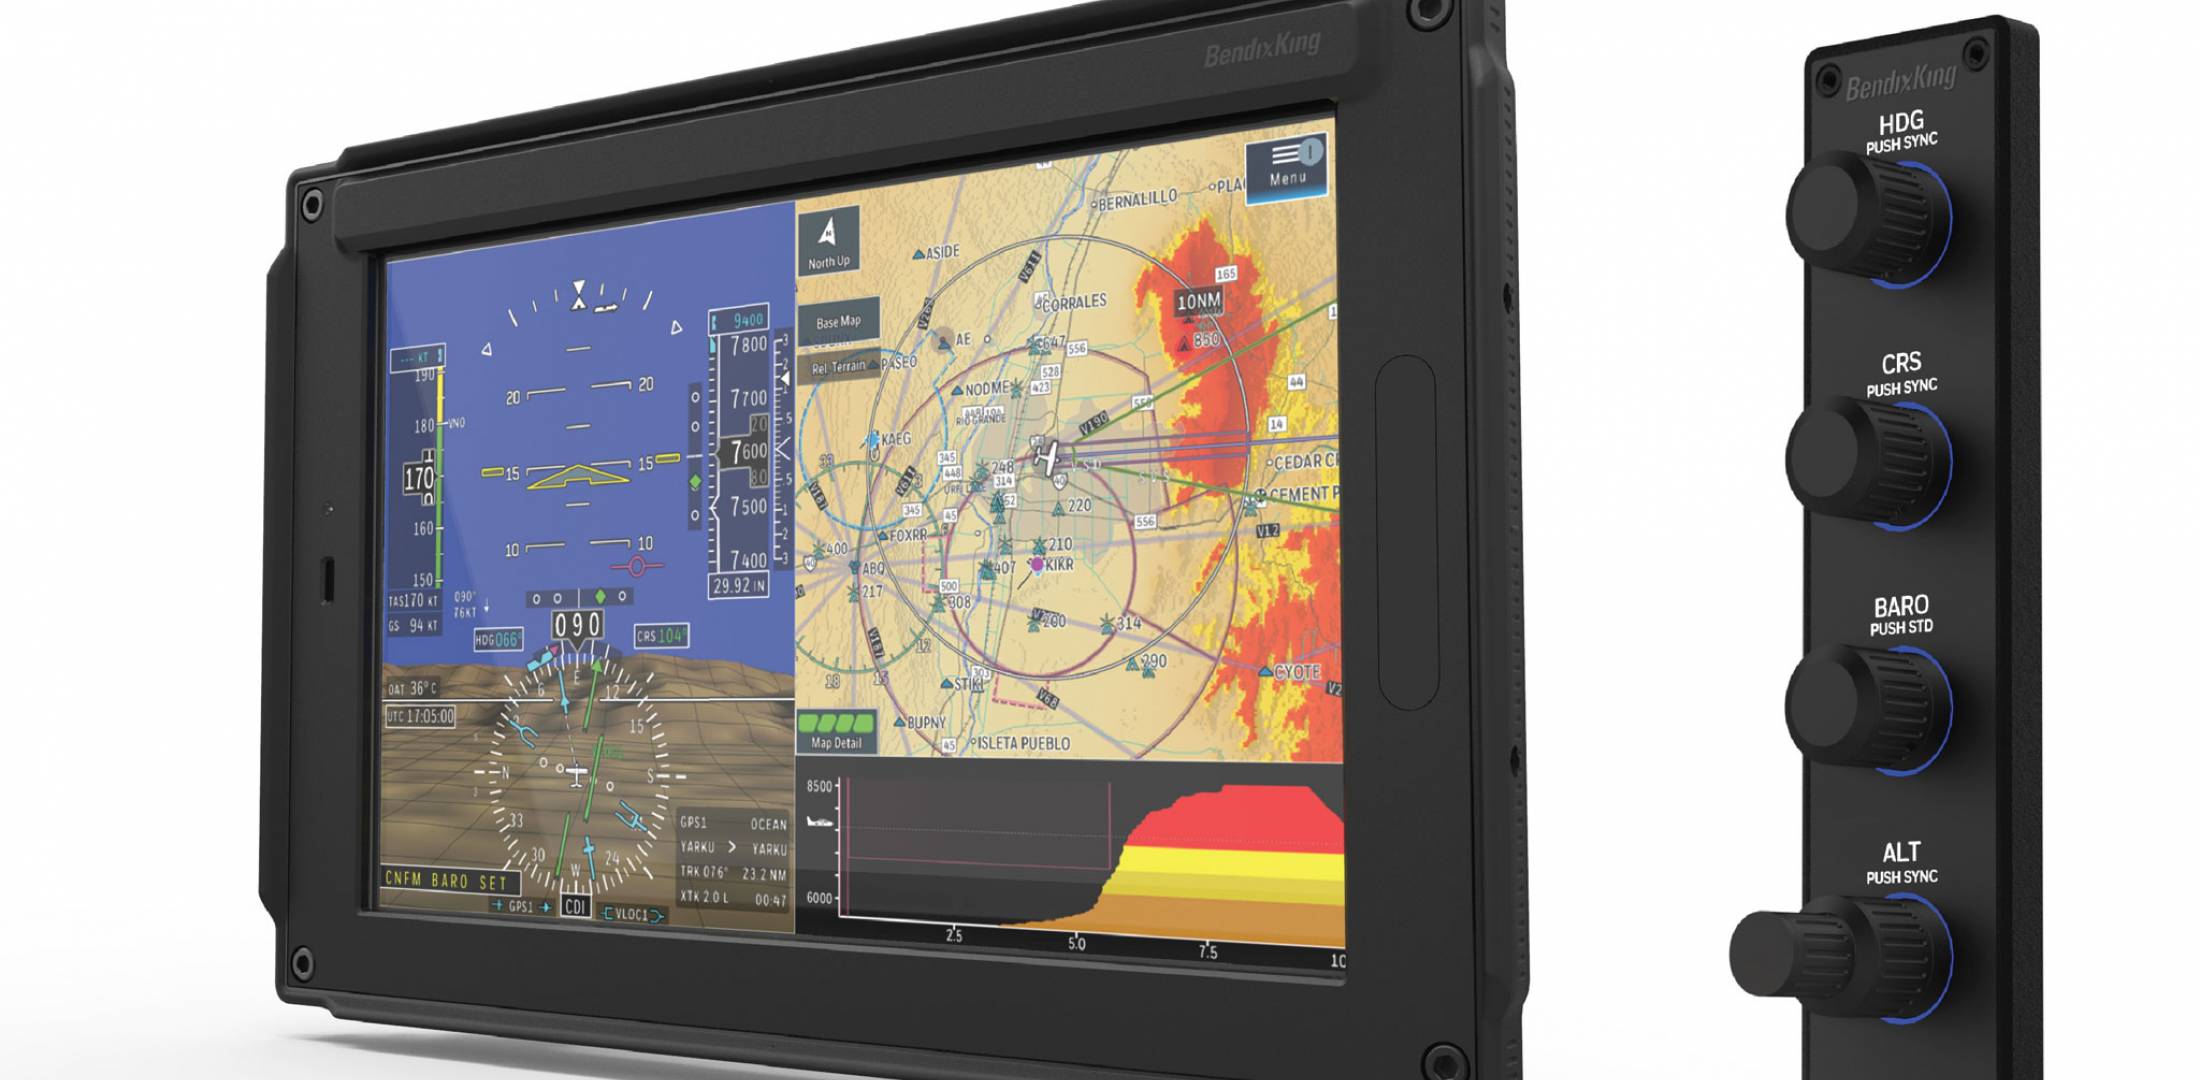
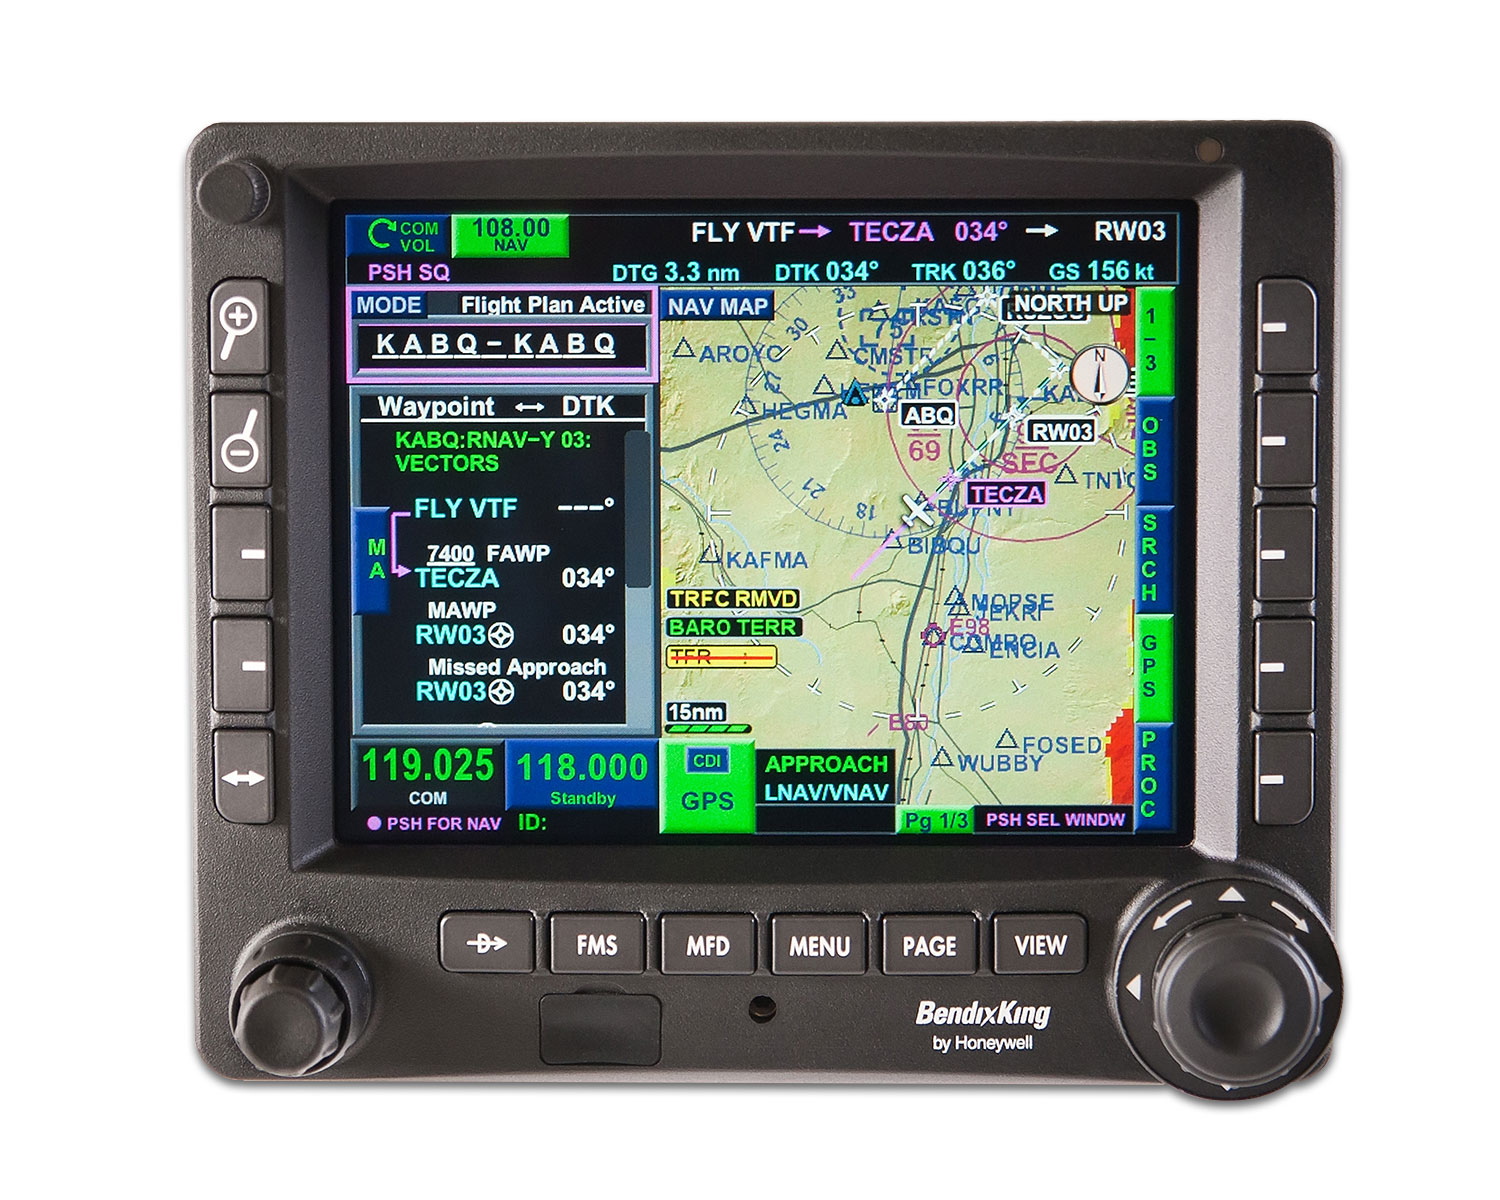
I am going to spend a few articles on flying a missed approach with different GPS and different autopilot configurations.  Today, I will be addressing the Garmin Perspective with a GFC 700 Autopilot, which is what all Cirrus Aircraft after 2009 are equipped with.

The Garmin Perspective Missed Approach Procedure

Once the decision to execute a missed approach has been made, here is the step by step procedure:

  • Full Mixture and Full Throttle
  • Simultaneously push the Go Around button on the underside of the throttle.  This does the following:
    • Sets the Garmin Perspective Flight Director to Go Around Mode (7.5 degrees pitch up and wings level)
    • Takes the Garmin Perspective GPS out of Suspend Mode
    • Switches the CDI back to GPS mode if it is in a different mode
    • Garmin Perspective with GFC 700 Autopilot stays on
  • Flaps up
  • Confirm airplane is climbing
  • Set altitude bug for missed approach altitude (assuming it isn’t there already)
  • Set NAV mode and IAS mode on the Garmin Perspective GFC 700 Autopilot
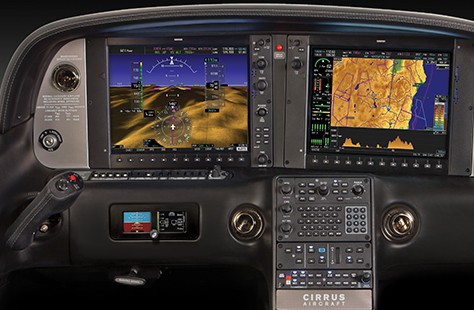
Garmin perspective

That’s it.  When Garmin and Cirrus got together to create the Garmin Perspective with the GFC 700 Autopilot, they tried to make as simple but robust system as possible.  Once you have the procedure down for the right buttons to press, then the procedure is relatively straight forward.

Similar Posts

  • The Importance of a Pre-Buy Inspection

    There are multiple ways to save money during the aircraft buying process. To start, since you are buying an airplane, you have some means of positive income in order to afford an airplane. Airplanes come in all different shapes and sizes and usually, an airplane can be found to fit almost any budget, whether is a $20,000 Texas Taildragger all the way up to a multi-million dollar jet.

    One way is to stay within your budget. There will always be a shinier, newer, lower time airplane that is just above where you set your budget at. Don’t reach for it! There is a reason you set your budget where you did.

    Another way is to shop around and get multiple insurance quotes. Your agent is in charge of engaging underwriters who are going to evaluate you and your airplane as risks, then price a policy accordingly. With most airplanes, you should get multiple quotes to see what fits you best. Beware though, because sometimes, you can get a lower rate, but it will require more training, so you end up shelling out more money in the long run. If you find a policy you like, but the training seems skewed or the liability isn’t high enough, you can always have your agent ask the underwriter to modify the quote. You are still in charge.

    Finally, if you evaluate your mission and see that your budget can’t afford an airplane that carries enough or goes fast enough, look into taking on a partner or two to help with costs. Be thorough in vetting your potential partners as a good partnership is worth it’s weight in gold, but a bad one is downright unpleasant and often times hard to get out of. Find pilots who have the same mindset & personality you do and treat their stuff the same way you do. Try to take a ride in their car or go to their house, then you’ll see what kind of shape they will keep the airplane in.

    The best way to cost yourself more money in the aircraft buying process?

    Don’t do a pre-buy inspection.

    A pre-buy inspection takes place after negotiations and once a Purchase Agreement is in place. You are pretty much set on the airplane, you just want a third party mechanic who is knowledgeable on that make and model of airplane (and this is a very important point) to go over it and make sure that it is sound from a mechanical standpoint. The buyer, you, want someone who has never had an association with the seller since the mechanic will be your representative in the process and you want him answering to you.

    If you have used a broker or a buyer’s agent, that person should have already gone through the logbooks for you, so you’ll have a basic idea of the history of the airplane. However, knowledgeable mechanics find things all the time that turn out to be the responsibility of the seller to repair since it happened on their watch. Without a pre-buy, you would end up having to pay for that in the not to distant future.

    Here is an example of where not doing a pre-buy can cost a lot of money.

    An owner bought a late ’70s model Citation ISP, one of the very first Citations ever made. It had been based in Florida (salt & humidity + aircraft don’t mix well) for a while. The buyer didn’t use a broker, but thankfully had someone look through the maintenance history of the airplane. Since it was so old, the logbook reviewer didn’t have time to do anything but a basic overview, but he gave the thumbs up to the buyer.

    The buyer decided he just wanted a boroscope inspection and the seller’s mechanics to look over the airplane. Remember what I said before about a third party mechanic? Well, these mechanics didn’t do a very thorough job. When the buyer took delivery of the plane, after about 10 hours of flying, he already had an $18,000-$25,000 maintenance bill.

    You may say, well that’s a jet. Jet’s have specialized maintenance and need a more extensive pre-buy inspection.

    On the contrary, in my 8 years in the training business, I have seen Cirrus, Piper PA46s, Bonanzas and several other piston engine airplanes that either didn’t have a pre-buy done or the pre-buy was done by someone who didn’t know that airframe. Lo and behold, things started breaking and adding up very quickly that would have been discovered on a good pre-buy inspection.

    Don’t skip on the pre-buy inspection. They usually run a few thousand dollars, but save tons of money in the long run.

  • Redbird Skyport Bluebonnet Fly-In at KHYI

    Bluebonnet Fly In

    Come out to Redbird Skyport at the San Marcos Municipal Airport on Saturday, May 30th for the Bluebonnet Fly-In.  Hank Gibson from Texas Top Aviation will be giving a safety presentation at 2pm in the large conference room entitled “Is The Approach Activate?  Flying Garmin Approaches.”

    Join Texas Top Aviation and Redbird Skyport as we open the summer together at the Bluebonnet Fly-In.

    To Register for the Safety Seminar, please click here.

  • The New Diamond DA50 Line

    Diamond has joined the high performance single engine fray with the announcement of it’s new line of DA50 models.  Cirrus currently has the cornered the market on easy flying, fixed gear, speedy HP single engine airplanes.  But, (assuming that the Diamond DA50 gets certified in a timely manner and the appeal of the Jet A sipping SMA diesel engines appeals to a broad enough audience), Cirrus could have some competition soon.

    The proposed Diamond DA50 will come in 3 different configurations, the IV, the V, and the VII.  The IV and the V will each burn under 10 GPH of Jet A. The VII will burn about 14 GPH of Jet A, using the same amount of fuel as a normally aspirated SR22, but at cheaper Jet A prices (plus the discount of fuel companies like CAA or AEG Fuels).

    According to AOPA, all 3 Diamond DA50 models will be equipped with the Garmin G1000 NXi panel and the GFC 700 Autopilot. The Diamond DA50 -V will be the first model expected out next year, with the IV to follow soon after.  The wait for the VII will be a bit longer.

    In testing, the Diamond DA50 -V showed true airspeeds of 173 knots with an expected range of almost 1100 miles.  Gone is the bubble canopy that greatly increased the green house affect of the airplane.  It’s replaced by two suicide doors, similar to what is on the Cessna TTx.  The single back seat door on the pilot’s side remains.

    Carrying capacity will be greater than the Cirrus as well.  The Diamond DA50 -V will have a gross weight of around 4,000 pounds, giving it a useful load of 1,250 pounds, giving pilots a lot more flexibility in weight carrying.  The Diamond DA50 exterior will be fully customizable as well as advances in carbon fiber paint and decals has come a long way since the early 2000s when white was the only option.

    Here are some basic specs for each DA50 model:

    Diamond DA50 -IV

    • 230 HP
    • 4 seats
    • Less than 10GPH fuel burn

    Diamond DA50 -V

    • 260 HP
    • 5 seats
    • 10 GPH Fuel Burn

    Diamond DA50 -VII

    • 360 HP
    • 7 seats
    • Retractable Gear
    • Turboprop option

    I am most excited to see the performance numbers on the VII model when it comes to market.  With a 360 HP engine and retractable gear, it seems like it will be a screamer.

    There are also rumors that Diamond is working on a rotorcraft, the Dart 280, but there isn’t a flying model at the moment.

  • Merry Christmas 2018

    So the Word became human and made his home among us. He was full of unfailing love and faithfulness. And we have seen his glory, the glory of the Father’s one and only Son (John 1:14).

    From the Texas Top Aviation family (Hank, Kelsey, Everett, Cooper, and Cord) to your family, we wish you a Merry Christmas!  We are thankful for how the Lord has blessed us this year.  We pray for blessings on your family this coming year.

    Keep the wheel side down and the sunny side up!

    Merry Christmas!

  • Calm Wind Landings

    Some of a pilot’s favorite words are heard on the ATIS:  “Winds, Calm.”  These words set off all sorts of happy bells and hallelujah choruses.  Most pilots spend their lives fighting the winds.  On those rare days when the winds are calm, great happiness ensues.

    Limp Wind Sock

    But, are calm wind landings more complicated then everyone thinks?  Well, they can be if the proper planning doesn’t go into them.

    Let’s think about wind.  We have surface wind and we have winds aloft. Sometimes the surface winds are calm.  When this happens, certain airports have preferred calm wind runways which are supposed to be used in these conditions.  Winds aloft are almost never calm.  95% of the time, there is some kind of wind even 100-200 feet above the surface.

    Here is the question pilot’s face when coming into an airport with calm winds: which runway do I use?  Do I use the calm wind runway?  Do I use the runway that is easiest to enter the pattern for?  Do I use the one with the shortest taxi?

    A lot of technologically advanced aircraft have a wind indicator on the PFD. This tool is often forgotten in calm surface wind conditions.  On the contrary, this is probably the most important tool a pilot can have when figuring out which runway to use when the winds are reported calm.

    Here’s why.  That wind indicator is showing the pilot what the winds aloft are. The winds aloft should determine what runway is going to be used.  If the wind indicator is depicting a south wind, then a south runway should be used.  Even if it is a 5 knot wind at pattern altitude, it’ll still be a headwind coming in on final approach.  If the north facing runway is used, that same 5 knot headwind can blow an airplane halfway down the runway before the ground speed drops off enough for it to land.

    So, the next time you are coming into an airport and the winds are reported calm, take a look at your wind indicator on your PFD when deciding which runway to use.  It’ll probably save a few go arounds!

  • Non-Standard Alternate Minimums

    When filing an IFR flight plan, part of the process is determining whether or not an alternate airport is required.  An alternate airport is required when the following conditions exist(as is outlined by the FAA in 91.169 (b)):

    The weather conditions at the destination airport

    • From 1 hour before your arrival time to 1 hour after your estimated time of arrival, the weather conditions are forecast to be below
    • 2,000 Feet AGL and/or
    • 3 statute miles visibility

    Let’s paint a scenario.  You are traveling from KSAT (San Antonio International Airport) to KHBV (Jim Hogg County Airport in Hebbronville, TX).  You start to file your flight plan and get down to the space where you put your alternate in.  Since Laredo (KLRD) is the closest airport with a TAF, you check Laredo’s TAF and see that the forecast conditions there at your ETA are ceilings 1,500 and visibility of 2sm.

    Based on this information, you need an alternate airport.  Now, the process of finding one.  In Part 91.169 (c), the forecast conditions at the alternate airport must be at or above:

    • 600 Feet AGL and 2sm visibility for a precision approach, or
    • 800 Feet AGL and 2sm visibility for a non-precision approach

    Alright, now we have some guidance.  Laredo is the nearest airport to KHBV, and we know the forecast from the above TAF showing the conditions are forecast to be above the alternate minimums outlined in Part 91, so let’s pick Laredo.  All done?

    Not quite.  A lot of airports have Non-Standard Alternate Minimums.  How do you figure out if they do?  The easiest way is to look at any approach plate for the airport.  In the notes section of the government plates, there will be a black triangle with an A in it.  That means there are non-standard alternate minimums published for that airport (in layman’s terms, different than the ones stated above in Part 91).

    ILS 17R KLRD

    Now the question is, where do you find those non-standard alternate minimums?  On Foreflight:

    • Go to the Airports page
    • Tap the Procedures button
    • Tap the Arrival button
    • Tap the Alternate Minimums option

    This brings up the IFR Alternate Minimums document for all the airports with non-standard alternate minimums in that area.  Scroll through to find Laredo.

    Non-Standard Alternate Minimums

    As you can see, there are several notes there concerning the different approaches into Laredo.  For our example, we’ll say the winds are out of the south and we are planning on flying the ILS 17R if we cannot get into KHBV and have to come to Laredo.  The note there is that the Alternate Minimums for the ILS 17R are actually 700 AGL ceilings and 2sm instead of the above state 600 AGL ceilings and 2sm, the procedure is NA if the tower is closed, and NA if the local weather isn’t received.

    What does this tell us?  If the forecasted ceilings at Laredo were below 600 AGL instead of 700 AGL, we would not be able to use LRD as an alternate airport if we were planning on flying the ILS 17R.  The RNAV approaches are all fair game, so a GPS equipped aircraft would have no problem.

    On top of that, some approaches at a certain airport are not authorized to be used in the case of the airport being used as an alternate.  At the Galveston airport (KGLS), the ILS 14 is NA as an alternate procedure, but all the RNAV approaches are available.


    Picking an alternate seems simple at first, but there are actually a lot of things to consider in the process.

    Need help remember all this stuff?  AOPA has put out a kneeboard sheet that helps all IFR pilots remember those important things when it comes to IFR flying.  Check it out here.

Leave a Reply

Your email address will not be published. Required fields are marked *