Looking for something different to do this Spring Break week?
Consider checking out the First Annual MODAERO NextGen Aviation Festival in Conroe, TX. It’s a fly in event, complete with camping opportunities, at the Lone Star Executive Airport, KCXO. The festival itself is being held right next door to the airport at the Lone Star Convention Center.
What’s the draw, do you ask? Not only are there going to be representatives from all the major aircraft manufacturer’s (along with tons of airplanes), there will be a multitude of speakers and live music. There are even drone races! The live music sets the event apart from the well known national fly in events like Osh Kosh and Sun N Fun. It’s a different type of Festival, geared toward the younger generation of pilots.
For more information or to register, check out MODAERO’s website. The festival runs from Wednesday through Saturday, March 16-19.
As was the case with the Class B Airspace around Houston several months ago, the Class B Dallas airspace has been overhauled as well. These changes were implemented at the last database update on September 18th. If you’ll be flying into any of the Dallas airspace airports IFR, make sure you have current charts and your GPS databases are updated.
According to AOPA, 14 SIDs and STARs were deleted, a number of new procedures were added, and changes were made to most of the other remaining procedures. The new procedures in the Dallas airspace consist mainly of RNAV procedures for turboprops and jets, so most GA aircraft won’t be affected by those. The legacy procedures that remained in place over went changes, including new frequencies, so piston aircraft going into the Dallas airspace are still affected.
From AOPA, departures from Dallas Love (KDAL) that file their flight plan with special equipment /G in their flight plan will automatically be given an RNAV departure procedure. This does not appear to affect piston aircraft as all the new RNAV SIDs in the Dallas airspace are for turboprops or turbojets.
The reason for the changes to the Dallas airspace? Similar to the changes in Houston, these airspace changes are meant to streamline departures and arrivals in the Dallas airspace area, reduce controller workload, and give continuous descent angles for arriving high altitude traffic.
Don’t be surprised the next time you are in the Dallas airspace area if you receive a clearance that states: “Descend via the arrival.” In that case, just check the chart and aim for the appropriate altitudes at the appropriate fixes. As we move closer to the ADS-B requirement, I believe we will see more and more of these terminal procedure overhauls, so be prepared and keep those charts and databases up to date.
As was the case with the Class B Airspace around Houston several months ago, the Class B Dallas airspace has been overhauled as well. These changes were implemented at the last database update on September 18th. If you’ll be flying into any of the Dallas airspace airports IFR, make sure you have current charts and your…
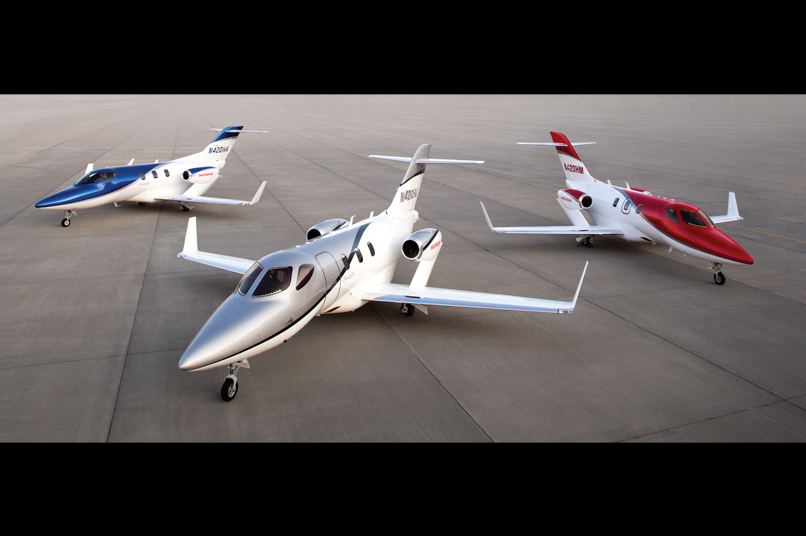
AOPA recapped the year in the general aviation industry recently. A lot happened in 2016 including the certification of both the Cirrus Vision Jet and the Honda Jet. Several other manufacturers debuted new models, including Mooney with their Ovation Ultra and it’s 2 doors and Cub Crafters with their faster XCub.
To read the full year in review, you can read the AOPA Article here.
AOPA recapped the year in the general aviation industry recently. A lot happened in 2016 including the certification of both the Cirrus Vision Jet and the Honda Jet. Several other manufacturers debuted new models, including Mooney with their Ovation Ultra and it’s 2 doors and Cub Crafters with their faster XCub. To read the full…
Chuck’s Aircraft, the Austin Cirrus Service Center located at the Austin Executive Airport (KEDC), is celebrating it’s 10 year anniversary this month. What better what to celebrate than to fly in for Texas BBQ? That’s what they thought too!
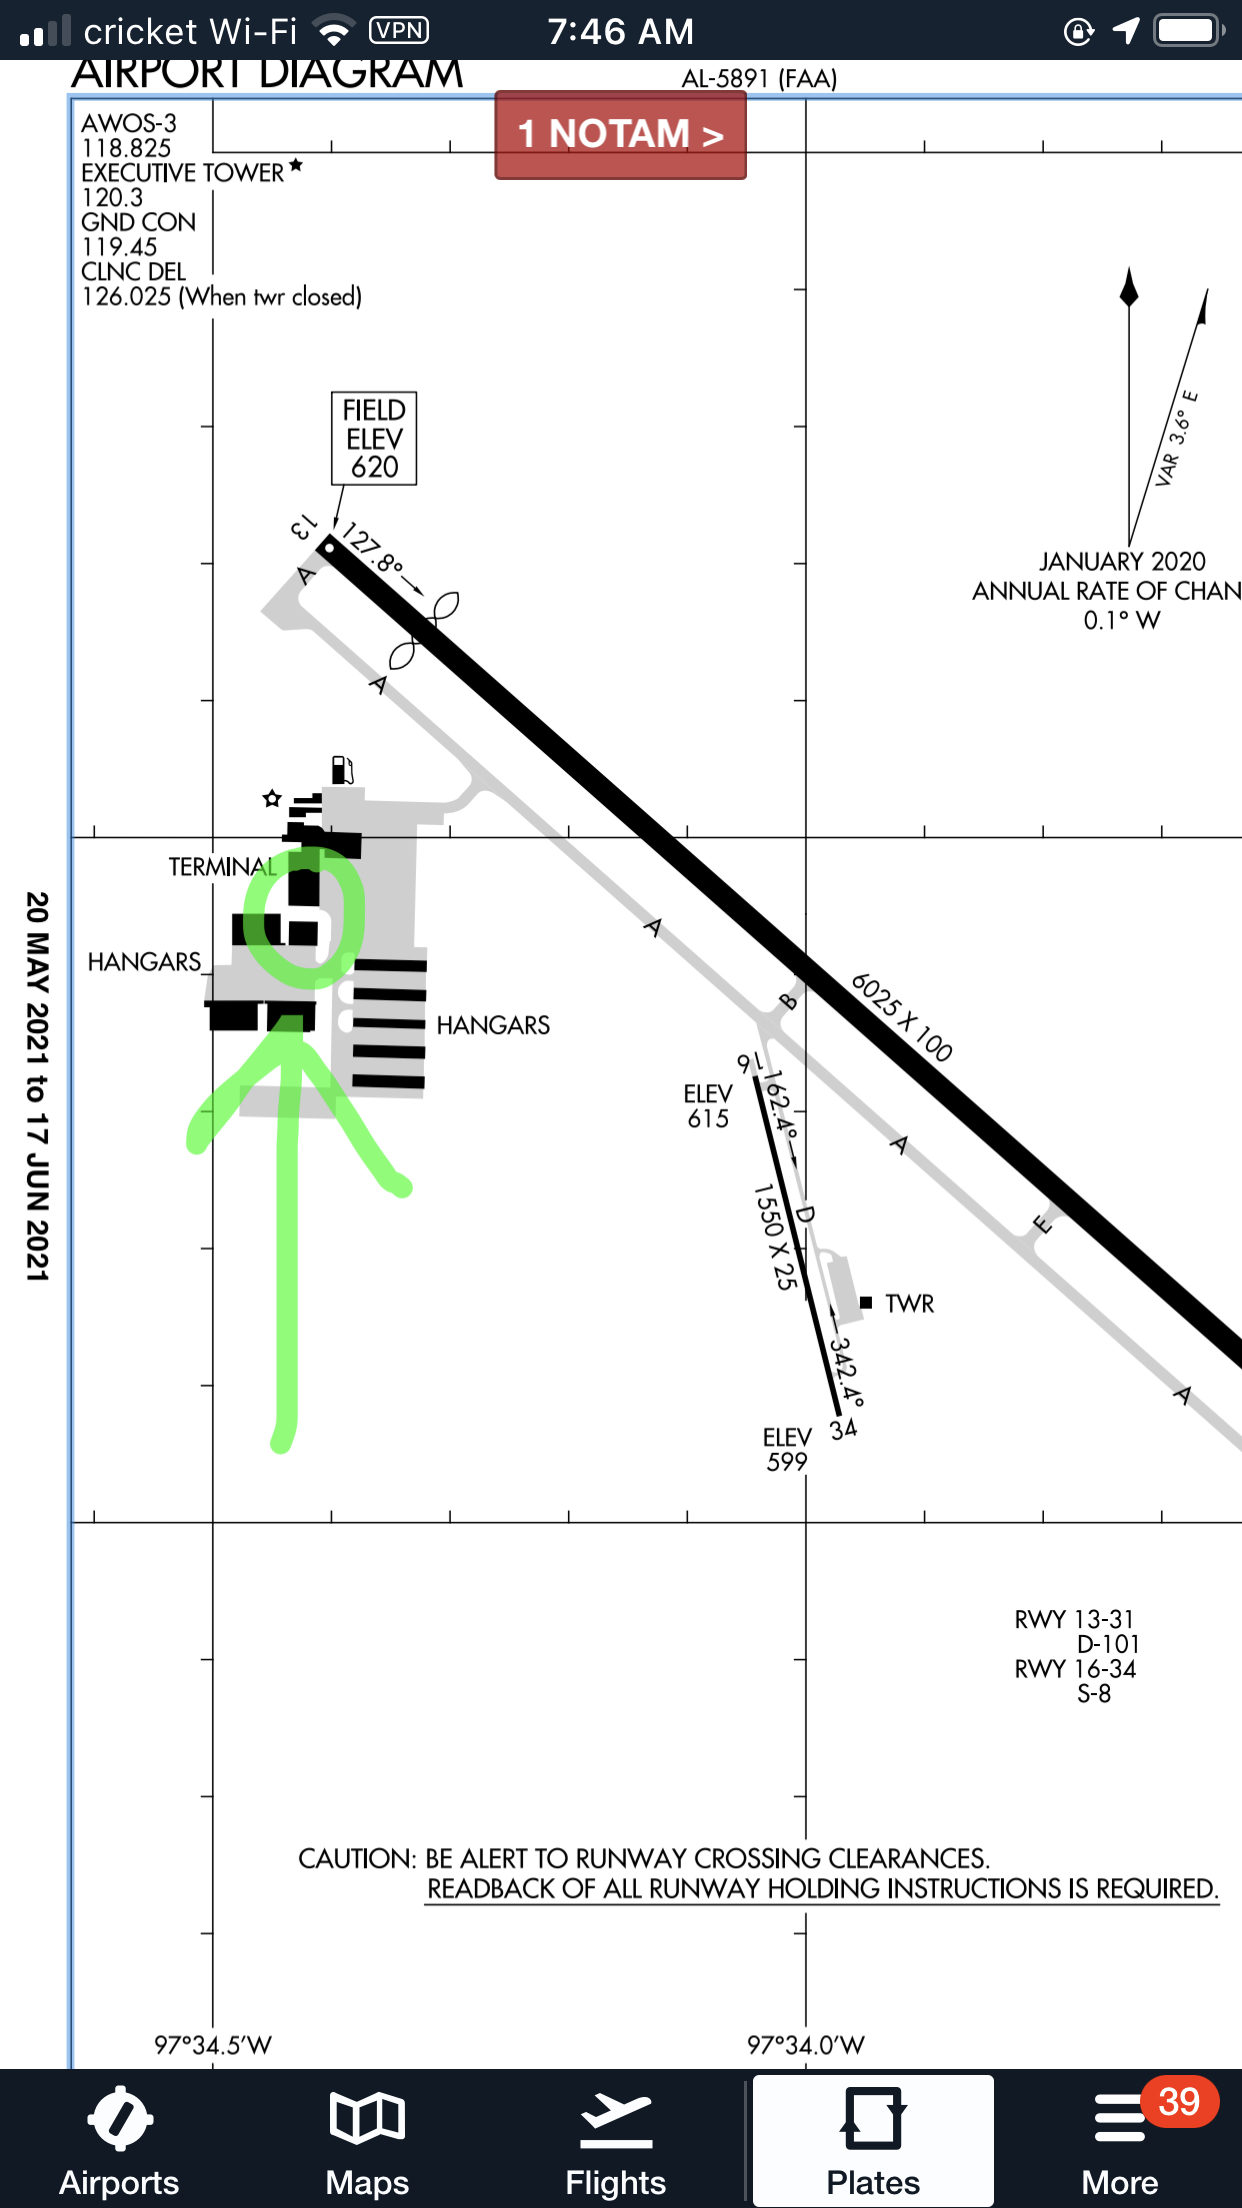
Chuck’s Aircraft will be hosting its 10 Year Anniversary Fly In on Friday, June 25th from 1pm to 5pm on their ramp at EDC (see airport diagram below). Chuck’s Aircraft always provides quality maintenance for Cirrus and other aircraft, so come show your appreciation for them.
Chuck’s Aircraft, the Austin Cirrus Service Center located at the Austin Executive Airport (KEDC), is celebrating it’s 10 year anniversary this month. What better what to celebrate than to fly in for Texas BBQ? That’s what they thought too! Chuck’s Aircraft will be hosting its 10 Year Anniversary Fly In on Friday, June 25th from…
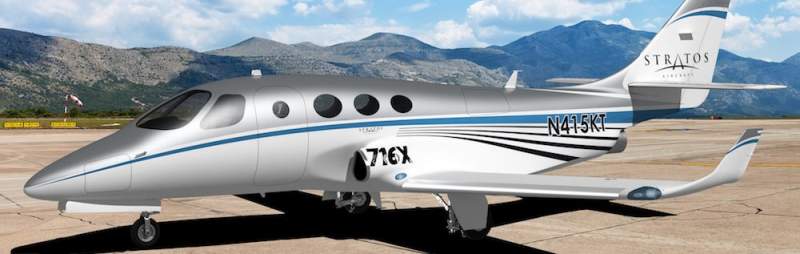
In July, Stratos Aircraft completed the first test flight of the single engine Stratos 716X personal jet. Stratos, based in Redmond, OR, is taking a page out of Epic Aircraft’s book in how the company is planning on bringing the Stratos 716X to market.
Epic Aircraft first released the Epic LT composite single engine turboprop in the early 2000s as an experimental. The first kit was completed and flying in 2005. Epic’s goal was to bring the airplane to market as a certified aircraft, a feat that took them almost 20 years to do, achieving full certification earlier this year.
Stratos Aircraft is hoping to learn a lot from their Bend, OR neighbors. The 716X is going to start off as a limited release experimental kit, while the company is working on achieving certification for the airplane. Once the plane is certified, it will be dubbed the Stratos 716. The 716X experimental kits will be assembled through a factory builder assist program (no garage built single engine jets here!). The kit will cost $2.5 million assembled, while the expected cost of the certified Stratos 716 will be $3.5 million.
Now, let’s talk about the airplane. 400 KTAS. One engine.
That’s right, you did hear correctly. The Stratos 716X is expected to cruise at 400 KTAS on only one engine. Compared to the Cirrus Vision Jet, that’s 100 knots faster. Think, “I’ll be relaxing at the hotel pool with a drink in hand when you are landing” type speeds. The fuel burn of the Pratt & Whitney JT15D-5 engine (3,000 lbs of thrust) is about 25 GPH more than the Vision Jet (the Stratos 716X will burn about 98 GPH of Jet A while the Vision Jet averages about 75 GPH of Jet A).
Comparing the two engines, the above numbers start to make sense. The Williams FJ33 engine on the Vision Jet only puts out 1,850 lbs of thrust, significantly less than the 3,000 lbs of thrust that the Stratos 716X Pratt & Whitney JT15D-5 puts out.
What does that mean to the pilot? In the Stratos 716X, it means less takeoff roll, better climb rate, faster cruise (as evidence by the 400 KTAS expected cruise speed), and a better payload. More power = more weight carrying capacity. And, the 716X is expected to have a service ceiling of 41,000 feet. I probably wouldn’t want to go that high single pilot with one engine, but I’d be very happy with that speed in the mid-30s.
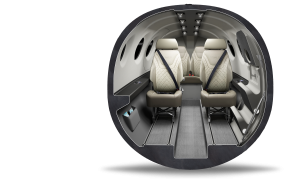
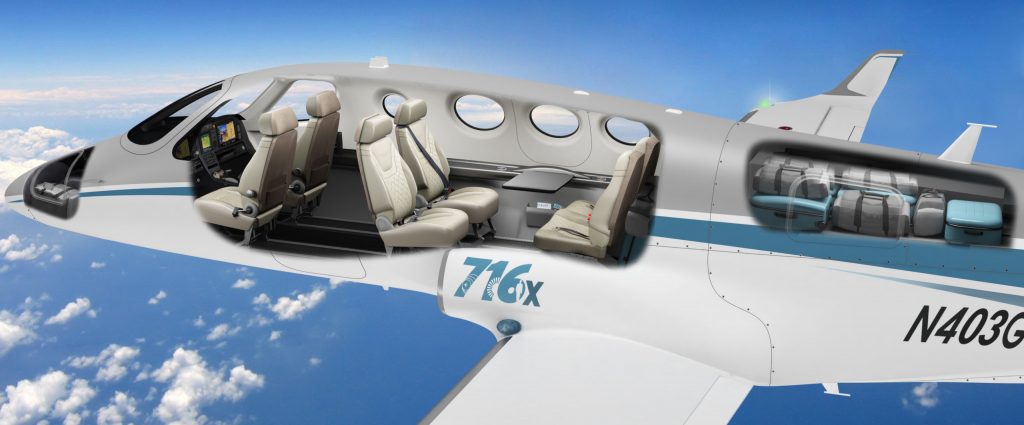
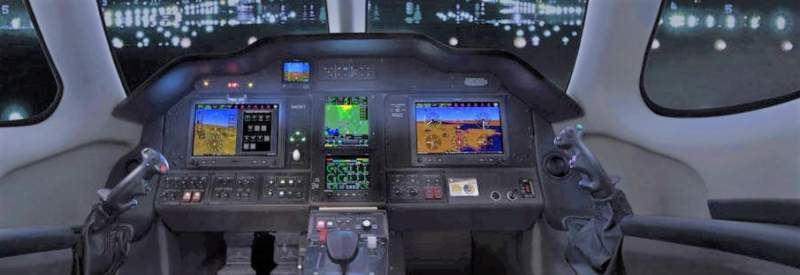
The cabin, based on the pictures I’ve seen, looks very comfortable. The Stratos 716X seats 6 and can be configured in several different ways. Baggage is no problem as Stratos Aircraft stretched the fuselage from their original 714 Proof of Concept aircraft, adding a very roomy baggage compartment above the engine compartment. The passenger compartment is as big as a Phenom 100, providing more leg and head room than the Vision Jet. The front seats have plenty of legroom too, as Stratos has opted for a side stick instead of a yoke.
The avionics for the Stratos 716X are expected to be the Garmin G3X Touch for the panel which will be driven by a Garmin GTN 750 GPS. Autopilot will be integrated within the G3X. I would imagine that once the plane is certified, the panel will be switched to a Garmin G1000 NXi and a GFC 700 will be installed.
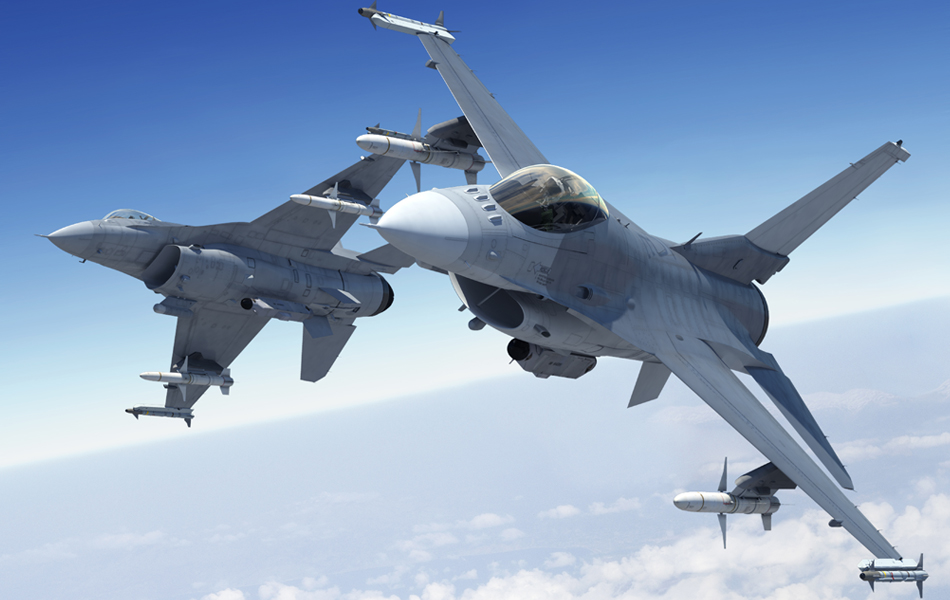
The genius of the design of the Stratos 716X is the aerodynamics of the engine placement. Instead of hanging the engine out in the slip stream and going with a drag inducing V-Tail like Cirrus did, Stratos took some notes from the myriad of single engine military fighter jets out there, placing the engine inside the fuselage. The fuselage is then built around the engine with two air scoops for intake directly in front of the wings. With two intakes instead of one, that leads to more air flow, which again, means more power. The Vision Jet has only one.
I’m going to keep tabs on the Stratos 716X (as I kept tabs on the Epic E1000). I’m hoping Stratos gets several flying soon (the company expects to do 3 kits a year till the airplane gets certified) and certification comes quickly after.
I got to stick my head in the mockup of the Stratos 716X when I went to Osh Kosh in 2018. I was very impressed and was excited to see the airplane was finally airborne this summer.
For more information about the Stratos 716X, check out the Stratos website.
Cirrus Vision Jet, meet your competition. In July, Stratos Aircraft completed the first test flight of the single engine Stratos 716X personal jet. Stratos, based in Redmond, OR, is taking a page out of Epic Aircraft’s book in how the company is planning on bringing the Stratos 716X to market. Epic Aircraft first released the…
Most of us who have been through instrument training are familiar with the traditional view limiting devices. There is the original hood, which does a decent job of blocking a pilot’s view of outside, but there are still gaps that allow “peeking”, though that peeking doesn’t really help a pilot fly an approach. It does help them figure out which way is up, so it’s not a true simulation.
The other problem with a hood is the process of putting it on to begin simulating IFR conditions, then taking it off when it’s time to land. This process takes time and the instructor has to take the controls (or the autopilot flies), losing some of the realism of the simulation.
Overall, an IFR hood is relatively comfortable. The elastic band sits under your headset, doesn’t squeeze your heard, and doesn’t press underneath your ear cups of the headset, giving you a headache. Hoods are large and somewhat unwieldy.
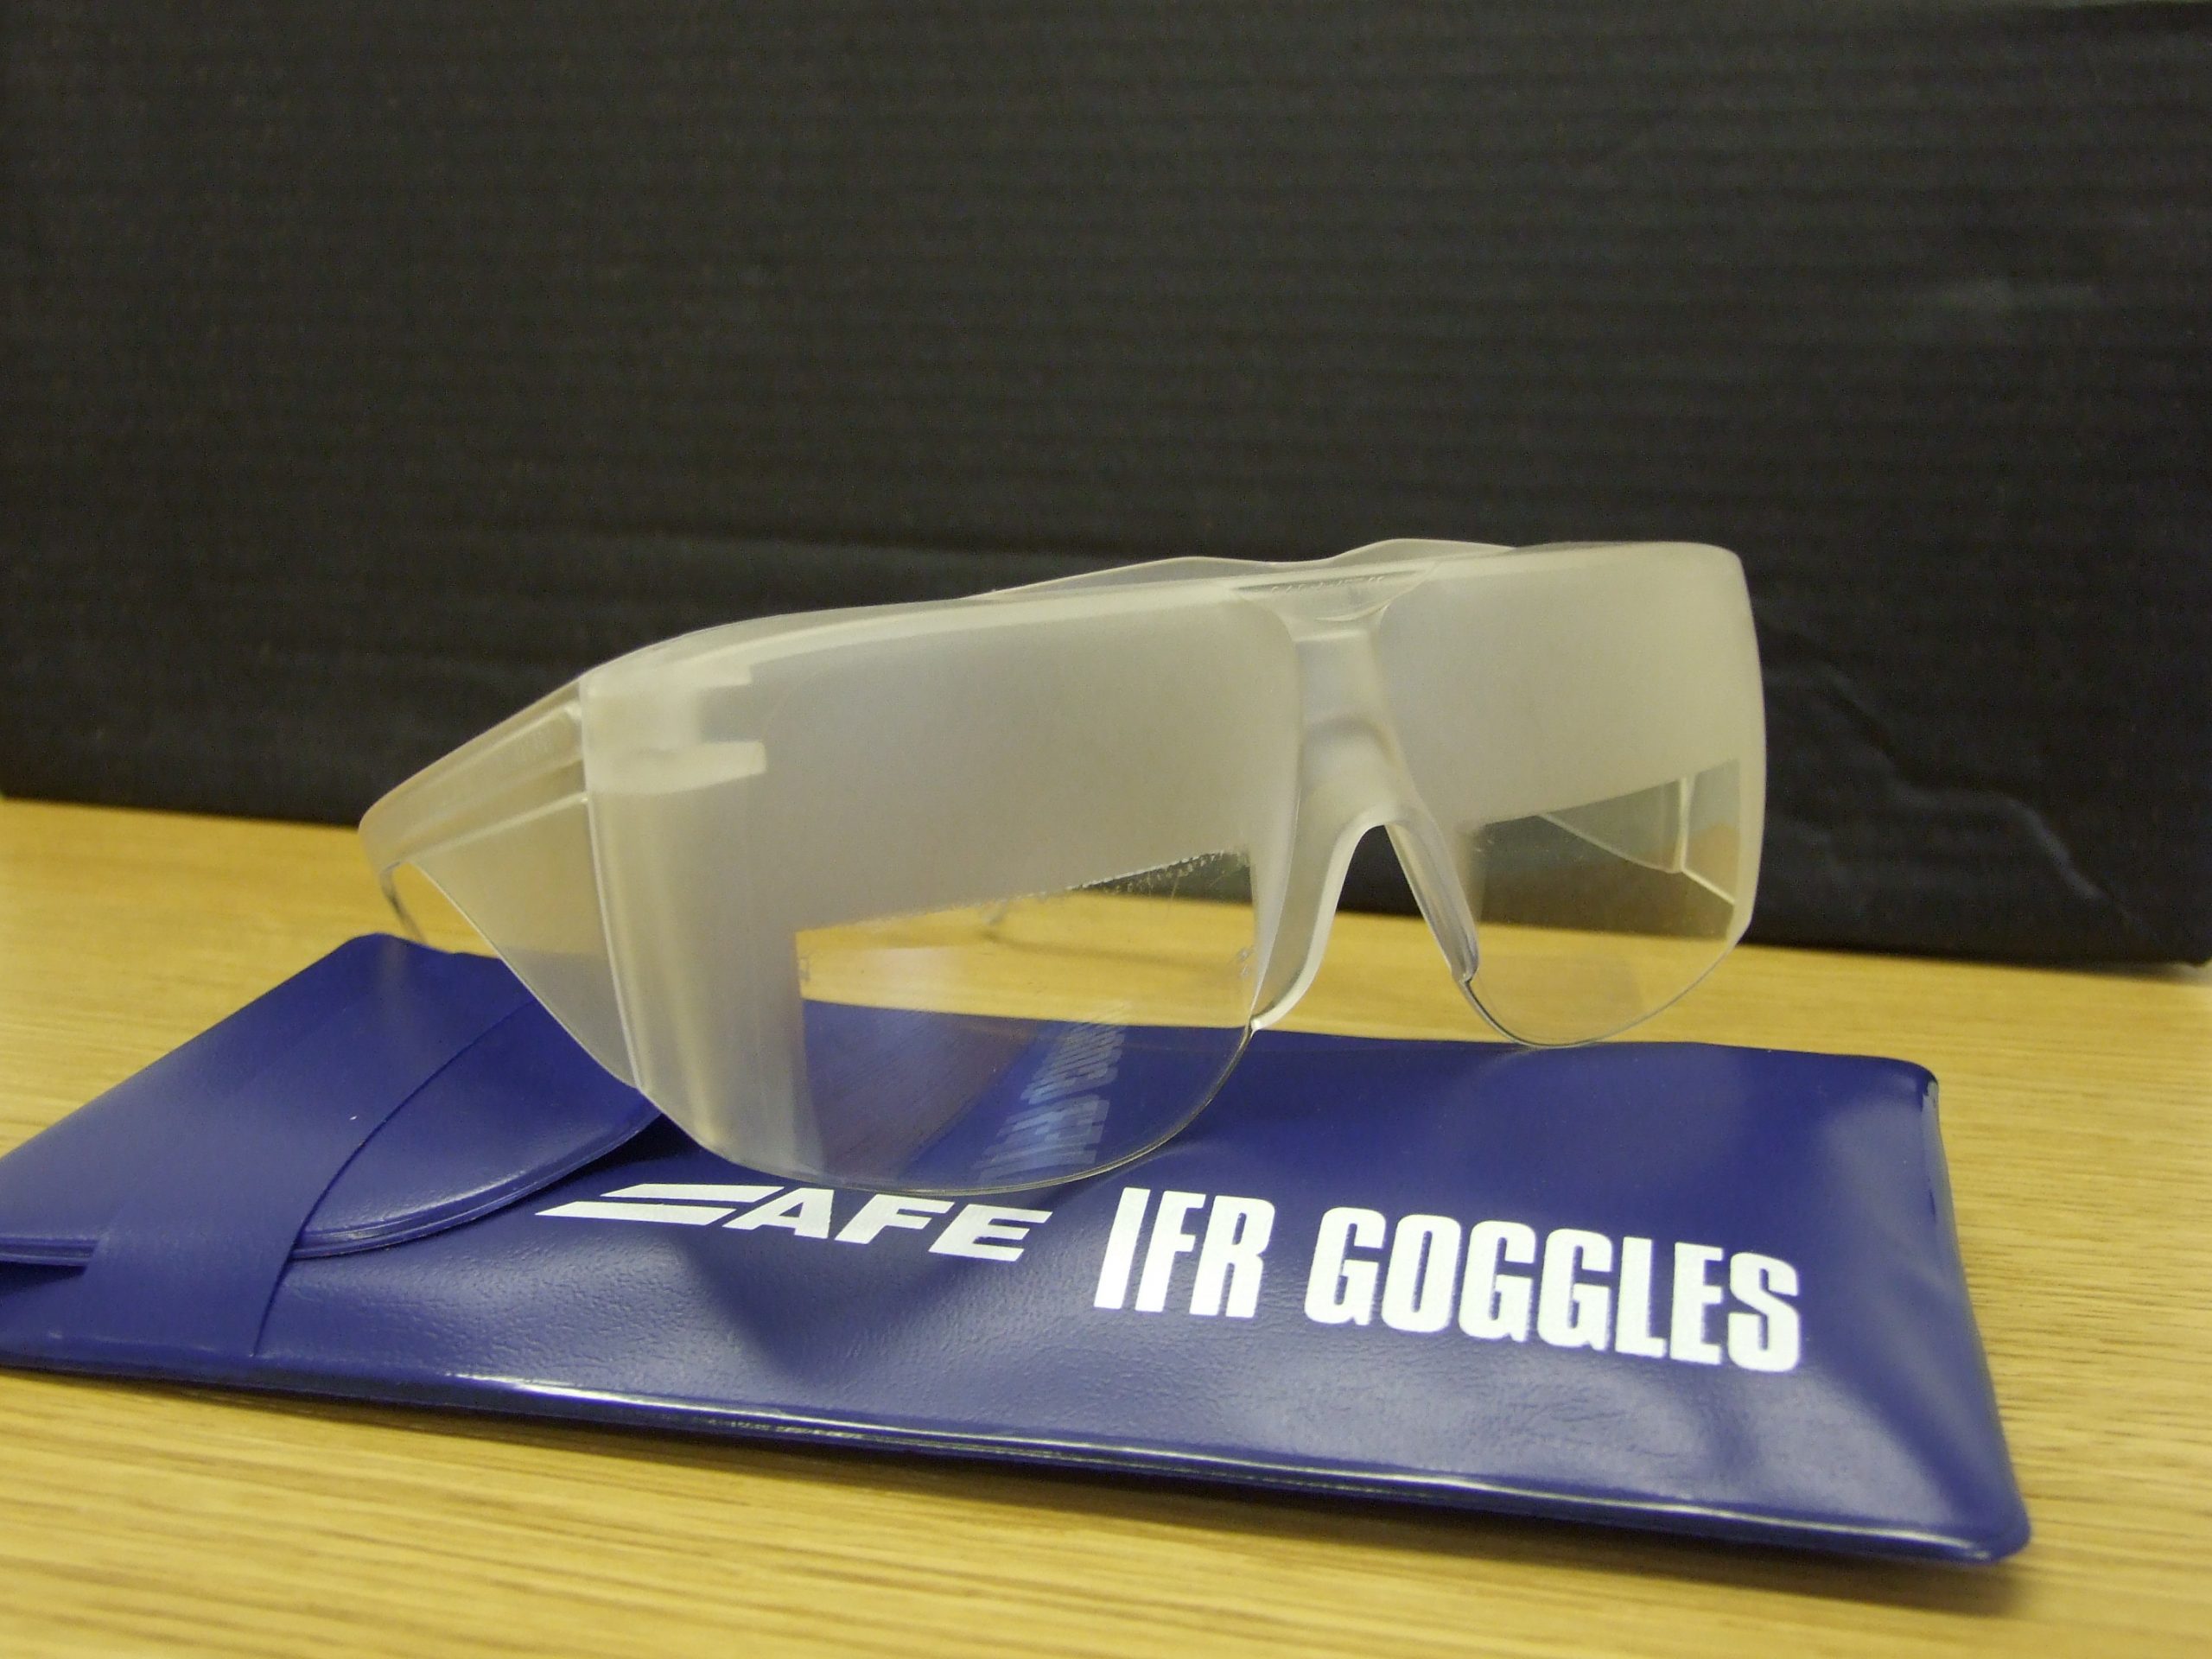
Foggles are another way to simulate IFR conditions for training. Most of the time, these are safety glasses that have most of the lens blacked out or fogged out, leaving little slits at the bottom for the pilot’s eyes to see the instruments.
Foggles aren’t quite as good as an IFR hood at blocking the outside. Due to their shape, there are often cracks that allow more “peeking” then a hood. The process of beginning to simulate IFR conditions and ending the simulated IFR conditions is easier though, since all the pilot has to do is put the foggles on or slip them off, which can often be done one handed (putting them on can be more difficult one handed since they have to fit underneath your headset). Wearing them for a long period of time can get painful as your headset is probably going to start crushing them against the side of your head.
The best comfort and view limiting combination I have found, so far, is called the ViBAN. It’s very comfortable and does a really good job of simulating IFR by blocking a view of the outside.
What’s the whole goal behind a view limiting device? When a pilot starts instrument training, ideally, all the training would take place in the clouds, since that is why someone get’s an instrument rating. As we all know, this isn’t possible, hence the need to simulate IFR conditions. The problem with simulating IFR is, it’s not true IFR. True IFR conditions are different then what a hood or a set of foggles can simulate. This can lead to spatial disorientation if a fresh instrument pilot enters the clouds for the first time, having done all his training in simulated conditions.
I’ve even heard a story of a pilot who did all his IFR training with a hood, passed his check ride, went into the clouds the first time, and put the hood on because he was getting disoriented since he hadn’t ever experienced true IFR.
What about full motion simulators? How I wish every airport had a full motion simulator for instrument training. Full motion sims are truly the best way to simulate IFR conditions. A pilot can easily get spatially disoriented in a sim if he or she isn’t careful. It’s a great way to simulate IFR conditions, but, alas, this just isn’t possible.
Are we doomed to just do an okay job of training instrument pilots in simulated IFR conditions with a hood or foggles?
Nope, at least not anymore.
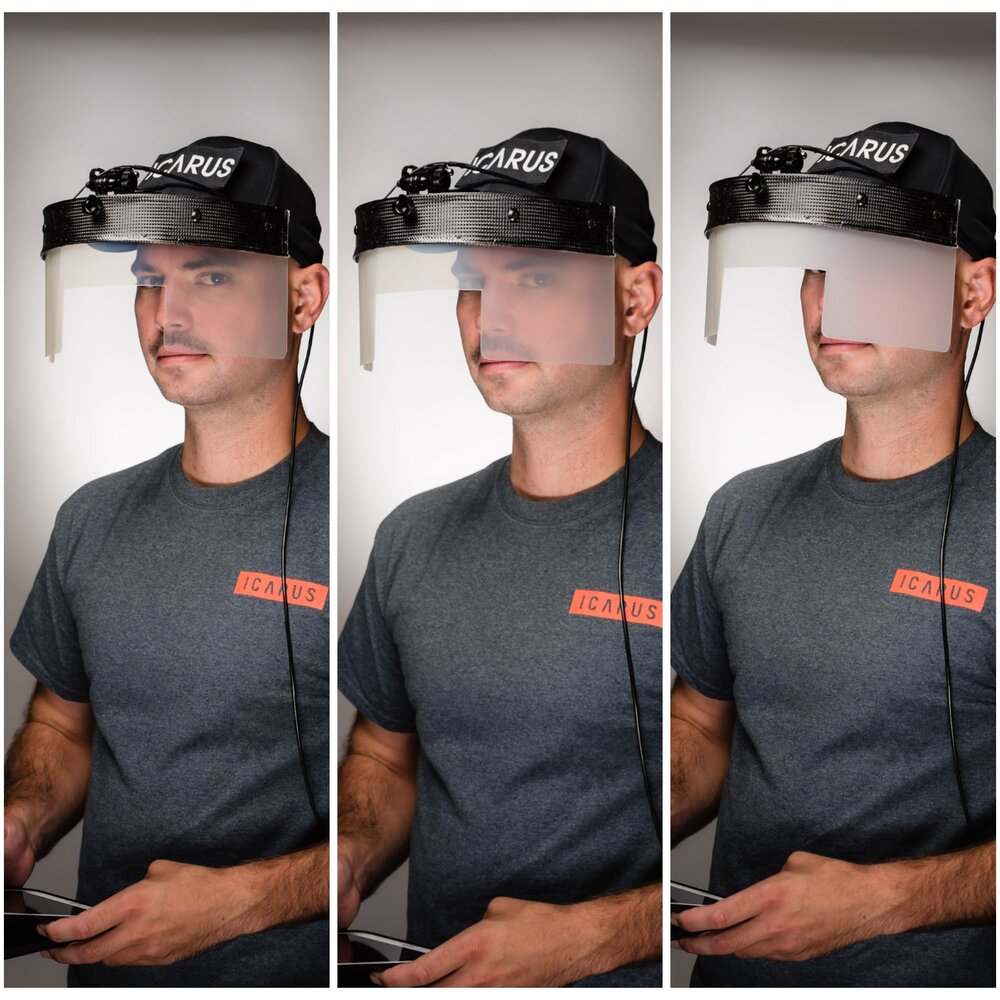
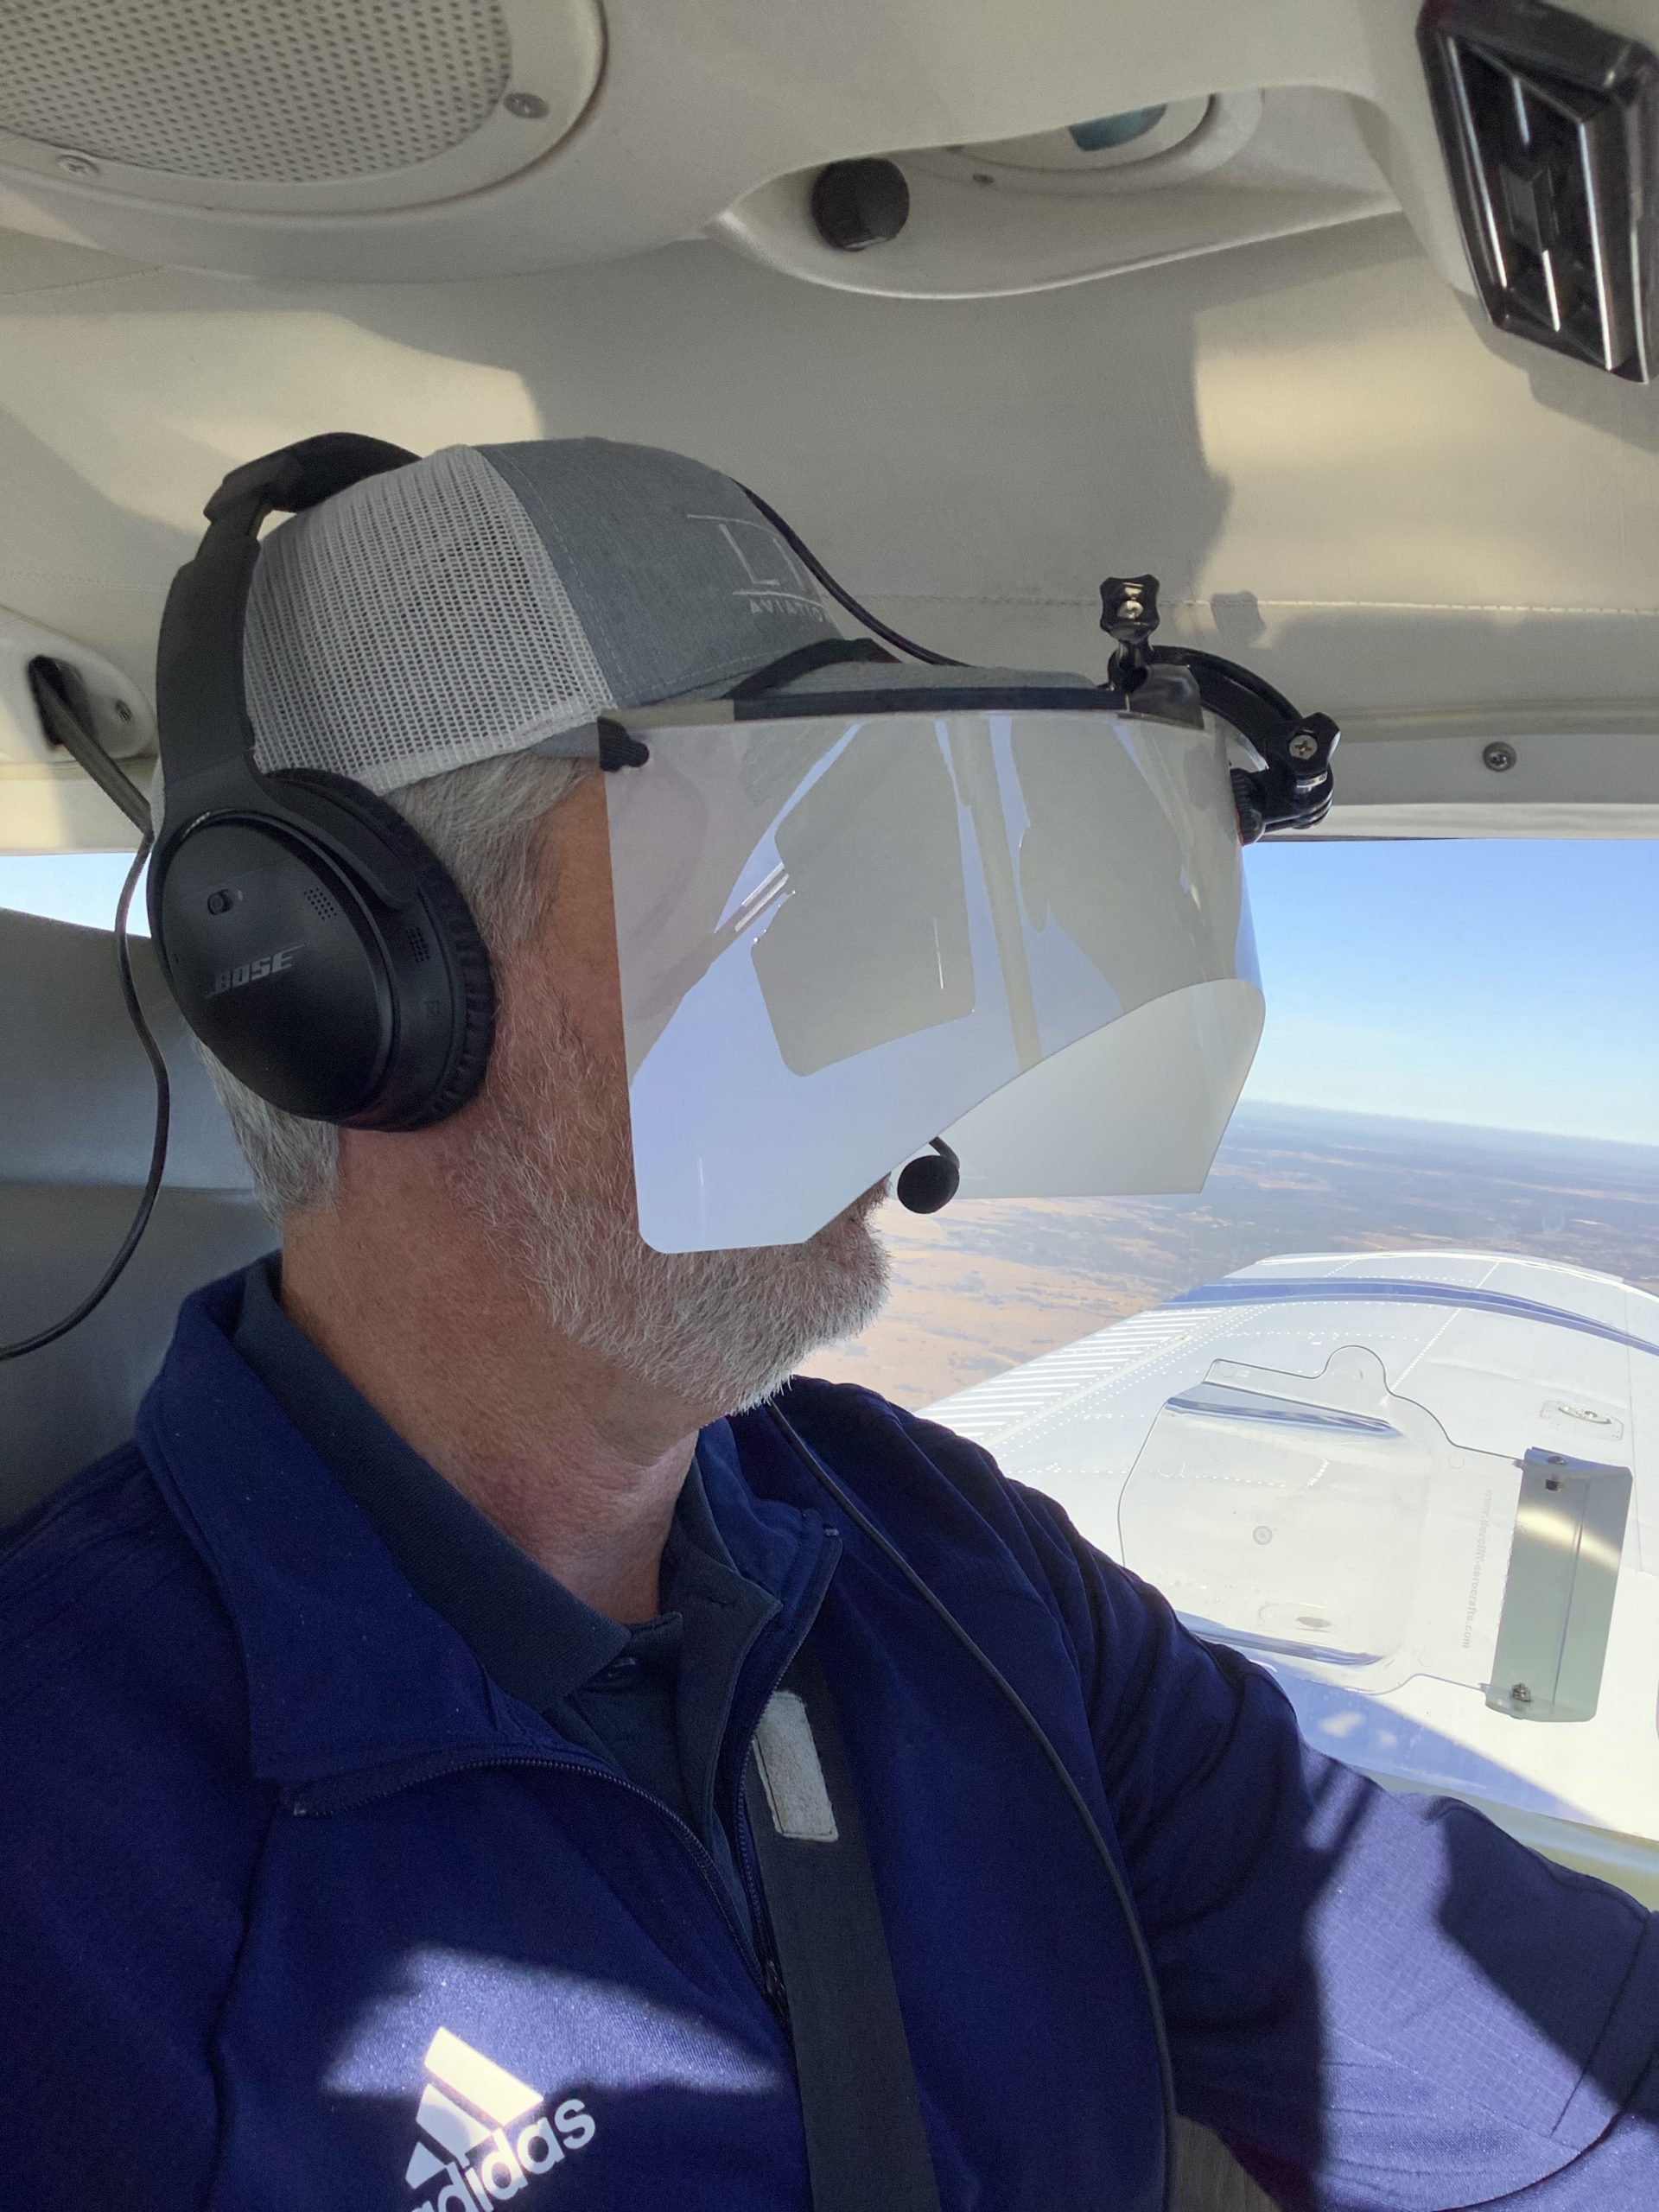
Enter the ICARUS Device. The ICARUS Device, which stands for Instrument Conditions Awareness Recognition and Understanding System, is an amazing piece of equipment which truly simulates IFR conditions in the training environment. The ICARUS is a plastic shield that uses a Polymer Dispersed Liquid Crystal film that allows the degradation of a pilot’s visibility. It clips on to a baseball cap and is attached to a battery. That battery is then bluetoothed to an iPad or iPhone App that allows the instructor to put the pilot into and take him out of simulated IFR conditions.
Originally designed for helicopter training, it’s an excellent tool for fixed wing IFR training too. I’ve been using it for the last month and a half and I am hooked. The customer’s that I have used it with truly say that they cannot see a thing outside. Because the plastic shield turns white, it really does give the view that the pilot is in the clouds. The inner ear certainly believes it. The curve of it fits the glare shield in most planes nicely (there is some custom cutting that would have to take place for specifically rounded glare shields, but it fits Cirrus and Piper Saratogas nicely, the two planes I have used it in), and it sits away from the pilot’s face, blocking out all windows, which is what clouds do.
The greatest thing from an instructor’s standpoint is the ICARUS Device app. The pilot puts the device on before taxi and I set the app to VMC. This completely clears the ICARUS Device so the pilot can see just fine for taxi and takeoff. Then, at about 400 AGL, I tap the <1/2 VIS button on the app, and boom, the pilot is in the clouds. I even have a time delay to slowly make the ICARUS Device opaque to simulate slowly entering the clouds. I do the same thing on an approach, except in the reverse order, simulating we are slowly exiting the clouds.
The ICARUS Device is a game changer for IFR training. It’s comfortable, easy to use, the battery lasts for a long time (though bring a standard USB charging cord with you in the plane because the battery failure mode makes the ICARUS Device opaque instead of transparent. You don’t want that to happen at 200 AGL!), and, most important, it truly simulates IFR conditions.
After using it, I believe all flight schools and CFII should get one of these, both in the fixed wing and helicopter world. It’s the best option for simulating IFR conditions.
Texas Top Aviation, LLC was given an ICARUS Device by the ICARUS Device company to test. Texas Top Aviation, LLC was not paid for our above opinion on the ICARUS Device (trust me, if it was terrible, I would have told you!).
Most of us who have been through instrument training are familiar with the traditional view limiting devices. There is the original hood, which does a decent job of blocking a pilot’s view of outside, but there are still gaps that allow “peeking”, though that peeking doesn’t really help a pilot fly an approach. It does…
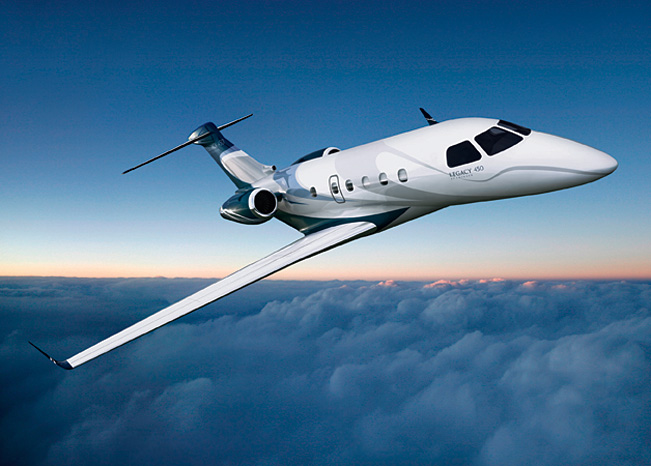
Brazilian manufacturer Embraer recently received FAA certification for it’s “mid-light” Legacy 450. Capable of Mach .83 and a 2,500 mile range, this is one sweet airplane. Embraer designers gave passengers headroom as the cabin stretches up to 6 feet in height down the center. Complete with fly by wire controls and a full glass cockpit configuration, Embraer did a wonderful job with this airplane. The club seats even fold down to a bed!
The airplane’s list price is $16.5 million. To learn more about the Legacy 450, visit Embraer’s website.
Brazilian manufacturer Embraer recently received FAA certification for it’s “mid-light” Legacy 450. Capable of Mach .83 and a 2,500 mile range, this is one sweet airplane. Embraer designers gave passengers headroom as the cabin stretches up to 6 feet in height down the center. Complete with fly by wire controls and a full glass cockpit…