Present Position Hold

When I was working on my instrument rating back in 2007, my instructor and I did a lot of unpublished holds.  In ground school, I heard a lot about holding for weather or holding due to a traffic delay.  At my first job, my chief flight instructor was also a Continental (now United) captain and he told me a lot about having to hold for weather going into different places.

I heard all this, but I figured it would never happen to me when I’m flying GA airplanes.

Boy was I wrong!

I was flying a Piper Malibu into Phoenix with two passengers for Super Bowl weekend and the weather was awful.  No thunderstorms, but moderate precipitation and low ceilings.  We were coming into Deer Valley (KDVT) on the north side of Phoenix and about an hour out, ATC advised me that arrivals into DVT were having to hold and to expect a delay.  The controller said the delay would be about 30 minutes, so by doing a quick calculation, I determined the delay would probably be all cleared up by the time I got in the area.  At the time, I didn’t know if the delay was due to weather or traffic congestion.

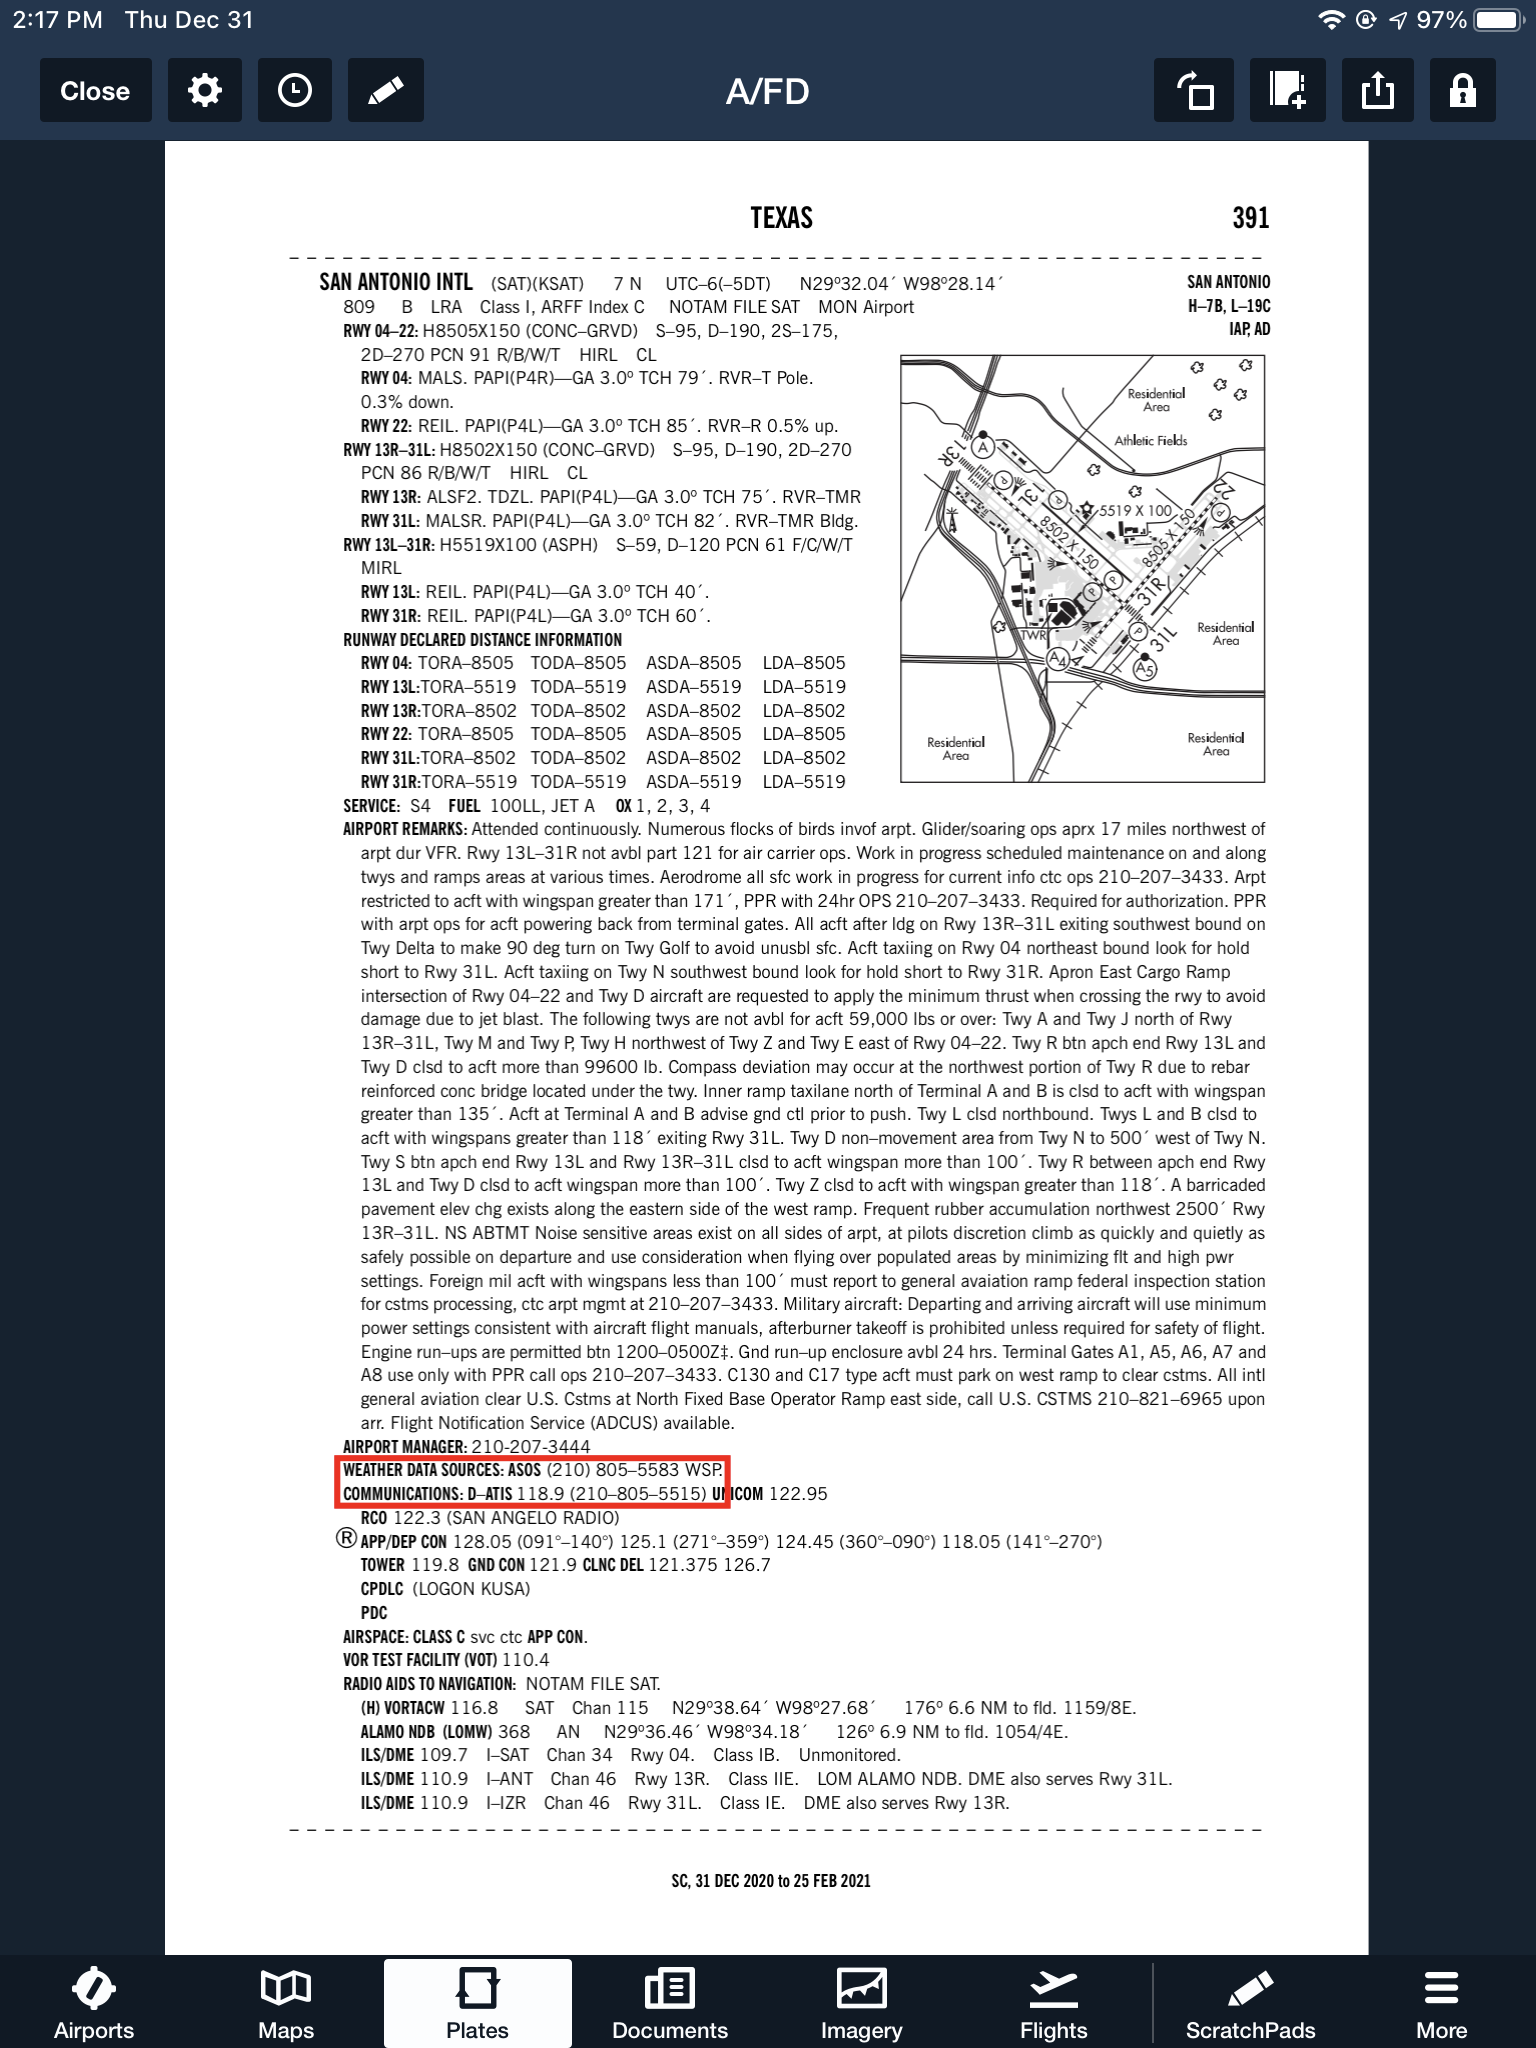
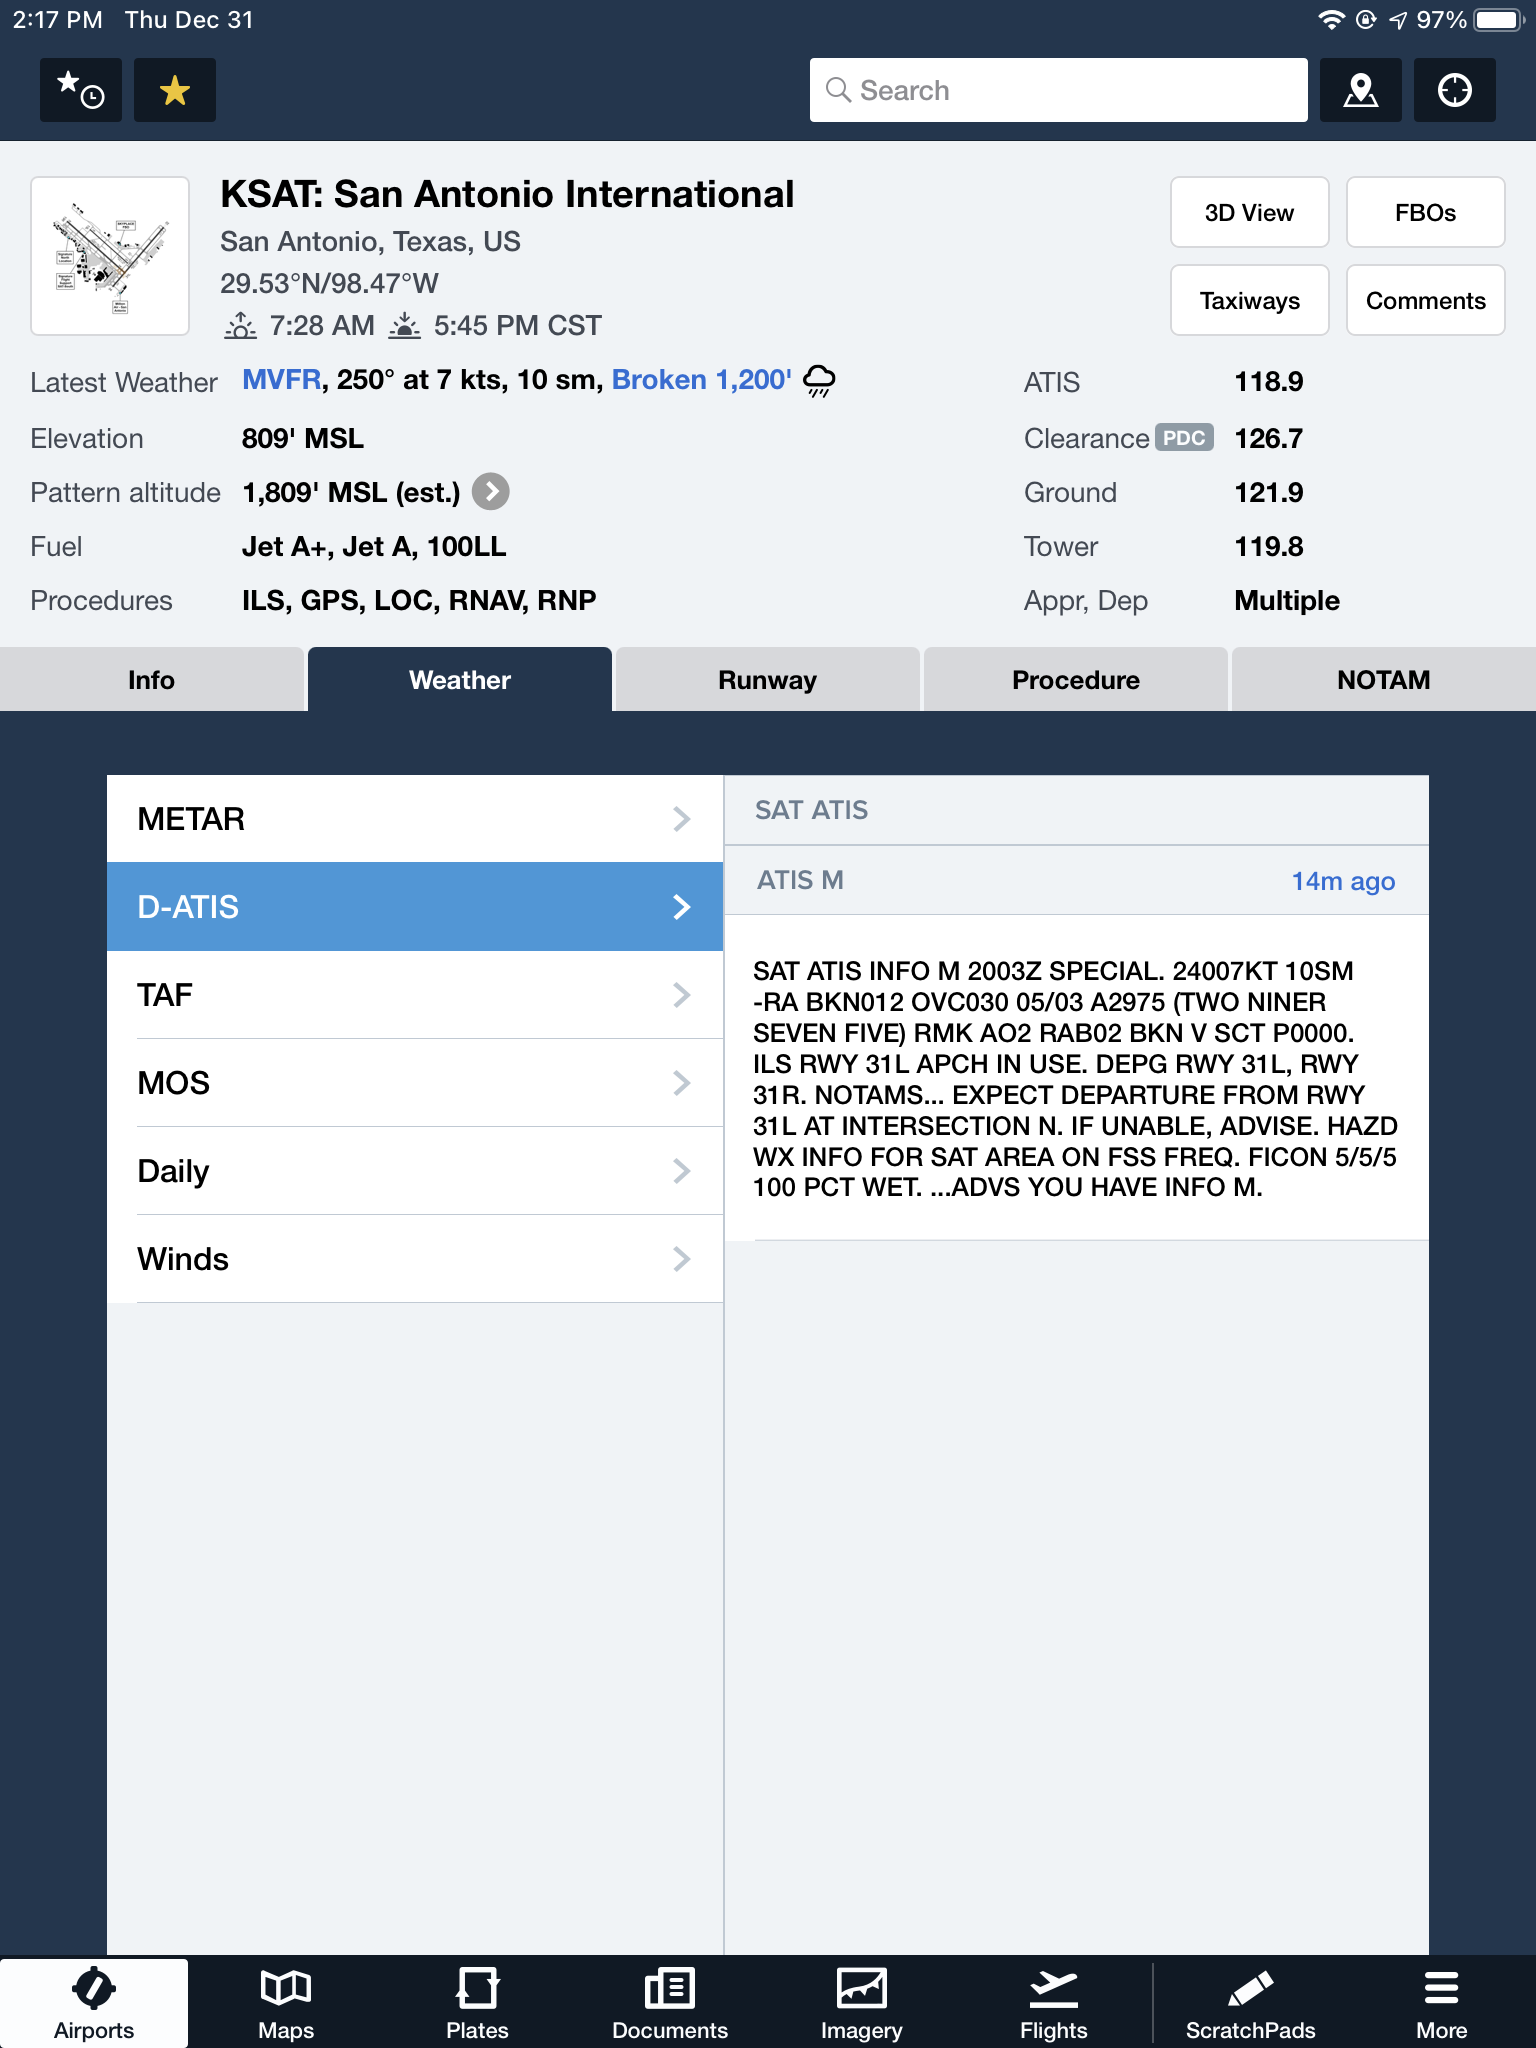
Twenty minutes later, the controller advised me that there was still a delay.  I queried what it was for and he informed me it was due to weather.  He asked me if I wanted to hold or divert.  I listened to the ATIS and heard the ceilings were variable from just below the minimums to just above.  I told him I would hold as the TAF I saw predicted the ceilings to go up.

“Malibu, hold present position, hold east, expect further clearance 2140 Zulu.”  Gulp.

At this point, my autopilot had gone out, it was turbulent and I was definitely in the soup.  This was going to be fun.

After recovering my wits, I read back the clearance, then set about setting up this hold without getting too far from my present position.  The Malibu I was flying had a Garmin 530 which I was using as my primary means of navigation.  I was on V190, but I didn’t have all the fixes in my flight plan.  What to do?  And what to do fast?

The 530 has a rarely used function called a User Waypoint.  It comes in handy in situations like these.  On the moving map, you can turn the cursor on, move the cursor to any point on the map, and, by pressing enter, create a User Waypoint.  This is what I did on V190.  After I created it, I had to go to my flight plan, find the right spot, and input the User Waypoint just like I would any fix.  Just a note here, when you create a User Waypoint, make sure you remember what you named it so you can find it again.

After I input the User Waypoint in the flight plan, I had to go back and activate the leg that the User Waypoint was the end point on.  Then, to make sure the flight plan didn’t go to the next waypoint once I crossed my User Waypoint, I had to press the OBS button on the 530 in order to put the GPS in suspend mode.

Keep in mind, my autopilot wasn’t working, so this involved a lot of multi-tasking!

That’s how to do a present position hold using the Garmin 530.  Got all that?  Here’s a concise review:

  • Create a User Waypoint
    • Turn the cursor on by pressing the FMS knob
    • Move the cursor to the point where you want your User Waypoint
    • Press enter and name the User Waypoint
  • Press the Flight Plan button
  • Input the User Waypoint into your flight plan at the proper point
  • Activate the leg that the User Waypoint is the end point on
  • Finally, press the OBS button to put the GPS in suspend mode
  • After you’re cleared onward, just press the OBS button again to take the GPS out of suspend mode

Similar Posts

  • Flying to the Bahamas

    A couple weeks ago, my employer informed me that he wanted to take a group to Nassau, The Bahamas. I thought, no big deal, this should be an easy trip. The more I started to read, though, the more I realized it wasn’t going to be just a “normal” trip.

    If you aren’t a member of AOPA, I would highly recommend joining. AOPA’s website was where I started researching. They actually have a checklist to help you along the way.

    The first step is getting the paperwork started. All souls on board are going to need a valid passport. In our case, a couple of passengers need to get theirs. Since it was a little shorter notice, we had to go through the expedited process. It’s fairly simple. A quick internet search gave me a couple of people that helped the process along.

    Next was making sure the aircraft had all it’s paperwork. The airworthiness certificate was easy as it’s always in the plane (or should be).

    The registration certificate was next to check. We recently upgraded to the King Air 350 so we had to make sure we had the original issuance registration certificate. The Bahamas supposedly doesn’t allow Temporary Certificates and I really didn’t want to test that policy.  Thankfully after a couple of calls between owner and the FAA we got the original.

    The aircraft and pilot are both also required to have an FCC Radio License. This is only for international flying, but not an everyday thing pilots think about.

    After that was flight planning. I use FltPlan.com. The actual filing of the flight plan was very easy. I use the prescribed routes from the website. In the remarks section of the flight plan put ADCUS (Advise Customs). This advices ATC to let customs know of your arrival. It’s basically an added safety net in case you forget to call ahead or your flight times end up being way off.

    The other item when dealing with flight planning is dealing with eApis. There are numerous companies who will provide this service for you. I elected not to use one of those. If you go to the CBP website, you can set up an account and do all of it yourself. Take your time and really plan the flight out well to make sure your arrival times are as close to real time as possible. If you’re way off, this will make any customs agent very frustrated and that is not something you want to be dealing with.

    Approach charts and en route charts are another hurdle. Thankfully Foreflight has you covered. With my subscription, I already had en route charts. The approach charts were the real issue. In the Bahamas, the only places that have approved instrument approaches is Nassau and Freeport. Fortunately, we were going to Nassau. Foreflight does charge almost $400 for the Caribbean and Bahamas charts.  Emailing the FBO is a good option as they can usually supply approach plates for international flights.

    You’ll also need a CBP sticker. This goes on the outside of the aircraft showing customs you’re in the system. This can be found on the CBP website as well. It takes a little bit to get the
    sticker in the mail. However, once you pay for the sticker, the receipt can be used in place of the sticker.

    The final thing I focused on was picking an FBO. I chose Jet Aviation. They had CAA which gave us a Jet fuel discount. Their facility was excellent and staff was very friendly. The thing that put it over the top for me was how they handled customs. I emailed Jet Aviation all the information for myself and passengers and they pre-filled all the customs forms for me. When we arrived, customs took all of five minutes and then my passengers were out the door.

    While in Nassau, I stayed at Breezes Resort. It’s all inclusive so that helps keep the costs down for your owners if you’re a corporate pilot. It’s next to some of the other bigger resorts so there were shuttles available to get to other amenities. The only complaint I might have was the power kept cycling on and off and the internet wasn’t reliable. This proved challenging when trying to plan for the return trip.

    The return trip required a lot of the same preparation. Again it was nice to have a good FBO to help prepare the paperwork required to clear customs. Jet Aviation handled the General Declarations for me and my passengers. All I was required to do was file the flight plan and file eApis, which was actually challenging while my internet at the resort was on the fritz.

    Don’t forget to call US Customs at your Port of Entry! As this was Ft. Lauderdale for us, I called them twenty four hours in advance as prescribed. The customs agent was friendly and helpful with any questions I had. I think the best advice I can give throughout this whole experience is call ahead and ask lots of questions! Did I say that already?

    The morning of the return trip went off with no hitches. Again, Jet Aviation had set up a driver to pick me up and he was on time. Jet Aviation had all the General Declarations paperwork pre-filled out for myself and passengers. Again, I use FltPlan.com to file my flight plans. Their service performed flawlessly even though I had heard rumors of flight plans not going through. To curb my bet, I talked with the staff at Jet Aviation and they made a call to tower for me to verify that the flight plan had gone through; of course, it had.

    The actual flight out of Nassau was pretty uneventful. The last real hurdle I had was dealing with customs in Ft. Lauderdale, and hurdle it was. When we landed at FLL, ground instructed me over to customs ramp. There was no one to tell us where to park on the ramp. This was extremely frustrating.

    A Learjet taxied in prior to us and had taken up most of the ramp but, we found a spot and shutdown. Once we shut down, no one came out to our aircraft. I walked in to talk to someone and was greeted by a Boarder agent who was less than helpful. Since the Learjet had parked first, they got to go through first. Evidently, we were not allowed in the building until they were done. This didn’t make my owner too happy!

    Be prepared, though, if another airplane is on the Customs ramp before you arrive.  You are not supposed to get out of the airplane until a Customs agent comes and meets you, even to go to the bathroom.  This can result in large fines.

    Once we were allowed in, the process went smoothly. We had to put all of our bags through the x-ray machine. Beyond the x-ray machine, CPB didn’t require any other security measures. On other crossings I’ve done, CPB had opened up bags and sifted through clothes, so just doing the conveyor belt was a surprise. The rest of the trip was fairly commonplace. We stopped in Destin FL for dinner before making our final leg into Dallas. All in all, it was an excellent trip and I’m excited to do another one.

    Ryne Bergren works for a Part 91 operation in Dallas flying a King Air 350. Being a Part 91 outfit, he doesn’t get to rely on a “dispatch” or “company” to help with any international flight planning. This was a learning experience for him. Hopefully this will be a help to anyone for future trips.

  • IM SAFE: Are You Really?

    As pilots, we are all familiar with the IM SAFE acronym that the FAA puts out.  It comes up as part of the ground training over Human Factors during private pilot ground school.  We all memorize it, spit it out for our check rides, then most of us promptly forget about it.

    When I was training for my pilot’s licenses, I was at a Part 141 school that was very standardized (LeTourneau University, who has a fabulous aviation school).  Before each flight, we had to do a self evaluation based on the weather and the IM SAFE checklist.  Based on our answers, we would then determine if the conditions were conducive to flying as well as if I was physically okay to fly.

    This was a great tool because not only do pilots have to pre-flight the airplane, they also need to pre-flight themselves.  It’s very easy to fall into one of the “Hazardous Attitudes” if there is a pressing meeting or you haven’t flown in a while and it’s a beautiful day, but maybe you aren’t physically fit to control an airplane.

    Let’s break down the IM SAFE checklist to dig a little deeper into the physically fit side of flying.

    Illness

    This one is pretty easy.  Are you sick?  If so, how sick?  If you can’t hardly talk or your body feels like it was hit by a truck, then flying probably isn’t in your best interest.

    The tricky area can become if you are only a little sick.  Maybe you have a cough or a little cold or a headache is starting to form.  You probably could go fly, but is it really a good idea?  It could be something worse, or it may be nothing.  You have to know yourself and put limits on yourself before you wake up on the day of your big meeting two states over.  Set illness personal minimums and stick to them.

    Medication

    There are a slew of drugs, both prescription and over the counter, that pilots cannot take and fly.  AOPA has a hotline to call for pilots to find out if they can fly with the medication they are taking, or what meds they can take to give them relief and still operate an aircraft.

    Another great resource is your medical examiner.  Just give him/her a call and they will be more than happy to let you know what you can and can’t take.  They’ve been educated in the area of aviation so they are very knowledgeable.

    Stress

    StressometerThis is a huge one that pilots ignore a lot.  Maybe it was a stressful day at work, maybe you are running late to the airport, your meeting got moved up, whatever.  Stress can jump on you and mess up a pilot’s thinking very quickly.  If you have a lot of other things on your mind and you aren’t able to focus just on flying, it might be a good idea to stay on the ground.


    Alcohol

    Out of the whole IM SAFE list, the alcohol limitations are very clearly defined.  8 hours bottle to throttle, no more than 0.04% BAC, no operating an airplane while under the influence, and no carrying passengers who are visibly intoxicated.  For your personal minimums, it’s a good idea to increase that time to 12, 18 or even 24 hours bottle to throttle.

    Fatigue

    Learning to fly while a college student led to a fair share of canceled flights due to fatigue.  I operate best on 8 hours of sleep in the past 24 hours.  I can function on 6, but anything less than 6 hours, my performance drastically drops off, sometimes to a point where I wouldn’t be safe.  I discovered this while with my flight instructor attempting to do a holding pattern and completely botching it up.

    I observed this as a CFI quite often.  If I was doing ground with a student and they were struggling, my first question would be, how much sleep did you get last night?  More often than not, if I had to ask that question, I would get an average answer of 3 to 4 hours (I even had one guy show up for a flight block on 2 hours sleep.  I sent him back to the dorm).

    Fatigue is very easily overlooked because it’s not measurable.  Needing to get a flight lesson done or needing to get somewhere when you are obviously fatigued is not a good idea.  Make sure you get a good night’s sleep before a flight and don’t be afraid to cancel if you didn’t.  Set some sleep personal minimums and make them hard and fast.

    Eating

    Don’t skip meals and fly.  Performance greatly decreases when a pilot is hungry.  At the very least, stick a couple of food bars in your flight bag to give you some nourishment.

    Also, stay hydrated, especially in the summer time.  I carry a huge bottle of water with me on all my flights because I get headaches if I don’t drink enough.  Getting dehydrated on a long flight can lead to all sorts of performance problems (over hydration is also a problem in the air, but that’s what Gatorade bottles are for, right?).

    All this to say, have some personal minimums when it comes to you and your body.  Check the plane, check the weather and check yourself.  If anything falls in the “red” area in any one of those three categories, stay on the ground and don’t press your luck.

  • Redbird Migration at HYI

    migration-conference

    Redbird Skyport at the San Marcos Regional Airport will be hosting it’s 6th Annual Redbird Migration Flight Training Conference.  The event is focused on flight training and flight training providers.  Past speakers have included the president of Hartnell Propellers, the CEO of Big Red, and various Redbird Executives.

    The list of speakers for this year’s Migration has yet to be released, but it promises to be a good lineup.  Attendees every year always compliment Redbird on the event and the speakers they bring in.

    If you are a CFI or flight school owner interested in attending, check out Redbird’s event page to request an invitation.


  • Flying the Piper Malibu

    Looking for an airplane with more seats, more useful load, and good speed?  Look no further than the PA-46-310P Piper Malibu.  It feels like a corporate airplane, but this turbo charged piston single is good owner/pilot airplane for taking the family on vacation or using on business trips.

    Piper Malibu Texas Top Aviation

    The original Piper Malibu, which was manufactured between 1984-1988, is a great next step airplane for Cirrus owners, Saratoga or Lance owners, and Mooney owners looking to move up to a pressurized, 6 seat piston.  The pressurization has got to be one of the best parts of the Piper Malibu.  The ability to climb up to the low flight levels (the service ceiling is FL250, but the airplane performs great between 16,000 and FL190) to catch better winds and get a better true airspeed (the airplane gains about 2.5 KTAS for every thousand feet) without having to wear oxygen makes the ride much more enjoyable.

    Equipped with six seats and a 4,100 pound gross weight, the Piper Malibu allows for a lot more carrying ability than a Cirrus or even a Saratoga.  Now, like most piston airplanes, you can’t take 6 average adults, bags, and full fuel, but here’s the great part:  the Continental TSIO 320 only burns 16.5 GPH in cruise at 75% power.  The plane will still fly 200 KTAS at 16.5 GPH.  With 120 gallon capacity, even taking half tanks still allows for a 2.5 hour range with an hour reserve.  At 200 KTAS, that’s 450 miles.  And, you gain an extra 360 pounds useful load at half tanks.  That’s not too shabby.

    Piper Malibu PA-46 Texas Top Aviation

    The Piper Malibu was designed to be comfortable, fast, and be able to carry some baggage.  There are two baggage compartments, one in the nose behind the firewall and one in the rear behind the rear seats.  The nose baggage is wide enough to fit golf clubs in, while the back baggage is large enough to fit rolling suitcases in (the front baggage has no problem with roller bags either).  Lots of weight in bags?  Again, no big deal.  Just plan on taking less fuel and still flying for 2.5 hours.

    From a pilot’s standpoint, the Piper Malibu is a pretty straightforward airplane to fly, though it does require some specialty training.  A lot of PA-46s on the market right now have upgraded glass panels and digital engine monitors, making piloting the airplane that much more streamlined.  Most Piper Malibus are equipped with the KFC 150 autopilot.  Some have a yaw damper installed, others don’t.  Some have the vertical speed and altitude capture installed, others don’t.  It just depends on that specific airplane.  They aren’t like a Cirrus where they are all made the same.

    Looking to upgrade to something with more seats, a higher service ceiling, but not a significant increase in fuel costs?  Look into the Piper Malibu.  You can get one in good shape from about $300,000.


  • Pitch + Power = Performance

    My first chief flight instructor had an addage he would impart to his flight instructors when we began working at that flight school. “Pitch + Power = Performance” he would tell us. Then he’d glare at us and follow up with, “nobody teaches that right, so make sure your students know it.”

    Now, having been a CFI for seven years, I would tend to agree with him. I have moved on from doing mostly primary training to transition training. Transition training is taking someone who is already a pilot and teaching them how to fly a different type of airplane. In jets, you get a type rating. In piston engine airplanes, there is no FAA requirement to go through any type of extra training as long as you are rated in category and class (eg. single engine piston). But, insurance companies know that Mr. Fresh Private Pilot can’t just hop from a Cessna 172 into a Cirrus SR22 or a Bonanza, so they require transition training before insuring those pilots.

    What did my chief instructor mean when he imparted his wisdom? He was speaking about a particular phase of flight, the final approach phase, regardless of whether it’s a VFR approach or an IFR approach. The pitch of the airplane and the power setting of the airplane have to be utilized together to achieve the proper speed and descent rate (performance).

    VFR

    On the final approach leg of a VFR pattern, most piston engine aircraft are configured with landing gear down and flaps down in the landing position. This puts the airplane on the back side of the power curve in the region of reverse command. In the region of positive command, in cruise, for example, the more power you add, the faster you are going to go and, if you pitch up, you will go up and you pitch down, you will go down. But, they work together (if you point the nose down, you will accelerate unless you reduce the power); remember, Pitch + Power = Performance.

    diamond-landing

    In the region of reverse command, the pitch controls the airspeed and the power controls your rate of descent, but, again, they work together. Let’s say the airplane is 5 knots above it’s approach speed on final. Initially, the pilot will need to pitch up slightly to bleed off that airspeed. The airplane will want to climb, so as he is pitching up, he’ll need to make a slight power reduction to stay on glide slope.

    Alternatively, let’s say the airplane is high, but is on speed. The pilot will make a power reduction to descend to the glide path, but he’ll also need to pitch down to maintain the proper airspeed.

    What you don’t want to do is this: if the airplane is high on final, don’t push the nose down to try and get down. This does cause the airplane to lose altitude quickly, but the airspeed increases quickly. With a higher airspeed, the airplane has a lot more energy to dissipate when it gets to the runway, meaning you’ll float longer which can lead to forcing the airplane down or using up too much runway and not being able to get the airplane stopped in time.

    IFR

    On an instrument approach, you are on the front side of the power curve. When trying to stay on glide slope, the power is controlling the speed of the airplane and the pitch is keeping the airplane on glide slope. This can be a little bit confusing for VFR pilots transitioning to instrument approaches as they are not used to being on the front side of the power curve.

    Keeping in mind that Pitch + Power = Performance, let’s put the airplane above the glide slope on an ILS approach. In order to get down to the glide slope, the pitch needs to be lowered as much as needed (it’s always better to pick a pitch attitude to fly and see if it is working to bring the glide slope back to center. If it doesn’t work, pick a new one. Don’t just push the nose down until the glide slope moves) and the power needs to be reduced to maintain airspeed (again, pick a specific power setting). Once the glide slope centers, then the pitch will be raised slightly and the power will need to be increased to hold glide slope and speed respectively.

  • Simplified Instrument Approach Briefing

    In instrument flying, I am all about keeping things simple.  There is a ton of detail that an instrument pilot can get bogged down in.  When an instrument pilot gets bogged down, he gets distracted from flying the airplane.  When he gets distracted from flying the airplane, dangerous circumstances can happen.

    I like to keep things simple.  When I first started instructing, I developed a very simple instrument approach briefing that captures everything that is necessary on an approach plate, but prevents getting bogged down in the details.

    I call it the BBC instrument approach briefing.  Here it is:

    Brief

    rnav-32-kssfFirst things first.  The first step of an instrument approach briefing is to brief the approach plate.  There are a bunch of acronyms out there that instructors tell their students to memorize that only cause confusion instead of helping get the plate briefed.  To keep it simple, just work your way across the plate and you’ll get all the information you need.

    Start in the top left hand corner of the plate, with the approach course, then work your way right and down, as follows:

    • Approach Course (or Nav frequency if flying a VOR/ILS/LOC)
    • Runway information
    • Notes (these are good to brief the night before as a lot are irrelevant to GA pilots
    • Missed approach
    • Frequencies
    • Planview and MSA
    • Profile View and Minimums

    Simple enough, right?

    Build

    Now that you know what you are planning on doing, you can now take the second step in the instrument approach briefing and build the approach in your GPS.  You know your approach type, you know your transition, and you know what your minimums are.  Taking all that information, you can now build it in to your system.

    Checklists

    Once everything else is done, don’t forget the checklists.  The descent and before landing checklists still need to be done as part of an approach.  The best time to do these is before joining the approach so that you don’t have to worry about flying the approach and looking at a checklist at the same time.  Even better, memorize the checklist and you don’t have to look at anything!

    Most importantly, you want to be configured properly for the approach by the final approach fix.  Gear, flaps set, power set, so all you have to worry about at that point is following the needles and trusting your instruments.

    ifr-cartoon

Leave a Reply

Your email address will not be published. Required fields are marked *