Cirrus Embark

Free training?

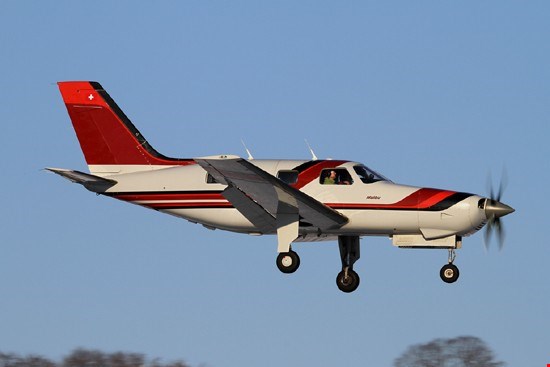
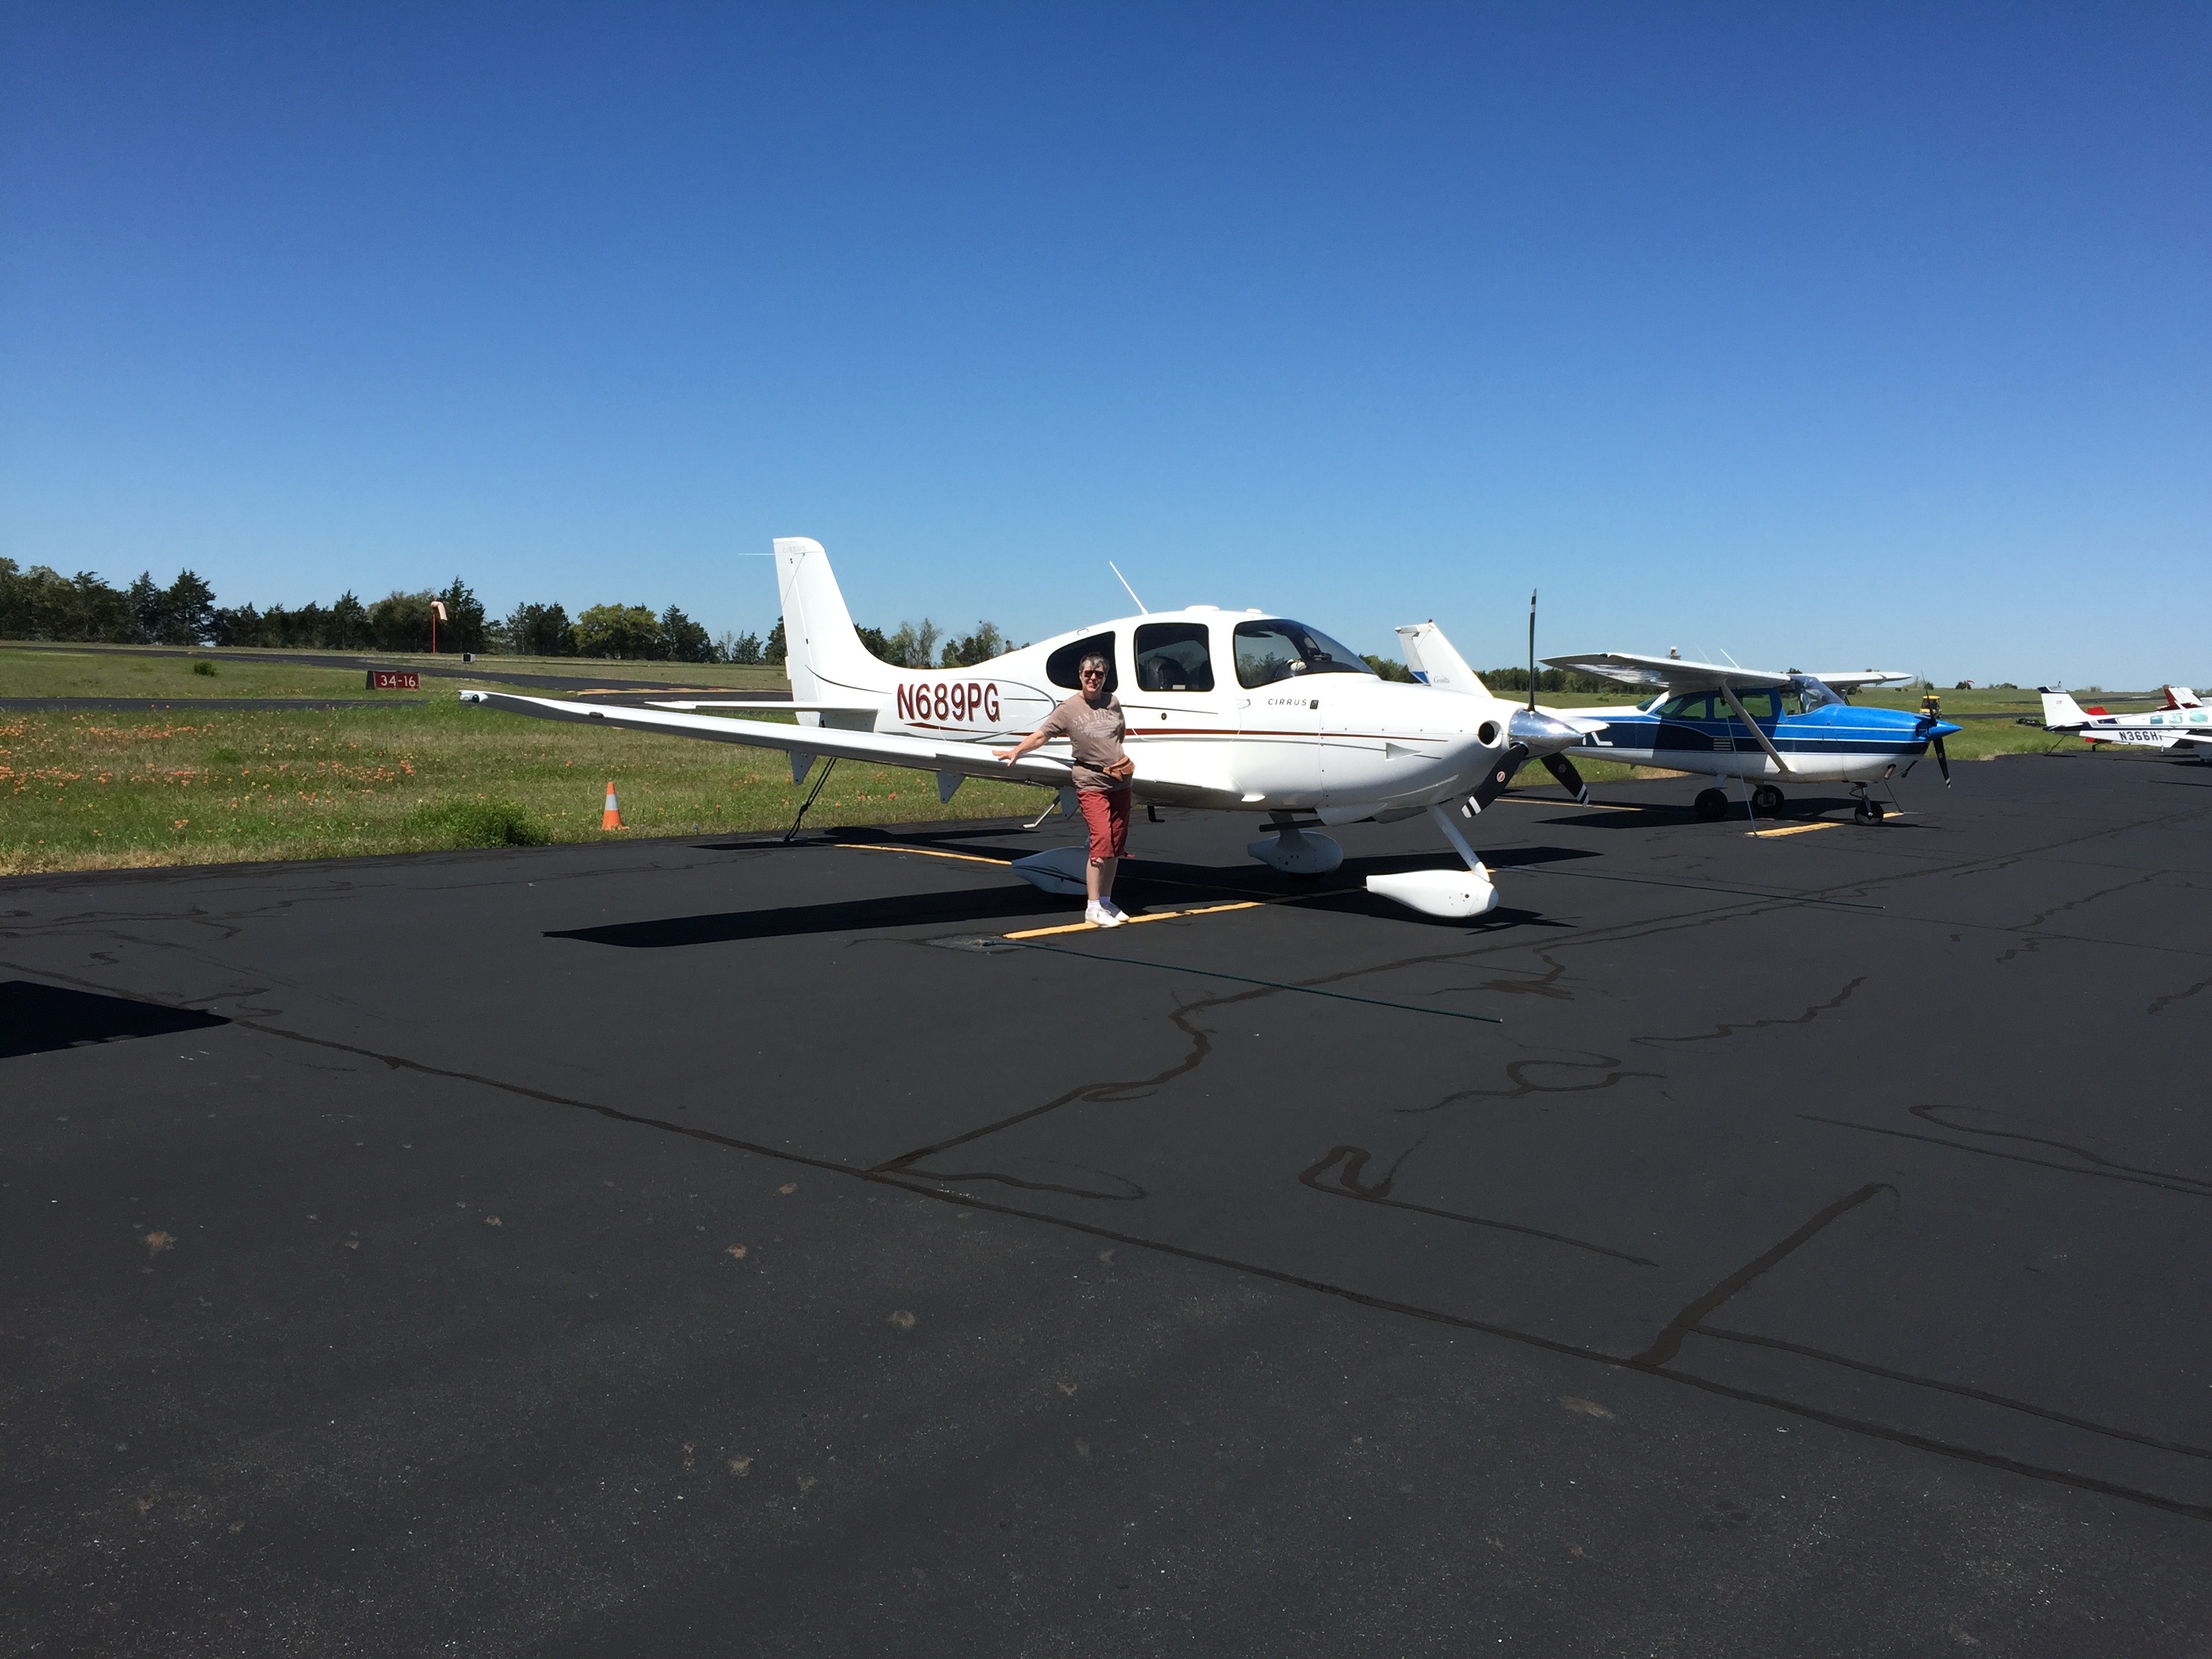
Yes, you heard correctly.  Last fall, Cirrus released a program called Cirrus Embark.  The Cirrus Embark program offers 3 Free Days of Training to new purchasers of used Cirrus aircraft.  The 3 Days is equivalent to the Cirrus VFR Transition Training Course.

Previously, Cirrus offered free factory training to anyone who purchased a new Cirrus from the Cirrus factory. Now, anyone buying a used Cirrus gets the same offer through Cirrus Embark at their home airport with a local CSIP training provider.

IFR pilot?  No problem.  The Cirrus IFR Advanced Transition Training Course is 5 days in length, but the Cirrus Embark program covers the first 3, reducing the out of pocket pay to only 2 days.

Want more information?  Check out the Cirrus Embark website.

To get more information on both the VFR and IFR Cirrus Transition Training Courses, visit the Texas Top Aviation Cirrus Training Page.

Similar Posts

  • Cirrus SR22 Partnership in Houston

    Ever wanted to be a Cirrus owner, but the economics of being a single owner just don’t make sense for you? If you’re in the Houston area, you now have a chance to join a Cirrus SR22 partnership at the West Houston Airport, KIWS.

    The group, CirrusShare, is a 4 member group, but one of the members is looking to sell his share.  The airplane is a 2007 G3 SR22.  It is in excellent condition, with dual WAAS 430s and air conditioning.

    If you would be interested, please contact Texas Top Aviation for more information.

    N578AG


  • The Go Around Button

    Back in the old days, when flying an approach in an early Cirrus SR22 (circa 2004; yes, in airplane technology, those were the old days), performing a missed approach procedure was a lot of work.  You were low to the ground and weren’t able to see the runway.  Then, you had to start climbing so you don’t hit the ground, then push a lot of buttons in order to get the GPS and autopilot set fly the missed approach procedure.  It was very easy to get distracted with button pushing, then forget to fly the airplane, putting yourself and passengers in very unsafe circumstances.  The go around button has changed all that.

    Going Missed the Old Fashioned Way

    Let’s stick with our example of the 2004 Cirrus.  The SR22 in 2004 was equipped with the Avidyne Entegra system, complete with dual Garmin 430 GPS units, and an STEC 55x Autopilot.  A very capable IFR flying machine (we could use the same example of a 2004 or 2005 Lancair Columbia 350 or 400 that was equipped the same way, except the screens were vertical instead of horizontal).

    Avidyne Cirrus Go Around Button

    We’ll use the ILS 15 at the Temple airport, KTPL, for our example.  You pass TPL, the outer marker at 1,683 with the glide slope already centered.  Everything is going well so far.  The number 1 Garmin 430 is set to VLOC and the autopilot is showing NAV and APR for the lateral guidance and GS on the vertical, tracking the glide slope.  The last weather report stated the clouds were Broken at 500 feet, so it appears like you’ll be able to get in on the approach.

    As you get closer to the Decision Altitude, the clouds aren’t letting up at all.  You hit 1,000 feet on your altimeter, 120 feet above the minimums, and you still can’t see a thing.  Another 100 feet lower doesn’t change anything, so you elect to proceed with the missed approach.  This means things are about to get busy.

    Here’s the process:

    • Fly the airplane first, meaning shut off the autopilot, pitch the nose up to about 7 degrees, TRIM, add full power, retract the flaps, and step on the right rudder
    • The Garmin 430 is now in SUSP mode, meaning the missed approach point is locked in as the active waypoint.  So, you have to press the OBS button to cause the GPS to cycle over to the missed approach procedure
    • You have to press the VLOC button on the Garmin 430 in order to change the CDI back to GPS
    • You have to re-engage the autopilot by pressing NAV twice (which engages GPS Steering mode)
    • You have to reset your altitude bug (if you hadn’t set it for the missed approach altitude previously)
    • You have to press VS and ALT on your autopilot to have the STEC continue the climb

    That’s a lot of work, isn’t it?  Plus, that’s an extensive amount of head down time in the cockpit, with your eyes looking elsewhere other than the instruments while hand flying.  All very low to the ground, I might add.  Can you see how this can be dangerous?  (Note:  The Avidyne IFD 550 has made this a little easier with automatically switching from VLOC to GPS and automatically engaging the missed approach procedure in the flight plan)

    The advent of the Go Around Button has streamlined the process, leading to safer operations where it matters most.  The functions of the Go Around Button vary based on the airplane, but here are three examples, the Garmin G1000 Cessna Corvalis TT, the Garmin G1000 Piper Mirage, and the Garmin Perspective Cirrus SR22.

    Cessna Corvalis TT

    We’ll take the above situation and swap out the airplanes.  Gone is the 2004 Cirrus SR22.  Insert a 2008 Cessna Corvalis TT, equipped with the Garmin G1000 suite and the GFC 700 autopilot.  The go around button is positioned directly above the twist in throttle.

    Cessna Corvalis G1000 Go Around Button

    When you push the Go Around Button, here’s what the system does:

    • Disconnects the Autopilot
    • Sets the Flight Director for 7.5 degrees pitch up (which is about your normal climb angle) and wings level
    • Switches the CDI back to GPS
    • Takes the GPS out of SUSP mode and cycles the flight plan to the first waypoint on the missed approach procedure

    Here’s what you have to do:

    • Follow the flight director by pitching the nose up and TRIM
    • Add full mixture, prop and throttle (prop & throttle should be full already)
    • Retract the flaps
    • Step on the right rudder
    • Re-engage the autopilot, then press NAV and VS (or FLC) and set your altitude bug if it isn’t already set

    Not too bad, eh?  Makes the whole situation streamlined and safer.

    Piper PA46-350P Mirage

    Same situation, different airplane.  You’ll notice the procedure for the Piper Mirage is almost exactly the same as the  Corvalis procedure.  The difference between the two airplanes is where the autopilot controller is.  In the Corvalis, the autopilot controller is positioned on the left side of the MFD, making it easy to scan back and forth while pushing buttons on the autopilot.

    The Piper Mirage autopilot controller is positioned below both screens and in front of the power quadrant. With this positioning, the pilot’s eyes have to go a lot further to see which autopilot button he is pushing. In this case, it becomes very important to get the airplane climbing and trimmed before going down to engage the autopilot.

    As in the Corvalis, here is what the Go Around button does:

    • Disconnects the Autopilot
    • Sets the Flight Director for 7.5 degrees pitch up (which is about your normal climb angle) and wings level
    • Switches the CDI back to GPS
    • Takes the GPS out of SUSP mode and cycles the flight plan to the first waypoint on the missed approach procedure

    And here’s what you have to do:

    • Follow the flight director by pitching the nose up, then TRIM
    • Add full mixture, prop and throttle (prop & throttle should be full already)
    • Retract the flaps
    • Step on the right rudder
    • Re-engage the autopilot, then press NAV and VS (or FLC) and set your altitude bug if it isn’t already set

    Cirrus SR22

    Cirrus Perspective Go Around Button

    This time, we’ll use the 2010 Cirrus SR22T with the Garmin Perspective and GFC 700 Autopilot. One thing I really like about how Cirrus configured their system is where the Go Around button is.  It’s actually on the throttle itself, making it much more intuitive.  This way, you can press the Go Around button while adding full throttle.

    There is one major difference between the Garmin Perspective in the Cirrus and the G1000 in the Corvalis. When you press the Go Around button in the Cirrus, the autopilot actually stays on.

    Here’s what happens when you press the Go Around button in the Cirrus:

    • Flight Director pitches to 7.5 degrees pitch up and wings level
    • AP Mode switches to Go Around mode, following the flight director
    • GPS comes out of SUSP mode
    • CDI switches back to GPS

    All the pilot really has to do is add power, take the flaps up, then press NAV on the GFC 700 to get the autopilot following the missed approach procedure.

    If you aren’t familiar with the Go Around button or haven’t used the one in your plane lately, it’s good to go up with a knowledgeable instructor and fly a couple of approaches where you perform the published missed approach afterward.  That way, he or she can assist you through the first missed approach, then give you pointers until  you get comfortable with the Go Around button.

  • Keeping Your Margin

    Just south of the equator in the mountains of Papua, Indonesia on the island of New Guinea, pilots spend their days carrying food, building supplies, doctors, pigs, and passengers into some of the most remote and extreme airstrips on the planet. That’s where I fly.

    Each morning I load my Cessna Grand Caravan with 2,600 lbs of (insert strange cargo here) and depart my home base of Wamena just after the sun sends its first rays of light across the waking skies above. I spend my day winding through narrow valleys and crossing high altitude mountain passes with building clouds and poor communication, only to land on short, narrow airstrips with steep slopes and little room for error. Most of these one-way in, one-way out runways require me to commit to landing well before touchdown due to terrain that is too close to allow for a safe go-around. Everything better be right when I cross that decision point or I could be in for some excitement.

    DCIM100GOPRO

    The need to keep wide margins of safety might seem obvious in environments like mine, but that doesn’t make them any less important where you fly. You may be a new pilot or an old timer, but keeping your margin should always be on the top of your priority list.

    Let’s unpack this further. Margin is not just maintaining the regulatory requirements for cloud clearances or minimum altitudes. It’s more than planning for an alternate airport or carrying the required fuel reserve. Margin is breathing room. It is that extra maneuvering room, the Plan C, the well thought out options that provide you multiple “outs” in any given situation. Margin is what gets you home when things take a turn for the worse.

    Margin comes in all shapes and sizes. For myself it includes maintaining double my required turn radius in narrow valleys or choosing not to land when my groundspeed is just 1 knot too high at a short and slippery airstrip. For you, it could be determining a ceiling or visibility minimum requirement that is more conservative than the legal ones or setting a wind limitation that you know is reasonable. When it comes down to it, keeping your margin means you don’t push to the ragged edge of your skill or the aircraft’s capability.

    Margin can also refer to your mental or emotional capacity. Are you mentally prepared to divert and miss that important event because the weather is getting bad? Are you ready to handle the disappointment of passengers when you arrive over your airstrip and choose not to land due to approaching rain or a factor that is difficult for a non-pilot to understand? Are you willing to cancel a flight on an important client because you are coming down with a cold or didn’t get adequate sleep? As the PIC of your flying machine, you alone are responsible for the safety of the aircraft and the people on board and those are the tough calls that only you can make.

    Fatigue, overconfidence, and complacency are the biggest obstacles to keeping your margin. They are all very subtle dangers and you may be experiencing them without even recognizing it. Fatigue can slow down your thought process leaving you behind the plane and backed into a corner before you know it. Overconfidence might cause you to push weather or commit to a course of action that has no favorable alternatives. Complacency will lead you to believe that, because you have 2000 hours in a particular make and model, you don’t need to do a thorough preflight or complete the pre-landing checklist.

    Regardless of experience level, operating environment, fancy avionics, and level of proficiency, margin is something that we all need plenty of. So as you go about your upcoming flights, be asking yourself what you can do to build in more margin. It just might be what gets you home.

    Pete Greenwald is a transplant to Atlanta, Georgia who has fallen in love with all things Southern, including his wife, Ashley.  As a pilot and A&P with Mission Aviation Fellowship, he flies the Cessna Grand Caravan in Papua, Indonesia serving people who live in isolation. In his spare time he is on the hunt for the best burger around.

  • Flight Service Station

    When is the last time you talked to the Flight Service Station?

    Believe it or not, FSS is still in existence.  Over the past 10 years, they went from FAA run, the being bought by Lockheed Martin, to now being privately run by a company called Leidos. 1-800-WX Brief will get you connected with a weather briefer, but you’ll hear “Leidos Flight Service Station” now when the briefer picks up.

    Since the advent of Foreflight, most pilots these days get their weather briefings digitally on the iPad. Foreflight has come a long way since it’s inception.  The briefing part of their Flights page is quite comprehensive, with lots of information, and counts as a legal weather briefing (which pilots are still required to get before a flight).

    Why does a pilot even need to call Flight Service?  Well, when’s the last time you tried to interpret everything the Briefing on Foreflight told you?  As I said before, it’s a lot of information and a lot of it can be confusing.  Pilots are not fully trained on interpreting Prog Charts and getting an overall weather picture for a flight.  A weather briefer is.

    I have over 5,000 hours and I still call a weather briefer before almost every flight.  On the way to the airport is a great opportunity to get a weather briefing.  I get a great picture of what’s going on in my area or over my route, frontal movement, bad weather areas, and whether or not it’s a good idea to even take off. Calling in the car alleviates the main complaint I hear about calling the Flight Service Station, which is it’s inconvenient and causes a delay since you have to call them on the phone.

    I don’t do much private pilot training anymore, but when I do, I always teach my students how to get a weather briefing from the Flight Service Station.  I’ll show them how to get the briefing on Foreflight too, but usually their eyes bug out of their heads when they start trying to read everything.  A breathe of relief is released when I tell them there is a trained professional just a phone call away who can clear everything up.

    The other thing that the Flight Service Station provides that is important to a lot of folks are PIREPs.  It’s vital in sketchy weather areas for the FSS to get a report of what’s actually going on in the air.  This helps other pilots out greatly as they are getting information about icing, cloud bases and tops, turbulence and a myriad of other things from airplanes who are actually in the conditions.

    Finally, the most used portion of the Flight Service Station is the Clearance Delivery line (888-766-8267). At airports without a tower or a clearance delivery frequency, with IFR conditions present, the only way to get your IFR clearance is to call Clearance Delivery.  Yes, it can take a little time sometimes, but you will get a clearance every time, unlike taking off and trying to dodge the clouds without hitting anything, while trying to call Center on the radio (which isn’t safe or legal).

    Been a while since you’ve talked to the Flight Service Station?  Give them a call, either on the phone or on the radio.  Odds are, they are bored and just wanting someone to talk to, just like you are on that long cross country flight!

    Checkout 1800WXBrief.com to see all the cool stuff the Flight Service Station does.

  • The RDD LX7

    Have a Lancair IV-P?

    Want to make it better than a Cirrus or a Cessna TTx?

    Meet the team at RDD creating the LX7.  Just make sure you are sitting down as you are about to be blown away.

    RDD (Research. Design. Development) is a professional building company for the Lancair line of experimental aircraft (Lancair unveiled the Mako at Osh Kosh this summer, which performs slightly less than the advertised values of the LX7, but is available as a new kit).  For those unfamiliar with the experimental world, when an experimental kit is bought, the owner/builder can build the entire aircraft himself, partially build it then send it to a completion center, or have a professional build company put it together.  This last option is what RDD did with Lancair aircraft before Lancair moved from Oregon to Uvalde, TX.

    Once Lancair was sold, RDD started thinking on how to make the IV-P better.  Boy, did they.  What resulted is the LX7.

    The LX7 is a retractable gear, single engine piston, pressurized aircraft that sits 4.  See it on the ramp and it looks like a Lancair or a Columbia.  Sit in the cockpit and you’ll know something is different.

    Starting with the power plant, RDD put a Continental TSIO 550-E engine in the IV-P airframe, giving the airplane 350 HP.  They redesigned the wing to hold 180 gallons of usable fuel and a much better stalling envelope (anyone who has looked at a Lancair IV or IV-P wing knows that there isn’t much wiggle room with angle of attack on those airplanes), lowering the stall speed to 62 knots dirty.

    The cabin is roomier and the panel is beautiful.  Equipped with 2 or 3 Garmin G3X Touch panels (the experimental equivalent of the G2000), plus a GTN 750 and a fully digital backup flight instrument from Grand Rapids, plus ESP technology built in to the autopilot, this plane seems like a pilot’s dream.

    I haven’t even gotten to the best part:  the speed.  Being pressurized, the LX7 has a 25,000 foot service ceiling where it can achieve cruise speeds of 260 knots at best power (24 GPH) and 250 knots at best economy (18 GPH).

    Yes, I did just say 250 knots at 18 GPH in a single engine piston.

    With 180 gallons of fuel.

    Make sure you bring a Travel John.

    Worried about an experimental?  The airframe is equipped with a full BRS system similar to the Cirrus SR22, keeping everyone safe and sound.

    There is one flying LX7 currently and RDD is working on 3 more.  The price tag for the full conversion is $550,000.  The kicker is, the owner has to provide the Lancair IV-P airframe.  There are currently 10 Lancair IV-Ps for sale on Controller, varying in price from $200,000-$400,000, bringing the total price of the project to $750,000-$950,000.  Owners who already have a IV-P or a IV-P kit can send it on over to RDD to get started on their project.

  • Contact Approaches

    Almost all IFR pilots are familiar with visual approaches and what the requirements are in order to fly a visual approach. As a refresher, the Instrument Procedures Handbook defines a Visual Approach as “an ATC authorization for an aircraft on an IFR flight plan to proceed visually to the airport of intended landing; it is not an [Instrument Approach Procedure]” (page 4-56).

    For ATC to issue a Visual Approach, the pilot must have the airport or the traffic to follow in sight. Once the pilot reports the airport or the traffic in sight, ATC can clear the aircraft for a visual approach.

    A limiting factor for a visual approach is ATC’s Minimum Vectoring Altitude. “This altitude, based on terrain and obstruction clearance, provides controllers with minimum altitudes to vector aircraft in and around a particular location” (Instrument Procedures Handbook page 1-42). ATC has to restrict aircraft to these MVAs, which can sometimes be quite high due to terrain or obstacles in the vicinity of the airport.

    Every pilot has been in a situation with a high MVA that ATC can’t get them below, but it’s solidly MVFR or VFR at the destination airport. The MVA keeps the pilot in the clouds, so a visual approach isn’t possible since the pilot can’t see the airport or the traffic to follow. This can lead to extra time to go out and fly an approach.

    Enter a Contact Approach. A Contact Approach is different then a Visual Approach. “The main differences between a visual approach and a contact approach are: a pilot must request a contact approach, while a visual approach may be assigned by ATC or requested by the pilot; and a contact approach may be approved with 1sm visibility if the flight can remain clear of clouds, while a visual approach requires the pilot to have the airport in sight, or a preceding aircraft to be followed, and the ceiling must be at least 1,000 feet AGL with at least 3sm visibility” [Instrument Procedures Handbook page 4-57].

    Here’s the simplified explanation: A pilot does not have to have the airport in sight to request a contact approach. All that is required is for the airport to be reporting at least 1sm visibility and for the pilot to remain clear of clouds.

    When would this be helpful for an IFR pilot? Good question. Here’s a scenario.

    Pilot Smalls is about 20 minutes from his destination, which is an uncontrolled airport with only one approach to runway 17. He is approaching from the south and the initial approach fix for the approach to 17 is about 15 miles north of the airport. The airport is under Center control. When he has arrived at this destination in the past, Center usually could only vector him down to 4,000 AGL. He is very familiar with this airport and the surrounding area as he comes to this destination at least 2-3 times a month for business.

    Pilot Smalls listens to the AWOS, which is reporting a 2500 foot scattered layer and 10 miles visibility. He knows it is right traffic for 17 since there is a 2,000 foot antenna on the east side of the field. There is some hilly terrain around, but all the terrain is well below pattern altitude and doesn’t cause a safety issue.

    Looking out at the clouds, Pilot Smalls observes that the cloud layer is scattered to broken, but more scattered on the west side of the airport, with several large openings that he can see the ground through. Center asks for his approach request and Pilot Smalls requests a visual approach. Center gives him a descent to 4,000 AGL, their MVA for the area. They tell him to report the airport in sight for the visual approach.

    At 4,000 AGL, Pilot Smalls is going through the scattered layer of clouds, but can see the ground in between the clouds and deems he has room to maneuver safely between the clouds and stay clear of them. He can’t see the airport, so a visual approach seems unlikely. He can’t cancel IFR because then he would have to keep the VFR cloud clearance and visibility requirements in Class E airspace (1,000 feet above, 500 below and 2sm horizontally), which isn’t possible in this case.

    5 miles from the airport, ATC states, “N12345, I’m going to have to send you out for the approach since you don’t have the airport in sight.” Pilot Smalls then requests a Contact Approach. ATC clears him for the Contact Approach to his destination, so Pilot Smalls descends through a break in the clouds, remaining clear of clouds, until he gets below the base of the ceiling. He maneuvers onto the right downwind, lands and cancels IFR.

    Contact approaches can be useful at controlled and uncontrolled airports. The first time you request one, do so with a higher ceiling and some room to maneuver to keep your safety margins. After you’ve done a few, you can determine what your personal minimums are for a Contact Approach.

    I would not recommend doing a Contact Approach at an airport you are unfamiliar with. It’s vital to know what obstacles are around since on a Contact Approach, the pilot is now responsible for traffic avoidance and terrain avoidance, whereas on a visual approach, ATC resumes that responsibility.

    For more reading on Contact Approaches and another good scenario, check out Bold Method’s article on Contact Approaches.

One Comment

  1. Pingback: Cirrus Approach

Leave a Reply

Your email address will not be published. Required fields are marked *