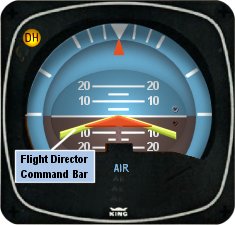
Flying to the Bahamas

A couple weeks ago, my employer informed me that he wanted to take a group to Nassau, The Bahamas. I thought, no big deal, this should be an easy trip. The more I started to read, though, the more I realized it wasn’t going to be just a “normal” trip.

If you aren’t a member of AOPA, I would highly recommend joining. AOPA’s website was where I started researching. They actually have a checklist to help you along the way.

The first step is getting the paperwork started. All souls on board are going to need a valid passport. In our case, a couple of passengers need to get theirs. Since it was a little shorter notice, we had to go through the expedited process. It’s fairly simple. A quick internet search gave me a couple of people that helped the process along.

Next was making sure the aircraft had all it’s paperwork. The airworthiness certificate was easy as it’s always in the plane (or should be).

The registration certificate was next to check. We recently upgraded to the King Air 350 so we had to make sure we had the original issuance registration certificate. The Bahamas supposedly doesn’t allow Temporary Certificates and I really didn’t want to test that policy.  Thankfully after a couple of calls between owner and the FAA we got the original.

The aircraft and pilot are both also required to have an FCC Radio License. This is only for international flying, but not an everyday thing pilots think about.

After that was flight planning. I use FltPlan.com. The actual filing of the flight plan was very easy. I use the prescribed routes from the website. In the remarks section of the flight plan put ADCUS (Advise Customs). This advices ATC to let customs know of your arrival. It’s basically an added safety net in case you forget to call ahead or your flight times end up being way off.

The other item when dealing with flight planning is dealing with eApis. There are numerous companies who will provide this service for you. I elected not to use one of those. If you go to the CBP website, you can set up an account and do all of it yourself. Take your time and really plan the flight out well to make sure your arrival times are as close to real time as possible. If you’re way off, this will make any customs agent very frustrated and that is not something you want to be dealing with.

Approach charts and en route charts are another hurdle. Thankfully Foreflight has you covered. With my subscription, I already had en route charts. The approach charts were the real issue. In the Bahamas, the only places that have approved instrument approaches is Nassau and Freeport. Fortunately, we were going to Nassau. Foreflight does charge almost $400 for the Caribbean and Bahamas charts.  Emailing the FBO is a good option as they can usually supply approach plates for international flights.

You’ll also need a CBP sticker. This goes on the outside of the aircraft showing customs you’re in the system. This can be found on the CBP website as well. It takes a little bit to get the
sticker in the mail. However, once you pay for the sticker, the receipt can be used in place of the sticker.
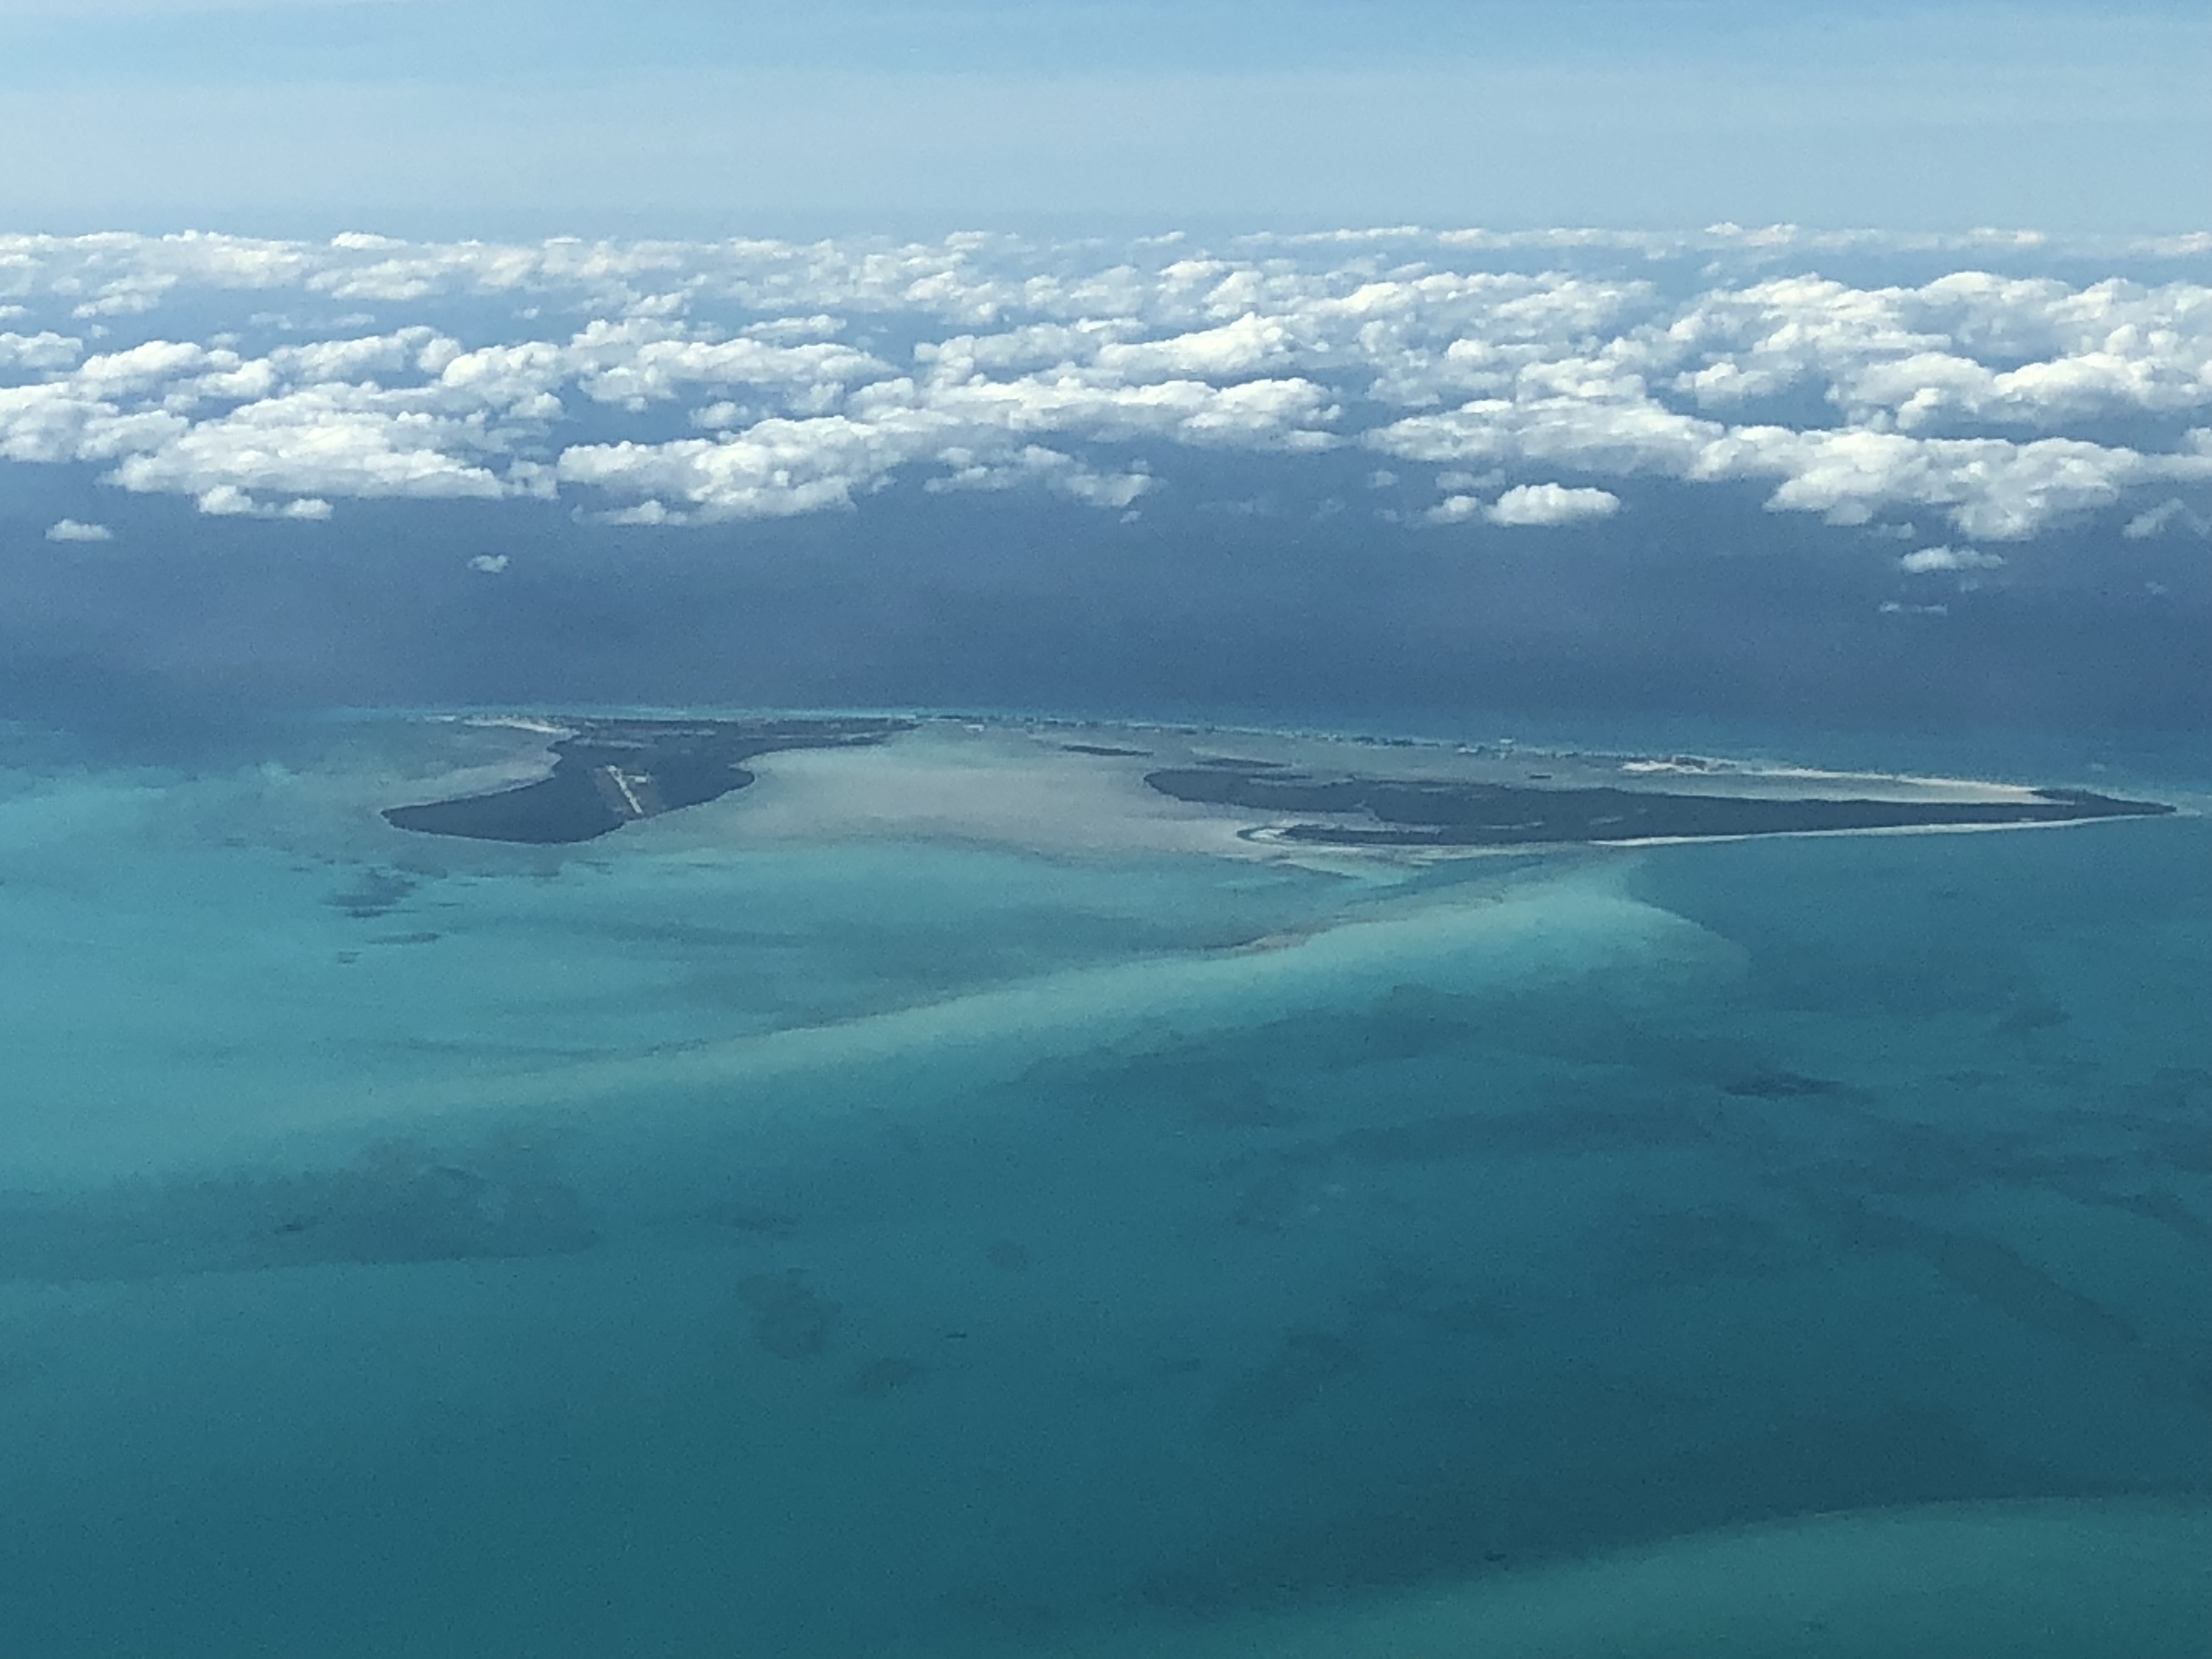
The final thing I focused on was picking an FBO. I chose Jet Aviation. They had CAA which gave us a Jet fuel discount. Their facility was excellent and staff was very friendly. The thing that put it over the top for me was how they handled customs. I emailed Jet Aviation all the information for myself and passengers and they pre-filled all the customs forms for me. When we arrived, customs took all of five minutes and then my passengers were out the door.

While in Nassau, I stayed at Breezes Resort. It’s all inclusive so that helps keep the costs down for your owners if you’re a corporate pilot. It’s next to some of the other bigger resorts so there were shuttles available to get to other amenities. The only complaint I might have was the power kept cycling on and off and the internet wasn’t reliable. This proved challenging when trying to plan for the return trip.

The return trip required a lot of the same preparation. Again it was nice to have a good FBO to help prepare the paperwork required to clear customs. Jet Aviation handled the General Declarations for me and my passengers. All I was required to do was file the flight plan and file eApis, which was actually challenging while my internet at the resort was on the fritz.

Don’t forget to call US Customs at your Port of Entry! As this was Ft. Lauderdale for us, I called them twenty four hours in advance as prescribed. The customs agent was friendly and helpful with any questions I had. I think the best advice I can give throughout this whole experience is call ahead and ask lots of questions! Did I say that already?

The morning of the return trip went off with no hitches. Again, Jet Aviation had set up a driver to pick me up and he was on time. Jet Aviation had all the General Declarations paperwork pre-filled out for myself and passengers. Again, I use FltPlan.com to file my flight plans. Their service performed flawlessly even though I had heard rumors of flight plans not going through. To curb my bet, I talked with the staff at Jet Aviation and they made a call to tower for me to verify that the flight plan had gone through; of course, it had.

The actual flight out of Nassau was pretty uneventful. The last real hurdle I had was dealing with customs in Ft. Lauderdale, and hurdle it was. When we landed at FLL, ground instructed me over to customs ramp. There was no one to tell us where to park on the ramp. This was extremely frustrating.

A Learjet taxied in prior to us and had taken up most of the ramp but, we found a spot and shutdown. Once we shut down, no one came out to our aircraft. I walked in to talk to someone and was greeted by a Boarder agent who was less than helpful. Since the Learjet had parked first, they got to go through first. Evidently, we were not allowed in the building until they were done. This didn’t make my owner too happy!

Be prepared, though, if another airplane is on the Customs ramp before you arrive.  You are not supposed to get out of the airplane until a Customs agent comes and meets you, even to go to the bathroom.  This can result in large fines.

Once we were allowed in, the process went smoothly. We had to put all of our bags through the x-ray machine. Beyond the x-ray machine, CPB didn’t require any other security measures. On other crossings I’ve done, CPB had opened up bags and sifted through clothes, so just doing the conveyor belt was a surprise. The rest of the trip was fairly commonplace. We stopped in Destin FL for dinner before making our final leg into Dallas. All in all, it was an excellent trip and I’m excited to do another one.

Ryne Bergren works for a Part 91 operation in Dallas flying a King Air 350. Being a Part 91 outfit, he doesn’t get to rely on a “dispatch” or “company” to help with any international flight planning. This was a learning experience for him. Hopefully this will be a help to anyone for future trips.

Similar Posts

  • The Go Around Button

    Back in the old days, when flying an approach in an early Cirrus SR22 (circa 2004; yes, in airplane technology, those were the old days), performing a missed approach procedure was a lot of work.  You were low to the ground and weren’t able to see the runway.  Then, you had to start climbing so you don’t hit the ground, then push a lot of buttons in order to get the GPS and autopilot set fly the missed approach procedure.  It was very easy to get distracted with button pushing, then forget to fly the airplane, putting yourself and passengers in very unsafe circumstances.  The go around button has changed all that.

    Going Missed the Old Fashioned Way

    Let’s stick with our example of the 2004 Cirrus.  The SR22 in 2004 was equipped with the Avidyne Entegra system, complete with dual Garmin 430 GPS units, and an STEC 55x Autopilot.  A very capable IFR flying machine (we could use the same example of a 2004 or 2005 Lancair Columbia 350 or 400 that was equipped the same way, except the screens were vertical instead of horizontal).

    Avidyne Cirrus Go Around Button

    We’ll use the ILS 15 at the Temple airport, KTPL, for our example.  You pass TPL, the outer marker at 1,683 with the glide slope already centered.  Everything is going well so far.  The number 1 Garmin 430 is set to VLOC and the autopilot is showing NAV and APR for the lateral guidance and GS on the vertical, tracking the glide slope.  The last weather report stated the clouds were Broken at 500 feet, so it appears like you’ll be able to get in on the approach.

    As you get closer to the Decision Altitude, the clouds aren’t letting up at all.  You hit 1,000 feet on your altimeter, 120 feet above the minimums, and you still can’t see a thing.  Another 100 feet lower doesn’t change anything, so you elect to proceed with the missed approach.  This means things are about to get busy.

    Here’s the process:

    • Fly the airplane first, meaning shut off the autopilot, pitch the nose up to about 7 degrees, TRIM, add full power, retract the flaps, and step on the right rudder
    • The Garmin 430 is now in SUSP mode, meaning the missed approach point is locked in as the active waypoint.  So, you have to press the OBS button to cause the GPS to cycle over to the missed approach procedure
    • You have to press the VLOC button on the Garmin 430 in order to change the CDI back to GPS
    • You have to re-engage the autopilot by pressing NAV twice (which engages GPS Steering mode)
    • You have to reset your altitude bug (if you hadn’t set it for the missed approach altitude previously)
    • You have to press VS and ALT on your autopilot to have the STEC continue the climb

    That’s a lot of work, isn’t it?  Plus, that’s an extensive amount of head down time in the cockpit, with your eyes looking elsewhere other than the instruments while hand flying.  All very low to the ground, I might add.  Can you see how this can be dangerous?  (Note:  The Avidyne IFD 550 has made this a little easier with automatically switching from VLOC to GPS and automatically engaging the missed approach procedure in the flight plan)

    The advent of the Go Around Button has streamlined the process, leading to safer operations where it matters most.  The functions of the Go Around Button vary based on the airplane, but here are three examples, the Garmin G1000 Cessna Corvalis TT, the Garmin G1000 Piper Mirage, and the Garmin Perspective Cirrus SR22.

    Cessna Corvalis TT

    We’ll take the above situation and swap out the airplanes.  Gone is the 2004 Cirrus SR22.  Insert a 2008 Cessna Corvalis TT, equipped with the Garmin G1000 suite and the GFC 700 autopilot.  The go around button is positioned directly above the twist in throttle.

    Cessna Corvalis G1000 Go Around Button

    When you push the Go Around Button, here’s what the system does:

    • Disconnects the Autopilot
    • Sets the Flight Director for 7.5 degrees pitch up (which is about your normal climb angle) and wings level
    • Switches the CDI back to GPS
    • Takes the GPS out of SUSP mode and cycles the flight plan to the first waypoint on the missed approach procedure

    Here’s what you have to do:

    • Follow the flight director by pitching the nose up and TRIM
    • Add full mixture, prop and throttle (prop & throttle should be full already)
    • Retract the flaps
    • Step on the right rudder
    • Re-engage the autopilot, then press NAV and VS (or FLC) and set your altitude bug if it isn’t already set

    Not too bad, eh?  Makes the whole situation streamlined and safer.

    Piper PA46-350P Mirage

    Same situation, different airplane.  You’ll notice the procedure for the Piper Mirage is almost exactly the same as the  Corvalis procedure.  The difference between the two airplanes is where the autopilot controller is.  In the Corvalis, the autopilot controller is positioned on the left side of the MFD, making it easy to scan back and forth while pushing buttons on the autopilot.

    The Piper Mirage autopilot controller is positioned below both screens and in front of the power quadrant. With this positioning, the pilot’s eyes have to go a lot further to see which autopilot button he is pushing. In this case, it becomes very important to get the airplane climbing and trimmed before going down to engage the autopilot.

    As in the Corvalis, here is what the Go Around button does:

    • Disconnects the Autopilot
    • Sets the Flight Director for 7.5 degrees pitch up (which is about your normal climb angle) and wings level
    • Switches the CDI back to GPS
    • Takes the GPS out of SUSP mode and cycles the flight plan to the first waypoint on the missed approach procedure

    And here’s what you have to do:

    • Follow the flight director by pitching the nose up, then TRIM
    • Add full mixture, prop and throttle (prop & throttle should be full already)
    • Retract the flaps
    • Step on the right rudder
    • Re-engage the autopilot, then press NAV and VS (or FLC) and set your altitude bug if it isn’t already set

    Cirrus SR22

    Cirrus Perspective Go Around Button

    This time, we’ll use the 2010 Cirrus SR22T with the Garmin Perspective and GFC 700 Autopilot. One thing I really like about how Cirrus configured their system is where the Go Around button is.  It’s actually on the throttle itself, making it much more intuitive.  This way, you can press the Go Around button while adding full throttle.

    There is one major difference between the Garmin Perspective in the Cirrus and the G1000 in the Corvalis. When you press the Go Around button in the Cirrus, the autopilot actually stays on.

    Here’s what happens when you press the Go Around button in the Cirrus:

    • Flight Director pitches to 7.5 degrees pitch up and wings level
    • AP Mode switches to Go Around mode, following the flight director
    • GPS comes out of SUSP mode
    • CDI switches back to GPS

    All the pilot really has to do is add power, take the flaps up, then press NAV on the GFC 700 to get the autopilot following the missed approach procedure.

    If you aren’t familiar with the Go Around button or haven’t used the one in your plane lately, it’s good to go up with a knowledgeable instructor and fly a couple of approaches where you perform the published missed approach afterward.  That way, he or she can assist you through the first missed approach, then give you pointers until  you get comfortable with the Go Around button.

  • Stephanie Mertz Joins Texas Top Aviation

    Texas Top Aviation has added a new member to our instructing team. Stephanie Mertz was hired in March 2019 and will be specializing in G1000 & Instrument instruction.

    Stephanie graduated from LeTourneau University in Longview, Texas with a degree in Aeronautical Science, earning her commercial single and multi ratings while there. She began her aviation career in Ontario, California flying a Pilatus PC-12 for charter and medical trips. While operating the PC-12, she gained valuable experience flying all over the US and Mexico.

    In 2013, Stephanie moved back to East Texas with her husband where she worked as a contract pilot flying a variety of Citations as well as a Falcon 10. A few years later, she became involved in her local Ninety-Nines chapter and joined their mentorship program.

    After earning her CFI, CFII, and MEI, Stephanie returned to her alma mater to pass on her flying passions to college students through flight instructing. After a year of teaching at LeTourneau, she and her husband, with their first baby in tow, moved to the Austin area. Now she is instructing with Texas Top Aviation while acting as a mentor for other women working on achieving their flying dreams.

  • Piper PA46 Partnership in San Antonio

    A Piper PA46 partnership is being formed in the San Antonio area. Two to three partners are being sought to purchase either a Piper PA46-310P Malibu or a ’90s model Piper PA46-350P Mirage.

    The Piper PA46 Malibu is the original Piper PA46 airframe. It is equipped with a Continental TSIO 520, 310HP engine (though many have been upgraded to the Continental TSIO 550C engine, which is a great upgrade), is complex, and pressurized (the best feature about the airplane!). The six seat airframe travels around 185-190 KTAS at FL200 on 16-17 GPH, giving an incredible range with 120 gallons of fuel.

    The Piper Mirage is what Piper designated the PA46 when it switch to the Lycoming TIO 540 350HP engine in 1989. The airframe remained the same, but the engine eeks out a few more KTAS at 22-25 GPH depending on how high the cruise altitude is.

    Both the Piper Malibu and the ’90s model Mirage are equipped with the KFC 150 autopilot. A lot of the Piper PA46 airframes still have a Garmin 530W/430W or dual 430Ws, but a large number have been upgraded to the Garmin GTN 750/650, while a few have opted for the Avidyne IFD 540/440 GPS units. There are a fair number still with steam gauges, while some have upgraded to Aspen units or the Garmin G500 or G500TXi.

    If you are located in the San Antonio area and interested in a 3-4 way partnership on a Piper PA46, please Contact Us. The purchase price will be between $300,000-$450,000, so only interested parties that can afford a budget of $100,000-$150,000 please.

    The plane will be based at Stinson Field (KSSF) or New Braunfels (KBAZ).

  • PIREP: Austin Bergstrom Recovering After Flood Damage

    The massive storms that rolled through the Austin Bergstrom and San Antonio areas last Friday not only put a dent in the landscape, they put a dent in the skies too.

    The Austin Bergstrom (KAUS) control tower suffered significant flood damage Friday.  6 inches of rainfall in an hour caused water to come pouring into the first floor of the tower, flooding the radar room and knocking out the power.  This led to transmission outages for the tower, ground control, clearance delivery and the ATIS.  Similar to the Chicago Center fire last year (though this was a much smaller section of airspace), the area normally controlled by Austin Approach was replaced by a big, gaping radar hole.

    By 8:45am on Friday morning, the Austin Bergstrom airport actually closed.  One runway eventually opened back up Friday afternoon, but massive delays and cancellations had already taken place.  All the ILS approaches were down and Houston Center had taken over the airspace normally occupied by Austin Approach control.

    Austin Temprorary Tower

    A temporary, emergency tower vehicle was brought in by the FAA (it’s essentially an RV with communications and a giant window) by the end of the weekend.  All arrivals and departures were restricted to 17L and 35R.

    Due to the radar outage, I heard there was as much as a 4 hour delay even for planes coming into Austin Bergstrom from Dallas, and that was in VMC conditions on Sunday and Monday.  Tuesday and Wednesday brought IMC conditions which only enhanced the delays.

    The latest news is that Austin Approach will be opening back up, but in a satellite base in San Antonio.  The Austin controllers will be using the SAT radar room and will be receiving their radar picture via satellite.  The approach frequencies should be up and running today or tomorrow.  The Austin Bergstrom tower is up and running and most of the ILS approaches are operational at this point.

    In the meantime, expect delays going in and out of Austin.  If you don’t have to get to AUS, EDC, or GTU, you’re better off delaying a day or two until Austin Approach is back up and running.

  • AOPA Air Safety Foundation Survival Seminar

    The AOPA’s Air Safety Foundation will be returning to Texas this coming week with their After the Crash:  Surviving An Aircraft Accident seminar.  Though aircraft accidents are rare to most pilots, they still happen.  It is best to be prepared with the proper knowledge and supplies in case you are stranded in a remote area while awaiting help to arrive.

    The seminar will cover the following items:

    • How and what to pack in a survival kit
    • Ways to help search parties find you
    • What to do first immediately after the off airport landing
    • How to survive will awaiting rescue

    The seminar will be put on in Houston, San Antonio, and Austin on three consecutive nights, the 20th-22nd, so everyone will get a chance to attend.  The location and times are below.

    No signup is necessary, just show up and be ready to learn.  The seminar does count for WINGs credit and there will be a sign in sheet at each event.

    The AOPA Air Safety Foundation puts on numerous seminars throughout the country during the year covering a wide variety of topics relevant to general aviation pilots.  The content is always interesting and the presenter always knowledgeable and entertaining.  Hope to see you there!

    Tuesday, January 20th

    Wyndham Hotel, Houston West
    14703 Park Row Blvd.
    Houston, TX 77079
    7:00pm-9:00pm

    Wednesday, January 21st

    Doubletree Hotel, San Antonio Airport
    37 NE Loop 410
    San Antonio, TX 78216
    7:00pm-9:00pm

    Thursday, January 22nd

    Omni Hotel, Southpark
    4140 Governor’s Row
    Austin, TX 78744
    7:00pm-9:00pm

    For more information on the event and the locations, please click here.

  • Checking The Stall Warning Horn

    When a pilot first glances at the title of this article, the first thought that probably goes through that pilot’s head is, well that’s easy.

    And it is, if you are flying a high wing Cessna. On other airplanes, there are a few tricks to checking the stall warning horn. If you get them wrong, you’re liable to get a bill from your maintenance shop for an hour of labor for a problem they couldn’t duplicate.

    Cirrus SR22

    Let’s start with the Cirrus. On the pre-FIKI Cirrus aircraft, there was a small little hole in the wing that contained a diaphragm. That diaphragm sensed a change in airflow at a certain angle of attack just below the critical angle of attack and set off the stall warning horn. Unfortunately, the only way to check that is to suck on the hole during pre-flight.

    I don’t. I verify the hole is clear and that’s about it.

    On the FIKI Cirrus aircraft, there is actually a stall warning vane. It looks like a high wing Cessna vane, but if you turn the batteries on and try and get it to come on during your light and pitot heat check, nada.

    Here’s the trick, and the checklist doesn’t do a good job of describing this.

    • Turn on the Avionics Master
    • Turn on the speaker
    • Put the flaps to full
    • Then move the stall warning vane and you’ll hear the horn

    The speaker and the Avionics Master are so you can actually hear the horn (if you had the headset on while you were doing this, the speaker would be unnecessary). The flaps have to be full because the pitch attitude for the critical angle of attack is lower with the flaps down, so the horn goes off when at a different angle. You then don’t have to use as much force to push the vane.

    Piper PA46

    The early -310P Malibus are pretty simple and straight forward. Move the vane, get the horn.

    In the -350P, you can’t get the horn to come on by moving the vane. So, Piper put a stall test button that’s hidden underneath the upper left side of the instrument panel. Push that to test the horn. On the G1000 PA46, it is located directly above the PFD. On the Avidyne, it’s below and to the left of the pilot’s yoke.


    Testing the stall warning horn is a very important part of pre-flight. A pilot needs to know if the aircraft is close to a stall. The advent of Angle of Attack indicators in small, GA aircraft, have added a greater awareness to the angle of attack during all phases of flight to avoid those stall spins.

    If the stall warning horn goes off or the AOA shows yellow, lower that nose immediately.

Leave a Reply

Your email address will not be published. Required fields are marked *