|

Angle of Attack (AOA)

You are hand-flying an in-the-weather descent, power back, heading for the FAF. You start a 30 degree banked turn at your lead point to cross the FAF, when your passenger behind you gasps. Looking over your shoulder, you see he has spilled his drink into his lap…too bad for him! However, when you turn your head back to your panel, your inner ear tumbles and you see 45 degrees of bank, 15 degrees nose low, airspeed increasing.

Congratulations! You have managed to get distracted and sucked into an unusual attitude recovery. By the book, you should roll wings level, pull to the horizon, and adjust power as necessary to keep the airspeed within limits. In this scenario, if you had not experienced vertigo, you might have been able to roll to less than 30 degrees of bank, recover your turn, pull the nose up to less than the original descent attitude, pulled a bit of power to slow back to your desired penetration speed and then resumed your desired ground track. However, this would only be appropriate if you had full situational awareness as to the deviations caused by the look over your shoulder, plus full confidence that the moderate corrective actions would put you back on your desired flight path.

As a military aviator, I learned unusual attitude recoveries based upon hard maneuvering at extreme pitch and bank angles. In the hard-maneuvering environment, an unusual attitude could be 90 degrees straight up, airspeed decreasing below 120 kts…or 80 degrees nose low, 135 degrees of bank, airspeed increasing through 500 kts… etc. In these cases, understanding angle of attack, or AOA, is critical to maintaining controlled flight and returning to a normal attitude.

In an extreme nose-high attitude, a military aviator is trained to roll the aircraft to 90 degrees of bank, ease off the back-stick pressure to reduce AOA, add power as required, and allow the nose to slice back towards level, rolling to wings level as the nose approaches the horizon. If nose low, the recovery procedure is to roll rapidly, within asymmetric g limits, until wings level, then to pull at optimum g loading to recover to level flight. For the nose-low recovery, power was normally reduced until airspeed could be assessed and brought under control. However, when doing the nose-low pullout at 7-9 gs, pulling the power for too long would leave you much to slow to resume combat.
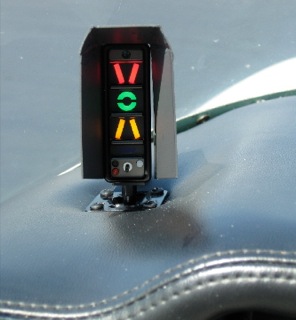
The AOA gauge on a fighter’s glare shield is a primary reference during hard maneuvering and for landing. The AOA for optimum maneuvering is 13 degrees, displayed as the green circle or “green donut” on the gauge. The red chevron on top represents a slow condition of 15 degrees or more and the yellow lower chevron represents 11 degrees or less.

For normal landing in the F-16C, the pilot slows to 220 kts and configures abeam the touchdown point while mentally computing the final approach airspeed of 136 kts plus 4 additional knots for each 1000 lbs of fuel. When rolling off the perch and flying the final turn, the pilot would usually only glance once at the airspeed once to ensure final turn airspeed of 180 kts while using the AOA sight gauge as the primary indicator of a best performance turn. As long as the AOA was green donut (13 degrees) or less, you would not stall. If on speed and 13 degrees wasn’t going to get you around the turn to line up with the runway, you knew you were going to overshoot. You never wanted to see the red chevron of 15 degrees or more as that meant you were too slow, pulling too hard, and in danger of building an un-recoverable sink rate!

Few GA aircraft are currently equipped with AOA indicators, though there are several after market devices available for retrofit. However, knowing the impact of AOA and how to manage it is vital to safe aviating, even without an AOA gauge. The bottom line is, as long as you don’t ask the wing to produce more angle of attack than it can handle, you won’t stall.

Practicing final turn stalls, to know what the wing feels like as you get too slow or pull too much on the controls, increasing AOA past the critical point, will keep you safe when you encounter that unexpected overshooting wind or you find yourself inadvertently on too tight of a downwind leg. Better to overshoot or take it around to try again, than to pull too hard and exceed critical AOA.


Mike Hostage is a retired USAF pilot with 37 years of experience, flying a wide variety of aircraft.  An instructor pilot for more than half of his 4800 flight hours, Mike is currently qualified in a Cirrus SR-22T and regularly flies his two homebuilt sailplanes.

Similar Posts

  • The Anatomy of a Hot Start

    Are you one of those pilots who hates fuel stops simply for the fact that the engine doesn’t have time to cool off?  You pump gas into the plane, hit the bathroom, get in the plane and the oil temperature is still up at 160-170 degrees, leading you to have to figure out how to get the plane going again with a hot engine.  For those without proper training, this usually means a lot of jockeying around with the throttle, mixture, and fuel pump to try and get the thing started without flooding it.  After coughing and wheezing several times, the engine finally comes to life, leaving you to only guess what worked and without the knowledge of how to duplicate it.

    Hot Start 2

    Let’s take a step back for a minute to see what is actually happening with a hot engine.  Once the engine is shut off, the fuel in the lines leading from the tank to the engine is vaporized, meaning there is more air in the fuel lines than liquid fuel.  In the engine block itself, there is still liquid fuel in the injectors, but only enough for the engine to cough then quit if started.

    When a normal priming and starting procedure is performed, too much fuel is forced into the cylinders and the engine becomes flooded.  A flooded engine just means that the stoichiometric ratio is way too rich, meaning there is too much fuel and not enough air.  The prime does the trick of getting the fuel vapor out of the fuel lines, but it shoves too much fuel into the cylinders.  Once the engine is flooded, it’s a waiting game to allow air into the engine to get the mixture right.  All Lycoming powered high performance and turbo charged engines are notoriously easy to flood when hot.

    So, what’s the solution?  By taking a step back to see what is actually happening, you can attack the problem from the source, which is the fuel lines.  You need to get the vapor out of the fuel lines and get some liquid fuel in there.  The procedure for this varies based on the make and model of engine, but I’m going to use the example of the Continental IO-550-N that is in a Cirrus SR22.  I found this procedure in the Continental Engine Manual and it works every time.

    (Pilots of other airplanes, keep reading.  I have sections below for PA46s, Columbias, and Bonanzas as well )

    • Mixture:  Full Lean (this allows fuel in the fuel lines, but prevents it from going past the mixture control into the engine, sending all fuel back to the fuel tank; a small amount of fuel leaks past the mixture control providing prime for the engine)
    • Throttle:  Idle
    • Low Boost Pump:  Run for 30-60 seconds (see note below)  (15 seconds in the Turbo Cirrus)
    • Mixture:  Full Rich
    • Throttle:  Open about 1/4 travel (not 1/4″, that won’t be enough)
    • Boost Pump:  Off, but have your finger on Low Boost
    • Starter:  Crank (engine will turn over a few more times before firing, this is normal)
    • At the first indication of start, turn the Low Boost on, increase the throttle to ensure the engine catches,  then adjust the throttle for 1,000 RPM
      • The engine will fire right about the time you start thinking it isn’t going to work

    A few notes regarding engine temperatures:

    • If the oil temperature is above 150 degrees, a hot start will be required.  If oil temp is close to 200 degrees, run low boost for 60 seconds in a non-turbo.  If oil temp is 175, run low boost for 45 seconds in a non-turbo.  If oil temp is 150, run low boost for 30 seconds in a non-turbo.  Use 15 seconds for all temps above 150 in a Cirrus Turbo.
    • If the oil temperature is between 125-150, skip the hot start procedure, don’t prime the engine, leave the boost pump off, and crank the engine, then boost pump on when it starts and slightly increase throttle to make sure the engine catches
    • If the oil temperature is between 100-125, skip the hot start, don’t prime the engine, and perform a normal start with the boost pump on
    • If the oil temperature is below 100, perform a normal prime and start

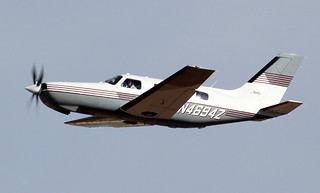
    Piper Malibu (PA46-310P with Continental Engine)

    • Mixture:  Full Lean (this allows fuel in the fuel lines, but prevents it from going past the mixture control into the engine, sending all fuel back to the fuel tank; a small amount of fuel leaks past the mixture control providing prime for the engine)
    • Throttle:  Idle
    • Low Boost Pump:  Run for 15-30 seconds depending on oil temperature…
      • Greater than 150 degrees: 30 seconds
      • Less than 125-150 degrees:  15 seconds
      • Less than 100-125 degrees, no need to run the Low Boost
      • Perform normal cold start below 100 degrees
    • Mixture:  Full Rich
    • Throttle:  Open about 1/4 travel (not 1/4″, that won’t be enough)
    • Boost Pump:  Off, but have your finger on the Primer Button
    • Magnetos:  On
    • Starter:  Crank (engine will turn over a few more times before firing, this is normal)
    • Engine should fire with the Low Boost Pump off, but…
      • If the engine starts to die, simultaneously increase the throttle a little bit and hit the primer button.
      • Only tap the primer button, don’t hold it as you’ll flood the engine if you hold it At the first indication of start, turn the Low Boost on, increase the throttle to ensure the engine catches,  then adjust the throttle for 1,000 RPM

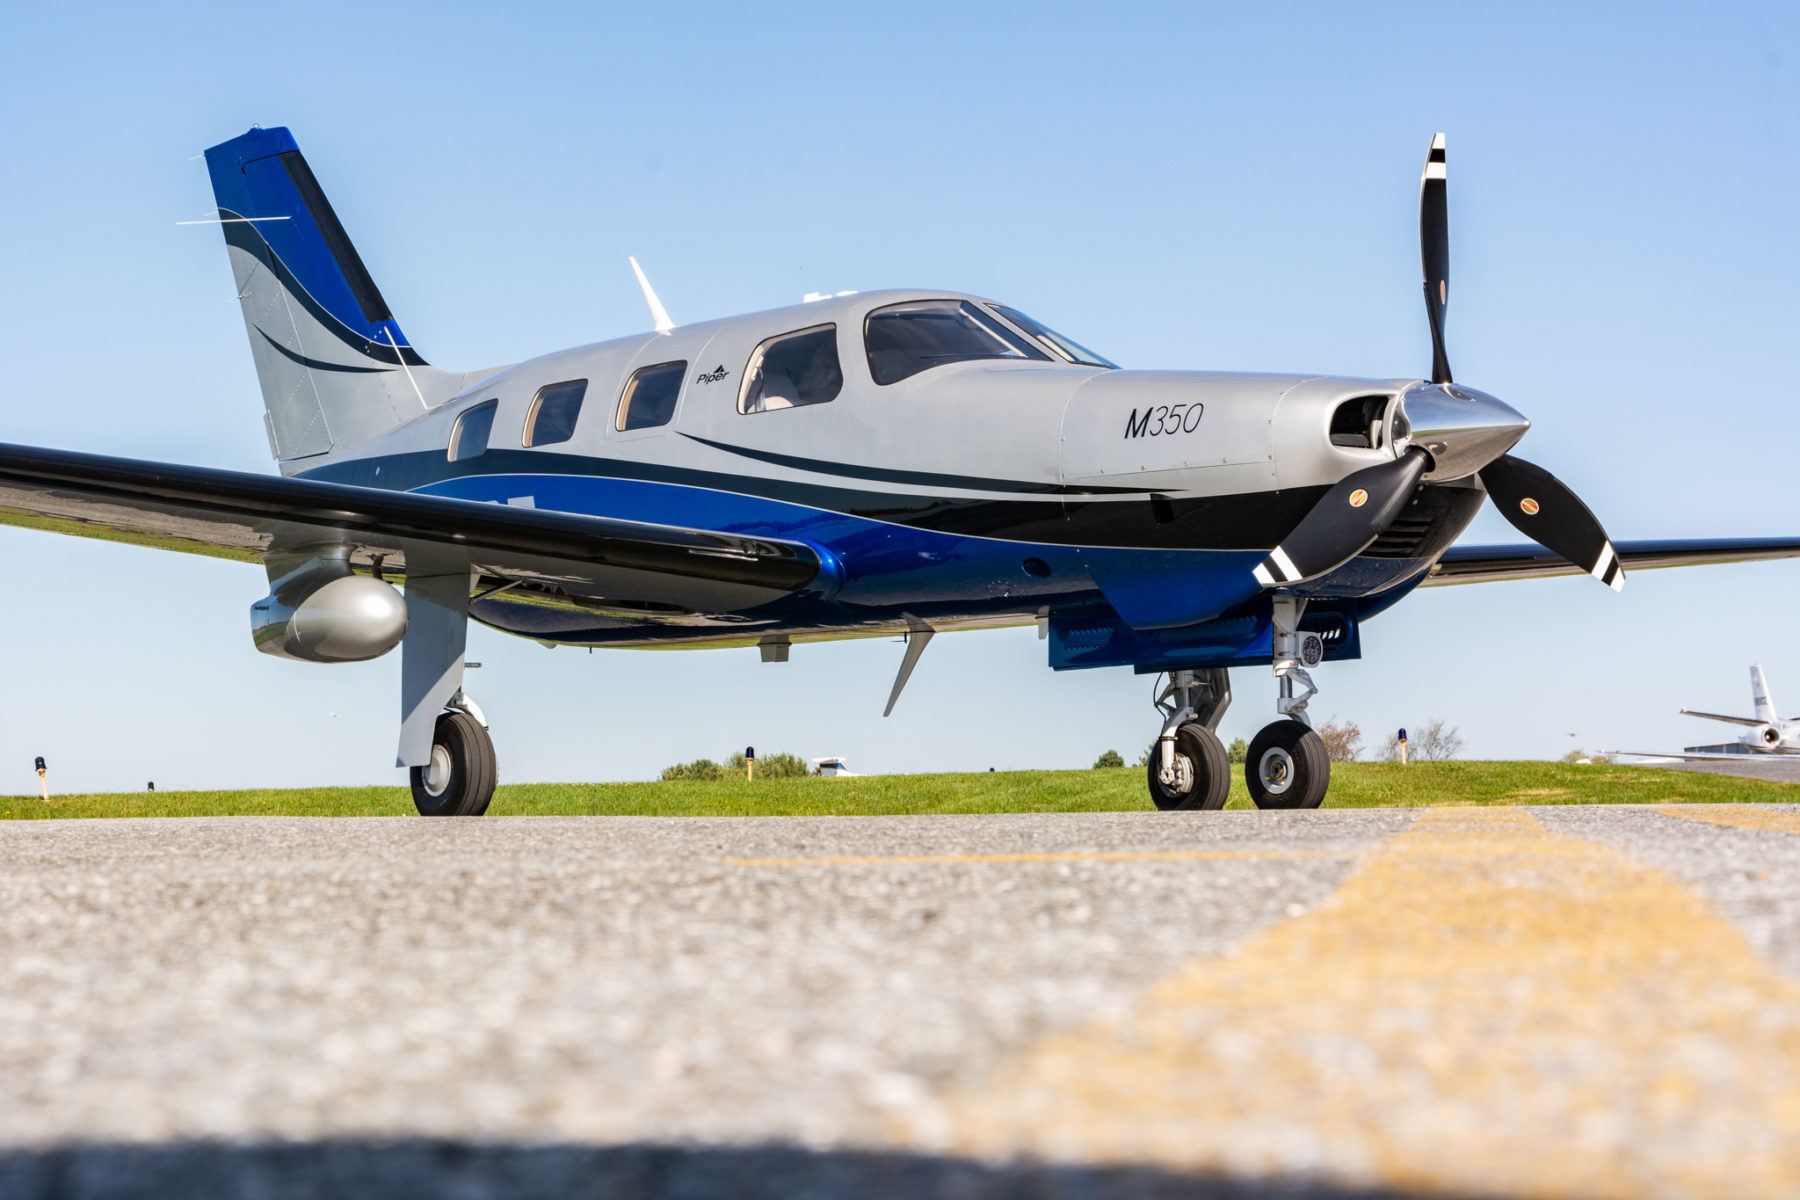
    Piper Mirage & Matrix (PA46-350P and PA46-350T with Lycoming Engine)

    • Leave throttle and mixture idle
      • Before you turn the battery on, ensure the mixture is idle cutoff
      • If the mixture is forward and the battery is on, the low boost pump in the fuel tank will start pumping fuel to the engine and quickly flood it
    • Ensure Magneto switches are on
    • Open throttle 1/4 travel (not 1/4″ as this won’t be enough)
    • Crank
    • As soon as the engine begins coughing and wheezing (and this is what it will sound like), push the mixture 3/4 of the way forward
    • Once the engine has a good solid fire, smoothly and swiftly push the mixture all the way forward
    • Reduce throttle
    • Note:  The Emergency Boost Pump can be used as part of the hot start technique, but I usually leave it off.
      • Pro to the Emergency Boost Pump is it can help suck more fuel in and purge vapor during the start
      • Con is that if the engine doesn’t start on the first try, you are flooding your motor

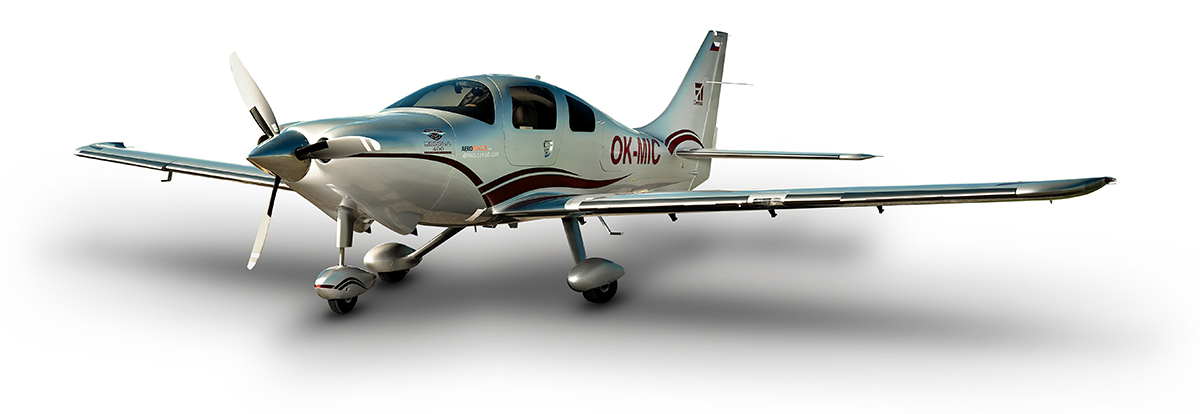
    Columbia 400

    • Throttle and Mixture Idle Cutoff
    • Vapor Suppression:  Run for 30-60 seconds.  Reference above temperatures on the non-turbo Cirrus for run times
    • Mixture full forward
    • Throttle 1″ in
    • Prime for 3 seconds, then off
    • Crank
    • Once engine fires, primer might need to be pushed momentarily to purge excess vapor
      • On Columbia 350s, the throttle should be twisted (or pushed depending on if it’s an Avidyne or Garmin Columbia) in while cranking
      • Be prepared to reduce power once engine fires

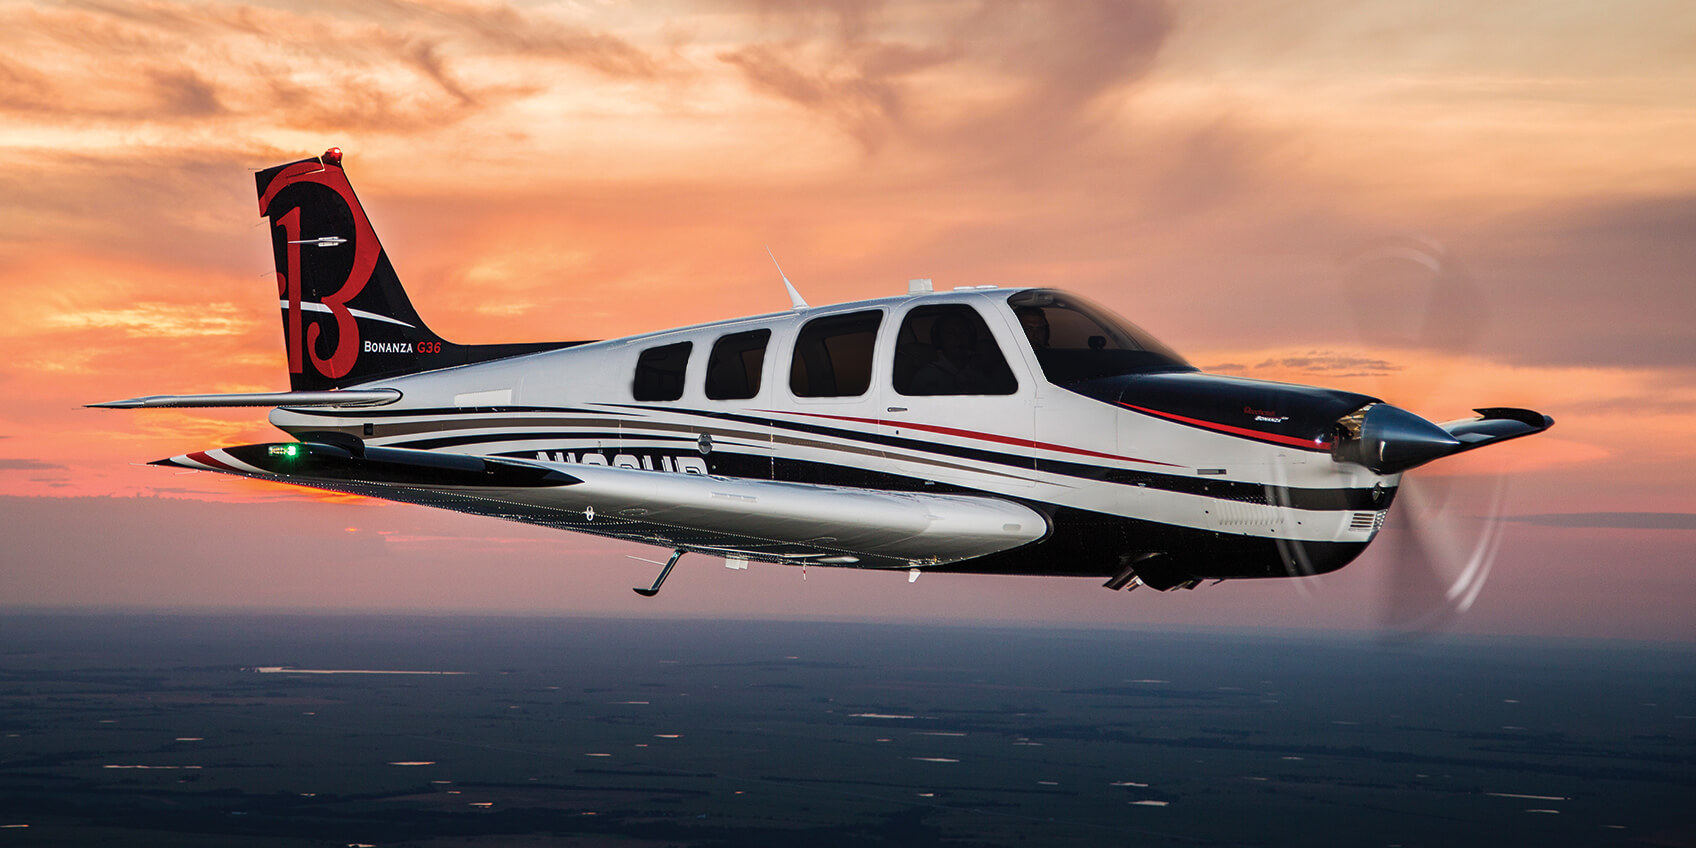
    Beechcraft 36 Bonanza

    • Throttle and Mixture Idle Cutoff
    • Low Boost:  Run for 30-60 seconds.  Reference above temperatures on the non-turbo Cirrus for run times
    • Mixture full forward
    • Throttle open 1″
    • High Boost until fuel flow peaks, then off
    • Crank
    • Once engine fires, Low Boost might need to be engaged momentarily to purge excess vapor

    There are other “procedures” for hot starting out there, but most of them involve starting with full throttle, which can lead to the airplane shooting ahead on a ramp or taxi way if the brakes aren’t properly set.  This can lead to high repair costs, so always be cautious.  Figuring out what is happening when the engine is hot will give you a better chance of getting it started right away.

  • An Educational Runup

    When a pilot thinks of an engine runup in a single engine piston airplane, typically it is let’s find out if the engine is running rough or not, meaning a spark plug is fouled.  Believe it or not, there is a little more to learn from a runup than just checking the spark plugs.

    A distinct advantage to having an engine monitor that monitors all EGTs and CHTs is you get a better idea of engine health.  When switching to one magneto or the other during the runup, all the EGTs should rise, showing that the temperature of the exhaust gas is going up from each cylinder.  This occurs because when running on only one magneto and one set of spark plugs in each cylinder, the mixture takes longer to burn, so, when the exhaust valve in the cylinder opens, the burn is still on going and this hits the EGT probe, causing a temperature rise.  An indication of a magneto failure in flight would be a rise in all the cylinders EGT without a change in mixture setting.

    Now that we know what to look for when checking each magneto, what would one look for to show that there is a problem?  The basic that each student pilot is taught still applies.  The engine manufacturer puts a limit on RPM drop during the runup.  When checking one magneto or the other, watch for an excessive RPM drop.  If the RPM drops past the limit, this usually will be accompanied by engine roughness.

    Why is that?  Let’s look at the cause for the excessive RPM drop.  For this, we need to go back to our EGT indicators.  Let’s say we have a 6 cylinder engine.  When the key is turned to the right magneto, the RPM drops 250 RPM and the engine gets very rough.  Look at the EGT gauge.  The cylinders where the spark plugs are firing normally will all show a temperature.  The cylinder (or cylinders) where there is no combustion, meaning a bad plug, will show no temperature.  This is because the mixture is just sitting in the cylinder and not igniting, therefore, no exhaust gases will be pushed out so there will be no EGT indication for that cylinder.  This is also how you tell a mechanic which cylinder to check for the bad plug.

    It could also be a bad magneto.  If multiple cylinders EGT all drop, or the engine wants to quit entirely, you have a bad magneto or bad ignition harness.

    What else can you learn during the runup?  Electrical system health is key, especially in all electric airplanes (meaning no vacuum system).  It’s a very good idea to turn on all the lights and pitot heat to ensure that a rise is indicated on the ammeter.  This means the alternator is carrying the load and working properly.

    The next time you do your runup, keep an eye on your EGT to see the rise during a magneto check.

  • Cirrus Approach

    Earlier this year, Cirrus debuted it’s new Learning Management System (LMS), Cirrus Approach. For several years, Cirrus has led the way in online systems training while using several different platforms for it’s LMS. Cirrus Approach is the culmination of lots of sampling and tinkering, and boy, did Cirrus knock it out of the park.

    For those of you unfamiliar with the Cirrus training program, here is the quick rundown. When a pilot who has no Cirrus time buys a Cirrus aircraft, initial transition training is required to familiarize the pilot with the aircraft systems, speeds to fly, power settings, etc. The Cirrus Transition Course is a 3 day that gets a VFR pilot up to speed in the airplane. Under the Cirrus Embark program, those 3 days of training are covered by Cirrus and free to the new owner.

    If the pilot is an IFR pilot, then the 5 day Cirrus Advanced Transition Training Course is required. If the pilot has Cirrus experience, but with a different engine or avionics configuration, there are courses for that too. The Cirrus Embark program covers 3 days of training for most courses for a new Cirrus owner.

    As part of the aforementioned courses, there are systems to learn about and procedures to understand. This is where the Cirrus Approach LMS excels. Cirrus has done a great job of putting together lots of good videos (that are actually interesting but not annoying) on the airplane, systems, how to fly it, etc. for each course. It cuts down greatly on the time that the training instructor has to spend on the ground with the pilot since the pilot has already compiled knowledge through Cirrus Approach.

    Cirrus Approach is accessible online at learning.cirrusapproach.com. To get access to the courses, create an account, then select the Learning Catalog. The courses are categorized based on the type of training (Transition, Advanced Transition, Avionics Differences, Airframe & Powerplant Differences, Recurrent, and Specialty), then further broken down into the type of airplane, engine and avionics (eg. SR22T G6 Perspective+). Make sure the correct engine and avionics configuration is selected! Notice, there is a difference between the SR22T and SR22 (Turbo & Non-Turbo).

    Anyone can do the specialty courses. I would highly recommend for everyone to take the Engine Management course as well as the Icing Awareness Course for you TKS and FIKI operators. The Takeoff & Landing course is a good refresher course for a pilot who hasn’t done any training in a while.

    The Recurrent Training courses are encouraged for all Cirrus pilots. There is an IFR Refresher, a VFR Refresher, and a Skills Refresher. These are recommended to rotate through with a CSIP (Cirrus Standardized Instructor Pilot) on a yearly basis. With a little extra ground, a Flight Review and an IPC can be accomplished yearly using these courses.


    Interested in Initial or Recurrent training in your Cirrus using Cirrus Approach? Contact Texas Top Aviation today!

  • Cirrus Autopilot Check

    In the Pre-Takeoff Checklist for any Cirrus aircraft, it calls for pilots to perform a Cirrus Autopilot Check.  It is prudent to check the autopilot before your flight to ensure that all aspects of the autopilot are working properly.  The only problem is, the checklist doesn’t spell out how to perform the Cirrus Autopilot Check.  You would have to go to the POH for the airplane, which is usually in the back seat or a bag somewhere and therefore hard to get to, in order to find the procedure.

    The procedure for checking the autopilot is slightly different depending on what autopilot is in your airplane.  The procedures for all three are below.

    S-TEC 55x

    • Sync the heading bug to your current heading
    • Activate heading mode on the autopilot
    • Twist the heading bug left and right to ensure the ailerons move left and right
    • Sync the heading bug to your current heading
    • Activate vertical speed mode on the autopilot
    • Move the vertical speed bug (or the vertical speed on the altitude pre-selector if you have a steam gauge Cirrus) up and down to ensure the elevator moves accordingly
    • Ensure you can overpower the autopilot
    • Press the autopilot disconnect switch to ensure the autopilot shuts off


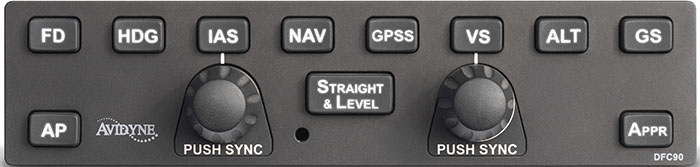
    Avidyne DFC 90

    • Press the AP button to activate the autopilot
    • Ensure AP, ROLL, and PITCH Annunciations are depicted in green on the top of the PFD
    • Set the heading bug 90 degrees from the current heading
    • Press the HDG button on the autopilot
    • Ensure the ailerons are moving in the proper direction and HDG is annunciated on the top of the PFD
    • Ensure you can overpower the autopilot
    • Press the autopilot disconnect switch on the stick and ensure the autopilot has disconnected


    DFC90

    Garmin GFC 700

    • Press the AP button to activate the autopilot
    • Ensure you can overpower the autopilot
    • Press the autopilot disconnect switch on the stick to ensure the autopilot has disconnected
  • Medical Reforms Get Passed

    On July 15th, the medical reforms that AOPA and many other aviation advocacy organizations had pushed so hard for were passed into law.  President Obama signed the medical reforms law on the 15th, but, before practical application of the law takes place, the FAA has to translate the law into regulations.

    Doctor

    What do the new medical reforms mean for medical certificates and flying?  First, you still have to get a medical examination at some point in your flying career.  Student pilots will still need an initial medical examination. Initially, for pilots who have held a medical certificate at some point over the previous 10 years, a new medical examination may not be needed (this still has to be regulated by the FAA so exact details aren’t known yet).

    So, if you’re medical certificate has expired but you have had one in the past 10 years, you qualify.  But, if you have had your medical certificate revoked, suspended, withdrawn or denied, you don’t qualify.

    Once that student pilot receives the initial medical certificate (or the experienced pilot decides to start flying again), all that needs be accomplished is to take a free, online course on aeromedical factors every two years and meet with a physician at least once every four years.

    There are some operating limitations that will be put into place for folks operating without a third class medical.  Pilot’s can operate aircraft with no more than 6 seats that weigh less than 6,000 pounds, can carry 5 passengers, and are able to operate in day or night VFR or IFR conditions.  Pilot’s may not operate for hire, nor climb above 18,000 feet or fly faster than 250 knots.

    It will take some time for the FAA to put the regulations in place, but the process has begun.

  • Skyvector Has a New Look

    Skyvector has changed it’s look.  The aeronautical chart website is now offering flight plan filing capability. In order to gain the ability to file flight plans, the user has to form an account first.

    Personally, I really liked how Skyvector had a simple interface before they changed.  As an instructor, a lot of times, I go to multiple airports on one flight.  It was really nice to just plug in airport IDs to check distances and heading information on Skyvector.  The new format is a little clunky as the website has made it a little more difficult to do what it did best before.

    Did the aviation community need another venue to file flight plans?  Not with Foreflight, Garmin Pilot, and WingXPro leading the way in the app market.  Skyvector was smart in not trying to develop another app to compete with the big boys.

    Will the new Skyvector last?  We’ll see.  I’m hoping they’ll go back to the way they used to be, but we’ll see. I may use it enough to come around to liking it.

Leave a Reply

Your email address will not be published. Required fields are marked *