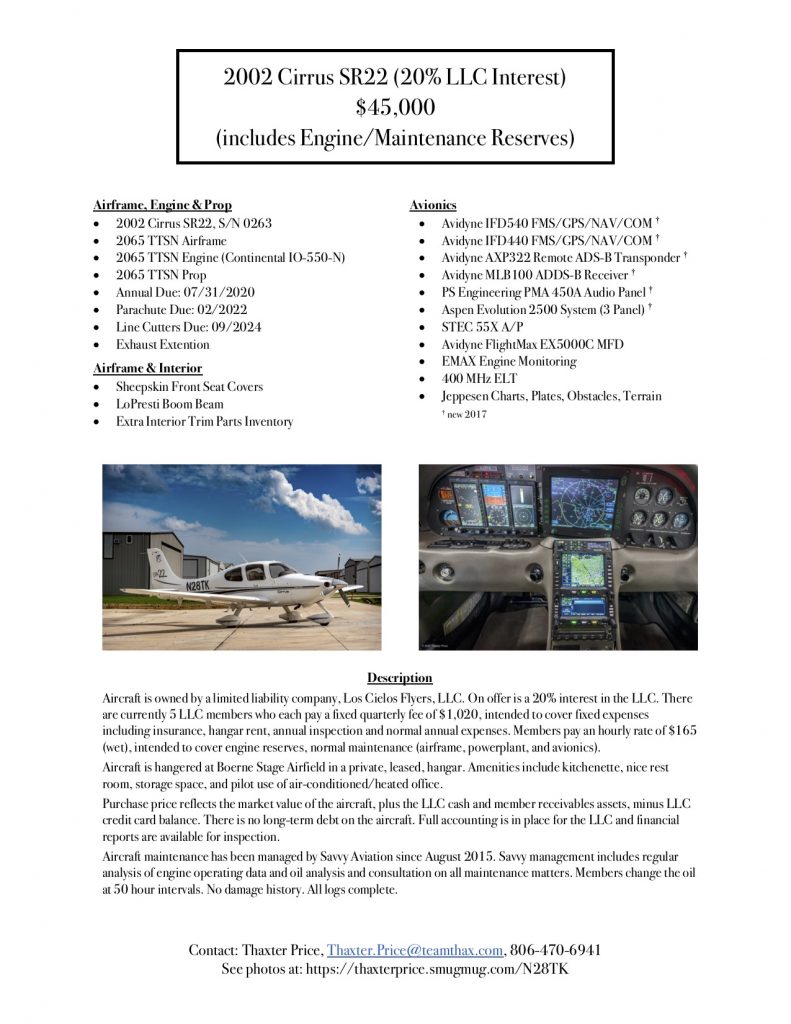
Avidyne Entegra Chart Updates

Columbia 400 Avidyne Entegra

There are a number of airplanes out there equipped with the Avidyne Entegra PFD and MFD system, most notably the Cirrus SR20 and SR22 models from the early 2000s and the Columbia 350 and 400 from the same era.  The Entegra is pretty simple and easy to learn, but doesn’t have the capability that it’s Garmin glass panel counterparts do (I have not, however, tried the R9, which could prove much more capable than it’s predecessor).  I have found that pilots master the Entegra a lot quicker because of the reduced functionality.

One of the nice features of the Avidyne Entegra is the CMAX Chartview option.  With a yearly subscription, you can get all the Jeppesen approach plates and airport diagrams for the entire US on your MFD.  Just like your GPS, though, you have to update the charts monthly to keep them legal.  After a period of time when you don’t keep up with the updates (I believe it is 90 days), then the charts disappear.

The update process is a little tricky if you don’t have someone to explain it to you.  Once you go through it a few times, you’ll have it down pat.  Here’s the process for the Avidyne Entegra Chart Updates.

Jeppesen Subscription

The first step in performing your Avidyne Entegra Chart Updates is to create an account with Jeppesen, who handles all the GPS NavData and MFD Chart updates for both Garmin and Avidyne.  If you already have a Jeppesen subscription, you can skip down to the next section.  To do that, simply go to jeppdirect.jeppesen.com, and then do the following:
  • Click on Avionics Data on the upper left hand side
  • Click “Purchase Avionics Subscription”
  • Then, click on “Create Account” in the new users section
  • Once you’ve created an account, login, then put in your aircraft information and select 1 update for the Avidyne Entegra EX500 EX 5000
  • Click Continue at the bottom and you can put in your payment information

Software Needed

There are two different programs depending on if you have a PC or a Mac.  If you have a PC, you need the Jeppesen Services Update Manager (JSUM).  If you have a Mac, you need the Jeppesen Distribution Manager (JDM).  Download whichever one you need, then login, and your updates will show up.

Downloading the Avidyne Entegra Chart Updates

First, we’ll go through the process of performing the Avidyne Entegra Chart Updates process for a Windows computer, using JSUM.    You’ll need two 2 GB USB drives formatted to FAT 16.  Here’s how to format to FAT 16.

  • Go to My Computer after inserting the USB drive
  • Right click on the drive
  • Click on Format, then select FAT and press OK

Once the USB drive is formatted to FAT16, open up the JSUM program.  Login and your updates will be displayed on the screen

  • You’ll need to set the Avidyne CMAX Key Code
    • Right click the Avidyne Electronic Charts Service and click Set Avidyne Key
    • To get the key code, visit MyAvidyne.com and create an account using your JeppView subscription number and your serial number for your Avidyne MFD (found on the AUX page) and your PFD serial number (displayed on startup when the PFD is warming up)
    • Once you get the Key Code, copy and paste it in the window and click OK
  • Click on the service and click Start
  • The program should automatically detect the drive (if it doesn’t, click browse and select the drive)
  • Click Continue and the charts will start downloading and automatically programmed to the USB drive
  • If you are updating NavData on the MFD as well, follow the same steps as listed above in order to update the NavData

Next, we’ll go through the Avidyne Entegra Chart Updates process on a Mac, using the JDM program.  You’ll need two 2 GB USB flash drives formatted to FAT 16 (the easiest way to format to FAT 16 is on a Windows computer, using the process above).

  • Open the JDM program and login
  • Insert the first USB drive
  • You’ll need to set your Avidyne CMAX Key Code
    • Click Service Details under the Electronic Charts Service
    • Click Set Avidyne CMAX Key Code
    • Program automatically detects the USB drive
  • Click and drag the Electronic Charts service over to the USB and release
  • The service is downloaded and copied to the USB drive automatically
  • Eject the USB drive
  • Insert the second USB drive (or plug the USB drive in to your MFD, do the update, then reformat the drive) and follow the same steps for the NavData

Updated the MFD with the Avidyne Entegra Chart Updates
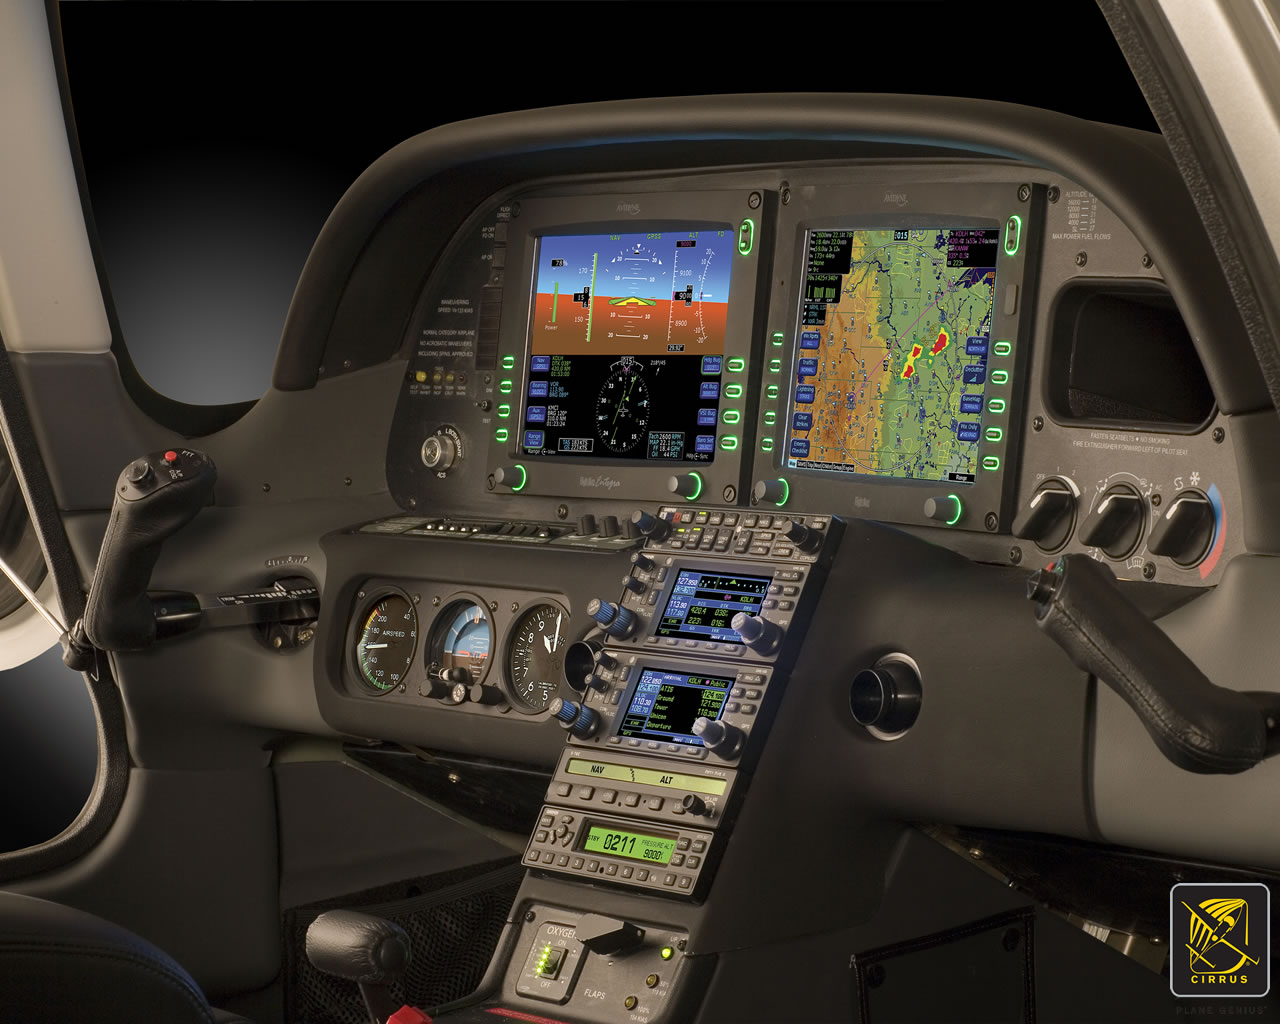
Avidyne Cirrus

Once everything is programmed the your USB drives, the rest of the process is simple.  Just go out to your airplane, plug in the first USB drive with the Electronic Charts on it, turn your battery on and the avionics master, and the system will upload the information automatically.  Once it’s finished, turn everything off, pull the USB drive out, then insert the second USB drive and do the same thing.

Now, you’re all updated!

If you’d like to see a video on the process, Jeppesen has some very good videos on the updating procedure.  The links are below.  If you have questions, please contact Texas Top Aviation and an expert will help you through the process.


JSUM USB Programming Procedure

JDM USB Programming Procedure

Avidyne Entegra Chart Updates Upload

Similar Posts

  • Introducing…The Aviator’s Academy

    Imagine this …

    You have plans to fly to an airport 218 miles north for a business meeting. Your window is tight; you have an early morning meeting at your office you can’t miss prior to leaving for the airport. The colleagues you are flying to meet must catch another flight within two hours of your target arrival time. 

    You’re comfortable flying in the current weather conditions, but a small southward-moving storm north of your destination might threaten your approach. Additionally, given the time of day, you can expect ATC delays due to vectors and know you’ll have to adjust on the fly.

    Are you confident you can make the meeting in time?

    If the answer isn’t immediately clear, you’re not alone. Good aeronautical decision making is of utmost importance in the air. External pressures, unexpected challenges, and your level of instrument proficiency are among the many factors to consider when considering an IFR flight. 

    While we can’t remove the external pressures or control the weather, we CAN help with instrument proficiency!

    Introducing … The Aviator’s Academy – advanced online pilot training. 

    During my time training hundreds of capable and competent pilots at Texas Top Aviation, my most common observation with seasoned and rookie pilots alike is that the pilot is often aware of knowledge gaps with the airplane’s avionics after initial flight training or after upgrading to a more advanced airplane, but aren’t sure where to get answers.  Simply put – expert glass panel flight training is hard to find.

    They know enough to have earned their license, but still feel uneasy anticipating unexpected challenges. This leaves them feeling at best, uncomfortable, or worse, on edge and unsafe. When you’re not as proficient as you could be, an easy flight can become stressful quickly in unexpected scenarios, and things spiral from there. It doesn’t have to be this way.

    That’s why The Aviator’s Academy offers online courses with real-life scenarios using glass panel avionics. You’ll gain more confidence in the air and be equipped with better aeronautical decision-making skills after learning from the best in the business.

    We understand the pressures you face in the air. We get it because we have been providing expert, personalized, owner/pilot instruction since 2014 at Texas Top Aviation. With over 8000 hours of instruction given in Technically Advanced Aircraft and over 13,000 hours in total flight time, The Aviator’s Academy instructors are qualified to fly and instruct most single-engine aircraft to a level that far exceeds what a flight school can provide. Nowhere else can you get expert glass panel online instruction for Technically Advanced Aircraft.

    If you’re in need of an instrument proficiency check and fly a technically advanced aircraft with glass panel instruments, this is the place to get your ground school training. Conveniently online. Expertly taught. 

    Mastering your glass panel avionics isn’t impossible. You just need a guide. Enroll in the course you need to take your skill to the next level. You’ll receive expert, specialized online training. Then you’ll fly with confidence.

    LAUNCHING AT OSHKOSH! Visit www.aviatorsacademy.com and leave us your email to be notified when our first course drops. Come visit us at booth 3004 at Osh Kosh, July 25th-July 31st, 2022.

  • Utilizing Personal Minimums

    The FAA defines personal minimums “as an individual pilot’s set of procedures, rules, criteria, and guidelines for deciding whether and under what conditions to operate (or continue operating) in the National Airspace System.” Have you actually given thought as to why we choose the personal minimums we do? From the beginning of initial pilot training, weather minimums were established for day-to-day training and during solo flight. I didn’t realize it at first, but I later learned these limits were not just an insurance mandate, but these minimums were set at the time to safely operate an aircraft based on my “then” current experience.

    So here’s the question: what are your personal minimums and WHY do YOU have them? Do you ever lower or raise your minimums? Are your minimums based solely on your overall experience level or do they take into account other variables such as advanced avionics? For pilots that fly multiple aircraft like I do, can and do your minimums change in regard to category or type of aircraft you are flying? It’s a judgment decision on how you chose your minimums. However, it’s important that time is taken before you strap into the cockpit for each flight to critically think about the different risk factors and variables which may affect your decision for the minimums you choose.

    To guide us, let’s try briefly apply the FAA’s Personal Minimums Checklist to see how risk factors might shape what personal minimums or decisions we make for the day. Remember, just because you have been flying with a certain set of minimums one day, doesn’t mean you can’t adjust your minimums to a higher value given an ever-changing situation.

    The acronym most pilots have heard is PAVE:

    Pilot– We all should be familiar with the acronym IMSAFE associated with this. It addresses variables such as Illness, Medication, Stress, Alcohol, Fatigue, and Emotion. But how do you adjust your personal minimums using this guideline? Have you ever thought about raising your minimums for a training flight if you only got 4-6 hours of sleep, instead of 8? Or if you anticipate a hard IFR flight with a long day, maybe taking a safety pilot to mitigate the chance of a mistake if you’re forecasting having to shoot an approach to your weather planning minimums.

    Aircraft– Personally, this is a really important factor for me when deciding what minimums to apply. I often spend a large majority of my time asking myself; is this aircraft properly equipped for the flight? This question goes beyond just looking at the logbook for a properly equipped and legal aircraft. A professional pilot should think further. Am I flying a traditional 6-pack “steam gauge” layout, non-slaved compass card, with a separate OBS gauge for course guidance? What if the aircraft doesn’t have an auto-pilot? What if I’m flying an aircraft equipped with a dual auto-pilot, dual GPS with an integrated glass cockpit? I can comfortably say my personal minimums change depending on the equipment I have available.

    A pilot should also look at his/her recency with the aircraft. For example, if you are qualified to fly both airplanes and helicopters, maybe you should choose to have higher personal minimums in one particular airframe or if you haven’t flown that airframe within 30, 60 or 90 days. This is a very important factor for the owner/pilot.

    EnVironment– Most of the time, when we think of environment, we ask ourselves, is the weather legal for me to take off and, more importantly, can I conduct this flight safely? Basic flight planning should have taught us to take into consideration crosswind limits, day versus night, and the type of airspace the flight is conducted in. Thought should also be given to how you set your personal minimums in regards to the particular type of environment you might rarely encounter. Flying an approach to your minimums in the flat plains of Texas during the day is one thing, but how would you adjust your weather minimums flying to a new airport, at night, with no moon illumination, in the mountains of Colorado? Could you reduce the risk and adjust your minimums in this scenario with two pilots?

    External Pressures – What external pressures are affecting your flight? Passengers, the owner, “get-there-it is”, the desire to impress someone? Although external pressures should never be a factor when conducting a flight, they almost always play a role in your decision whether to conduct the flight or not. For example, a professional pilot gets hired to do a flight and the weather is below their personal minimums. The pilot could be tempted to lower their minimums by 100 feet to take the flight for a paying customer. This scenario plays out every day across the country whether it’s a professional pilot or owner/pilot. It would be foolish not to consider this type of pressure. Always make sure you have a plan if and when you encounter this situation. Planning your flight and having a plan to deal with these potential scenarios ahead of time ensures you stick to your minimums. It can be as simple as telling your passengers, or the owner, well ahead of your flight what your personal minimums are to accept the flight, and to ensure they, or you, have a back-up plan!

    Most pilots will never break a hard limitation such as an airframe cross wind limitation, or engine limit, but the chances of breaking a personal minimum are realistic. Think about the last time you went on a diet and broke your plan because you were tempted by your friends or family during an outing. Self-imposed personal minimums can be hard to enforce and we need to acknowledge this as humans. Here are a few techniques that you can use to assist in making a decision using personal minimums and help reduce the influence of external pressures.

    Step 1: Sit down with your CFI/CFII and fill out a personal minimums worksheet. Filling one out by yourself is a good start but having an outside objective view will help in making sure your personal minimums are realistic. Remember, it is easy to convince ourselves that we can do something even though we have set personal minimums. Talk with other pilots to see if you have set realistic expectations.

    Step 2: Preflight planning must start a few days in advanced. It can be as easy as checking what the forecast might be and looking at the projected route, near-by alternate airports, and various approaches. This can be done quickly and will give you a heads up on whether the flight can be safely conducted or not. By alerting the passengers or owner early enough, alternate plans can be developed. An extra pilot can be added, the passengers can fly commercial, bring along a CFI, or cancel the trip altogether and seek alternate transportation. The main point is the decision was made well ahead of the flight when conditions didn’t look favorable. This helps in removing external pressures and ensures you don’t go below your personal minimums.

    Step 3: Never be afraid to ask for a second opinion. Part 135 operators have set procedures for conducting flights which assist the pilots in making decisions. These set procedures help remove external pressures by allowing the pilot to say, “The rules don’t allow for this, or this is how we will conduct the flight!” However, under Part 91, the pilot has to take ownership for all phases of the flight. This is where talking it out with another pilot helps with mitigating external factors and the environment. Ideally, this person should have more experience and be able to talk through the situation. For instance, if I’m flying to a new destination, I often seek the advice from another pilot who’s familiar with the area. They may have key insights into weather patterns, preferred approaches, or hazards to avoid. In certain situations, asking for another pilot’s opinion might be what influences your go/no-go decision! You’ll be amazed how much you can learn just from talking to other pilots.

    Step 4: Continue to build your experience and knowledge base. Building experience requires us to push our abilities, and sometimes this may be to the limit. However, this can be done in a controlled training environment or just going out and experiencing it. Get a new license, fly regularly with a CFI/CFII, and always try and take advantage of training opportunities. For example on your next flight from point A to point B, practice hand flying an approach, do a short field landing, a quick steep turn, etc. Quality flight time is always better than quantity. Continue to challenge yourself and try not to become complacent.

    Personal minimums are a tool to assist in every pilot’s aeronautical decision making process. Use your personal minimums to guide your final go/no-go decision and remember to stick to the plan. I encourage you to review the FAA’s Risk Management Handbook (FAA-H-8083-2). Appendix B has Sample Risk Management Scenarios and reviewing them will give a better understanding how to apply the techniques discussed to your everyday flying.


    Pedro Vargas-Lebron is a King Air 200 and uH-60 Blackhawk Instructor pilot with the Texas Army National Guard. Pedro is a CFI/CFII/MEI both in airplanes and helicopters with over 4000 hours of flight time, half as an instructor pilot.

  • Upgrading Avionics

    There are many different ways to upgrade an instrument panel.  Putting in a 696 here, a JPI engine monitoring system there, even an Electronic HSI.  But, if you want to swing for the fences and get a serious upgrade, you have to go for a complete glass instrument panel.  For good measure, you might as well throw in a touch screen GPS while you are at it.

    Which panel to go with?  There are two mainstream options (Garmin and Aspen) and a handful of other companies that make glass panel replacements (Avidyne being one, King for a short period of time at the end of the last decade being another with the KFD 840).  Around 2010, there were a lot of companies trying to get into the glass panel retrofit game, but many of the products didn’t gain a whole lot of popularity, leaving Garmin and Aspen at the top of the heap.

    What about the touch screen GPS market?  Garmin has this pretty much cornered as well, with Avidyne and King just getting into the game.  The gap between Garmin’s GTN series and Avidyne and King is pretty wide.

    Garmin GTN Series

    The answer is pretty easy when it comes to the GPS (go with Garmin!), but not so easy when it comes to the panel.  The G500 and the Aspen Evolution series are both excellent interfaces with strong reliability, so which one do you go with?  Feature-wise, both have a lot of the same features: traffic, weather, terrain, synthetic vision, to name a few.  The presentation for each feature is a little different between the two interfaces.  It just depends on what you like better.

    The nice thing about the Aspen system is you can go glass, but you have options on how much glass you want:  1 screen, 2 screens, or 3 screens?  With the single screen PFD, you have all your instrumentation, traffic, weather, and optional synthetic vision.  You don’t need the synthetic vision for the traffic and weather, as it shows up behind your HSI.  It is an honest to goodness glass panel retrofit.

    When you decide to upgrade to 2 screens, this is where Aspen has a leg up.  The second screen is a completely redundant PFD and, if you get the 2 hour emergency backup battery installed, acts as the backup instrumentation to the main PFD.  This means you can take out the old steam gauge standby instruments.  This helps clean the panel up.

    I personally don’t see the need for 3 screens, but maybe there is someone out there who needs it.

    One selling point that Aspen has over Garmin is the wide variety of autopilots and GPS units that Aspen units are compatible with.  The G500 is only compatible with King autopilots, it’s own GFC 700 autopilot (which would be a retrofit), some Collins autopilots, and the Century 21, 31, 41, and 2000.  This does cover a wide array of autopilots, but it keeps some on the outside.  Aspen, on the other hand, is compatible with most autopilots on the market.

    Finally, let’s talk price.  Going with an Aspen EFD 1000 PFD (this is the single screen Aspen) will run you somewhere in the area of $12,000.  The price will vary based on the shop and the airplane.  When you want to add a screen, it’s an additional $6,000.  This is for the base, so if you want to add weather or synthetic vision, it’ll run you a little more.

    The Garmin G500 comes in around $20,000, again depending on the shop and the airplane.  The screens are bigger on the G500, which is kind of nice, and you are buying a Garmin product, which has a fabulous track record in the aviation industry.

    Decisions, decisions.  There really is no wrong answer here.  Both are excellent products with very good track records.  Both have really nice features and don’t hardly fail.  Really, the choice comes down to what you want.

    Need training on your upgraded GPS or glass panel retrofit?  Contact Texas Top Aviation for thorough training on your new avionics today.

  • Determining Pattern Altitude

    Figuring out the pattern altitude at an airport should be pretty simple, right?  But, in this day of helpful technology, most pilots actually get it wrong.  How can you always get it right?  Well, it just takes about an extra 15 seconds.  Here’s how.

    Traffic Pattern
    John Wayne Airport Traffic Patterns

    As outlined in the Aeronautical Information Manual, section 4-3-3, “traffic pattern altitudes for propeller-driven aircraft generally extend from 600 feet to as high as 1,500 feet above the ground.”  Further, in the Pilot’s Handbook of Aeronautical Knowledge on page 13-10, it states:  “1,000 AGL is recommended pattern altitude unless established otherwise.”

    Okay, so for piston driver’s, we’ve got it narrowed down to 1,000 AGL (Above Ground Level for those who don’t like acronyms).  But wait!  There’s that very important phrase at the end of the last quote:  “unless established otherwise.”  That means not all airports have traffic pattern altitudes of 1,000 AGL, or else they wouldn’t put that line in there!

    How do you find out what the TPA (Traffic Pattern Altitude) is for a certain airport if it’s not 1,000 AGL?  Great question!  Your first guess is probably to look on Foreflight.  Though this is a good start, it is not the full answer.

    Let’s use an example.  Look up KAQO, the Llano Airport on Foreflight.  At the top of the page, the airport elevation is stated as 1,101′ MSL and the pattern altitude is stated as 1,902′ MSL.  From what we just learned, 1,902′ MSL is not 1,000 AGL, so is 1,902′ MSL otherwise established?

    On the Airports page with KAQO pulled up, tap the A/FD tab, second to last on the left.  Scroll down to Llano Muni.  Read the whole entry.  Does it state in the entry that pattern altitude is different than 1,000 AGL?  It sure doesn’t.  So, because it is not otherwise established, pattern altitude at KAQO is 2,102′ MSL not 1,902′ MSL.

    Where did Foreflight get that?  I have no idea.  Too often, though, pilots look at the Foreflight pattern altitude and don’t actually check the Airport Facilities Directory (A/FD).  Then, they get the pattern altitude wrong.

    What does it look like when pattern altitude is otherwise established?  Look up KSGR, Sugar Land Regional, on your Foreflight app.  Foreflight states the elevation as 82′ MSL and the Pattern Altitude as 1,000′ MSL.  Is this correct?  Well, tap that A/FD button again and let’s find out.

    On the second line of the A/FD entry, it says TPA-See Remarks.  Down in the remarks section, we find the following:

    TPA-1000 (918) single engine piston acft, TPA-1500 (1418) for twin and turbojet acft, TPA-500 (418) for helicopters within 2NM.

    Foreflight got it right this time for single engine pistons, but if you are in a twin, the pattern altitude is different.  What’s the lesson here?  Always check the A/FD and don’t always go by what Foreflight says.  The A/FD is always right and usually has a little more detail to help set you straight.

    One last thing.  Both the AIM and the Pilot’s Handbook of Aeronautical Knowledge, when talking about pattern altitude, state, “When operating at an airport, traffic pattern altitudes should be maintained unless otherwise required by the applicable distance from cloud criteria in…section 91.155.”  91.155 defines basic VFR weather minimums.  So, to fully interpret what the AIM is saying, we have to take into account the type of airspace we are in to determine if we can safely and legally operate at pattern altitude at a particular airport.

    For example, let’s say we are at KCVB, the Castroville Airport.  Pattern altitude there is 1,602 feet, which is 829 AGL.  CVB is Class G airspace up to 700 AGL, then Class E above that.  Let’s say there is a 700 AGL broken cloud layer.  Pattern altitude is 829 AGL, so you won’t be able to get up that high with a broken ceiling.  What altitude can you do pattern work at to stay legal?

    Class G VFR weather minimums during the day below 1,200 AGL is 1 SM visibility and clear of clouds.  So, legally, you could fly at 699 AGL (which at CVB would be 1,472 MSL) while in the pattern and be legal.  Safe?  Maybe, but probably not if you are skimming the base of the clouds.  Is 1300 MSL a safer pattern altitude in this example?  Well, that is 527 AGL, so probably not, since towers tend to stick up that high sometimes.

    Let’s go back to KSGR and put a 1,000 AGL overcast ceiling there.  SGR is Class D airspace and we already determined pattern altitude there was 1,000 MSL for piston singles.  VFR visibility and cloud clearance requirements in Class D airspace are 1,000 feet above clouds, 500 feet below clouds, and 2,000 feet horizontally from the clouds with 3 SM visibility.  In order to stay 500 feet below the clouds, you would be flying a 582 MSL pattern.  Safe?  Probably not, though it is legal.

    To summarize, don’t take Foreflight’s word for pattern altitude.  Cross reference the A/FD (it only takes 15 seconds at the most) to verify.  If it’s cloudy, it’s really best to stay on the ground, but if you want to find out your legal pattern altitude with a cloud deck, cross reference 91.155.  I don’t recommend flying below pattern altitude because it is there for a reason.

  • The Importance of Slowing Down

    Technology has made our job as pilots simpler, streamlined, and safer.  With all the new GPS & autopilot technology that seems to come out every month, flying an airplane is getting easier every day (and when I say flying, I mean programming!).  I can’t tell you the last time I actually used a VOR for navigation, other than a practice approach.  The AIM even has guidance in it now allowing pilots to use the GPS overlay on a VOR or LOC approach instead of switching to the actual NavAid on the course needle (you have to WAAS in order to legally do this).

    I hear the argument already.  I am young (31) and used to all the different touchscreens because I have grown up with them.  Tech is nothing new to me.  It’s not that easy for everyone, I do understand.  There is also the argument that all the tech causes pilots to not know how to fly the airplane, which is also valid. This is why I put an emphasis on hand flying in any kind of training I do.

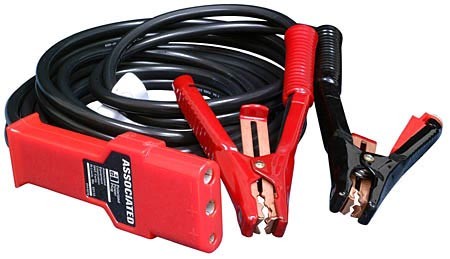
    For the sake of argument in this article, yes, I am young and I adapt to technology pretty easily.  I’m not afraid to press buttons to figure out what they do, but I usually do it while sitting on the ground with a GPU hooked up (or I go look in the manual).  And yes, all the autopilot ability has caused a decrease in base pilot skills.  I actually encourage every customer I have to go get a tailwheel rating so that they can actually learn how to fly better.  You don’t use a rudder much in a Cirrus compared to a Super Cub or a Citabria.

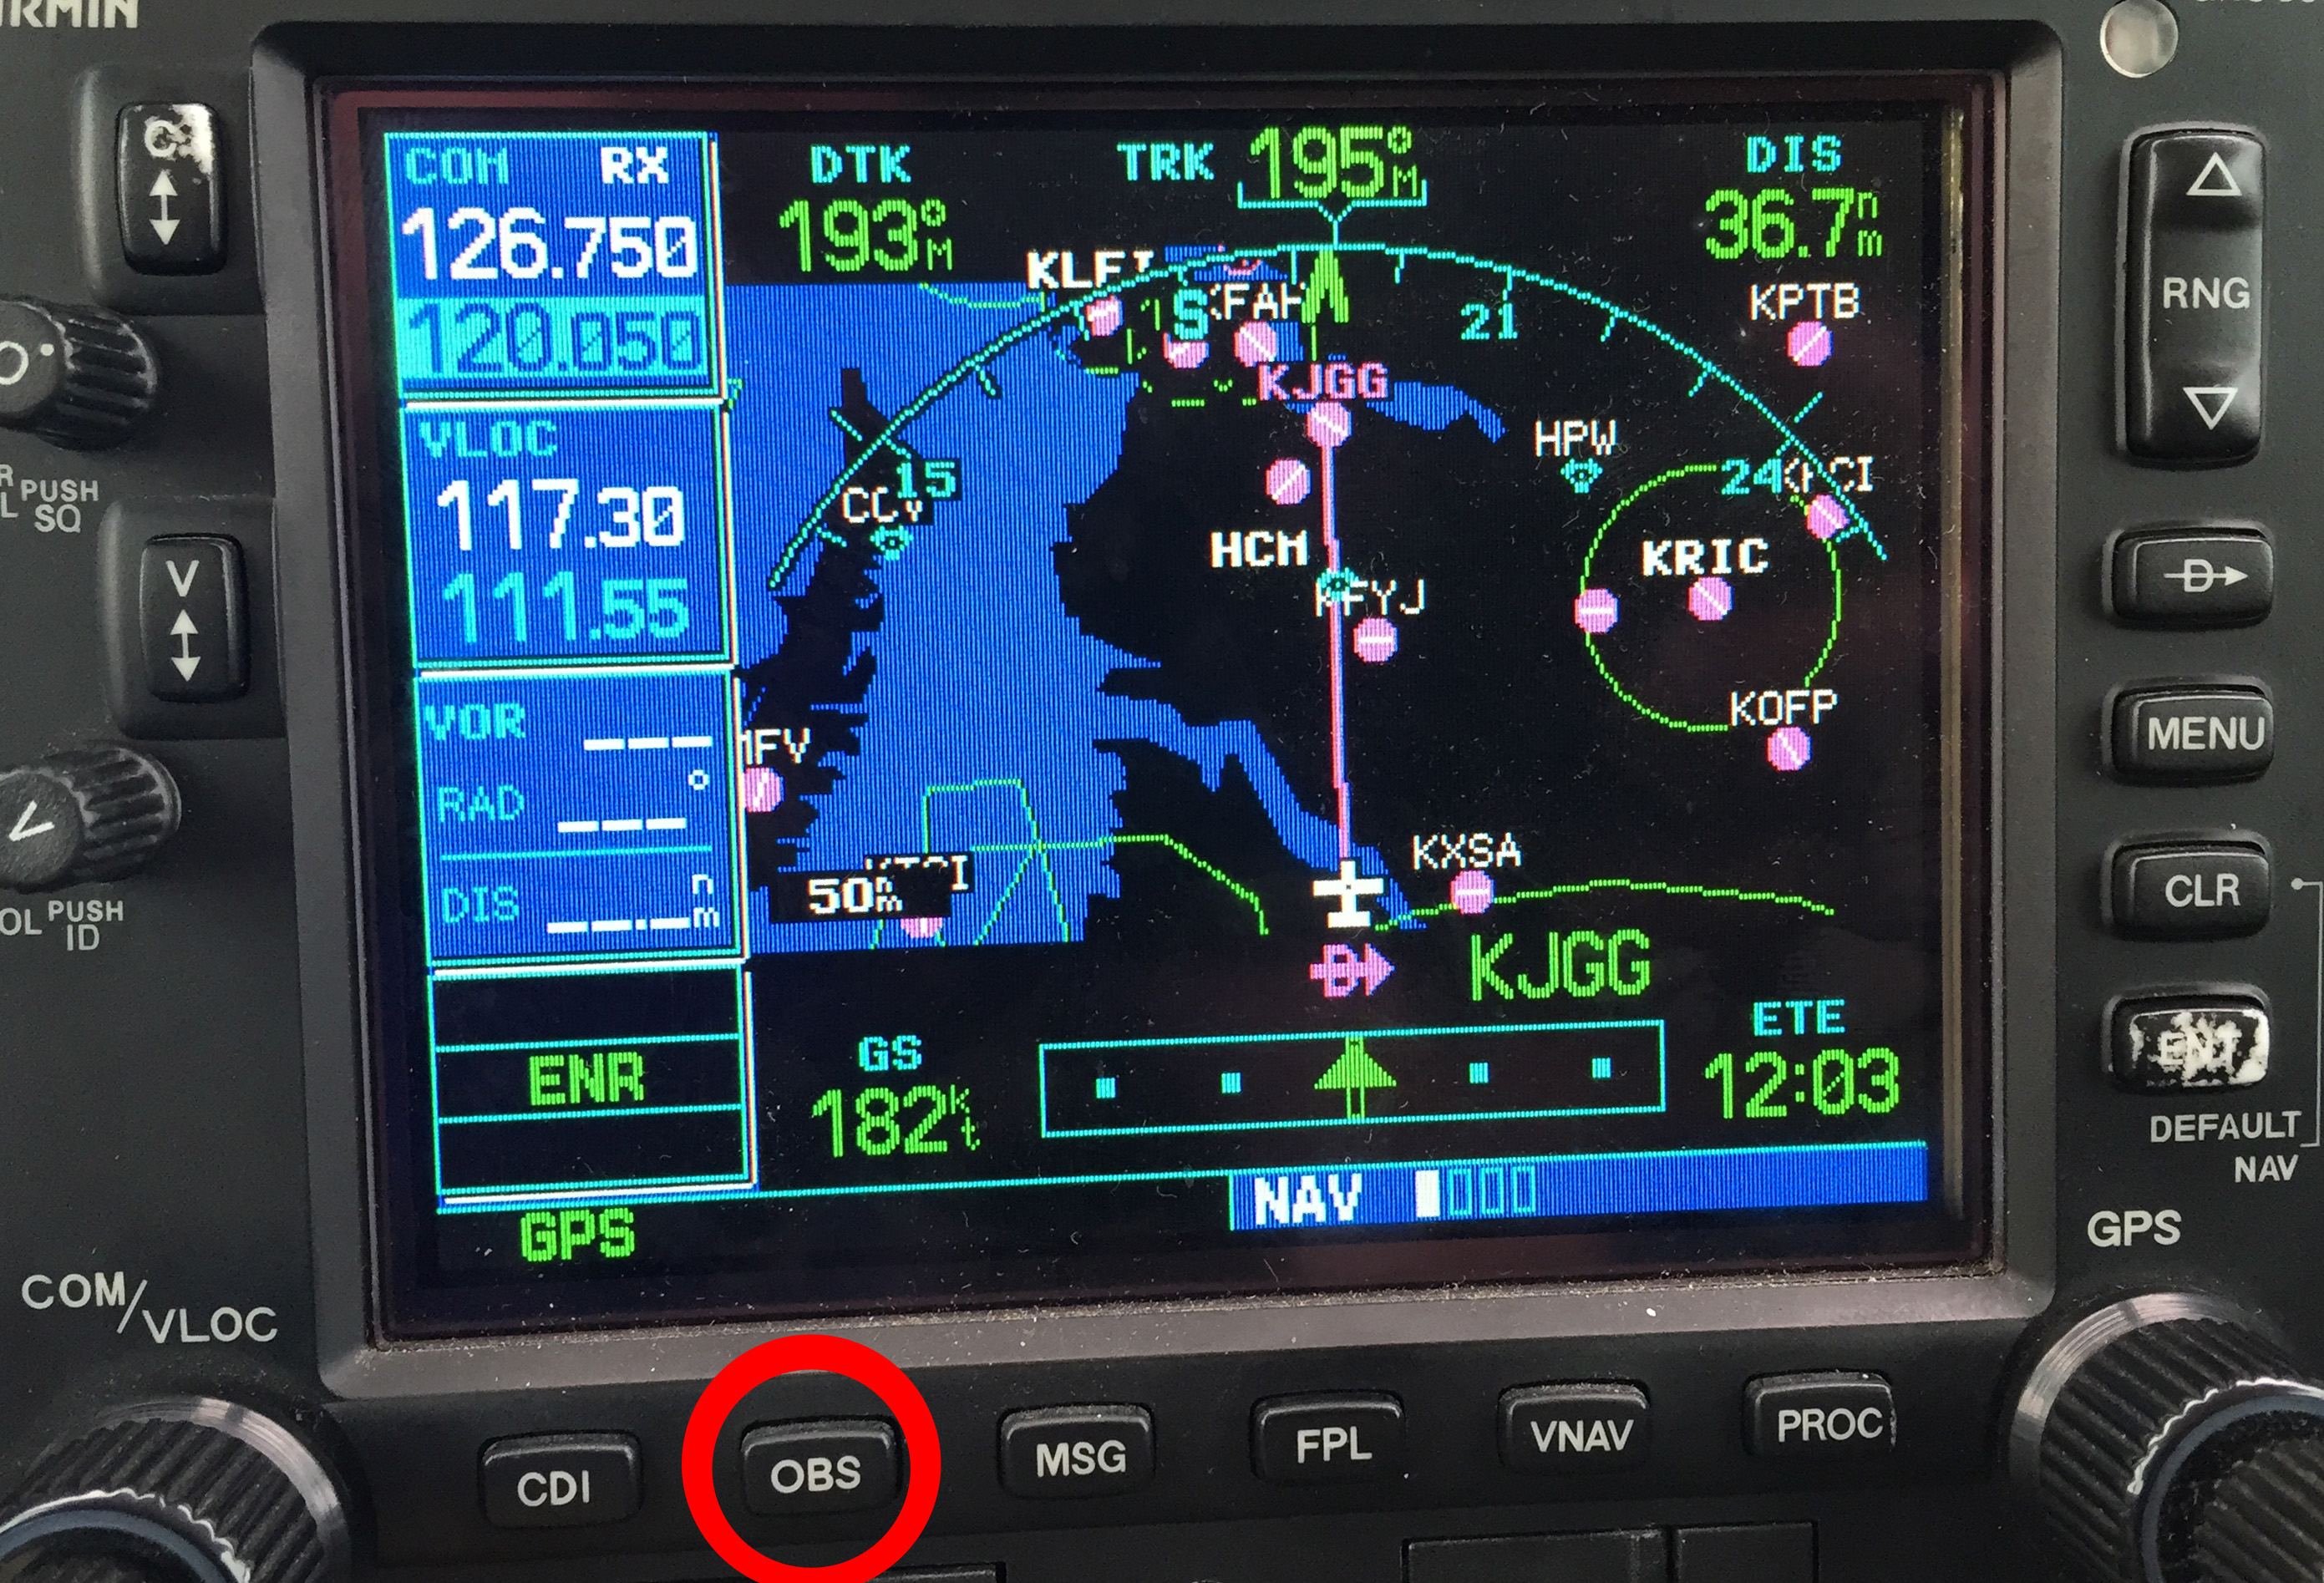
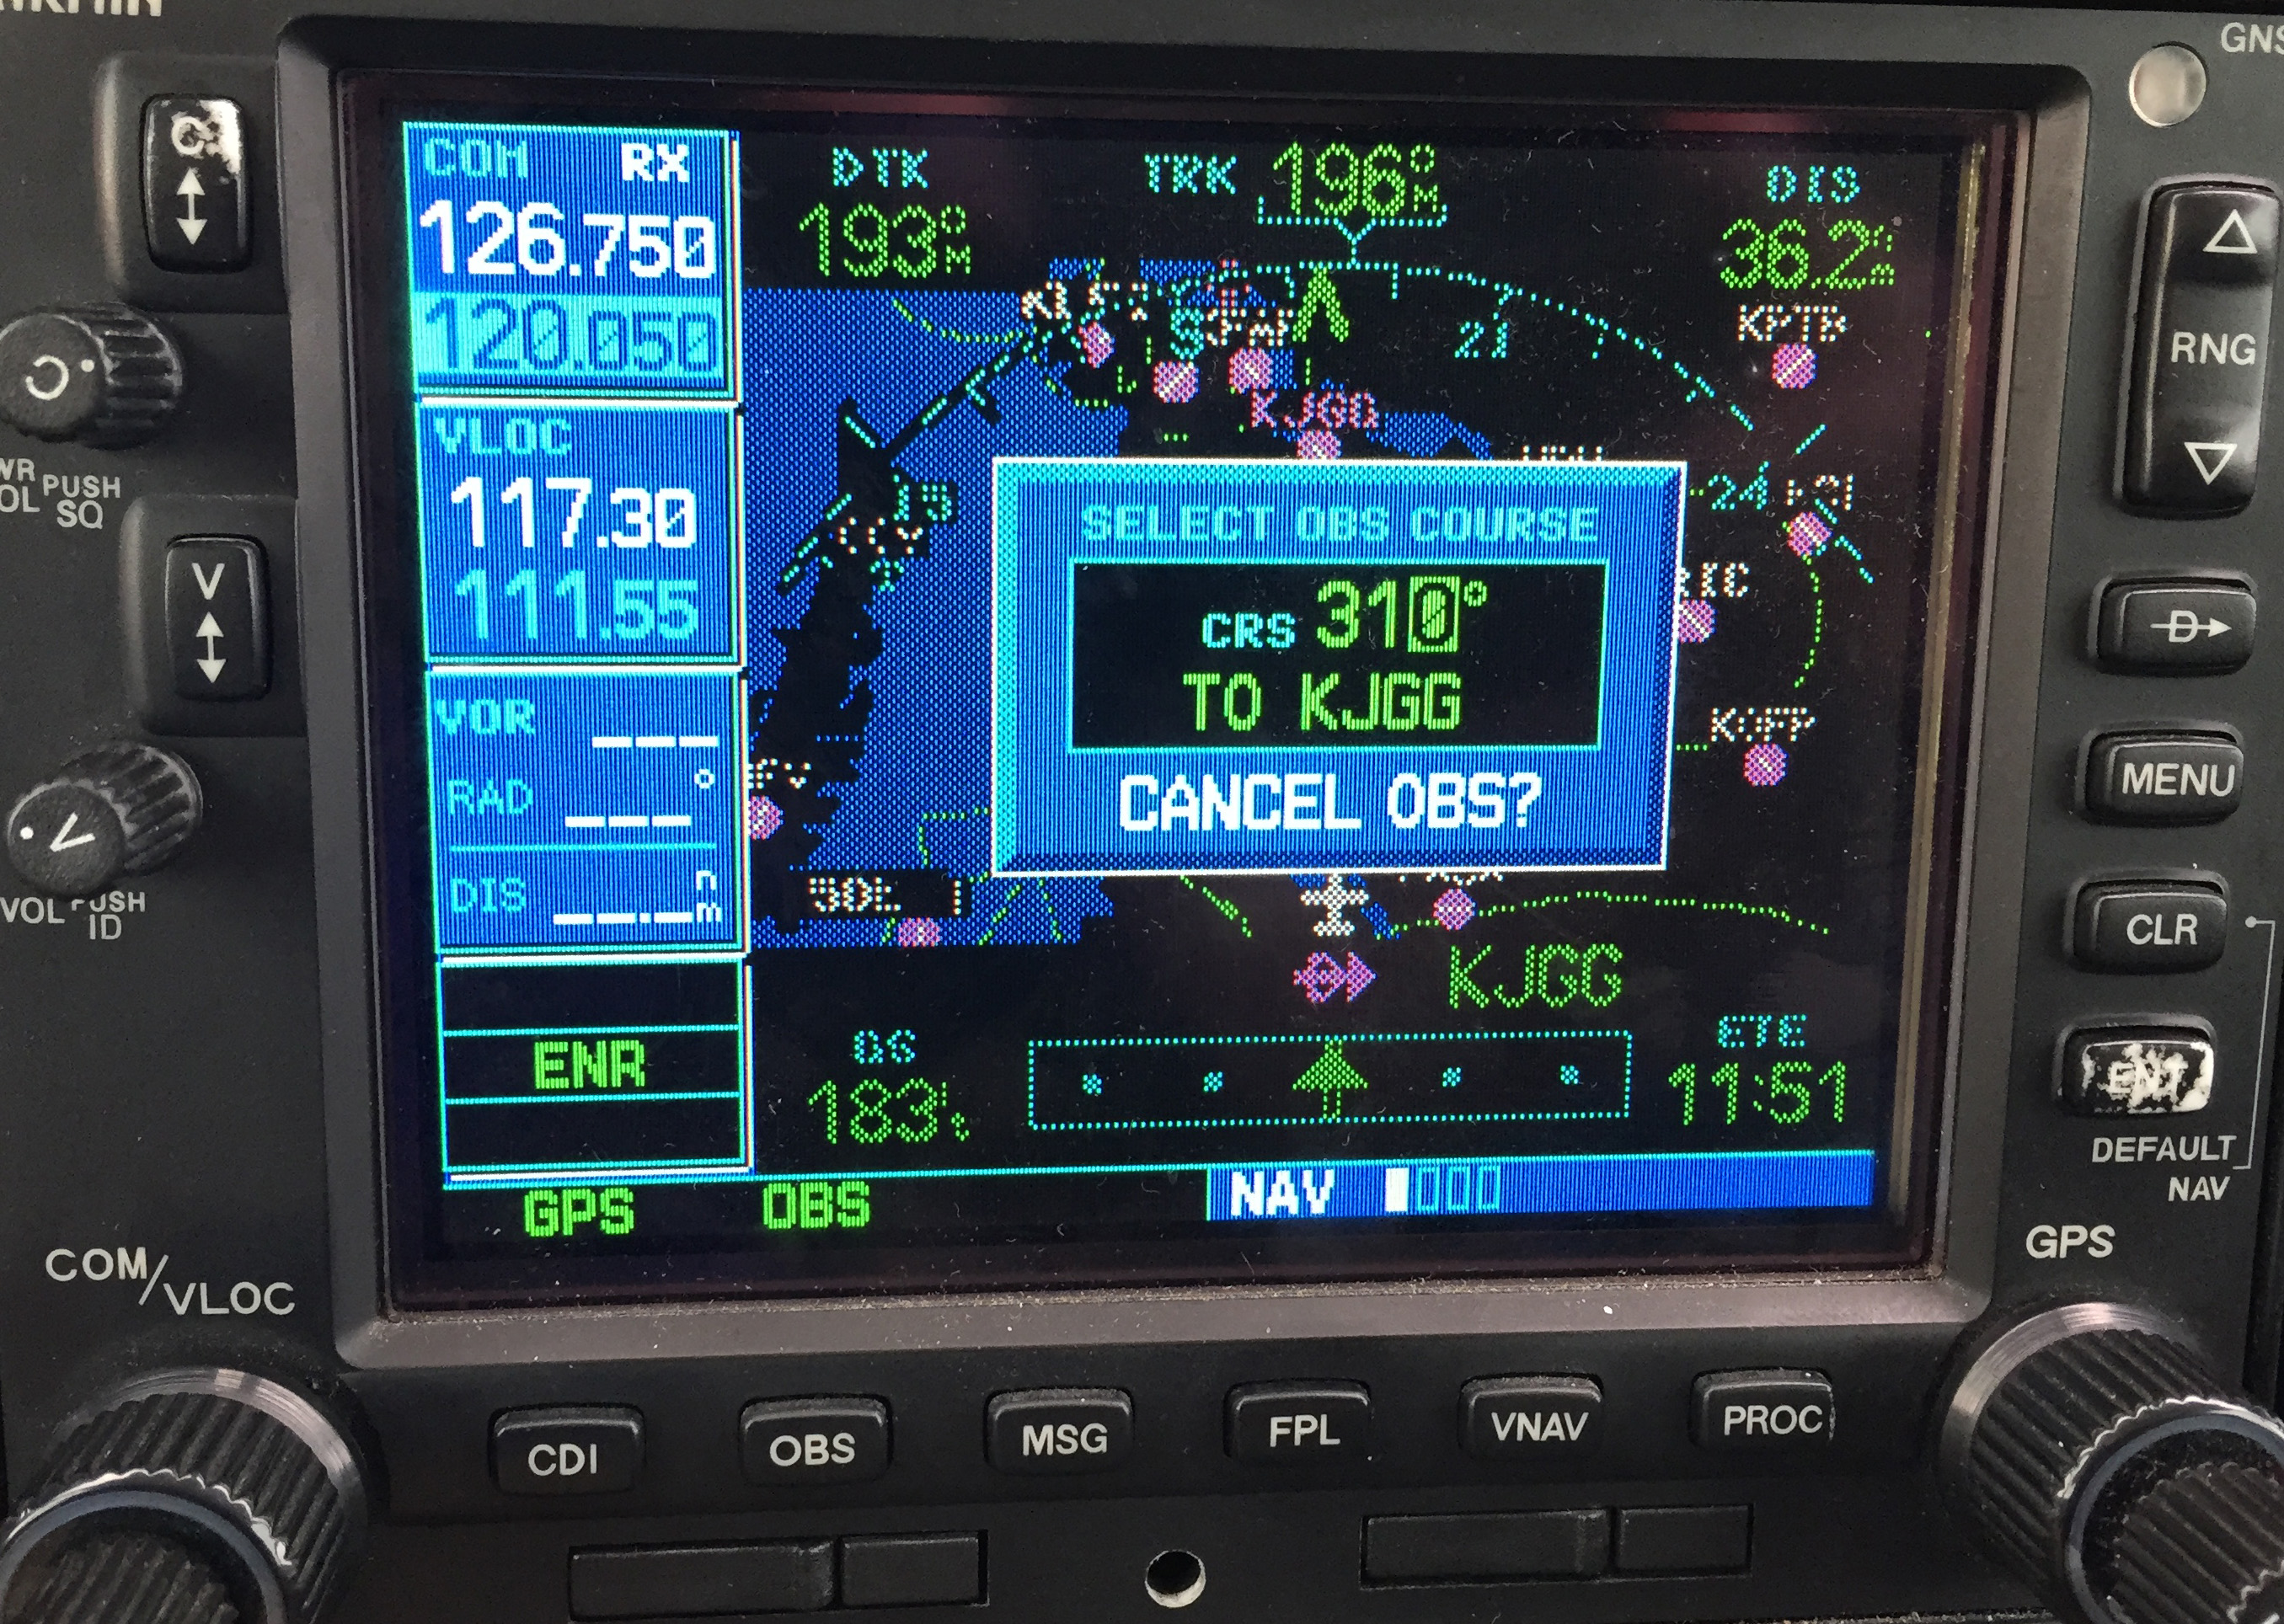
    What I want to focus on for a few minutes is how to alleviate the frustration that comes with getting so wrapped up in the technology when it doesn’t do something that you want it to, or the wrong button gets pressed, then you end up somewhere you had no intention of being.

    The biggest thing a pilot can do when it comes to technology is NEVER to get in a hurry.  Good training is first and foremost, but, after that when flying without an instructor or even in recurrent training, SLOW DOWN and think through what you are doing and what you want the system to do.  This will alleviate a ton of frustration.

    It can be very easy in hot, turbulent weather to get tuned in to the GPS programming, trying to do five or six different things in the span of five or six seconds, before looking up and realizing that plane is 500 feet off altitude (without an autopilot) or you blew through the course you were supposed to be intercepting (with an autopilot).

    What I teach is to slow down, whether or not you have an autopilot, and do one thing at a time.  Once that item is done, look up at the instruments or the horizon, check on things, make sure the airplane is still flying properly, then do the next thing.  Don’t try and do a bunch of things all at once or in a hurry.  It will usually get you off course and off altitude, plus it distracts the pilot from his main job:  Flying the airplane.

    So, next time you want to do something on your GPS, pause, take a breath, think through what you want to do, then do one item at a time.  The outcome will be less frustrating and you’ll keep flying where you want to go.

  • How to Get the Current Weather

    For a long time, I was happy if an FBO had a radio where I could tune the ATIS or automated weather before getting into the plane. This would allow me to skip listening to the weather in the airplane with the engine running, giving me a quicker exit from the ramp while burning a little less fuel. I would also be able to brief my taxi route from the ramp since I would know which runway was in use before getting in the plane.

    As we progress forward in technology, I’m constantly amazed at how much more planning I can do from the palm of my hand. Now, I can call a phone number and get the ATIS, AWOS, or ASOS, depending on the size of the airport; if you prefer reading a text version…well, there’s an app for that.

    With this technology, it’s very important for pilots to be aware of what service they are utilizing when calling these numbers. Usually only a Class B or larger Class C airport will have a phone number specifically for ATIS as well as one for AWOS/ASOS. These are listed in the Airport/Facility Directory (AFD), as well as all flight planning apps (Foreflight, Garmin Pilot, Stratus Insight). More then one pilot has called the AWOS/ASOS number for an airport thinking they would receive the ATIS (because towered airports that have ATIS phone numbers often also have AWOS/ASOS phone numbers that are different). Since the pilot didn’t hear a code on the phone, that led to the false thinking that either the tower was closed or the pilot did not have the code (ie. Information Bravo) to give to ground control when calling for taxi instructions.  The minute weather can be very useful for flight planning, but the ATIS must be received before contacting ATC at a towered airport.

    Notice the red box just past halfway down the page. There is a phone number for the ASOS at KSAT and a separate phone number for the ATIS next to the frequency.

    Sometimes, you may get a busy tone if someone else is on the line. Usually, waiting a few minutes and trying again will lead to success. Just like old school phone lines, only one call can go through at at time! If it’s a particularly stormy day, you may be fighting a number of pilots to get on the line. In this case, an app where you can read the ATIS may be particularly helpful (Yes, there actually is a dedicated ATIS App!).

    The ATIS app allows us lowly pilots without an Aircraft Communicating and Reporting System (ACARS) to access the Digital ATIS (D-ATIS ) at airports where ATIS is available. Only 76 airports in the US have D-ATIS, most of which are either Class B or busier Class C airports. Foreflight also provides D-ATIS textually at the same 76 airports, though it is only accessible depending on which subscription level you have with Foreflight (since I’m not a Garmin Pilot or Stratus Insight user, I’m not sure if either of them give D-ATIS reports).

    ATIS App Symbol

    With Foreflight’s D-ATIS, it does not get updated over ADS-B, only when your iPad or phone have an internet signal. When inbound to an airport with D-ATIS, the pilot has to listen to the radio frequency to get the current ATIS. Foreflight will display the last D-ATIS it received, but typically, it’s old. Check the time in the upper right hand corner.

    Foreflight now offers Pre-Departure Clearance (PDC) at those same 76 airports. With either a pre-registered tail number or a Foreflight call sign (starting in FFL), once a pilot files an IFR flight plan, the D-ATIS and the IFR clearance in it’s entirety are texted to the phone number the pilot filed with. All that is left to do is call ground, state “I have information Romeo and my clearance, ready to taxi,” then away you go. Skipping listening to the ATIS and talking to Clearance Delivery saves a good 5-10 minutes at times, depending on how busy the airport is.

    These days, there are many different avenues to get the current weather (and IFR clearances!). When calling on the phone, the key is to be aware, know which number you are calling and, if you are expecting to hear an ATIS message but instead hear the AWOS/ASOS, verify the Chart Supplement Guide and Notices to Airmen (NOTAMS) to check tower hours of operation before flying into the airspace. 

Leave a Reply

Your email address will not be published. Required fields are marked *