The PT6 engine that’s found on the Jetprop and Meridian is designated a -21, -34,-35, or a -42A. The Continental engine on a Malibu is either a TSIO 520 or a 550. What’s the difference? Why should I care? Most pilots don’t understand the difference, but it’s pretty easy to understand…and it’s all about breathing.
Whether a piston or a turbine, the engine has a ratio of fuel/air that works best. For a piston model, we can make adjustments to this ratio by adjusting the mixture. In climb we use a richer ratio to help cool the engine, and in cruise we lean the mixture to save fuel since we don’t need the extra fuel for cooling (due to higher speeds which cools the engine). In the turbine, the ratio is set and there’s nothing that can be done about it…except climb to a higher altitude. But, more about that in a second..let’s go back to the piston discussion…
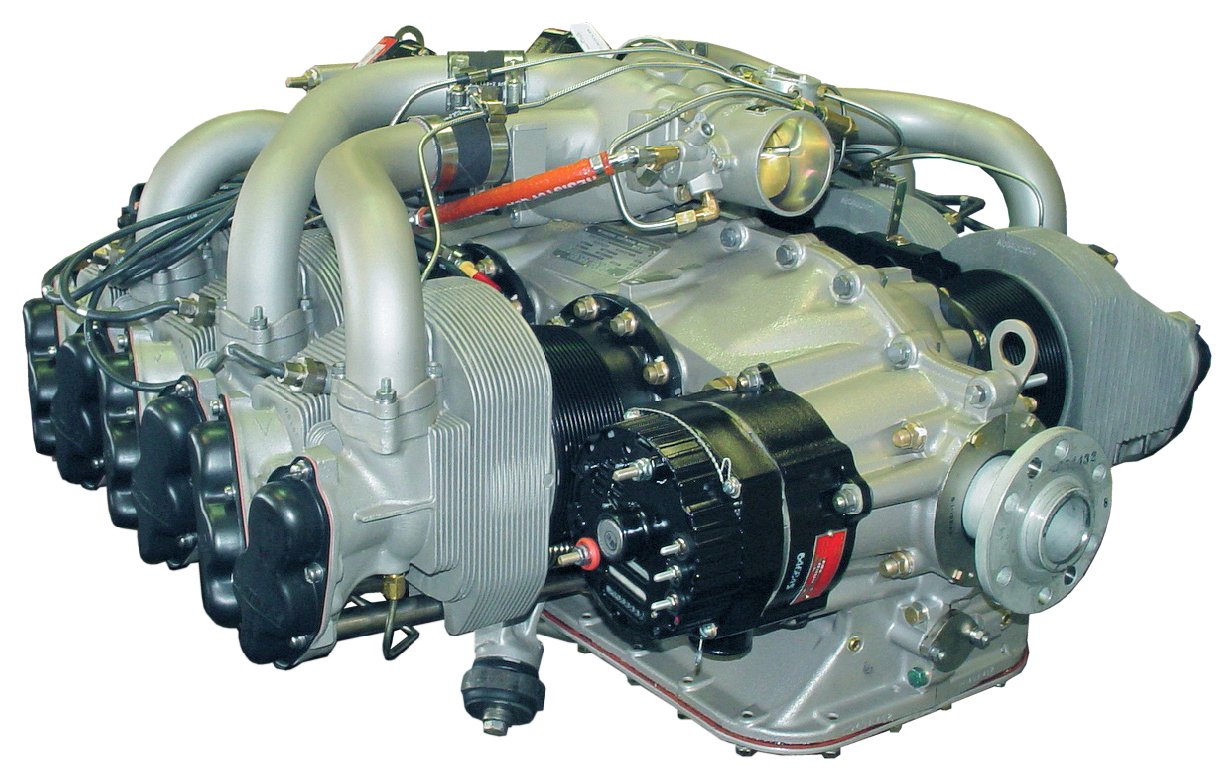
Piston: A Continental 520 engine and the 550 engine are flown exactly the same. On takeoff, both will develop 310HP (38″MP with the 520, 35.5″MP with the 550). So, why would a pilot want a 550 in his airplane as opposed to a 520? The answer is breathing.
A 520 is named appropriately because the engine displaces 520 cubic inches of air with each complete cycle of all 6 cylinders. To determine the displacement, just figure the bore (diameter of the cylinder) and the Stroke (how far the piston travels in the cylinder) and plug the numbers into this formula:
CID = Bore X Bore X 0.8754 X Stroke X # of Cyl.
Here’s the bore and stroke of the Continental 520 and 550 engine:
TSIO 520: Bore = 5.25″ and Stroke = 4″
TSIO 550: Bore = 5.25″ and Stroke = 4.25″
So, you can see the two engines are exactly the same except the 550 has a little longer stroke, and therefore displaces a little more air. Said another way…it the sucks the air into the engine a little better.
So, with this knowledge, the ability for the engine to breathe becomes a little more clear. Both a 520 and a 550 will perform exactly the same until the point that a 520 simply cannot suck enough air and begins to develop less MP as a result. For most 520 engines, this will happen somewhere around 18,000 ft. But, it is dependent upon a myriad of factors including: health of the engine, altitude, temperature, and atmospheric pressure. When the 520 hits this point, the throttle can be full-forward, but the engine will not develop full MP, but some number that is less. I’ve seen a max MP at FL250 in a 520 Malibu to be about 31″MP. So, you can probably guess that the rate of climb will correspondingly suffer as the engine develops less MP. How do we fix this problem? Enter the 550…
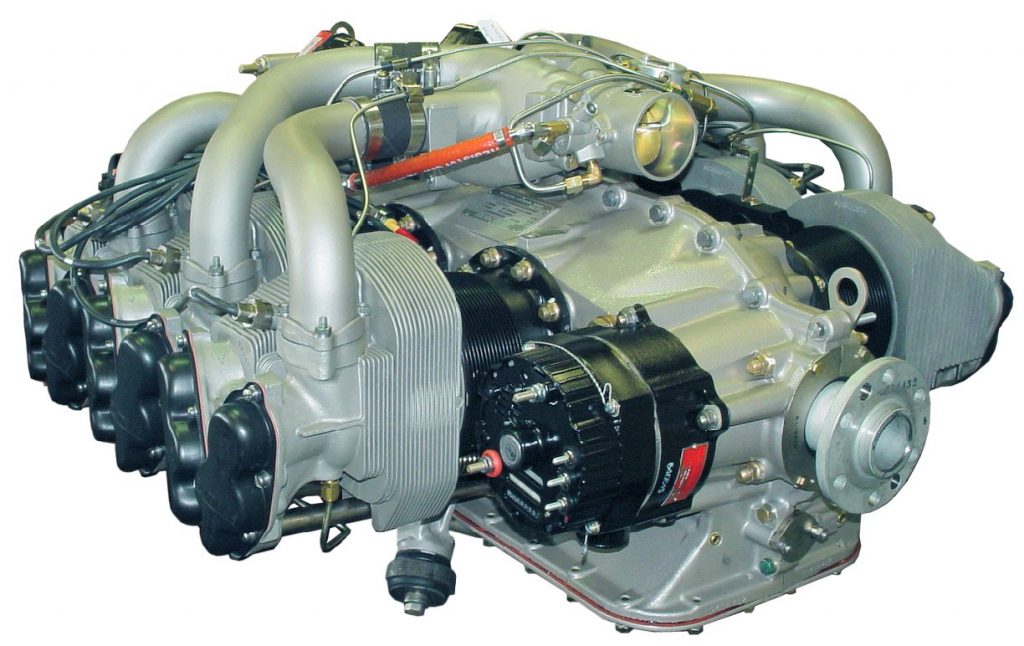
Since the 550 displaces more air, the engine will maintain max MP to a higher altitude. When the 520 begins to develop less power at about FL180, the 550 engine will be able to continue to maintain 35″ at a higher altitude. Make no mistake…the 550 will also hit an altitude where is cannot develop 35″MP, but this altitude will probably be nearly FL220. So, the 550-powered Malibu will reach cruising altitude faster than the 520.
But, at cruise both engines are pulled back to 30″MP. So, either engine will deliver the same cruise speed because they are both able to develop 30″MP at any altitude. Does it really matter if you’ve got a 520 or a 550 engine? Answer: not much. Both are excellent engines and both will deliver the airplane to the destination, but if the chosen altitude is above FL180, the 550-powered airframe will probably arrive a few minutes earlier. Which would I want if I were purchasing an airplane? It’s not a big enough deal, IMHO. I’d select the best airframe/engine/prop combination and not put much weight into the 520 vs. the 550.
Turbine world: So, how about the -21, -34/35, and -42A compare? Here, there’s big difference, but it’s still all about the breathing. A -21, -34/35, and -42A are all derivatives of the famous PT6 family of engines, and all are designed to be 1000+SHP engines de-rated to fit the airframe. For instance, the -42A engine is 750SHP when mounted on a King Air 200, but the same engine is derated to 500SHP when mounted on the Meridian. Ditto with the -21 and -34/35 engines…all are de-rated. So what’s the difference? Breathing…
At the lower altitudes all will develop their maximum rated SHP, meaning they will all develop maximum torque. And, down low there’s plenty of air to breathe so the engine has no problem developing that torque at a low ITT. But, as altitude is gained, the engine must suck more air to develop the same torque, and the ITT goes up. At some point in the climb (depending upon altitude, temperature, pressure, and IAS) the engine will not be able to produce max torque without exceeding Max ITT. At this point, the engine cannot breathe any more (suck in anymore air), and the power (torque) developed falls off. With the -21 engine, the power falls off quite dramatically because the engine simply cannot breathe well. It is a smaller engine and more air cannot be forced into the compressor section. For the rest of the climb the engine is “ITT limited” and the performance will suffer.
The -34/35 engine is a little bigger and will develop maximum power (torque) to a higher altitude. And, when the torque does drop off (as altitude is increased), the rate of decrease is less because it can breathe easier due to it’s larger size. Guess what? The -42A will beat out the others and develop max torque to an even higher altitude. With this decrease in torque available also comes a welcome friend…less fuel burn. Altitude is the friend of any turbine pilot, and he/she will climb to the highest altitude possible to save on fuel.
The end result is the -21 powered Jetprop will cruise at 238 KTAS (in the summer) with a fuel burn of only 28gph. The -34 will have higher torque than the -21 and will develop more SHP and will have a higher cruise (260 KTAS in the summer) with a correspondingly higher fuel burn (32gph). The -42A will be breathing easily at higher altitudes, and will develop the most torque, but with a fuel flow of 39gph. The Meridian (with the -42A) will not out-perform the -34/35 Jetprop in cruise purely because the Meridian is much heavier.
Just remember…fuel flow in a turbine is always commensurate with its ability to breathe and a turbine’s ability to breathe is a function of the engine’s ability to breathe.
With this knowledge…let’s check your understanding. Answer this question: Will a Jetprop cruise faster in the summer or winter? Remember, cold air is more dense than warm air, and an engine will develop power according to it’s ability to suck in air. More air available, more power available. Answer: Winter.
A good analogy: I’m a Cross-fitter (meaning I do crossfit workouts a lot). In the gym we have various workouts that test a person’s ability to perform. Guess who usually does the best? Right…the guy who can breathe the best. A person is nothing more than an engine…we intake air and combine it fuel and burn it to develop energy. In Crossfit, the person with the biggest engine (muscles that can develop power) that can sustain power (good aerobic capability) will win almost every time. The only variables then are genetics (how well-made is the engine), flexibility (you’ve got to be able to get into the position), and skills (there are more efficient movements). A good Crossfitter will work hard on mobility, skill, and try to increase the bodies ability to increase capacity through a tough workout.
To get maximum performance, the pilot cannot change the engines skill or mobility (at least not without an engine change!), but a thorough understanding of the how the engine breathes will help him/her use the power that is available to the fullest.
Joe Casey’s aviation story began in 1990 with his first flight near Nacogdoches, TX in a Cessna 172. From lift-off, Joe knew he would have a lifetime passion flying just about anything that will leave the ground…He was completely hooked.
Along with being an FAA Designated Pilot Examiner (DPE), Joe is an ATP/CFI-AHMG and Commercial Rotorcraft/Glider Pilot in the civilian world and also a UH-60/AH-64 Pilot-in-Command/Instructor/Examiner Pilot in the US Army Reserves. His passion for the last 19 years, however, has been the PA-46 Malibu/Mirage/Matrix/Jetprop/Meridian. Has has amassed over 6,500 hours in various PA-46 airframes and believe it to be one of the finest flying machines available for the serious cross-country pilot with an eye for efficiency.
Now, Joe has flown more than 12,200 hours in just about every imaginable environment. Whether providing initial/recurrent training in the PA-46’s, TBM’s, instructing in NVG’s in a UH-60 Blackhawk, flying the King Air series of airplanes, giving tailwheel endorsements, or taking kids flying for the first time, he simply loves flying machines and the people who fly them.