The Anatomy of a Hot Start

Are you one of those pilots who hates fuel stops simply for the fact that the engine doesn’t have time to cool off?  You pump gas into the plane, hit the bathroom, get in the plane and the oil temperature is still up at 160-170 degrees, leading you to have to figure out how to get the plane going again with a hot engine.  For those without proper training, this usually means a lot of jockeying around with the throttle, mixture, and fuel pump to try and get the thing started without flooding it.  After coughing and wheezing several times, the engine finally comes to life, leaving you to only guess what worked and without the knowledge of how to duplicate it.

Hot Start 2

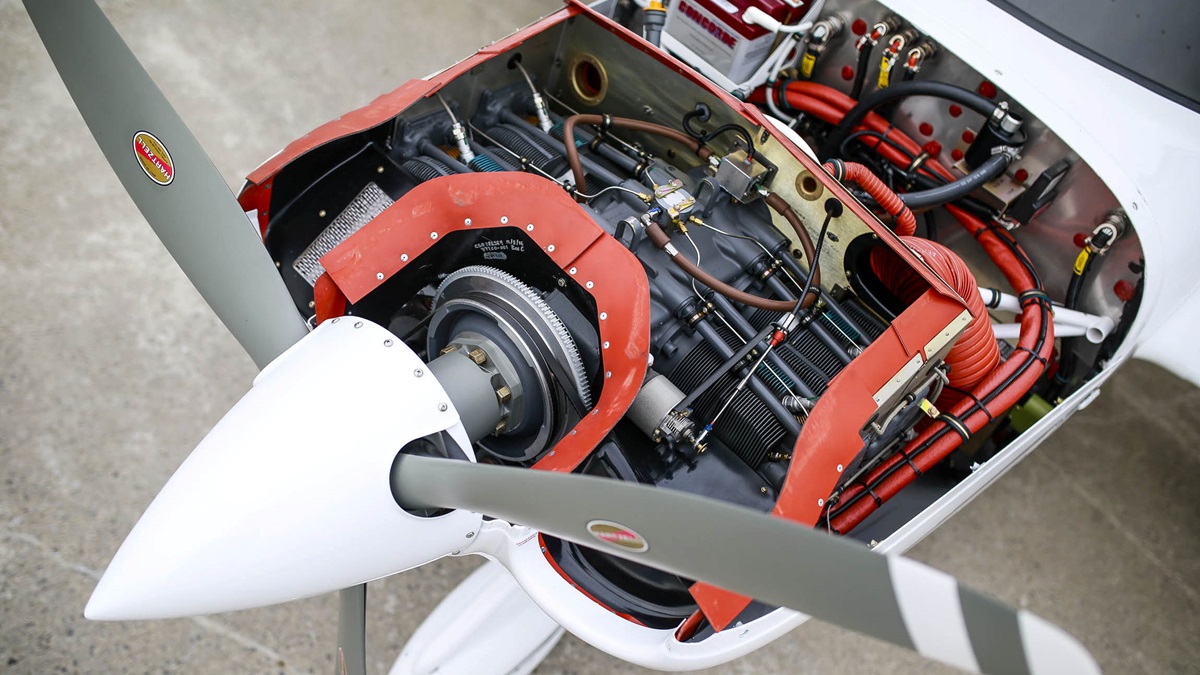
Let’s take a step back for a minute to see what is actually happening with a hot engine.  Once the engine is shut off, the fuel in the lines leading from the tank to the engine is vaporized, meaning there is more air in the fuel lines than liquid fuel.  In the engine block itself, there is still liquid fuel in the injectors, but only enough for the engine to cough then quit if started.

When a normal priming and starting procedure is performed, too much fuel is forced into the cylinders and the engine becomes flooded.  A flooded engine just means that the stoichiometric ratio is way too rich, meaning there is too much fuel and not enough air.  The prime does the trick of getting the fuel vapor out of the fuel lines, but it shoves too much fuel into the cylinders.  Once the engine is flooded, it’s a waiting game to allow air into the engine to get the mixture right.  All Lycoming powered high performance and turbo charged engines are notoriously easy to flood when hot.

So, what’s the solution?  By taking a step back to see what is actually happening, you can attack the problem from the source, which is the fuel lines.  You need to get the vapor out of the fuel lines and get some liquid fuel in there.  The procedure for this varies based on the make and model of engine, but I’m going to use the example of the Continental IO-550-N that is in a Cirrus SR22.  I found this procedure in the Continental Engine Manual and it works every time.

(Pilots of other airplanes, keep reading.  I have sections below for PA46s, Columbias, and Bonanzas as well )

  • Mixture:  Full Lean (this allows fuel in the fuel lines, but prevents it from going past the mixture control into the engine, sending all fuel back to the fuel tank; a small amount of fuel leaks past the mixture control providing prime for the engine)
  • Throttle:  Idle
  • Low Boost Pump:  Run for 30-60 seconds (see note below)  (15 seconds in the Turbo Cirrus)
  • Mixture:  Full Rich
  • Throttle:  Open about 1/4 travel (not 1/4″, that won’t be enough)
  • Boost Pump:  Off, but have your finger on Low Boost
  • Starter:  Crank (engine will turn over a few more times before firing, this is normal)
  • At the first indication of start, turn the Low Boost on, increase the throttle to ensure the engine catches,  then adjust the throttle for 1,000 RPM
    • The engine will fire right about the time you start thinking it isn’t going to work

A few notes regarding engine temperatures:

  • If the oil temperature is above 150 degrees, a hot start will be required.  If oil temp is close to 200 degrees, run low boost for 60 seconds in a non-turbo.  If oil temp is 175, run low boost for 45 seconds in a non-turbo.  If oil temp is 150, run low boost for 30 seconds in a non-turbo.  Use 15 seconds for all temps above 150 in a Cirrus Turbo.
  • If the oil temperature is between 125-150, skip the hot start procedure, don’t prime the engine, leave the boost pump off, and crank the engine, then boost pump on when it starts and slightly increase throttle to make sure the engine catches
  • If the oil temperature is between 100-125, skip the hot start, don’t prime the engine, and perform a normal start with the boost pump on
  • If the oil temperature is below 100, perform a normal prime and start

Piper Malibu (PA46-310P with Continental Engine)
  • Mixture:  Full Lean (this allows fuel in the fuel lines, but prevents it from going past the mixture control into the engine, sending all fuel back to the fuel tank; a small amount of fuel leaks past the mixture control providing prime for the engine)
  • Throttle:  Idle
  • Low Boost Pump:  Run for 15-30 seconds depending on oil temperature…
    • Greater than 150 degrees: 30 seconds
    • Less than 125-150 degrees:  15 seconds
    • Less than 100-125 degrees, no need to run the Low Boost
    • Perform normal cold start below 100 degrees
  • Mixture:  Full Rich
  • Throttle:  Open about 1/4 travel (not 1/4″, that won’t be enough)
  • Boost Pump:  Off, but have your finger on the Primer Button
  • Magnetos:  On
  • Starter:  Crank (engine will turn over a few more times before firing, this is normal)
  • Engine should fire with the Low Boost Pump off, but…
    • If the engine starts to die, simultaneously increase the throttle a little bit and hit the primer button.
    • Only tap the primer button, don’t hold it as you’ll flood the engine if you hold it At the first indication of start, turn the Low Boost on, increase the throttle to ensure the engine catches,  then adjust the throttle for 1,000 RPM

Piper Mirage & Matrix (PA46-350P and PA46-350T with Lycoming Engine)
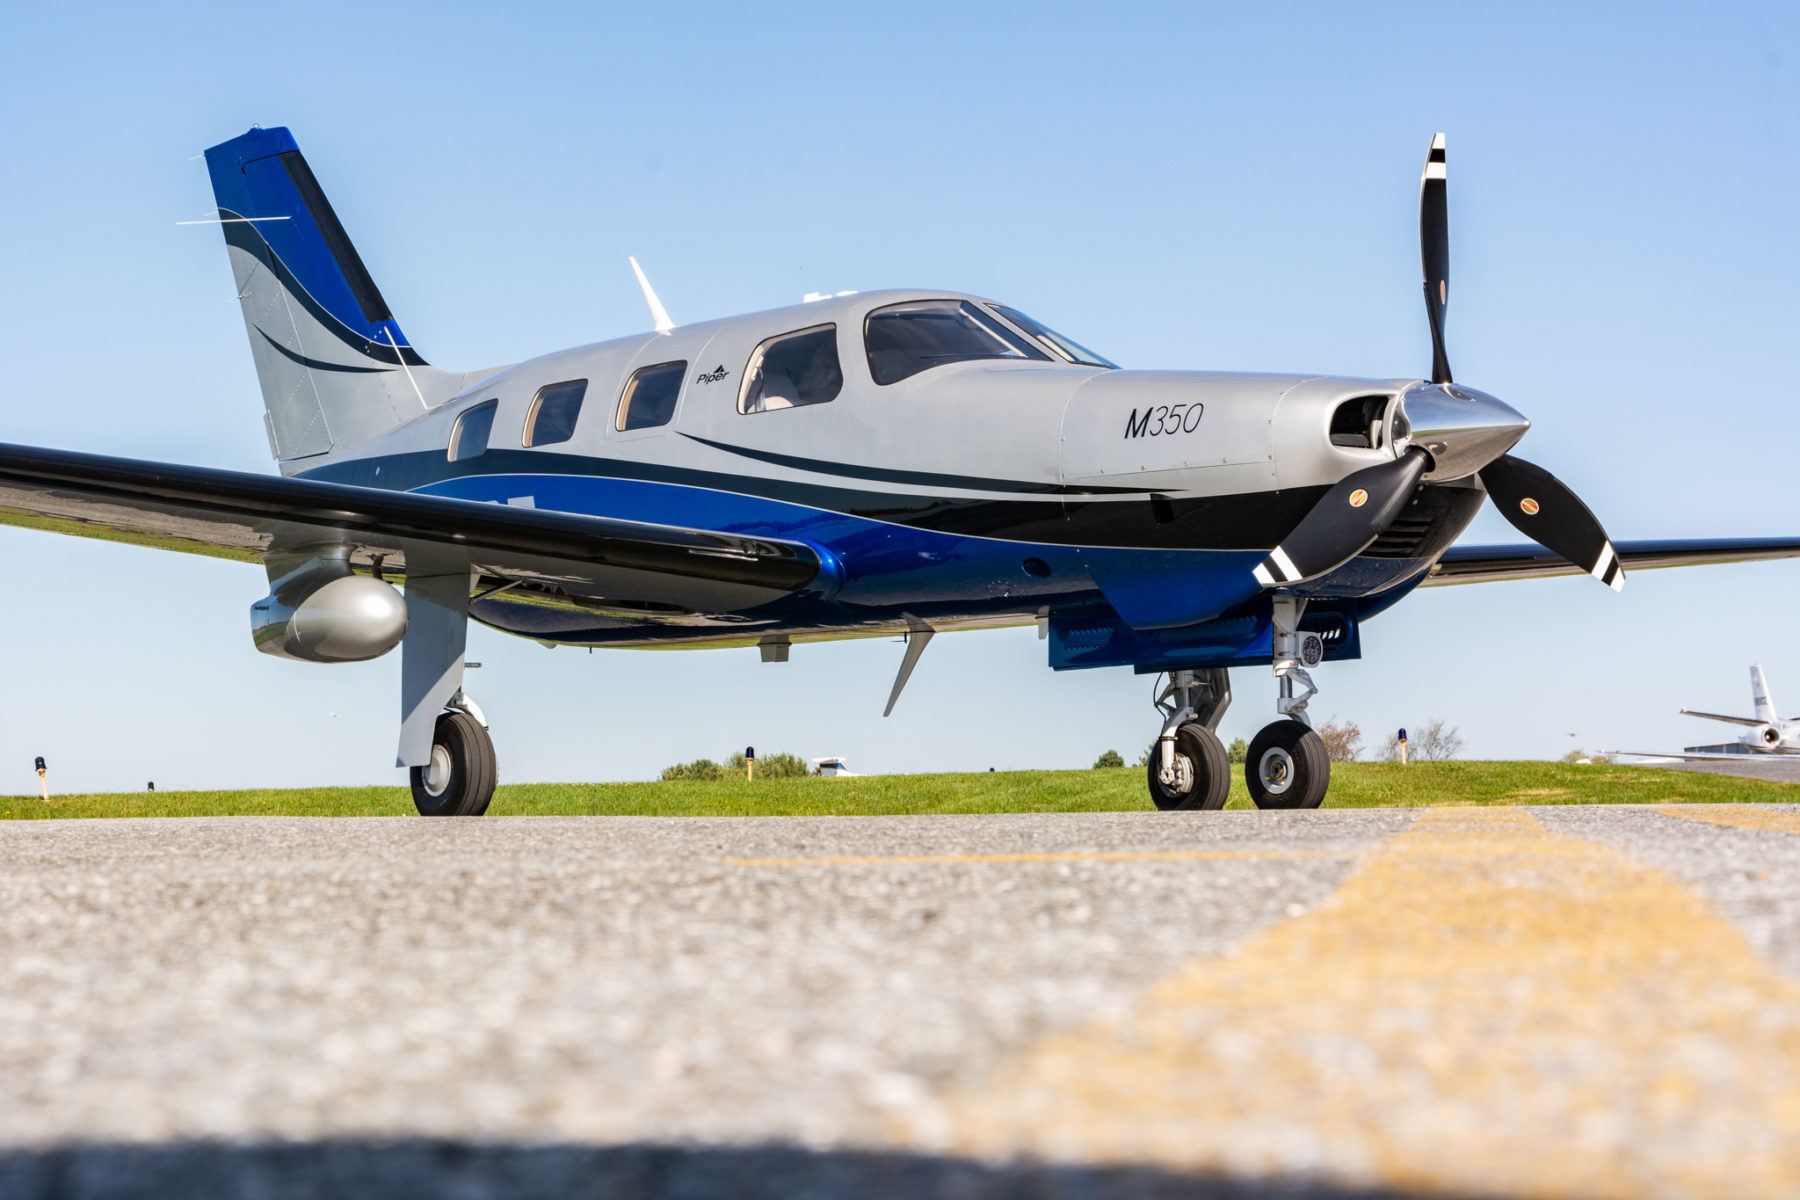
  • Leave throttle and mixture idle
    • Before you turn the battery on, ensure the mixture is idle cutoff
    • If the mixture is forward and the battery is on, the low boost pump in the fuel tank will start pumping fuel to the engine and quickly flood it
  • Ensure Magneto switches are on
  • Open throttle 1/4 travel (not 1/4″ as this won’t be enough)
  • Crank
  • As soon as the engine begins coughing and wheezing (and this is what it will sound like), push the mixture 3/4 of the way forward
  • Once the engine has a good solid fire, smoothly and swiftly push the mixture all the way forward
  • Reduce throttle
  • Note:  The Emergency Boost Pump can be used as part of the hot start technique, but I usually leave it off.
    • Pro to the Emergency Boost Pump is it can help suck more fuel in and purge vapor during the start
    • Con is that if the engine doesn’t start on the first try, you are flooding your motor

Columbia 400
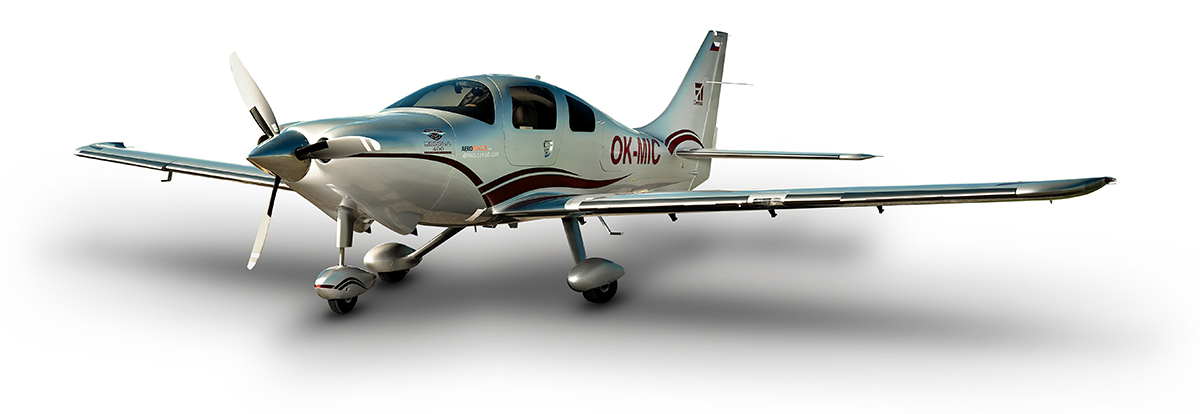
  • Throttle and Mixture Idle Cutoff
  • Vapor Suppression:  Run for 30-60 seconds.  Reference above temperatures on the non-turbo Cirrus for run times
  • Mixture full forward
  • Throttle 1″ in
  • Prime for 3 seconds, then off
  • Crank
  • Once engine fires, primer might need to be pushed momentarily to purge excess vapor
    • On Columbia 350s, the throttle should be twisted (or pushed depending on if it’s an Avidyne or Garmin Columbia) in while cranking
    • Be prepared to reduce power once engine fires

Beechcraft 36 Bonanza
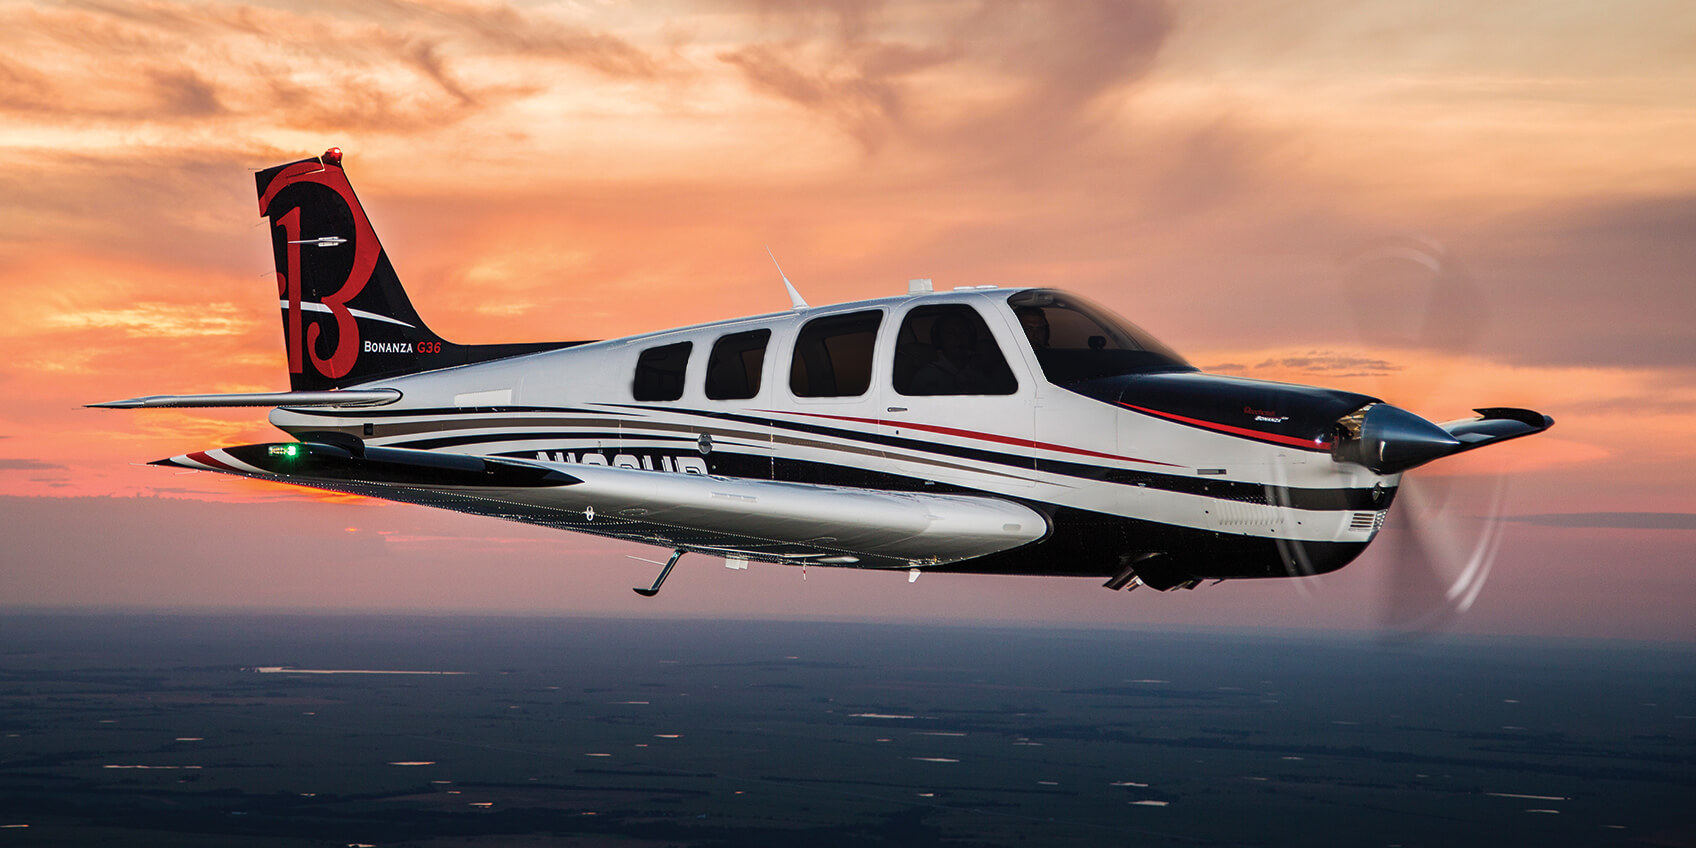
  • Throttle and Mixture Idle Cutoff
  • Low Boost:  Run for 30-60 seconds.  Reference above temperatures on the non-turbo Cirrus for run times
  • Mixture full forward
  • Throttle open 1″
  • High Boost until fuel flow peaks, then off
  • Crank
  • Once engine fires, Low Boost might need to be engaged momentarily to purge excess vapor

There are other “procedures” for hot starting out there, but most of them involve starting with full throttle, which can lead to the airplane shooting ahead on a ramp or taxi way if the brakes aren’t properly set.  This can lead to high repair costs, so always be cautious.  Figuring out what is happening when the engine is hot will give you a better chance of getting it started right away.

Similar Posts

  • Cirrus Announces The New Cirrus G6 SR20 & SR22

    Earlier this month, Cirrus announced the new Cirrus G6 SR20 and SR22.  To the naked eye, they look like incredible airplanes.  There is new lighting and the updated Cirrus Perspective+ avionics in both models, plus the SR20 is now a Lycoming powered airplane.

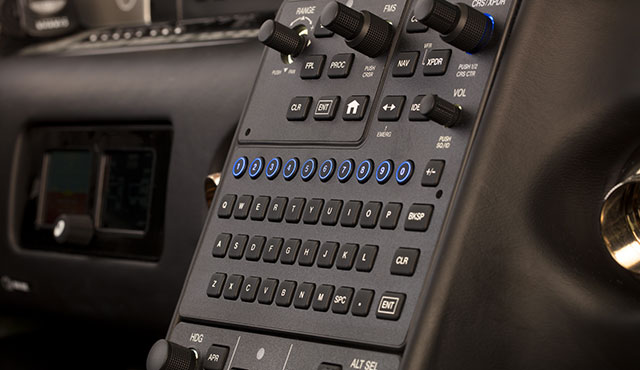
    The Perspective+ in the Cirrus G6 is based on Garmin’s G1000 NXi platform.  The keypad is updated to a QWERTY keypad, allowing for quicker inputting of data since our fingers are already used to the setup.  A home button was added to the center stack to get back to the map page without having to hold down the CLR key.  The bug knobs were moved down to the autopilot, while the display of the GFC 700 was altered slightly to match the Vision Jet setup.

    Cirrus G6 Perspective+

    The Perspective+ also boasts a 10-fold increase in processor speed, allowing the system to move quicker than the standard Perspective.  The ability to wirelessly update databases has also been included.

    The exterior of the Cirrus G6 SR22 and SR20 models has changed as well.  Cirrus has added the Spectra wing tip lighting system to the Cirrus G6.  It incorporates an entire light panel that runs the length of the wing tip.  The LED dual strobe setup helps with aircraft visibility and ramp appeal.

    Cirrus G6

    The SR20 engine has been changed to the Lycoming IO-390, 215 HP engine.  The Continental IO-360-ES 6 cylinder engine comes out of the SR20 and the 4 cylinder Lycoming goes in.  2 less cylinders will help with useful load and the extra 15 HP will help with takeoff and climb performance.

    SR20 Lycoming

    The new Cirrus G6 is available for order and delivery immediately.  To read all the details and specs on the Cirrus G6, you can check out Cirrus’ website.

  • AOPA’s Year In Review

    AOPA recapped the year in the general aviation industry recently.  A lot happened in 2016 including the certification of both the Cirrus Vision Jet and the Honda Jet.  Several other manufacturers debuted new models, including Mooney with their Ovation Ultra and it’s 2 doors and Cub Crafters with their faster XCub.

    To read the full year in review, you can read the AOPA Article here.

    trio-of-hondajets


  • MMOPA Safety Stand Down Rescheduled for Online

    April 18th, 2020 was supposed to mark the MMOPA Spring Safety Stand Down, an event held around the country for PA46 owners which counted toward the Master Aviator program. Sadly, due to the COVID-19 repercussions, the in person event had to be canceled.

    Thankfully, due to modern technology, the event has been rescheduled to a nationwide webcast. The date for the Online MMOPA Safety Standdown in Saturday, August 8th. Joe Casey and Travis Holland will be hosting the MMOPA Safety Standdown.

    The cost is free. To register, please click here.

  • Picking Up an IFR Clearance

    Picking up an IFR clearance at first can seem very simple.  But, when taking off from an untowered field, especially if a pilot is based at a towered airport, it can be a little more complex.  Based at an untowered field?  The towered procedures are a little more streamlined, but still different.

    Towered Airports

    Class B or Class C

    At Class B or Class C airports, there is a dedicated frequency to get an IFR clearance and VFR departure instructions called Clearance Delivery.  It is published in the airport facilities directory as well as most approach plates.  Before you call Clearance Delivery, get the ATIS and tell the controller you have it as well as where you are located on the airport.

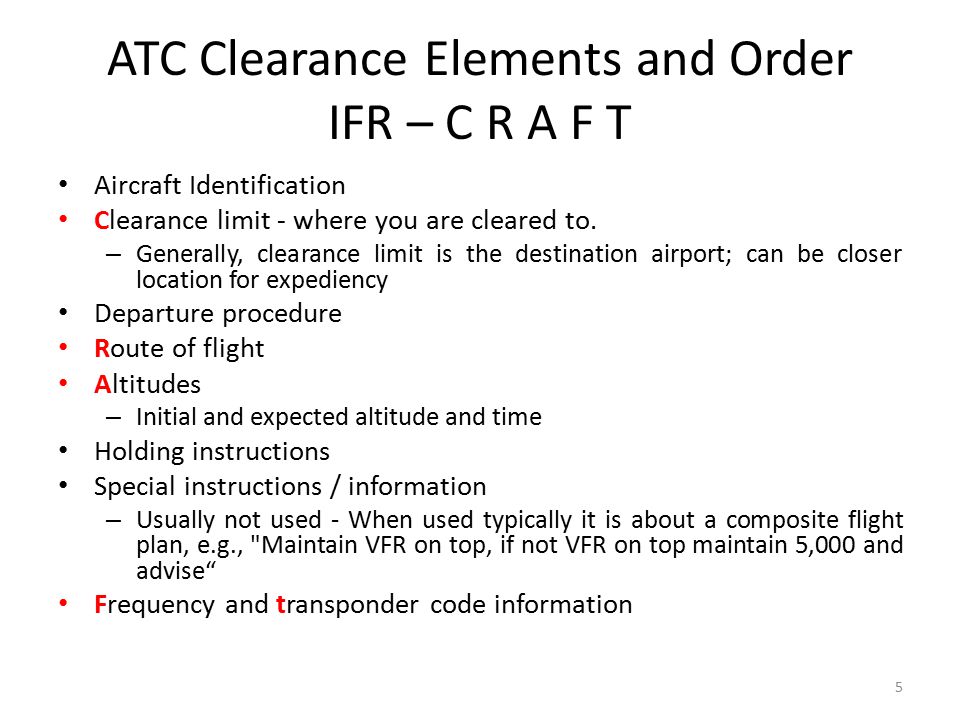
    CRAFT

    Class D

    Some Class D airports have a Clearance Delivery frequency (see KADS, Addison, TX), but for the most part, you’ll get your IFR clearance on the Ground frequency.  If there is a dedicated Clearance Delivery frequency, the ATIS will specify whether or not to get your clearance on it or on ground control.

    Class D towers are only part time towers, usually closing between 7pm and 10pm local time, depending on how busy the airspace is.  These airports usually have published Clearance Delivery frequencies to contact either the local approach control or center to pick up an IFR clearance on the ground.  They will be published on approach plates and in the A/FD.

    Untowered Airports

    Class E

    There are a number of Class E airports that are Class E all the way down to the surface (see KLFK, Angelina County).  At these airports, there will either be a Clearance Delivery frequency or you call on the Center or Approach frequency to get your clearance (at KLFK, you call Center as there is no Clearance Delivery frequency.  At Temple, KTPL, there is a published Clearance Delivery frequency which you would be talking to Grey Approach).

    Class G

    There are two ways to pick up an IFR clearance at a Class G airport, one typically a little safer than the other.

    The first option is to take off and maintain VFR while calling Center or Approach control.  They will give you your clearance making you IFR and allowing you to enter the clouds.  This option can be unsafe depending on the terrain surrounding the airport and how low the ceiling is.  If the ceiling is overcast at 1,000, you can legally remain VFR in Class G airspace at 500 AGL, but that isn’t the safest option and you might not be able to raise ATC at that altitude.

    The second, and safer option, is to call on the phone.  Flight Service has a nationwide Clearance Delivery phone number that every pilot should have saved in their contacts (888-766-8267).  Typically, you want to wait to call them until after you are done with your runup because they only give you a five or ten minute window to get off the ground.  With bluetooth equipped headsets, this usually isn’t a problem.

    Be prepared when calling Clearance Delivery on the phone to wait a few minutes.  Us pilots aren’t good at being patient sometimes, but the FSS has to call Center on the phone to get your clearance and release and this can take a few minutes.  Be prepared for that going in and just be patient.  Remember, this is the safer option!

    There are a handful of Class G airports around the US that have a GCO, a Ground Communications Outlet. With a GCO, you tune up the frequency, then click the mic 4 times to talk to ATC or 6 times to talk to FSS.  Each mic click must be at least one second, so if you click the mic too quickly, it won’t work.

    At certain airports that are underlying an approach control’s airspace, you can actually call the TRACON directly and get your clearance from them (5C1, the Boerne Stage Airport, for example.  San Antonio approach is the controlling agency and you can call them directly to pick up your clearance).  It’s a good practice to get the TRACON phone number and save that in your contacts as well.

  • BendixKing Throws It’s Hat in the Glass Panel Ring

    Two pilots walk into an FBO.  “Nice airplane,” Pilot 1 says to Pilot 2.  “What kind of panel do you have in it?”

    “I just went all glass,” Pilot 2 says.  “Put in the Garmin G500 TXi, a GTN 750, and upgraded to the GFC 600 Autopilot.  Even put in the Mid-Continent standby instruments.  It’s a pretty sweet set up.  What about you?”

    “Wow, sounds like it!” Pilot 1 responds.  “I went a different route.  I liked all my old BendixKing instruments, so I stuck with the company.  I put in a BendixKing AeroVue Touch panel, a BendixKing KSN 770 touch screen GPS, kept my KFC 225 autopilot, got the ADS-B out compliant BendixKing KT 74 transponder, and finished it off with a King AeroFlight KI 300 Digital Backup instrument.”

    Wait, what?  BendixKing?

    Yes, my friends, BendixKing is still around.

    We are all used to the latest and greatest Garmin products these days.  Don’t get me wrong, Garmin and Aspen make great retro-fit products for your instrument panel, while Garmin and Avidyne are at the top of the touch-screen GPS market, but don’t forget about BendixKing.  They are staying in the game too.

    BendixKing announced in April the xVue Touch for experimental aircraft, with the STC for the AeroVue Touch for certified aircraft coming later this summer.  The xVue and AeroVue touch are pretty nifty units, comparable in features to what Garmin is doing with the G500 TXi and G600 TXi.  It will be difficult to claw back into a competitive market share with Garmin, but BendixKing might find a niche market of followers.

    Let’s take a look at the unit.

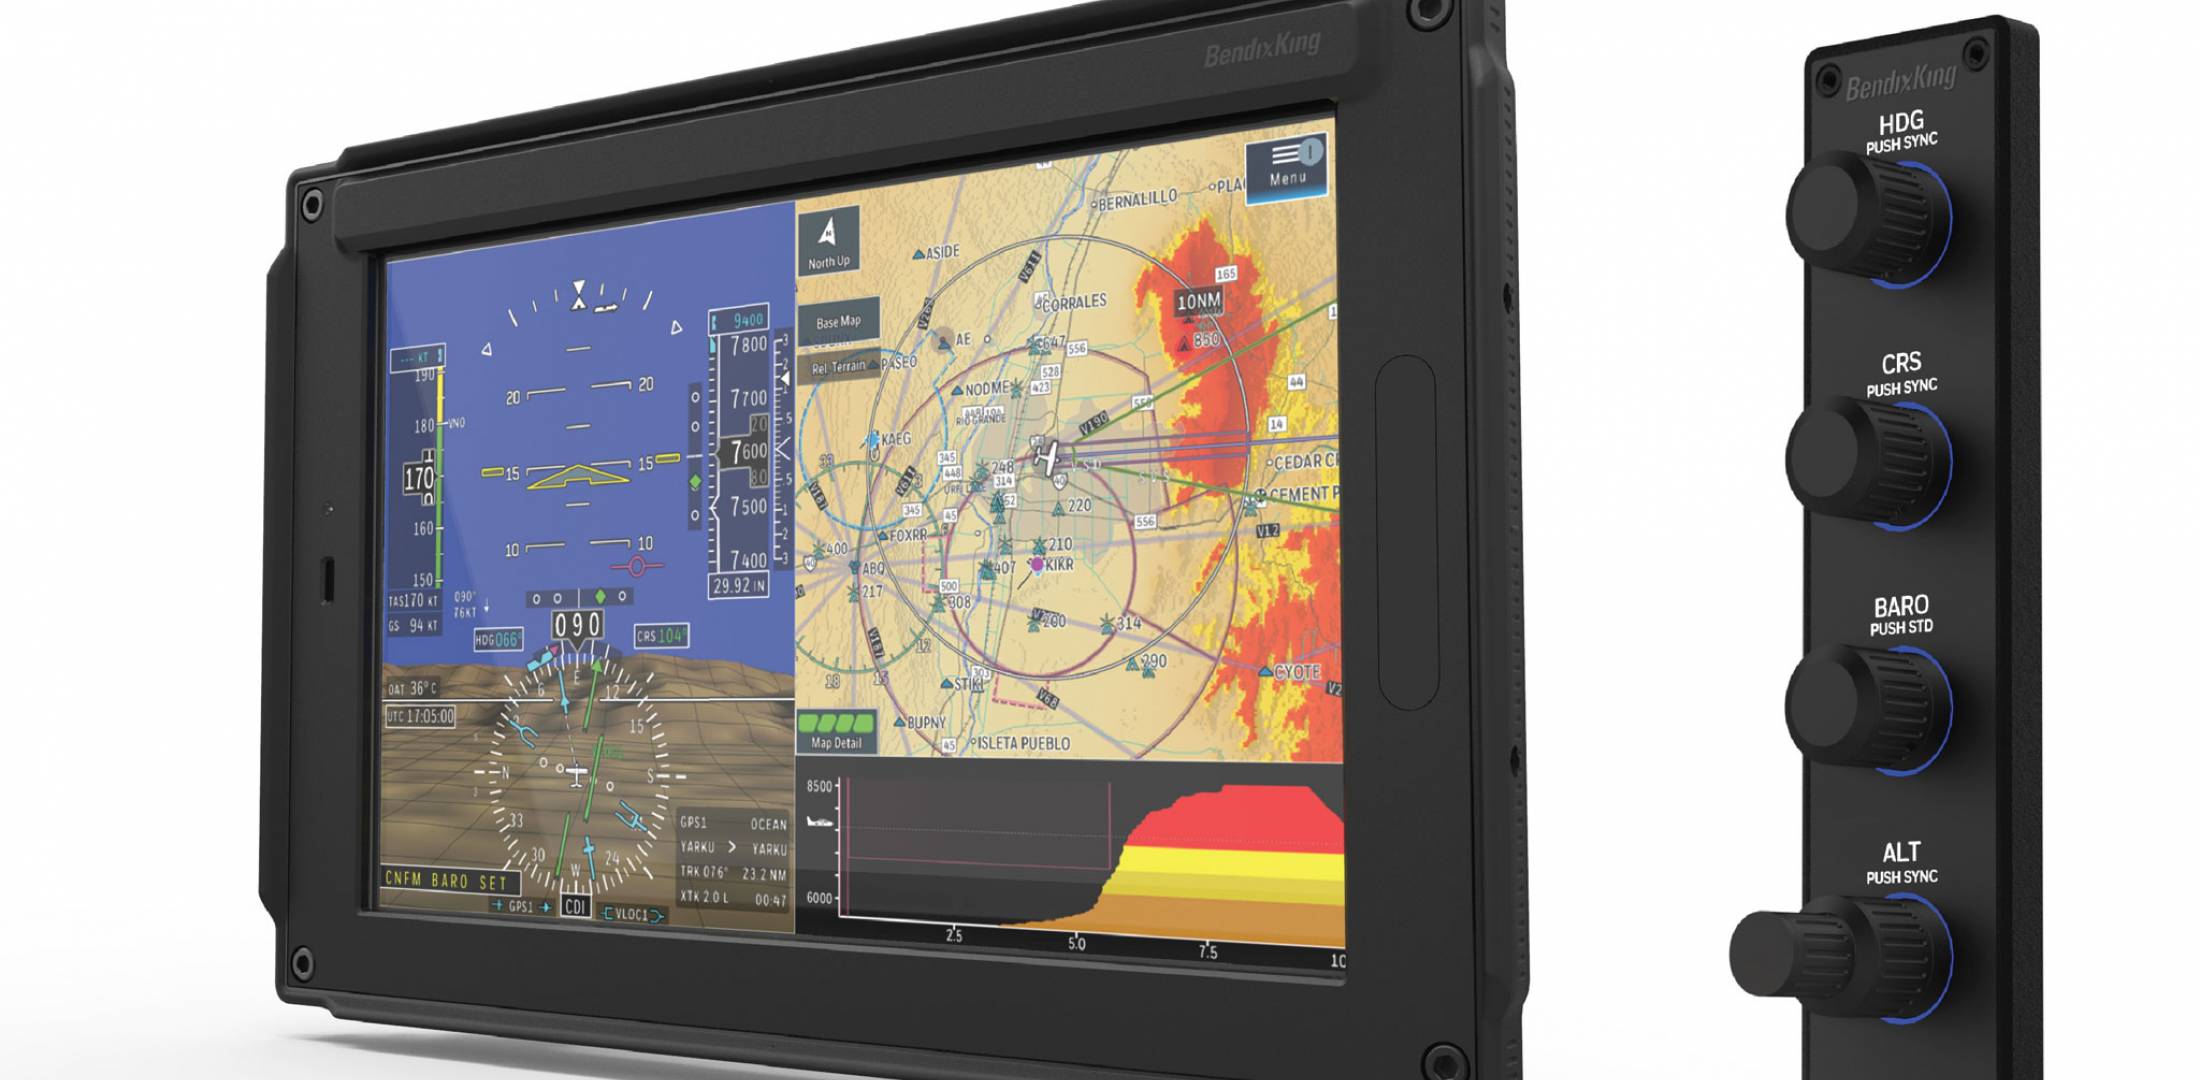
    BendixKing AeroVue Touch

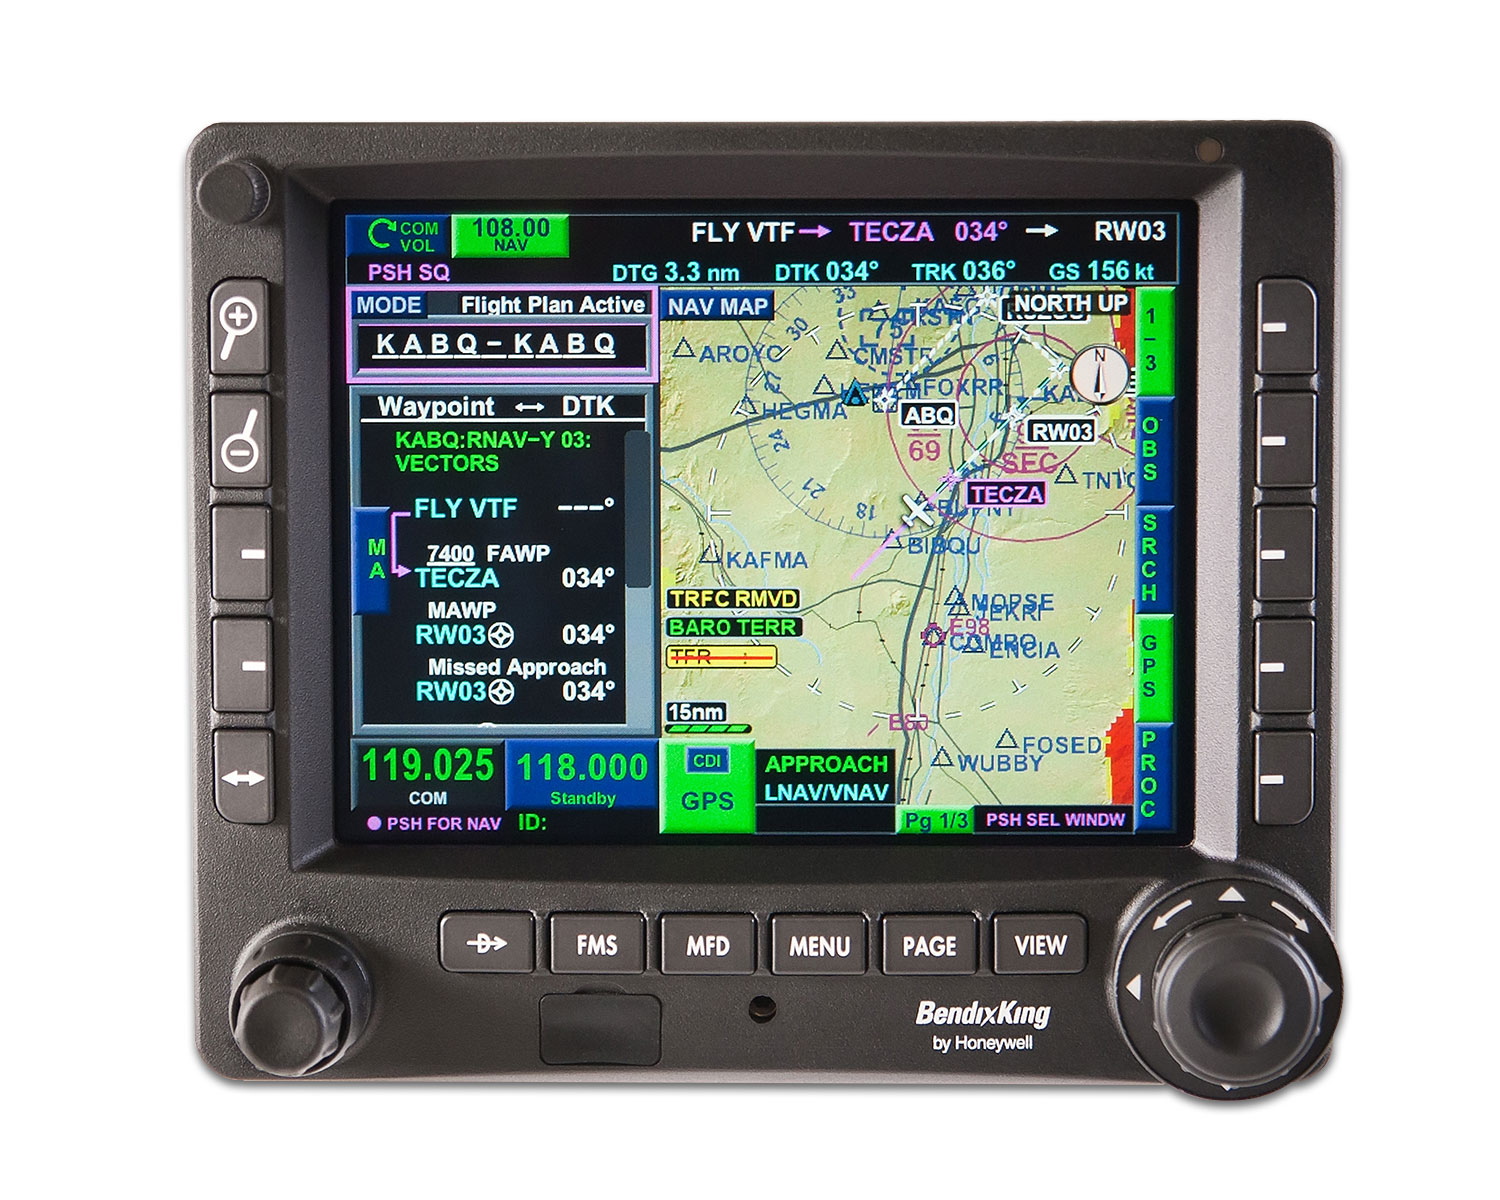
    Now, I have not used the BendixKing AeroVue Touch or the xVue Touch, only read about them.  But, what I’ve read sounds pretty cool.  The display has really good resolution (BendixKing brags it is the highest screen resolution available), synthetic vision that comes standard (Garmin & Aspen charge extra for synthetic vision), plus VFR Sectional Charts & IFR High and Low Enroute charts, making paper charts even more obsolete.

    The display is 10.1 inches and can be easily swapped between a full screen instrument mode or a split screen setup as seen above.  Apparently, BendixKing has 3-D moving maps available on the AeroVue Touch too, which is standard.

    The one thing Garmin has on the BendixKing AeroVue Touch right now is engine information.  The G500TXi has a full complement of engine gauges available; the AeroVue Touch doesn’t, yet.  BendixKing says it’s in the works, as well as radio information and autopilot control.  I’m assuming the future autopilot control software would mean you could remotely mount an autopilot controller and input all functions from the AeroVue Touch display.  The nice thing about these future upgrades is all the software updates are free through BendixKing.

    The sticker price for the forthcoming unit is going to be about $12,600.  Garmin’s 10.5 inch G500 TXi is $16,000, while Aspen doesn’t offer anything quite that big.

    BendixKing KSN 770

    I’ve been keeping my eye on the BendixKing KSN 770 Touchscreen WAAS GPS for a few years now.  It never really has caught on quite like the Garmin GTN 750 or the Avidyne IFD 540.  BendixKing took the same route that Avidyne did in creating a hybrid touch GPS (or mini-MFD if you want to look at it that way) where a pilot can perform functions either using the touch screen or utilizing soft keys on the edges.  I like the hybrid touch approach as I have been bounced around in turbulence while trying to tap something into a Garmin GTN 750 and it can prove difficult.

    Similar to the AeroVue Touch, BendixKing utilized split screen technology in the KSN 770.  It’s a full WAAS unit that is already certified.  It’s sticker price is $14,200, compared to the Garmin GTN 750 at $17,200 and the Avidyne IFD 540 at $15,000.

    Other BendixKing Gadgets

    Here are some other BendixKing Gadgets both available now and in the works:

  • The RDD LX7

    Have a Lancair IV-P?

    Want to make it better than a Cirrus or a Cessna TTx?

    Meet the team at RDD creating the LX7.  Just make sure you are sitting down as you are about to be blown away.

    RDD (Research. Design. Development) is a professional building company for the Lancair line of experimental aircraft (Lancair unveiled the Mako at Osh Kosh this summer, which performs slightly less than the advertised values of the LX7, but is available as a new kit).  For those unfamiliar with the experimental world, when an experimental kit is bought, the owner/builder can build the entire aircraft himself, partially build it then send it to a completion center, or have a professional build company put it together.  This last option is what RDD did with Lancair aircraft before Lancair moved from Oregon to Uvalde, TX.

    Once Lancair was sold, RDD started thinking on how to make the IV-P better.  Boy, did they.  What resulted is the LX7.

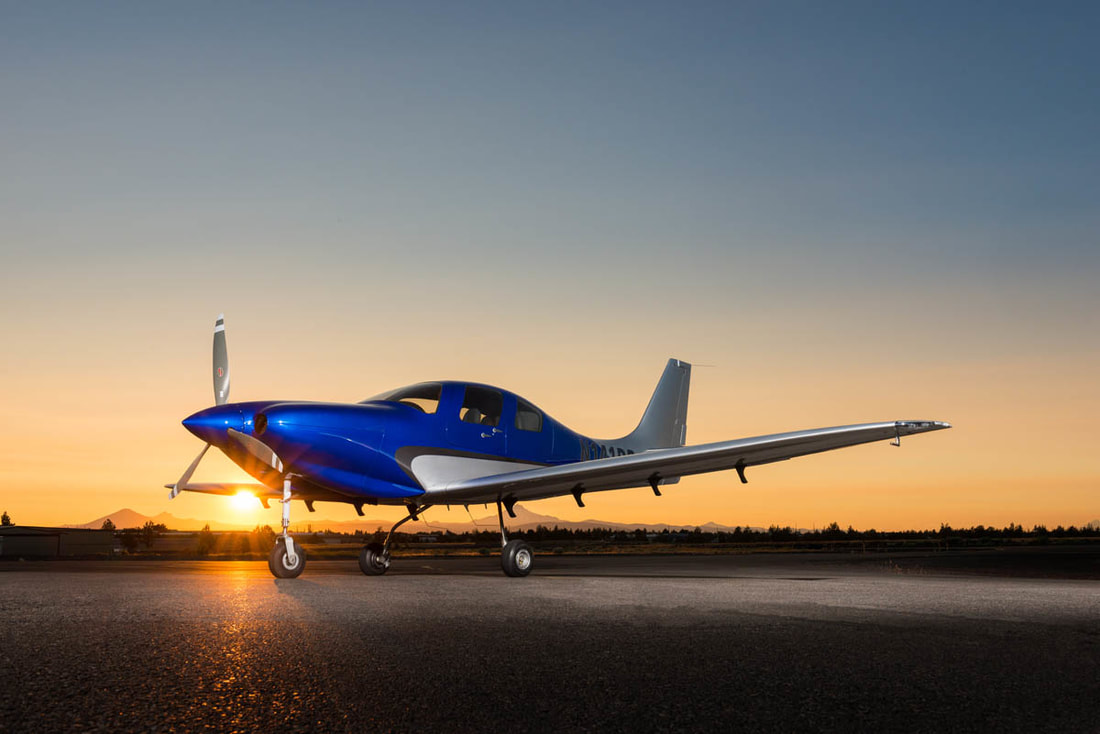
    The LX7 is a retractable gear, single engine piston, pressurized aircraft that sits 4.  See it on the ramp and it looks like a Lancair or a Columbia.  Sit in the cockpit and you’ll know something is different.

    Starting with the power plant, RDD put a Continental TSIO 550-E engine in the IV-P airframe, giving the airplane 350 HP.  They redesigned the wing to hold 180 gallons of usable fuel and a much better stalling envelope (anyone who has looked at a Lancair IV or IV-P wing knows that there isn’t much wiggle room with angle of attack on those airplanes), lowering the stall speed to 62 knots dirty.

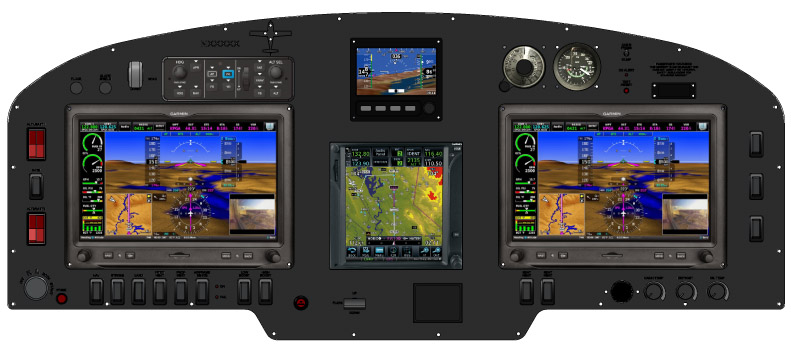
    The cabin is roomier and the panel is beautiful.  Equipped with 2 or 3 Garmin G3X Touch panels (the experimental equivalent of the G2000), plus a GTN 750 and a fully digital backup flight instrument from Grand Rapids, plus ESP technology built in to the autopilot, this plane seems like a pilot’s dream.

    I haven’t even gotten to the best part:  the speed.  Being pressurized, the LX7 has a 25,000 foot service ceiling where it can achieve cruise speeds of 260 knots at best power (24 GPH) and 250 knots at best economy (18 GPH).

    Yes, I did just say 250 knots at 18 GPH in a single engine piston.

    With 180 gallons of fuel.

    Make sure you bring a Travel John.

    Worried about an experimental?  The airframe is equipped with a full BRS system similar to the Cirrus SR22, keeping everyone safe and sound.

    There is one flying LX7 currently and RDD is working on 3 more.  The price tag for the full conversion is $550,000.  The kicker is, the owner has to provide the Lancair IV-P airframe.  There are currently 10 Lancair IV-Ps for sale on Controller, varying in price from $200,000-$400,000, bringing the total price of the project to $750,000-$950,000.  Owners who already have a IV-P or a IV-P kit can send it on over to RDD to get started on their project.

2 Comments

  1. Used the hot start procedure and the ‘warm start’ procedure (oil temp 130 – 150) on my new SR20 and worked like a charm! Thanks so much for this excellent guidance. Explaining the science of it, as well as the temperature distinctions and modified procedures, helps to explain why my previous hot start attempts seemingly produced inconsistent results.

Leave a Reply

Your email address will not be published. Required fields are marked *