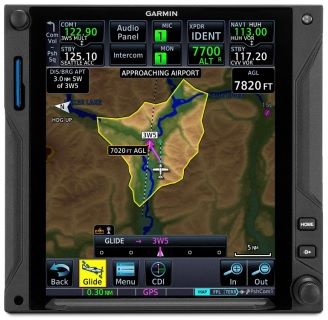
Garmin Perspective Missed Approaches

Are you a Cirrus pilot with a Garmin Perspective?  Still can’t figure out the use of the go around button?  Read on!

When it comes to flying an instrument approach, we as pilots are assuming we are going to land.  Most of the time, we won’t even take off if the ceilings or visibilities are below the minimums for an approach.  95% of the time, we do land.

There is the other 5% of the time when something unexpected happens, whether we get a full scale deflection, or we don’t see the runway at the published minimums, and we have to perform a missed approach.

When instructing, missed approach procedures are actually what I see the most deficiency in when instructing an instrument rated pilot.  It’s not necessarily configuring the airplane for a missed approach procedure, it’s the button pushing involved in setting up the GPS properly.  When a pilot isn’t proficient in the button pushing, that button pushing distracts the pilot from actually flying the airplane, which can lead to a dangerous situation.

I am going to spend a few articles on flying a missed approach with different GPS and different autopilot configurations.  Today, I will be addressing the Garmin Perspective with a GFC 700 Autopilot, which is what all Cirrus Aircraft after 2009 are equipped with.

The Garmin Perspective Missed Approach Procedure

Once the decision to execute a missed approach has been made, here is the step by step procedure:

  • Full Mixture and Full Throttle
  • Simultaneously push the Go Around button on the underside of the throttle.  This does the following:
    • Sets the Garmin Perspective Flight Director to Go Around Mode (7.5 degrees pitch up and wings level)
    • Takes the Garmin Perspective GPS out of Suspend Mode
    • Switches the CDI back to GPS mode if it is in a different mode
    • Garmin Perspective with GFC 700 Autopilot stays on
  • Flaps up
  • Confirm airplane is climbing
  • Set altitude bug for missed approach altitude (assuming it isn’t there already)
  • Set NAV mode and IAS mode on the Garmin Perspective GFC 700 Autopilot
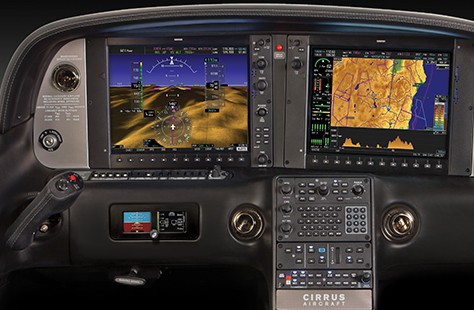
Garmin perspective

That’s it.  When Garmin and Cirrus got together to create the Garmin Perspective with the GFC 700 Autopilot, they tried to make as simple but robust system as possible.  Once you have the procedure down for the right buttons to press, then the procedure is relatively straight forward.

Similar Posts

  • MMOPA Safety Foundation Training Videos

    The Malibu and M-Class Owner’s and Pilot’s Association (MMOPA) announced new Safety Foundation Training videos in September. The videos are aimed at both new Piper PA46 pilots and existing Piper PA46 pilots, all in the effort to fly the Piper PA46 to the highest and safest standards.

    Six videos have been released thus far, with the promise of more to come. The topics of the first videos are:

    • Instrument Approach
    • Visual Approach
    • Manual Gear Extension
    • Emergency Descent
    • Descent Planning
    • Takeoff and Climb

    Eventually, the goal is to release high quality training videos encompassing all aspects of Piper PA46 flying.

    To view the videos, you will need an MMOPA membership. The link to the MMOPA Safety and Education Foundation video page is: https://www.mmopasafety.org/education/

  • Introducing…The Aviator’s Academy

    Imagine this …

    You have plans to fly to an airport 218 miles north for a business meeting. Your window is tight; you have an early morning meeting at your office you can’t miss prior to leaving for the airport. The colleagues you are flying to meet must catch another flight within two hours of your target arrival time. 

    You’re comfortable flying in the current weather conditions, but a small southward-moving storm north of your destination might threaten your approach. Additionally, given the time of day, you can expect ATC delays due to vectors and know you’ll have to adjust on the fly.

    Are you confident you can make the meeting in time?

    If the answer isn’t immediately clear, you’re not alone. Good aeronautical decision making is of utmost importance in the air. External pressures, unexpected challenges, and your level of instrument proficiency are among the many factors to consider when considering an IFR flight. 

    While we can’t remove the external pressures or control the weather, we CAN help with instrument proficiency!

    Introducing … The Aviator’s Academy – advanced online pilot training. 

    During my time training hundreds of capable and competent pilots at Texas Top Aviation, my most common observation with seasoned and rookie pilots alike is that the pilot is often aware of knowledge gaps with the airplane’s avionics after initial flight training or after upgrading to a more advanced airplane, but aren’t sure where to get answers.  Simply put – expert glass panel flight training is hard to find.

    They know enough to have earned their license, but still feel uneasy anticipating unexpected challenges. This leaves them feeling at best, uncomfortable, or worse, on edge and unsafe. When you’re not as proficient as you could be, an easy flight can become stressful quickly in unexpected scenarios, and things spiral from there. It doesn’t have to be this way.

    That’s why The Aviator’s Academy offers online courses with real-life scenarios using glass panel avionics. You’ll gain more confidence in the air and be equipped with better aeronautical decision-making skills after learning from the best in the business.

    We understand the pressures you face in the air. We get it because we have been providing expert, personalized, owner/pilot instruction since 2014 at Texas Top Aviation. With over 8000 hours of instruction given in Technically Advanced Aircraft and over 13,000 hours in total flight time, The Aviator’s Academy instructors are qualified to fly and instruct most single-engine aircraft to a level that far exceeds what a flight school can provide. Nowhere else can you get expert glass panel online instruction for Technically Advanced Aircraft.

    If you’re in need of an instrument proficiency check and fly a technically advanced aircraft with glass panel instruments, this is the place to get your ground school training. Conveniently online. Expertly taught. 

    Mastering your glass panel avionics isn’t impossible. You just need a guide. Enroll in the course you need to take your skill to the next level. You’ll receive expert, specialized online training. Then you’ll fly with confidence.

    LAUNCHING AT OSHKOSH! Visit www.aviatorsacademy.com and leave us your email to be notified when our first course drops. Come visit us at booth 3004 at Osh Kosh, July 25th-July 31st, 2022.

  • Pilatus Jet Nears Certification

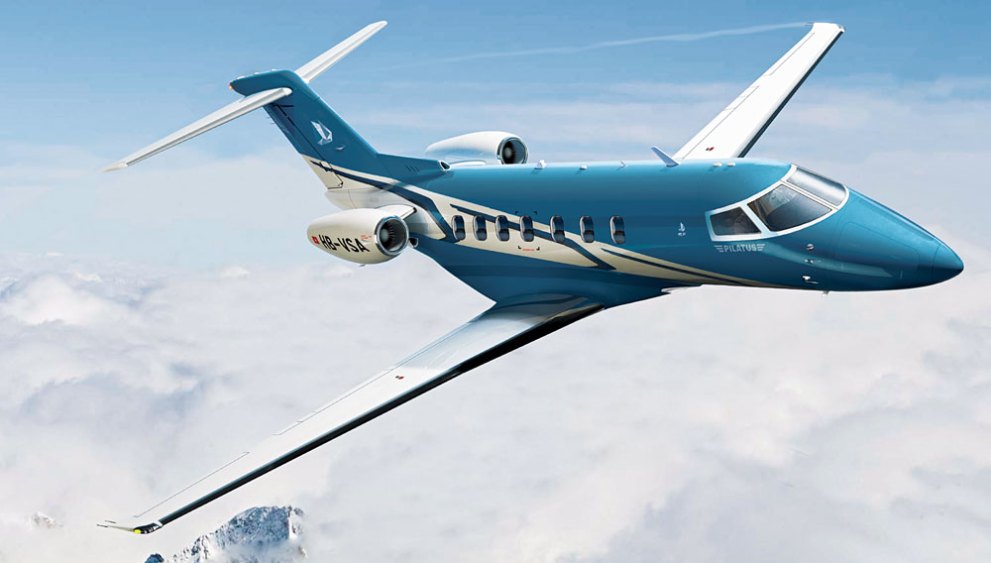
    The Pilatus Jet, the PC-24 Super Versatile Jet, is nearing certification.  Pilatus expects the Pilatus Jet to receive European and US certification by December.  The first delivery may even take place before the end of the year.

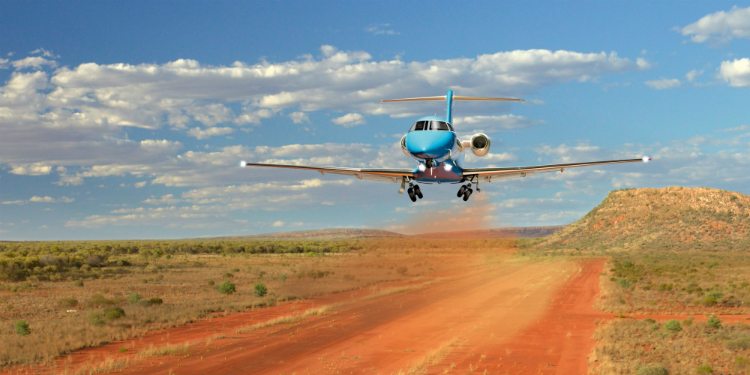
    In developing the PC-24 Pilatus Jet, Pilatus, based in Switzerland, has taken the same approach as they did with the PC-12, their insanely successful single engine turboprop.  Versatility is the key, with their mindset being to make the PC-24 Pilatus Jet the first flying Suburban jet.  Pilatus emphasized STOL  and unimproved strip operation in their design.

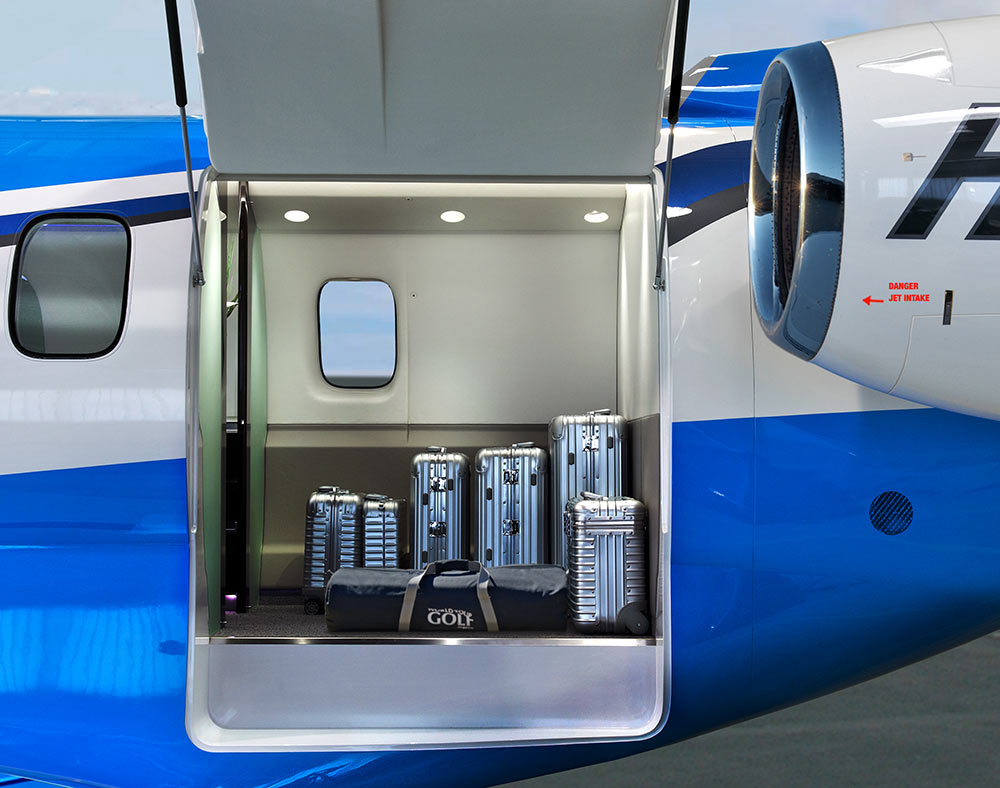
    The huge cargo door so familiar on the PC-12 has been crafted into the PC-24 Pilatus Jet giving access to a massive cargo area.  According to Pilatus’ website, the jet has a takeoff distance of only 2,690 feet, which is unheard of for a a business jet.  There is seating for 11 + a pilot (yep, it’s a single pilot airplane!), so the whole family can come along.  With a max cruise of 425 knots and a range of almost 2,000 miles, it’s a get somewhere airplane.

    The price tag for a new PC-24 Pilatus Jet will be $8.9 million, which is just under what a new Phenom 300 costs.  There is a 90 order wait list, so if you get on it now, you can get one faster than a Cirrus Vision Jet!

  • That Pesky Rudder

    Whenever I get in an airplane with a pilot for recurrent training, I can assure myself that I will mention rudder usage more than once during the flight.  If it is in a tailwheel (or if the pilot is doing tailwheel training), I’m going to mention the rudder a lot.  How do I know this?  Because basic rudder skills are actually one of the most difficult things to master in flying.

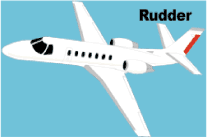
    Let’s start simple.  What does the rudder do?  The dictionary definition is it controls the movement about the vertical axis of the airplane.  If you stick a pole down through the CG of the airplane and rotate the airplane around that pole, this is the vertical axis.  Looking at it another way, the rudder moves the airplane’s nose left and right.  Keep this in mind as we move on.

    Rudder

    Every pilot thinks about the rudder during the takeoff roll.  Because of the torque effect, the pilot must add right rudder during the takeoff roll to stay on the runway centerline.  Depending on the airplane’s horsepower, more rudder pressure is needed in higher powered airplanes.  The problem usually shows up once the airplane gets in the air.

    In the worst situation, after takeoff, the pilot will set both feet on the floor and completely disregard the rudder.  Torque effect and now P-factor are continuing to cause the airplane to yaw left, causing the need for right rudder.  With his feet on the floor, though, the pilot is allowing the airplane to yaw.  It’s not terribly noticeable for him in the front seat, but the back seat passengers (especially in a six seat or larger airplane) are certainly feeling it.

    One particular problem spot on the climb is the climbing left turn.  In a climbing left turn, training says to add left rudder since it is a left turn (see below for the reasoning).  But, since the airplane is climbing and therefore experiencing left yawing tendencies due to the aforementioned effects, the pilot needs to continue pressing the right rudder, though the pressure won’t be as much as in a straight climb.  Watch the ball the next time you make a climbing left hand turn and it’ll make a believer out of you.

    I find only a handful of pilots are this egregious.  Most pilots have rudder problems in turns and in turbulence.  We’ll tackle turns first.  As we all learned when we first started flying, due to adverse yaw, a pilot must add rudder in the turn’s direction.  Again, this isn’t usually where the problem shows up.  During the rollout is the problem area.

    Let’s take a turn to the left.  The pilot rolls in, adding left rudder, arrives at his heading, then begins to roll out with the ailerons.  Left adverse yaw is now being experienced and right rudder is needed to smoothly transition back to level flight.  Need some visual assistance?  Watch the nose the next time you make a turn. If you are working the rudder properly, the nose will pivot on one point in the horizon.  If you aren’t using the rudder properly, the nose will draw a U shape on the horizon.  Try making some turns without rudder, see what it looks like, then use the rudder properly.  You’ll notice a big difference.

    Finally, let’s talk turbulence.  As we all know, turbulence in the hot summer afternoon is quite pronounced. When the airplane experiences a bump, it usually doesn’t bounce straight up in the air.  There is usually some kind of rolling motion involved.  As the pilot corrects this rolling motion by moving the ailerons, adverse yaw is experienced (just like rolling into and out of a turn that we talked about above), so rudder is needed.  There isn’t a need to stomp on the rudder or you’ll cause the airplane to severely yaw in the other direction, but rudder pressure is needed.

    Final approach is where this gets most pilots.  By controlling the nose and not allowing it to move around on final by using the rudder, this will make your approaches a little more stabilized leading to a more successful landing.

    Feeling lost when it comes to the rudder?  Ask your instructor the next time you go fly to do some rudder exercises.  Most instructors don’t emphasize these basic stick and rudder skills which leaves pilots lacking as they move on in their aviation lives.  So make it a point to do some basic rudder work the next time you fly with your instructor.

  • Garmin Smart Glide

    Recently, I was training a customer who had a brand new instrument panel installed in his TBM 700. The avionics shop that did the work (Abilene Aero, who I highly recommend for any panel installs, located at KABI) told us when we picked the plane up that the new Garmin GTN 750Xi had the most recent software update, which included the Garmin Smart Glide.

    I had never used the Garmin Smart Glide before, so I was eager to check it out during our training. When we got to engine failures, we pushed the Emergency button on the Home page of the GTN 750Xi, and then the magic happened.

    The plane was also equipped with a Garmin G600TXi PFD and the Garmin GFC 600 Autopilot. In order for Smart Glide to work, there has to be either a GTN 750Xi or GTN 650Xi installed, along with a G500TXi or G600TXi and a Garmin Autopilot. Garmin is working on getting the legacy G500 as well as the GI 275 and G5 to work with the above GPS units for Smart Glide as well.

    Here’s what happens. The plane loses it’s engine. The pilot’s workload and stress level suddenly goes way up. Trim the airplane for best glide, find the nearest airport, attempt restart. Do it quickly so you have time to focus on the glide. Oh yeah, squawk 7700 and declare your emergency. All the while plummeting toward the ground in a somewhat controlled crash. Yikes.

    Garmin Smart Glide takes over the flying part, allowing the pilot to handle the restart, while making it much easier to squawk, talk and plan the engine out landing. On the home page of the GTN 750Xi/650Xi, the pilot simply taps the Emergency icon on the bottom of the screen. The Autopilot comes on and goes into IAS mode and maintains best glide while descending. The GPS immediately analyzes the Glide Advisor, and turns to the nearest airport in the glide ring (if there is no airport within gliding distance, the GTN 750Xi advises the pilot). Then, the Autopilot flies directly to the Nearest airport, allowing the pilot the ability to take attempt a restart.

    Once it is determined that the engine won’t start, the Garmin Smart Glide has excellent situation awareness tools. On all screens, the pilot is constantly being advised of how high AGL the plane is currently, while advising also of how high AGL the plane will be over the airport that the glide is set up for. There is also a short cut on the screen to tap to squawk 7700 as well as runway length information at the airport.

    The Garmin Smart Glide Button wasn’t installed yet in the TBM, but that will make things even easier when it is (it will be certified in January). This is amazing technology that all Garmin GTN 750Xi pilots should have their software updated to. Remember, you have to have a Garmin Autopilot and a Garmin PFD for it all to work.

  • US Aircraft Expo Returns to Addison

    The 2022 Fly In Season kicks off March 4th-5th with the US Aircraft Expo at the Addison, TX Airport (KADS). Cutter Aviation at KADS will be the host for the event. All the major and minor aviation manufacturers will have static aircraft displays. Come see all the new Cirrus innovations, the Piper M600, and the Diamond DA62. All the latest and greatest technology will be available for your viewing enjoyment.

    If you are planning on flying in, the FBOs at ADS are Million Air and Atlantic.

    The event will run from 10am-3pm on both days, March 4th and March 5th.

    For more info, check out the US Aircraft Expo website.

    Don’t forget to check out other big fly in events in 2022: Sun N Fun, the Texas Top Aviation Fly In at Santa Fe, and Osh Kosh!

Leave a Reply

Your email address will not be published. Required fields are marked *