Preventing Gear Up Landings

baron
Image credit: Aviation Consumer

On the evening of November 3rd, 2015, I was returning to my home airport of Lancaster from Pittsburgh in my company’s Aerostar, after being out on charter all day. It was dark out as I entered the traffic pattern at Lancaster. After an uneventful approach, I was cleared to land behind a Mooney. The spacing looked good as I turned final, but, as I was nearing the threshold, I started to become concerned that the Mooney wouldn’t be clear of the runway in time for me to land. At that moment, over the radio I heard an uncomfortable transmission from the Mooney pilot: “Tower, Mooney ABC has landed gear up.”

It took the tower controller a minute to grasp what was going on, and I was on about a 1-2 mile final when I was instructed to go around. Thankfully, the Mooney came to a stop in such a position that I was able to use the other intersecting runway, and was on the ground only a few minutes later. I can assure you, however, that I’ve never checked my “3 green” so many times in one traffic pattern as after that incident. Thankfully, no one was hurt, but there sure was an impressive amount of emergency equipment on the runway as I taxied back to my hangar.

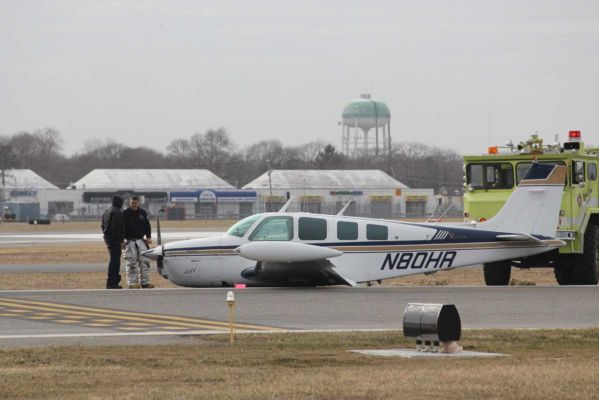
In aviation, there’s a saying that goes: “There are two types of pilots. Those who have landed with their gear up, and those that will.” I don’t like that saying. The potential of a gear up landing (as a result of pilot error) is something that has always been a risk that I have worked hard to avoid. Not only is a gear up landing embarrassing; but it’s also an extremely expensive black mark on any pilot’s career.
image
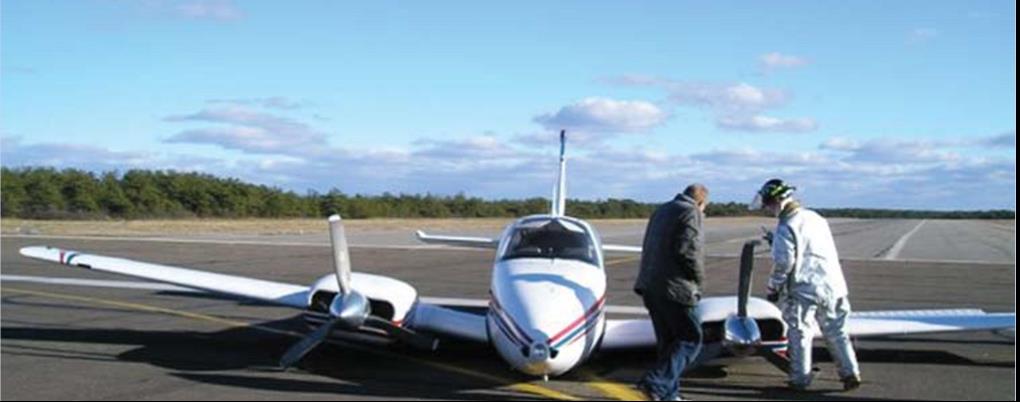
Not a good day. (Photo credit: http://www.newsday.com/long-island/suffolk/plane-lands-at-republic-with-no-wheels-1.2735131)

According to a July 2006, article in Aviation Consumer, the estimated cost of repairs following a gear up landing for an A-36 Bonanza would be about $27,000 and about 3 weeks of down time. 25 years ago, even my beloved E33 Bonanza was the victim of a gear up landing. While it was neither me nor my dad flying our airplane that day, the event stays in its history and reduces its value should the time ever come to sell it.

That incident in 1990 resulted in approximately $25,000-30,000 in repairs. The cause of the incident was classic: the pilot put the gear down at the normal time, but then had his downwind extended by tower. He brought the gear back up to fly the longer downwind, but forgot to put it back down later when he was cleared to land. Like many pilots, he had a set routine time when he normally put the gear down, and when his routine was changed, he didn’t remember to lower the gear once more.

Unfortunately, no matter what experience level one may be at, no pilot is immune to the possibility of such a mistake. The following are 5 tips that I have learned in my time flying that have helped myself and others minimize the chance of a gear-up landing occurring:

  1. Know your aircraft systems: What are the operating perimeters on your airplane’s gear warning system? Most airplanes have a designated speed or power setting at which the gear warning horn will sound in the event that the gear isn’t down and locked. In the Aerostar that I was flying, the gear horn was supposed to come on at 15” of manifold pressure with the gear up, but in practice, it didn’t come on until much lower than that. It has since been adjusted, but at the time it was important for me to know that if I had left the gear up, the horn wouldn’t have sounded in a timely enough manner for me to go around, much less lower it prior to touchdown. Most likely it would have just added to the noise of metal on concrete as I pulled the power all the way back in the landing flare.
  2. Don’t override gear-up warning systems: They were put there for a reason! Even if you’re out doing maneuvers and the horn is blasting in your ear for half an hour, resist the temptation to simply pull the circuit breaker or push the warning silencer to make it shut up. If a pilot disables the gear-up warning horn and then later forgets to put the gear down on landing, he or she will have a much worse headache on their hands than the one that the horn would have given them.
  3. Use your checklists and memory items: It doesn’t matter how much a pilot knows about his or her airplane, or the procedures for it. Distractions happen. Mistakes Happen. Always consult the checklist for confirmation that you’ve accomplished all the essential tasks before landing. Additionally, if you haven’t already, work on developing call outs which you perform out loud regardless of whether you are alone in the airplane or not. Whenever I’m landing an airplane, I start with my flows, go through my GUMPS (Gas-Under carriage- mixture- props- seat belt) checks, then do the printed checklist, and finally when on short final I call out “short final, cleared to land, three green.” I’ve had several passengers tease me about doing the “three green” call out while I was flying aircraft that didn’t have retractable landing gear. But, I’d much rather be in the habit of checking every time regardless of what I’m flying than forgetting to check when it is necessary.
  4. Use your available resources and develop healthy habits: If I have someone riding with me, I generally ask them to confirm that there are 3 green lights glowing on the instrument panel. Even if that person isn’t a pilot, they will probably enjoy the opportunity to be involved, and it’s a good way for me to stay in the habit of checking the gear lights to ensure that everything is properly down and locked. I’ve also found that intentionally leaving your hand on the gear lever until you have gear safe lights is a good idea. Forcing yourself to keep your hand on the handle until you have the all important lights obligates you to actually observe the indications instead of simply throwing the lever and moving onto something else. This way, if you only get an indication of 2 greens you’ll be aware of it right away and have more time to respond appropriately. It also helps you to learn the normal length of time it takes for the gear to extend or retract, which will be helpful to you to be aware of any abnormalities in the gear system.
  5. Upgrade your aircraft’s gear-up warnings: There’s a variety of ways you can improve your aircraft’s ability to warn you of a potential gear-up landing. For student pilots or pilots new to complex aircraft, it could be something as simple as a red post-it note on the panel to remind you to verify the gear position prior to landing. Or, if you own an aircraft that doesn’t have an effective way to warn the pilot of a gear-up landing, consider investing in an aftermarket gear-up warning system – surely the extra price of such an upgrade is a small amount next to the cost of repairing the damage from a gear-up landing!
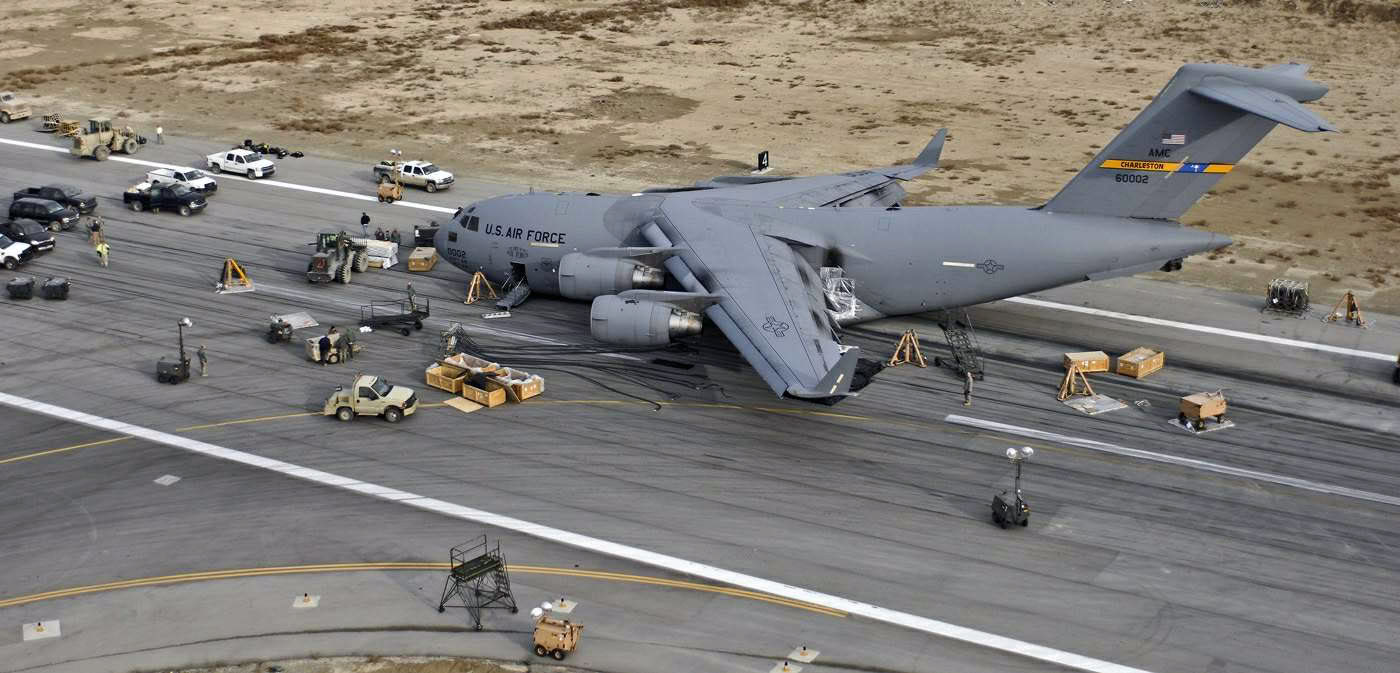
Crash recovery and emergency management crews survey a C-17 Globemaster as it rests on Bagram Air Field's active runway Jan. 31 after landing with its landing gear still up. More than 120 Airmen, Defense Department civilians and contractors successfully removed the crippled aircraft from the runway Feb. 2 and restored full air operations shortly thereafter. The "belly up," or no landing gear, recovery effort that began here Jan. 30 was the first time in the airframe's 16-year Air Force history. (U.S. Air Force photo)
It can happen to anyone! The gear handle in this C-17 was in the “UP” position. (Photo Credit:https://theaviationist.com/2009/02/09/c-17-gear-up-landing-in-bagram-images/)

Always remember, regardless of experience, no pilot is immune to the possibility of a gear up landing. The best way to safeguard yourself is to discipline yourself in the use of flows, checklists, and call outs. Things like gear warning horns, visual reminders, and other systems are a useful back up, but they shouldn’t be relied upon to save your bacon if you don’t get the gear down at the proper time. Fortunately, in most gear up landings, the pilot and passengers are able to walk away uninjured – but that doesn’t lessen the embarrassment or financial burden of the event. So, keep your chin up, your gear down, and remember….THREE GREEN


Similar Posts

  • Selecting the Proper Altitude

    One of the first questions a student pilot asks me when starting the cross country portion of his or her training is, how do I know what altitude is best for my flight?  This is a good question, because without taking certain aspects of the flight into account, it’s really just a crap shoot when selecting an altitude.  Craps and flying don’t mix, so let’s take a look at a few considerations when selecting an altitude.

    Sky Coverage

    Sky coverage has several subcategories when it comes to selecting an altitude.  First is how high are the bases?  Is it IFR (VFR pilots would be grounded), marginal VFR (1,000 AGL to 3,000 AGL ceiling), or good VFR (above 3,000 AGL ceiling)?  If the cloud deck is only 2,500 feet off the ground, then VFR pilots are limited to either 1,000 AGL to 2,000 AGL.  This is an excellent segue into why VFR pilots shouldn’t scud run!

    Scattered Clouds

    Second, what kind of cloud deck is it?  Is it an actual ceiling (broken or overcast), or is it a scattered layer?  Few or scattered layers usually allow VFR pilots to find a hole to get higher to some smoother air, making the flight more pleasant.  VFR pilots, always make sure to check the destination weather as it could be scattered where you are departing from, but it might be broken or overcast where you are arriving.

    Last, how high are the tops of the clouds?  Pilots can only get this information in the planning stage from the area forecast or from pilot reports, so most of the time, it’s not very precise information.  If the tops are at 10,000 feet and the pilot is flying a 172 on a 30 mile trip, it doesn’t make much sense to get on top of the clouds.

    Terrain and Obstacles

    Terrain goes hand in hand with sky coverage.  If there are low clouds and high terrain, that doesn’t bode well for trying to stay VFR and not hitting anything.  Obstacles need to be taken into account too, as there are some pretty tall radio towers that can stretch up into a 1,500-2,000 AGL deck of clouds.

    Winds Aloft

    Winds Aloft

    Once the sky coverage and terrain have been considered, it’s time to look at the winds aloft.  Tailwinds are preferred, but, sometimes, a headwind is the only option.  After taking the clouds and terrain into account, this narrows down your altitude to a handful of options.  The winds aloft will further narrow it down.

    Aircraft Performance

    Once you have two or three altitudes in mind, taking a look at the performance charts for your airplane will help nail down that final altitude.  Pull out the POH, compare fuel burn and cruise speed, and you’ll have your altitude selected.

  • Upgrading Avionics

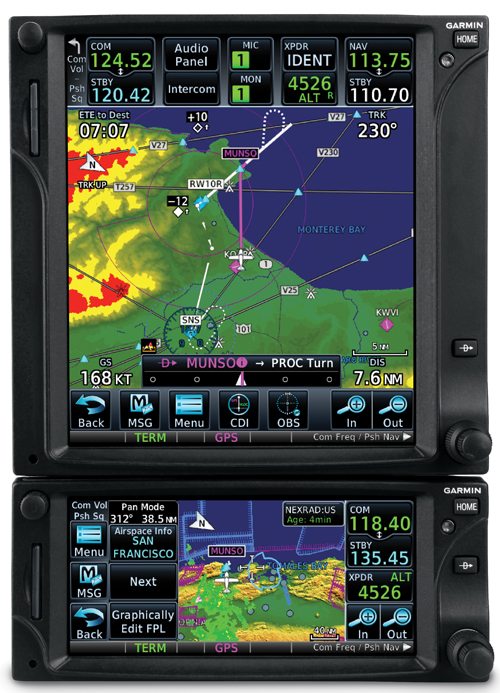
    There are many different ways to upgrade an instrument panel.  Putting in a 696 here, a JPI engine monitoring system there, even an Electronic HSI.  But, if you want to swing for the fences and get a serious upgrade, you have to go for a complete glass instrument panel.  For good measure, you might as well throw in a touch screen GPS while you are at it.

    Which panel to go with?  There are two mainstream options (Garmin and Aspen) and a handful of other companies that make glass panel replacements (Avidyne being one, King for a short period of time at the end of the last decade being another with the KFD 840).  Around 2010, there were a lot of companies trying to get into the glass panel retrofit game, but many of the products didn’t gain a whole lot of popularity, leaving Garmin and Aspen at the top of the heap.

    What about the touch screen GPS market?  Garmin has this pretty much cornered as well, with Avidyne and King just getting into the game.  The gap between Garmin’s GTN series and Avidyne and King is pretty wide.

    Garmin GTN Series

    The answer is pretty easy when it comes to the GPS (go with Garmin!), but not so easy when it comes to the panel.  The G500 and the Aspen Evolution series are both excellent interfaces with strong reliability, so which one do you go with?  Feature-wise, both have a lot of the same features: traffic, weather, terrain, synthetic vision, to name a few.  The presentation for each feature is a little different between the two interfaces.  It just depends on what you like better.

    The nice thing about the Aspen system is you can go glass, but you have options on how much glass you want:  1 screen, 2 screens, or 3 screens?  With the single screen PFD, you have all your instrumentation, traffic, weather, and optional synthetic vision.  You don’t need the synthetic vision for the traffic and weather, as it shows up behind your HSI.  It is an honest to goodness glass panel retrofit.

    When you decide to upgrade to 2 screens, this is where Aspen has a leg up.  The second screen is a completely redundant PFD and, if you get the 2 hour emergency backup battery installed, acts as the backup instrumentation to the main PFD.  This means you can take out the old steam gauge standby instruments.  This helps clean the panel up.

    I personally don’t see the need for 3 screens, but maybe there is someone out there who needs it.

    One selling point that Aspen has over Garmin is the wide variety of autopilots and GPS units that Aspen units are compatible with.  The G500 is only compatible with King autopilots, it’s own GFC 700 autopilot (which would be a retrofit), some Collins autopilots, and the Century 21, 31, 41, and 2000.  This does cover a wide array of autopilots, but it keeps some on the outside.  Aspen, on the other hand, is compatible with most autopilots on the market.

    Finally, let’s talk price.  Going with an Aspen EFD 1000 PFD (this is the single screen Aspen) will run you somewhere in the area of $12,000.  The price will vary based on the shop and the airplane.  When you want to add a screen, it’s an additional $6,000.  This is for the base, so if you want to add weather or synthetic vision, it’ll run you a little more.

    The Garmin G500 comes in around $20,000, again depending on the shop and the airplane.  The screens are bigger on the G500, which is kind of nice, and you are buying a Garmin product, which has a fabulous track record in the aviation industry.

    Decisions, decisions.  There really is no wrong answer here.  Both are excellent products with very good track records.  Both have really nice features and don’t hardly fail.  Really, the choice comes down to what you want.

    Need training on your upgraded GPS or glass panel retrofit?  Contact Texas Top Aviation for thorough training on your new avionics today.

  • Casey Aviation Makes Piper PA46 Systems Videos Free

    The safest pilots are the ones who attempt to gain as much knowledge and learning about their airplane and environment as possible. These pilots are the ones who enjoy learning, going to seminars and conventions, and soak up all the MMOPA magazine articles in each issue. These pilots are the ones who get as much training as they can, above and beyond what the minimum requirements are.

    If you are one of these pilots and you own a Piper PA46, then this blog is for you.

    Casey Aviation, one of the best Piper PA46 training companies out there, recently released all of their Malibu, Mirage, Matrix, Meridian, and JetProp systems training videos for free. These are some fantastic videos that Casey Aviation created which go much more in depth than any power point presentation could.

    The great thing about the videos is they give the viewer an all access “inside look” to the specific airplane. Joe Casey, owner of Casey Aviation, takes off cowlings, crawls under the nose gear compartment, and even shows an airplane with the interior out so all the flap cables and environmental systems can be seen.

    I have started referring all of my PA46 customers to the Casey Aviation videos as part of the prep work for our training sessions.

    To access the videos, check out the Casey Aviation website.

  • Air Traffic Control Privatization

    There was a bill introduced in Congress recently to take control of Air Traffic Control away from the FAA and give it to a private, for profit, corporation.  The initial reaction of pilots is “Ahhh!  User fees!” which we are all adamantly opposed to.  There are a myriad of reasons why this is a bad idea (the “Flying” article makes a comparison to giving NASA to Richard Branson and Jeff Bezos) and we as pilots should be against it.

    Read the “Flying” Magazine full article here.

    Air Traffic Control

  • FICON Reports

    Field Condition, or FICON, reports show up in NOTAMs both during the summer time and the winter time. In the southern states, FICON reports are seen more in the summertime during and after hard rains and thunderstorms (with the exception of winter 2021 & 2022, where Texans quickly got familiar with FICON reports after some very unusual winter weather). In cold winter climates, FICON reports are a staple during the winter season, showing up during and after snow & ice storms.

    The question is, what do those codes mean in the FICON report? You could see 5/5/5, 3/3/3, 3/4/4 and any combination thereof. And why are there three numbers?

    Let’s start with the second question first. The three different numbers in the FICON report indicate the 3 different sections of the runway: the touchdown third, midpoint third, and rollout third of the runway.

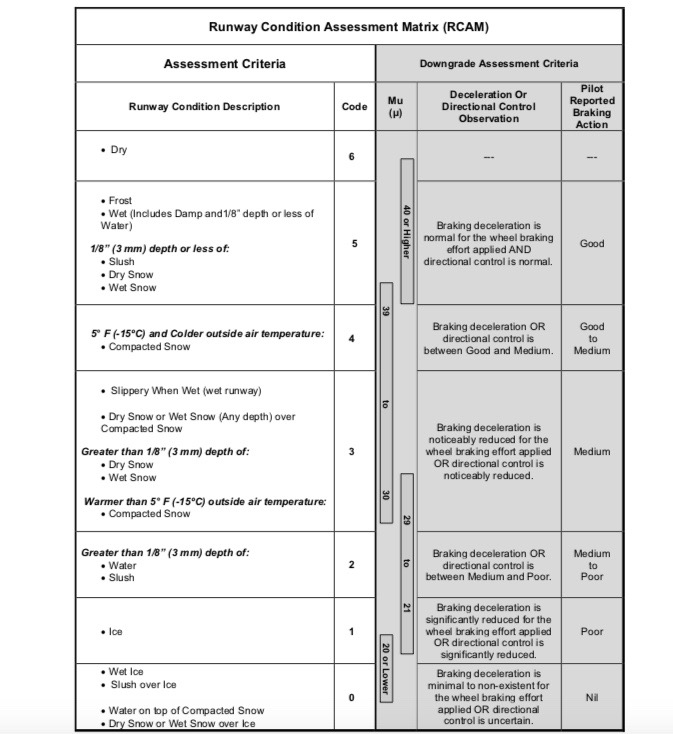
    Now, what are those numbers describing? The three numbers are the indication of how slippery that portion of the runway is. This is referred to as a Runway Condition Code (or RCC). The lower the number, the more slippery the runway is. The higher the number, the dryer the runway. The scale is 0-6, with 6 being completely dry and zero being no traction at all.

    Here is the FAA table for the RCCs.

    Now, in order for those RCC codes to generate, at least 25% of the surface must be wet. If there are just spots of standing water, slush or snow, a FICON report will be issued to report the contaminants, but no codes will be generated.

    The Runway Condition Codes are only part of a FICON report. In addition to the codes, a descriptor in the NOTAM will be published describing what percentage of the portion of the runway is affected and by what.

    For example: RWY 28 FICON 3/3/3 100 PRCNT 2IN DRY SN OVER COMPACTED SN.

    Deciphered, that is saying that all sections of Runway 28 have braking deceleration that is noticeably reduced or direction control is noticeably reduced and 100% of each section has 2 inches of dry snow over compacted snow. Sounds like a runway to avoid!

    Braking action reports are separate from FICON reports, but also issued via NOTAM. Braking action reports are issued by the airport manager whereas the FICON reports are computer generated.

  • Using the ICARUS Device to Simulate IFR Conditions

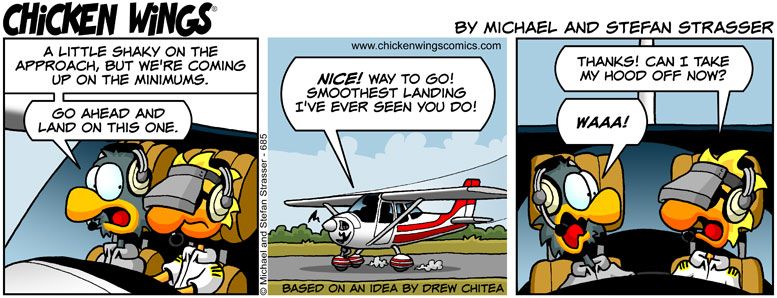
    Most of us who have been through instrument training are familiar with the traditional view limiting devices. There is the original hood, which does a decent job of blocking a pilot’s view of outside, but there are still gaps that allow “peeking”, though that peeking doesn’t really help a pilot fly an approach. It does help them figure out which way is up, so it’s not a true simulation.

    The other problem with a hood is the process of putting it on to begin simulating IFR conditions, then taking it off when it’s time to land. This process takes time and the instructor has to take the controls (or the autopilot flies), losing some of the realism of the simulation.

    Overall, an IFR hood is relatively comfortable. The elastic band sits under your headset, doesn’t squeeze your heard, and doesn’t press underneath your ear cups of the headset, giving you a headache. Hoods are large and somewhat unwieldy.

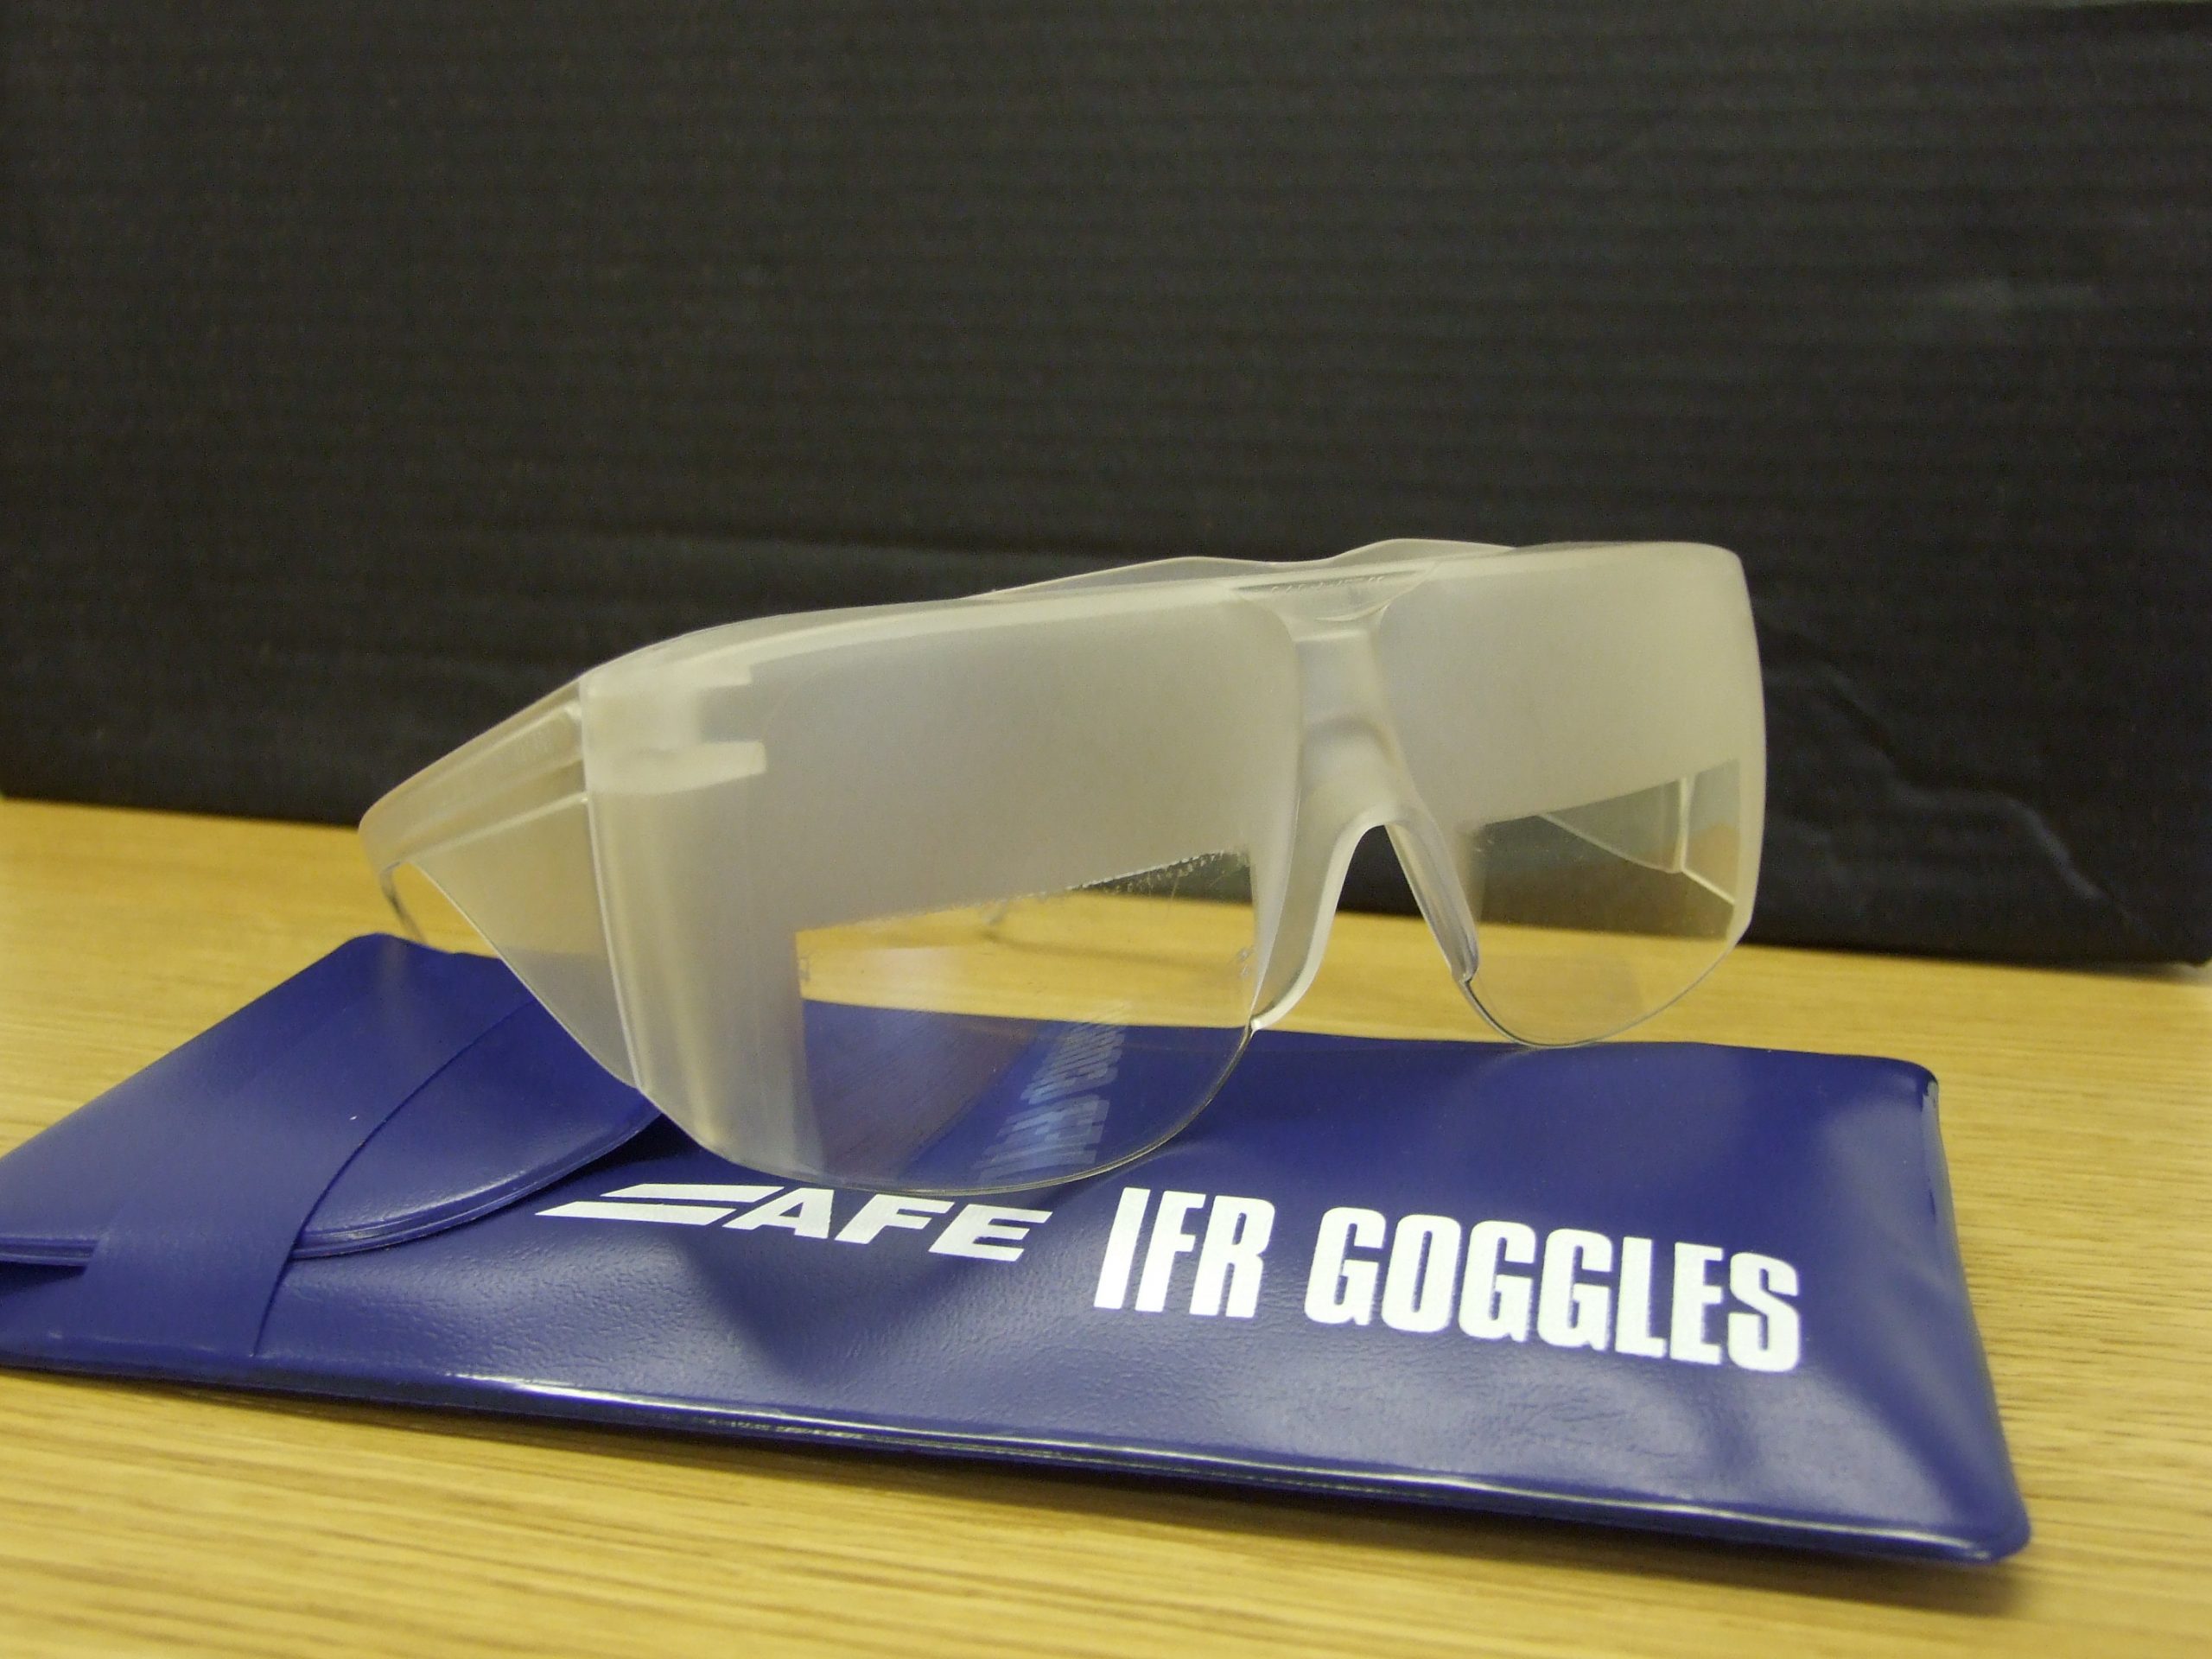
    Foggles are another way to simulate IFR conditions for training. Most of the time, these are safety glasses that have most of the lens blacked out or fogged out, leaving little slits at the bottom for the pilot’s eyes to see the instruments.

    Foggles aren’t quite as good as an IFR hood at blocking the outside. Due to their shape, there are often cracks that allow more “peeking” then a hood. The process of beginning to simulate IFR conditions and ending the simulated IFR conditions is easier though, since all the pilot has to do is put the foggles on or slip them off, which can often be done one handed (putting them on can be more difficult one handed since they have to fit underneath your headset). Wearing them for a long period of time can get painful as your headset is probably going to start crushing them against the side of your head.

    The best comfort and view limiting combination I have found, so far, is called the ViBAN. It’s very comfortable and does a really good job of simulating IFR by blocking a view of the outside.

    What’s the whole goal behind a view limiting device? When a pilot starts instrument training, ideally, all the training would take place in the clouds, since that is why someone get’s an instrument rating. As we all know, this isn’t possible, hence the need to simulate IFR conditions. The problem with simulating IFR is, it’s not true IFR. True IFR conditions are different then what a hood or a set of foggles can simulate. This can lead to spatial disorientation if a fresh instrument pilot enters the clouds for the first time, having done all his training in simulated conditions.

    I’ve even heard a story of a pilot who did all his IFR training with a hood, passed his check ride, went into the clouds the first time, and put the hood on because he was getting disoriented since he hadn’t ever experienced true IFR.

    What about full motion simulators? How I wish every airport had a full motion simulator for instrument training. Full motion sims are truly the best way to simulate IFR conditions. A pilot can easily get spatially disoriented in a sim if he or she isn’t careful. It’s a great way to simulate IFR conditions, but, alas, this just isn’t possible.

    Are we doomed to just do an okay job of training instrument pilots in simulated IFR conditions with a hood or foggles?

    Nope, at least not anymore.

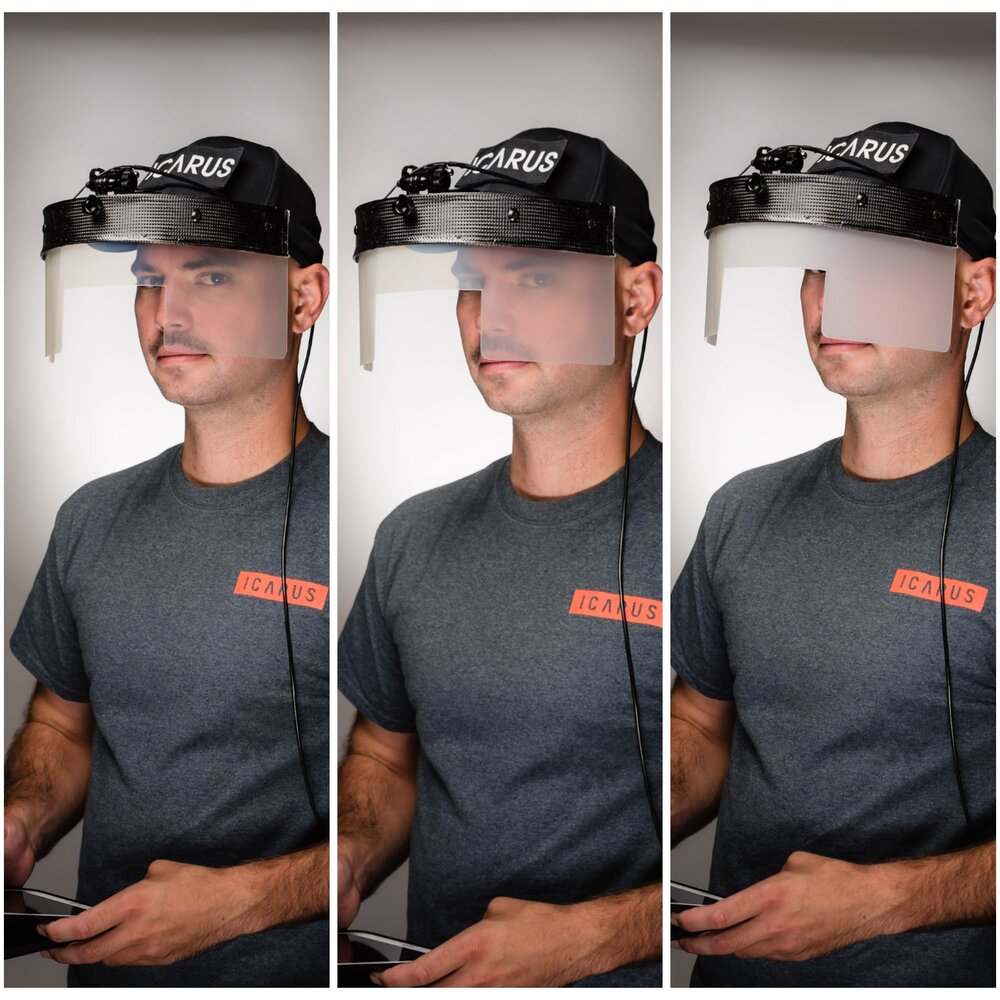
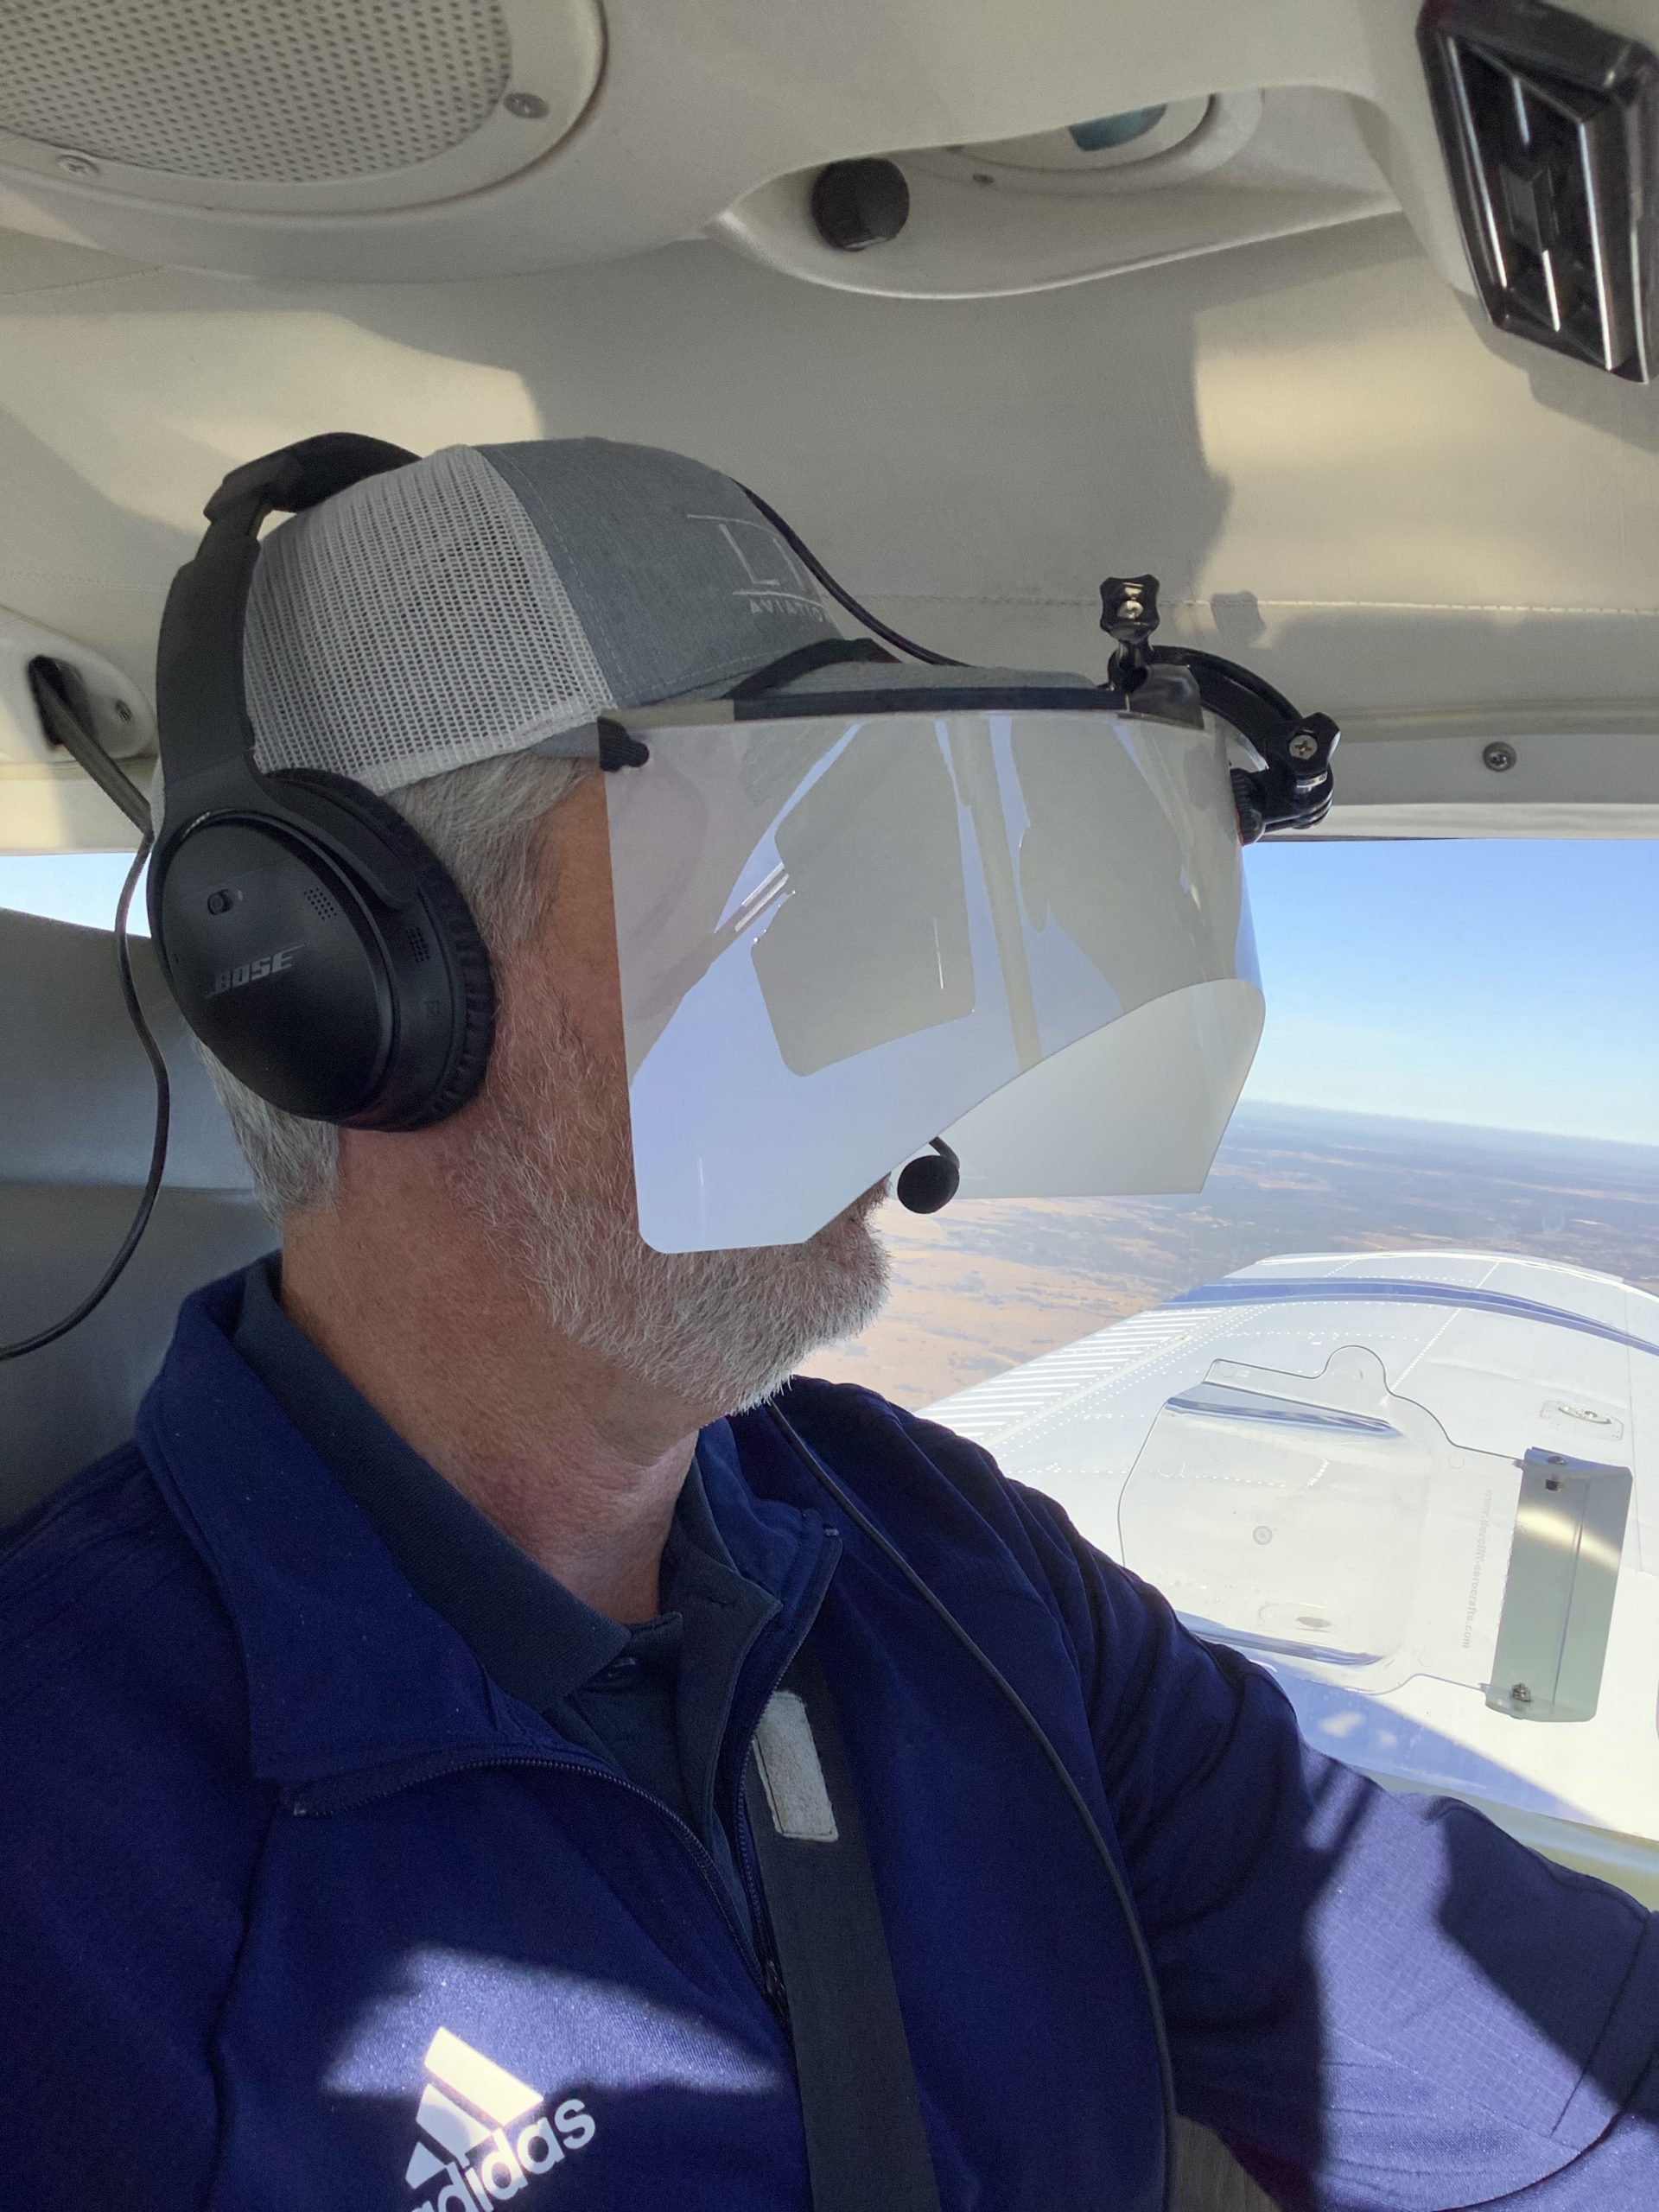
    Enter the ICARUS Device. The ICARUS Device, which stands for Instrument Conditions Awareness Recognition and Understanding System, is an amazing piece of equipment which truly simulates IFR conditions in the training environment. The ICARUS is a plastic shield that uses a Polymer Dispersed Liquid Crystal film that allows the degradation of a pilot’s visibility. It clips on to a baseball cap and is attached to a battery. That battery is then bluetoothed to an iPad or iPhone App that allows the instructor to put the pilot into and take him out of simulated IFR conditions.

    Originally designed for helicopter training, it’s an excellent tool for fixed wing IFR training too. I’ve been using it for the last month and a half and I am hooked. The customer’s that I have used it with truly say that they cannot see a thing outside. Because the plastic shield turns white, it really does give the view that the pilot is in the clouds. The inner ear certainly believes it. The curve of it fits the glare shield in most planes nicely (there is some custom cutting that would have to take place for specifically rounded glare shields, but it fits Cirrus and Piper Saratogas nicely, the two planes I have used it in), and it sits away from the pilot’s face, blocking out all windows, which is what clouds do.

    The greatest thing from an instructor’s standpoint is the ICARUS Device app. The pilot puts the device on before taxi and I set the app to VMC. This completely clears the ICARUS Device so the pilot can see just fine for taxi and takeoff. Then, at about 400 AGL, I tap the <1/2 VIS button on the app, and boom, the pilot is in the clouds. I even have a time delay to slowly make the ICARUS Device opaque to simulate slowly entering the clouds. I do the same thing on an approach, except in the reverse order, simulating we are slowly exiting the clouds.

    The ICARUS Device is a game changer for IFR training. It’s comfortable, easy to use, the battery lasts for a long time (though bring a standard USB charging cord with you in the plane because the battery failure mode makes the ICARUS Device opaque instead of transparent. You don’t want that to happen at 200 AGL!), and, most important, it truly simulates IFR conditions.

    After using it, I believe all flight schools and CFII should get one of these, both in the fixed wing and helicopter world. It’s the best option for simulating IFR conditions.

    Checkout the ICARUS Device website for more information and to hear the story of the company.


    Texas Top Aviation, LLC was given an ICARUS Device by the ICARUS Device company to test. Texas Top Aviation, LLC was not paid for our above opinion on the ICARUS Device (trust me, if it was terrible, I would have told you!).

Leave a Reply

Your email address will not be published. Required fields are marked *