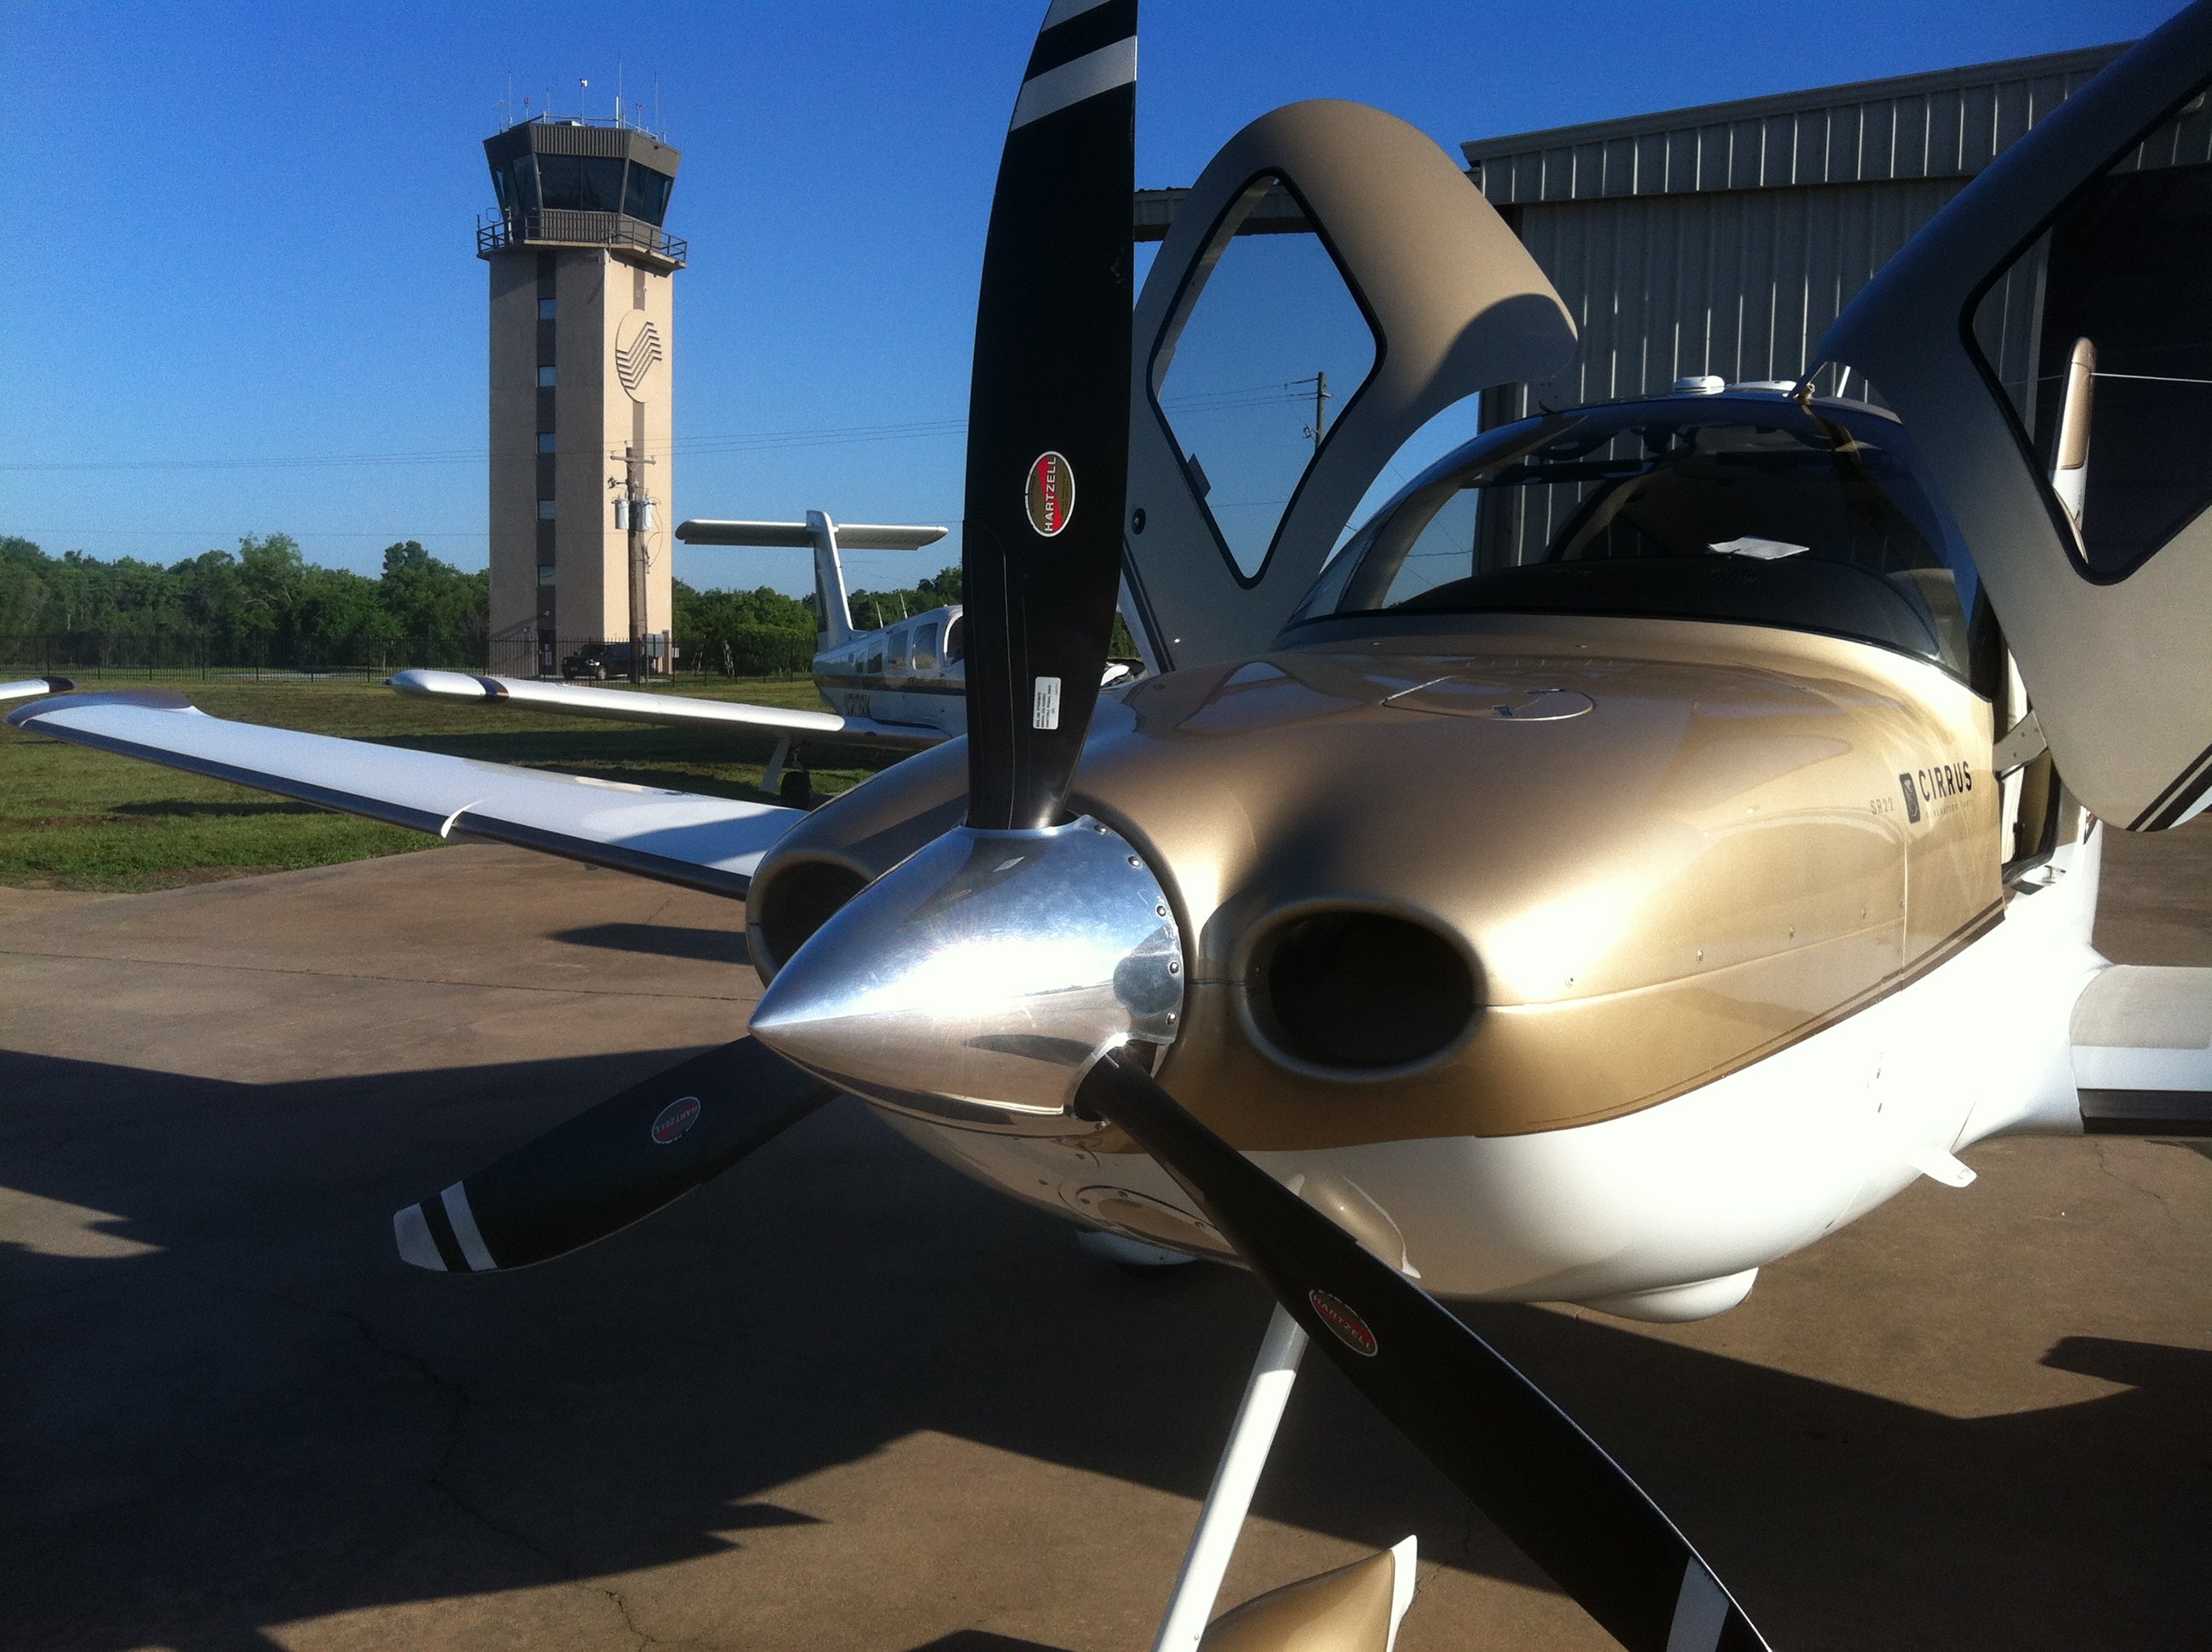
You have finally decided it’s time to make an aircraft purchase. You’ve got your private pilot certificate with an instrument rating.
You’ve been flying for 3 years, mainly renting the Piper Arrow at the local flight school. You’ve had some frustrations at times with scheduling, since the Arrow is also used for training at the flight school. The airplane isn’t very well taken care of, is kind of old, and breaks a lot.
After several weekends of trying to book the airplane to take a weekend trip to the family cabin, your frustration finally boils over. It’s time to make an aircraft purchase.
Here’s a better question: Have you bought an airplane before? Do you know the process? Do you know what to look for in maintenance records? Do you know what ADs are required? Is the airplane priced higher than it’s valued?
Overwhelmed yet? Texas Top Aviation is here to help in your Aircraft Purchase. Visit our Aircraft Purchase Consultation page for more information. Ready to buy? Contact Texas Top Aviation today!
Most of us who have been through instrument training are familiar with the traditional view limiting devices. There is the original hood, which does a decent job of blocking a pilot’s view of outside, but there are still gaps that allow “peeking”, though that peeking doesn’t really help a pilot fly an approach. It does help them figure out which way is up, so it’s not a true simulation.
The other problem with a hood is the process of putting it on to begin simulating IFR conditions, then taking it off when it’s time to land. This process takes time and the instructor has to take the controls (or the autopilot flies), losing some of the realism of the simulation.
Overall, an IFR hood is relatively comfortable. The elastic band sits under your headset, doesn’t squeeze your heard, and doesn’t press underneath your ear cups of the headset, giving you a headache. Hoods are large and somewhat unwieldy.
Foggles are another way to simulate IFR conditions for training. Most of the time, these are safety glasses that have most of the lens blacked out or fogged out, leaving little slits at the bottom for the pilot’s eyes to see the instruments.
Foggles aren’t quite as good as an IFR hood at blocking the outside. Due to their shape, there are often cracks that allow more “peeking” then a hood. The process of beginning to simulate IFR conditions and ending the simulated IFR conditions is easier though, since all the pilot has to do is put the foggles on or slip them off, which can often be done one handed (putting them on can be more difficult one handed since they have to fit underneath your headset). Wearing them for a long period of time can get painful as your headset is probably going to start crushing them against the side of your head.
The best comfort and view limiting combination I have found, so far, is called the ViBAN. It’s very comfortable and does a really good job of simulating IFR by blocking a view of the outside.
What’s the whole goal behind a view limiting device? When a pilot starts instrument training, ideally, all the training would take place in the clouds, since that is why someone get’s an instrument rating. As we all know, this isn’t possible, hence the need to simulate IFR conditions. The problem with simulating IFR is, it’s not true IFR. True IFR conditions are different then what a hood or a set of foggles can simulate. This can lead to spatial disorientation if a fresh instrument pilot enters the clouds for the first time, having done all his training in simulated conditions.
I’ve even heard a story of a pilot who did all his IFR training with a hood, passed his check ride, went into the clouds the first time, and put the hood on because he was getting disoriented since he hadn’t ever experienced true IFR.
What about full motion simulators? How I wish every airport had a full motion simulator for instrument training. Full motion sims are truly the best way to simulate IFR conditions. A pilot can easily get spatially disoriented in a sim if he or she isn’t careful. It’s a great way to simulate IFR conditions, but, alas, this just isn’t possible.
Are we doomed to just do an okay job of training instrument pilots in simulated IFR conditions with a hood or foggles?
Nope, at least not anymore.
Enter the ICARUS Device. The ICARUS Device, which stands for Instrument Conditions Awareness Recognition and Understanding System, is an amazing piece of equipment which truly simulates IFR conditions in the training environment. The ICARUS is a plastic shield that uses a Polymer Dispersed Liquid Crystal film that allows the degradation of a pilot’s visibility. It clips on to a baseball cap and is attached to a battery. That battery is then bluetoothed to an iPad or iPhone App that allows the instructor to put the pilot into and take him out of simulated IFR conditions.
Originally designed for helicopter training, it’s an excellent tool for fixed wing IFR training too. I’ve been using it for the last month and a half and I am hooked. The customer’s that I have used it with truly say that they cannot see a thing outside. Because the plastic shield turns white, it really does give the view that the pilot is in the clouds. The inner ear certainly believes it. The curve of it fits the glare shield in most planes nicely (there is some custom cutting that would have to take place for specifically rounded glare shields, but it fits Cirrus and Piper Saratogas nicely, the two planes I have used it in), and it sits away from the pilot’s face, blocking out all windows, which is what clouds do.
The greatest thing from an instructor’s standpoint is the ICARUS Device app. The pilot puts the device on before taxi and I set the app to VMC. This completely clears the ICARUS Device so the pilot can see just fine for taxi and takeoff. Then, at about 400 AGL, I tap the <1/2 VIS button on the app, and boom, the pilot is in the clouds. I even have a time delay to slowly make the ICARUS Device opaque to simulate slowly entering the clouds. I do the same thing on an approach, except in the reverse order, simulating we are slowly exiting the clouds.
The ICARUS Device is a game changer for IFR training. It’s comfortable, easy to use, the battery lasts for a long time (though bring a standard USB charging cord with you in the plane because the battery failure mode makes the ICARUS Device opaque instead of transparent. You don’t want that to happen at 200 AGL!), and, most important, it truly simulates IFR conditions.
After using it, I believe all flight schools and CFII should get one of these, both in the fixed wing and helicopter world. It’s the best option for simulating IFR conditions.
Texas Top Aviation, LLC was given an ICARUS Device by the ICARUS Device company to test. Texas Top Aviation, LLC was not paid for our above opinion on the ICARUS Device (trust me, if it was terrible, I would have told you!).
I was speaking with a pilot a few months back who was not instrument rated. He was telling me of his flying experience while continually speaking fondly of scud running. He told me several stories, most of the time with a smile on his face, about scud running to his destination while staying clear of clouds. While he was talking, my mind was cycling through the numerous accident reports I’ve seen where a scud running VFR pilot has crashed into terrain or an obstacle. Needless to say, scud running is not a very good idea.
This pilot’s stories got me to thinking, how common is the practice of scud running amongst VFR only pilots? As an instructor, I always teach my private students about personal minimums and making that no-go decision when clouds are below those personal minimums. The act of scud running falls under several of those dangerous pilot mindsets, get-there-itis, invincibility, and macho-ism, to name a few.
To bring everyone on the same page, let’s define scud running. Wikipedia has a very good definition:
Scud running is a practice in which pilots lower their altitude to avoid clouds or instrument meteorological conditions (IMC). The goal of scud running is to stay clear of weather to continue flying with visual, rather than instrument, references. This practice is widely accepted to be dangerous, and has led to death in many cases from pilots flying into radio towers and high tension wires; however, even instrument-rated pilots sometimes elect to take the risk to avoid icing or embedded thunderstorms in cloud, or in situations where the minimum instrument altitudes are too high for their aircraft.
To put some numbers with that definition, a scud running VFR pilot would takeoff with a 1200-1500 foot ceiling and stay 700-1000 feet above the ground, right in the area where towers, hills, and rapidly rising terrain reside.
How do we change this mindset? Well, if someone has been scud running for years without incident, the practice becomes normal, like the pilot I mentioned above. The mindset of invincibility sets in and the practice continues. This particular pilot can also lead other pilots to adopt the same practice, encouraging them that nothing will happen to them, since we all know that our pilot peers know better than our flight instructors (insert heavy sarcasm here).
In order to change this mindset, instructors need to emphasize personal minimums from day one. This includes ceilings, visibility, and winds. For a seasoned pilot, a review of accident statistics might help the process.
Scud running is not a safe practice. If you’re a scud runner, you need to rethink your attitude. Is getting there really worth it?
Recently, I was training a customer who had a brand new instrument panel installed in his TBM 700. The avionics shop that did the work (Abilene Aero, who I highly recommend for any panel installs, located at KABI) told us when we picked the plane up that the new Garmin GTN 750Xi had the most recent software update, which included the Garmin Smart Glide.
I had never used the Garmin Smart Glide before, so I was eager to check it out during our training. When we got to engine failures, we pushed the Emergency button on the Home page of the GTN 750Xi, and then the magic happened.
The plane was also equipped with a Garmin G600TXi PFD and the Garmin GFC 600 Autopilot. In order for Smart Glide to work, there has to be either a GTN 750Xi or GTN 650Xi installed, along with a G500TXi or G600TXi and a Garmin Autopilot. Garmin is working on getting the legacy G500 as well as the GI 275 and G5 to work with the above GPS units for Smart Glide as well.
Here’s what happens. The plane loses it’s engine. The pilot’s workload and stress level suddenly goes way up. Trim the airplane for best glide, find the nearest airport, attempt restart. Do it quickly so you have time to focus on the glide. Oh yeah, squawk 7700 and declare your emergency. All the while plummeting toward the ground in a somewhat controlled crash. Yikes.
Garmin Smart Glide takes over the flying part, allowing the pilot to handle the restart, while making it much easier to squawk, talk and plan the engine out landing. On the home page of the GTN 750Xi/650Xi, the pilot simply taps the Emergency icon on the bottom of the screen. The Autopilot comes on and goes into IAS mode and maintains best glide while descending. The GPS immediately analyzes the Glide Advisor, and turns to the nearest airport in the glide ring (if there is no airport within gliding distance, the GTN 750Xi advises the pilot). Then, the Autopilot flies directly to the Nearest airport, allowing the pilot the ability to take attempt a restart.
Once it is determined that the engine won’t start, the Garmin Smart Glide has excellent situation awareness tools. On all screens, the pilot is constantly being advised of how high AGL the plane is currently, while advising also of how high AGL the plane will be over the airport that the glide is set up for. There is also a short cut on the screen to tap to squawk 7700 as well as runway length information at the airport.
The Garmin Smart Glide Button wasn’t installed yet in the TBM, but that will make things even easier when it is (it will be certified in January). This is amazing technology that all Garmin GTN 750Xi pilots should have their software updated to. Remember, you have to have a Garmin Autopilot and a Garmin PFD for it all to work.
The debate about which headset is the better product will never cease. We do know this for sure, though, Lightspeed and Bose make the best noise canceling headsets out there. David Clark’s offering doesn’t match up with these two. Newcomer AKG has a light (weight-wise that is, as the headset is equipped with a pair of LED lights as well) ANR headset that the jury is still out on. For now, Lightspeed and Bose sit atop the ANR kingdom.
The comparison for this article will be between the Lightspeed Zulu 2 and the Bose A20 headsets, both of which I have used quite extensively in my flying career. I am officially in the Lighspeed camp at this point and after reading my comparison below, you’ll see why.
ANR Functionality
Between the two, the Bose A20 cancels out more noise, no argument there. This isn’t to say that the Lightspeed Zulu 2 doesn’t. Quite the opposite, actually. The Lightspeed Zulu 2 does a great job of canceling the noise. But with the A20 on in a C172, you can barely hear the engine running. The difference before you press the power button and after is extremely noticeable. I had one client turn to me after turning on the noise canceling function of his new A20 headset and state, “These things are awesome!”
The other advantage Bose has is a continuation of the noise canceling. About the only thing I don’t like about the Lightspeed is if you don’t have the headset sized just right on your head, each time you turn your head to look at something, then the suction gets broken around the ear cup and you get some ambient noise. My glasses probably don’t help with this. It’s not that big of a deal, you just have to readjust the size of the headset, but, since I’m a little OCD, it bugs me. Once I get the set sized right, it’s smooth sailing.
Comfort
Far and away, the Lightspeed Zulu 2 is much more comfortable than the Bose A20. I flew for 5 hours in the right seat with my Lightspeed set on the other day. I switched to the left seat for the last leg and used the owner’s A20 headset since it was plugged in on that side already and I noticed quite a bit of difference. The ear cups seemed to press against my head more. The pad on top of my head didn’t seem to be as cushiony. It just wasn’t overall as comfortable as the Lightspeed Zulu 2.
Bose has made a lot of progress from their original noise canceling headsets. Those didn’t have much of a cushion on top at all. After about 2.5 hours, the slim ear cushions began to dig in to the side of your head. So, the A20 has made some progress, but the Lightspeed Zulu 2 takes the cake in comfort.
Weight Distribution
“Wait!” You Bose boys scream (no pun intended). “The A20 is lighter than the Zulu 2!” While this is true (the Zulu 2 weighs in at 15.7 oz while the A20 is only 12 oz), the way that weight is distributed makes a massive amount of difference. The Lightspeed Zulu 2 feels lighter on top of your noggin than the A20 because the weight of the A20 is firmly planted on the top of your head in a single point. With the Zulu 2, the weight is distributed evenly across the top of your scalp, so even though the set is heavier, it feels lighter on your head because the weight is not all concentrated on one point.
All this adds up to why I like the Lightspeed Zulu 2 more than the Bose A20. As for a practical example, I wore my Lightspeed Zulu 2 set for 9.1 hours one day two weeks ago. Needless to say, it was a long day. But, once I climbed out of the airplane, I had no pain on the top of my head and only a very little where my glasses ran along the side of my head. Now I call that a winner.
Cirrus CAPS pull #55 took place at the beginning of November over Fayatteville, AR. From initial reports, it appears a clamp broke on the oil cooler, causing a loss of oil pressure. It does not appear that the engine immediately quit, but an annunciator alerted the pilot that the engine was losing oil pressure. At this point, it appears the pilot elected to do an emergency descent to an airport below him, but ended up not timing it right, missing the airport and pulling the parachute.
As an experienced Cirrus flight instructor, there appears to be some suspect decision making in handling this operation. I teach in a Cirrus that if an oil light comes on, given that a pilot has some altitude to work with, it is a better option to physically shut the engine down, leaving control of the situation in the pilot’s hands. This way, the pilot knows when the engine is stopping and is prepared for it, instead of the engine acting erratically and causing problems on the descent.
After checking the engine gauges and shutting the engine down, a pilot should establish best glide first, not nose down and descend at a high rate trying to make an airport. Best glide gives the pilot many more options and a lot more altitude to work with, further allowing him/her to plan how to make an airport directly underneath the airplane.
To pontificate, it seems that if the pilot had adjusted the plane to best glide, instead of performing an emergency descent, there is the possibility that Drake Field would have been reachable, the chute would not have been needed, and the driver of the truck would not have had to visit the hospital. Hindsight is 20-20, but this may be an overall training and decision making issue that may need further emphasis.
The initial NTSB report as well as a link to the CBS story is below.
NTSB Identification: CEN16LA026
14 CFR Part 91: General Aviation
Accident occurred Tuesday, November 03, 2015 in Fayetteville, AR
Aircraft: CIRRUS DESIGN CORP SR22T, registration: N857SW
Injuries: 3 Minor, 1 Uninjured.
This is preliminary information, subject to change, and may contain errors. Any errors in this report will be corrected when the final report has been completed. NTSB investigators may not have traveled in support of this investigation and used data provided by various sources to prepare this aircraft accident report.
On November 3, 2015, at 0950 central standard time, a Cirrus SR22T airplane, N857SW, descended under the canopy of the cirrus airframe parachute system (CAPS) and landed on a road in Fayetteville, Arkansas. The pilot, pilot rated passenger and one person on the ground received minor injuries. One passenger in the back right seat was uninjured. The airplane was substantially damaged. The airplane was registered to WG Aviation LLC, Rogers, Arkansas, and operated by a private individual under the provisions of 14 Code of Federal Regulations Part 91 as a personal flight. Visual meteorological conditions prevailed at the time of the accident and an instrument flight rules (IFR) flight plan was filed. The flight departed from the Bentonville Municipal Airport (VBT), Bentonville, Arkansas, at 0934 and was en route to the Waco Regional Airport (ACT), Waco, Texas.
According to the pilot, after departure from ACT he leveled off around 10,000 ft mean sea level (MSL) and was in “VFR on top” conditions. The pilot noticed that the crew alerting system (CAS) flashed a yellow caution light for oil pressure; the engine was still producing power. The pilot notified air traffic control (ATC) of the issue and received vectors to the nearest airport, Drake Field Airport (FYV), Fayetteville, Arkansas. The pilot descended and maneuvered toward FYV as the CAS indicated a red warning light for oil pressure, which had dropped below 10 psi. The engine was producing inconsistent power as the airplane descended to 3,300 ft and FYV was still not in sight due to cloud coverage. The pilot was unable to maintain altitude and the airplane’s stall warning horned sounded. The pilot deployed the Cirrus airframe parachute system (CAPS) and descended to the ground. During the landing the airplane collided with a truck and then came to rest on a four lane road.
At 0953, the weather observation at FYV reported wind from 190 at 9 knots, gusting to 17 knots, 10 miles visibility, clear sky, temperature 61° F, dew point 57° F, and altimeter setting 30.11 inches of mercury.
An initial postaccident examination was conducted on November 4, 2015, in Fayetteville. Engine oil was observed on the underside of the fuselage. The oil cooler cross fitting was broken and oil was observed in the engine compartment.
The airplane’s recoverable data module and three data cards were removed and sent to the NTSB Vehicle Recorders Laboratory for download.
The airplane has been retained for further examination.
When I was working on my instrument rating back in 2007, my instructor and I did a lot of unpublished holds. In ground school, I heard a lot about holding for weather or holding due to a traffic delay. At my first job, my chief flight instructor was also a Continental (now United) captain and he told me a lot about having to hold for weather going into different places.
I heard all this, but I figured it would never happen to me when I’m flying GA airplanes.
Boy was I wrong!
I was flying a Piper Malibu into Phoenix with two passengers for Super Bowl weekend and the weather was awful. No thunderstorms, but moderate precipitation and low ceilings. We were coming into Deer Valley (KDVT) on the north side of Phoenix and about an hour out, ATC advised me that arrivals into DVT were having to hold and to expect a delay. The controller said the delay would be about 30 minutes, so by doing a quick calculation, I determined the delay would probably be all cleared up by the time I got in the area. At the time, I didn’t know if the delay was due to weather or traffic congestion.
Twenty minutes later, the controller advised me that there was still a delay. I queried what it was for and he informed me it was due to weather. He asked me if I wanted to hold or divert. I listened to the ATIS and heard the ceilings were variable from just below the minimums to just above. I told him I would hold as the TAF I saw predicted the ceilings to go up.
“Malibu, hold present position, hold east, expect further clearance 2140 Zulu.” Gulp.
At this point, my autopilot had gone out, it was turbulent and I was definitely in the soup. This was going to be fun.
After recovering my wits, I read back the clearance, then set about setting up this hold without getting too far from my present position. The Malibu I was flying had a Garmin 530 which I was using as my primary means of navigation. I was on V190, but I didn’t have all the fixes in my flight plan. What to do? And what to do fast?
The 530 has a rarely used function called a User Waypoint. It comes in handy in situations like these. On the moving map, you can turn the cursor on, move the cursor to any point on the map, and, by pressing enter, create a User Waypoint. This is what I did on V190. After I created it, I had to go to my flight plan, find the right spot, and input the User Waypoint just like I would any fix. Just a note here, when you create a User Waypoint, make sure you remember what you named it so you can find it again.
After I input the User Waypoint in the flight plan, I had to go back and activate the leg that the User Waypoint was the end point on. Then, to make sure the flight plan didn’t go to the next waypoint once I crossed my User Waypoint, I had to press the OBS button on the 530 in order to put the GPS in suspend mode.
Keep in mind, my autopilot wasn’t working, so this involved a lot of multi-tasking!
That’s how to do a present position hold using the Garmin 530. Got all that? Here’s a concise review:
Create a User Waypoint
Turn the cursor on by pressing the FMS knob
Move the cursor to the point where you want your User Waypoint
Press enter and name the User Waypoint
Press the Flight Plan button
Input the User Waypoint into your flight plan at the proper point
Activate the leg that the User Waypoint is the end point on
Finally, press the OBS button to put the GPS in suspend mode
After you’re cleared onward, just press the OBS button again to take the GPS out of suspend mode