Weather Avoidance

I began flying a Piper Malibu earlier this year.  For those of you not familiar with the original PA-46, a Malibu has a Continental TSIO-320 engine, with 310 HP.  It’s pressurized and cruises at about 185-200 KTAS.

A few things are introduced to the equation when pilots start flying higher, faster, and farther.  When you start flying over longer distances, weather becomes more of an issue.  On a quick hop from, say, Austin to Dallas, you can be pretty sure of what the weather will be since it’s a short trip.  When you fly from Austin to LA, leave in the morning, land once along the way, and arrive in the afternoon after spending six and a half hours in the air, weather can change a lot in that amount of time.

A must for any pilot flying high and over long distances is some kind of Nexrad system, whether it be a Garmin 696, or it shows up on your GPS or MFD.  Having this situation awareness is very helpful when planning ahead as to what to do about weather.  A stormscope is also a handy tool, since you can see where the lightning is with it.

Cold fronts can be pretty nasty, depending on how strong and how fast they are moving.  A strong, fast moving cold front usually has a lot of convective activity associated with it.  The tricky thing with storms associated with fronts is that storms form in lines, most of the time.  If you’re trying to cross a front in the morning, you can usually get high enough over the clouds with a pressurized airplane since the temperature is still relatively low to get clear of the cumulonimbus clouds.  The cloud tops will only be around ten or twelve thousand feet.

CB CloudCrossing fronts in the afternoon when daytime heating is pushing the tops of the CBs up to the 20-40 thousand foot range, it’s best to land, have a meal, stretch your legs, and wait till the sun starts to go down before pushing on.  Do not, under any circumstances, try and go through the cumulonimbus clouds associated with a cold front in a small airplane.  Not only is it uncomfortable (the turbulence bounces you around pretty good), but you’ll get ice, scare the passengers, and, if you’re in the heart of a storm, the plane could come apart.

When crossing mountains, the weather is always highly unpredictable.  If it’s a clear day, no matter your altitude, you’ll probably pick up some turbulence from all the rising air off the peaks.  If there is moisture in the air, there are going to be isolated to scattered thunderstorms in the summer time.  The advantage of flying high when there are isolated or scattered storms is you can utilize the see and avoid method.

See and avoid is simple.  When the storms aren’t embedded in other clouds, it’s actually rather easy to spot the big, rising clouds and go around them.  The same concept holds true when avoiding those pesky pop up thunderstorms in humid areas like Houston and Florida.

Rain ShaftsOne thing that I learned this summer was this.  Sometimes, with an area of closely grouped storms, the cloud base is actually quite high (some storms I went underneath in New Mexico had cloud bases of 15,000 MSL).  The thing to do here is just stay below the bases of the clouds and go around the areas of rain.  These will be visible and you’ll be able to navigate around them.  With bases even as low 9-10 thousand feet, it’s a much better idea to stay below the clouds, sacrifice some speed, and dodge the rain shafts.

The most important concept to take away is don’t fly into a thunderstorm.  If there are a bunch of really high clouds in front of you and you don’t see a safe way around them, descend down and land, wait it out, and then continue on your way.

Similar Posts

  • Synthetic Vision Technology

    Let’s say you’re flying in the mountains of Colorado on a cloudy day.  There’s a solid layer from the surface all the way up to 14,000 feet.  You’re inbound to Eagle (KEGE) on the RNAV (GPS) D approach.  There are mountains next to you and below you, but you aren’t concerned since you can see them all.  The base of the last reported overcast layer was 3,000 feet, so you know you’ll break out before the MDA and land no problem.

    At 11,100 over AWACC, you clearly see the top of the mountain below you.  You are comfortably above it. You already have the runway in sight as well.  You pop out of the clouds on the approach at 9,700 feet, spot the airport and follow the tower’s instructions to circle north of the runway for a left base for runway 7.

    How could you see the mountains inside the clouds?  You have Synthetic Vision installed on your glass panel, that’s how.

    Aspen Synthetic Vision
    Aspen Synthetic Vision

    Synthetic Vision, which has actually been around since the ’70s when NASA and the US Military first developed it, was first FAA certified for the Gulfstream PlaneView flight deck in 2009.  Garmin, Avidyne, and Aspen are the main general aviation manufacturers of synthetic vision these days.  All Garmin PFDs are now equipped with Synthetic Vision while Aspen gives you the option to upgrade to Synthetic Vision when you get one of their PFDs installed.  Avidyne gives you Synthetic Vision in their R9 upgrade for the Cirrus.

    What is Synthetic Vision?  Basically, it’s a 3-D picture on the primary flight display showing terrain, obstacles, traffic, and runways.  It greatly enhances situation awareness in areas of terrain or high obstacles during IFR conditions or at night.

    The goal behind the development of Synthetic Vision was to decrease the amount of controlled flight into terrain (CFIT) accidents.  A CFIT accident consists of a perfectly airworthy airplane flown by a pilot (or autopilot) unintentionally into terrain. These accidents can happen in low visibility conditions or at night, but the reason is mainly due to the pilot losing track of his position in relation to obstacles or terrain (or water as was the case with JFK Jr.).

    With Synthetic Vision, the goal is to enhance pilot knowledge of what is around the airplane at all times. When you’re at altitude, the terrain below you looks flat.  When you start descending down amongst the rocks, the hills or mountains start to rise up on your screen.  For those used to the coloration with the 2-D terrain feature on a GPS unit, it translates very easily to the terrain coloration on a Synthetic Vision equipped PFD. Terrain that is between 100 and 500 feet below the aircraft is shown as yellow, while terrain closer than 100 feet is depicted as red.

    Garmin Synthetic Vision
    Garmin Synthetic Vision


    One neat feature on Garmin units is the Highway in the Sky.  When a pilot puts a course or a flight plan in the GPS, the PFD displays magenta boxes at the altitude selected displaying the route.  It’s handy when hand flying to just “fly through the boxes.”  They also display descent angles on approaches.

    Synthetic Vision is still optional on Garmin and Aspen units, but I highly recommend springing for it.  It will give you a higher level of safety and keep you out of the rocks.

  • AOPA’s Year In Review

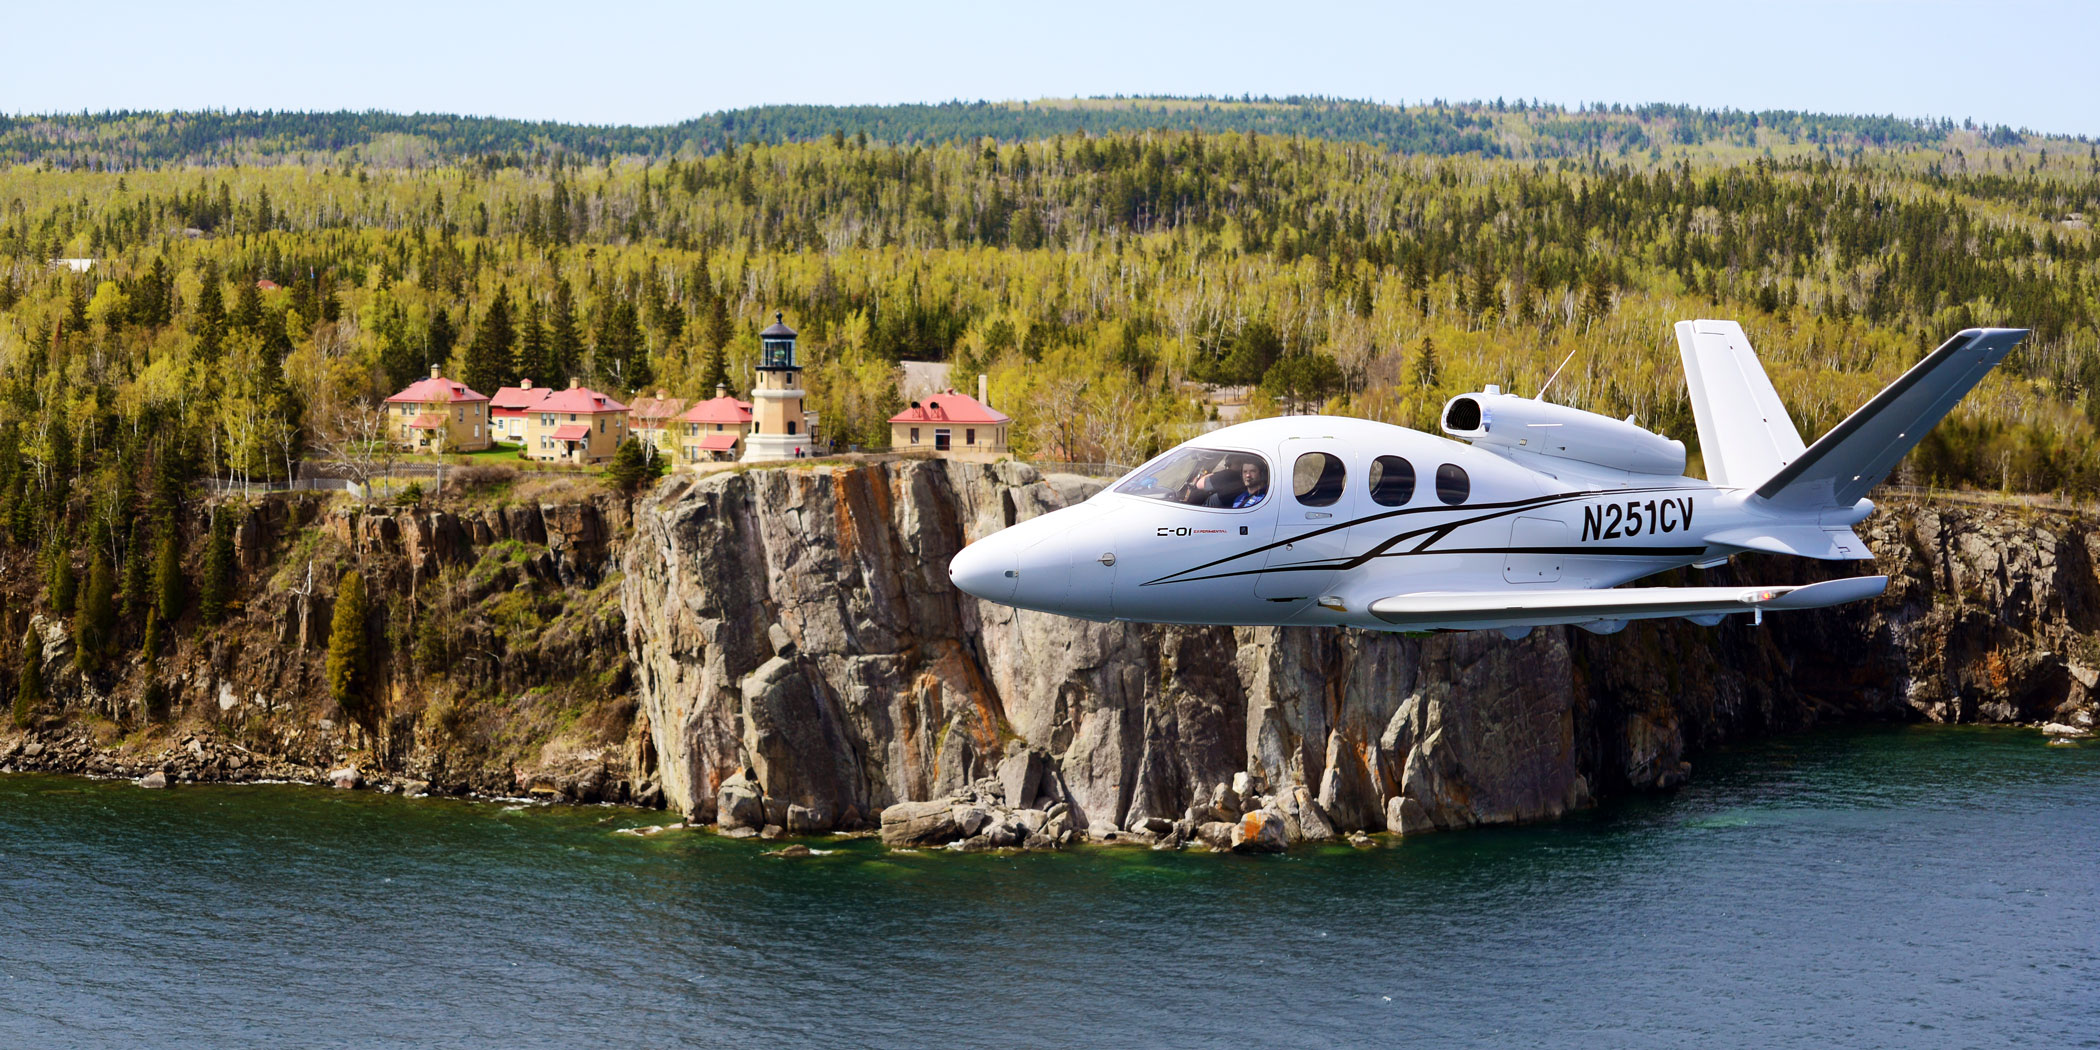
    AOPA recapped the year in the general aviation industry recently.  A lot happened in 2016 including the certification of both the Cirrus Vision Jet and the Honda Jet.  Several other manufacturers debuted new models, including Mooney with their Ovation Ultra and it’s 2 doors and Cub Crafters with their faster XCub.

    To read the full year in review, you can read the AOPA Article here.

    trio-of-hondajets


  • Cirrus Braking Systems: A Hot Topic

    You just bought your Cirrus SR22. You do some flying, and soon find yourself with a brake temp sticker that isn’t white anymore. You remember from your transition training that any color other than white is a no go. You now ponder…. I don’t remember getting on the brakes hard, or riding the brakes while taxiing, but sure enough they aren’t white anymore. You now start thinking that all the horrible rumors of Cirrus brakes are true. They overheat so fast!

    I would like to share some little-known facts about the Cirrus factory equipped braking system. Following the procedures below can help make the brakes last a little longer. There is also a very popular STC that allows upgraded brakes to be installed on all SR series aircraft. More to come on that.

    Notice the Top Yellow sticker is far darker than the Bottom. The Yellow temperature indicator turns at 300 Degrees, while the bottom Blue indicator turns at 330 Degrees. This is an indication to the pilot that if the bottom sticker has turned colors, that the braking system has exceeded 330 degrees and is in need of servicing.

    Above is a photograph of an SR22 G1 braking system with turned brake temp stickers. The first things you may notice is that there are in fact two brake temperature stickers. We can only see the bottom blue sticker from the inspection port on the wheel pants. The other is higher on the caliper; in order to see it, the wheel pant must be removed. This isn’t common knowledge because there is no mention of this additional indicator in the POH.

    Now you may be asking yourself, what can I do to extend the service life of my factory equipped Cirrus brakes? Here are some tips. First, always taxi at 1000 RPM and use the rudder as much as you can while only tapping the brakes. This is not fool proof, since sometimes, depending on the grade, you will have no choice but to utilize brake tapping to keep the aircraft going straight. Taxiing is not typically where the brakes get overheated, though, but this is still a good practice to follow.

    What we tend to see is that the Cleveland brakes are generally overheated on landing. We always recommend to make sure your final approach speed is not excessive, land in the first 1/3 of the runway, and let the aircraft rollout to a smooth stop. What tends to happen is that the aircraft is too fast, and the pilot tries to exit at a certain taxi way, or brakes hard and continues to ride the brakes after landing during taxi. If you do your best to avoid these habits, it will serve you well.

    This braking system remained unchanged all the way until the 2016 G5 Cirrus SR series. Starting in 2016, the factory equipped G5 and G6 Cirrus SR series all now come standard with a single piston hydraulic braking system from Beringer. The Cirrus Beringer brakes far exceed the braking power and durability of the old system. The new system is more robust, withstands heat better, and is is very well built. There is also an option for an upgraded dual caliper system to increase durability and stopping power. A braking system STC for the older Cirrus G1 through early G5 models was created to upgrade those airplanes to the better stopping power and cooling of the Cirrus Beringer brakes.

    Seen above is a page from a Beringer catalog highlighting the Cirrus SR series STC kits. Your local Cirrus service center will be able to quote prices for the kits. We have over 1000Hrs spent behind Beringer equipped Cirrus aircraft and the difference is quite apparent. The pilot has better control of the aircraft, no spongy pedal, and the confidence to get the plane stopped without possibly overheating the braking system. This, in our opinion, is one of the best upgrades you can do to your Cirrus.
    Above is what an STC upgraded braking kit from Beringer looks like, as well as the new temperature indicator for the pre/post flight inspection. Notice the black spot on the left hand picture. These brakes have been overheated.

    One other difference for a pilot to note is that once upgraded to the Cirrus Beringer brakes, there is only one temperature indicator and it changes color at a whopping 450 Degrees Fahrenheit! Needless to say, it can handle some heat! The new temperature indicator is now Orange in color and turns grey/black when overheated.

    On the left are the original Cirrus factory brakes. On the right is the caliper to the new Beringer brakes for a Cirrus.
    Dual Caliper Cirrus Beringer Brakes

    The Cirrus Beringer brakes upgrade is quite a step up in the world of slowing down. However, this doesn’t mean that they are completely issue free. There is one little-known problem with Beringer brakes that is not that big of a deal and can be fixed with relative ease.

    The rotor on the Beringer braking systems is “free floating,” meaning it is not necessarily “fixed” in position when secured down to the spindle. It is “keyed” into the wheel rim with the male and female side interlocking.

    The brakes occasionally will get noisy, causing a “knocking” noise when brakes are applied. This noise is caused by the small metal tabs that tighten up the space between the wheel and the brake rotor. This is so the small tabs wear with use instead of the aluminum rim that they are fixed to. So, if your Beringers are making a knocking noise when brakes applied, this is most likely your culprit.

    These gaps above are the “keyed” position where the rotor finds home in the rim. Without these tabs that wear with use, we would be replacing the rim more often than the much cheaper replaceable tabs.

    It is highly recommended to upgrade your original Cirrus factory brakes to the new Beringer braking system. You will deal with less maintenance, less chance of a brake overheat, and less confusion on whether or not your brakes are airworthy. For more info, you can check out the Cirrus website for the single or dual caliper Beringer brakes.


    Zach Anderson is a Cirrus Standardized Instructor Pilot (CSIP) for Texas Top Aviation. Zach comes from a auto mechanic background and is very familiar with the ins and outs of maintenance. He started working for Texas Top Aviation in December 2020.

  • Lightspeed Tango Headset

    I recently purchased the new, wireless, Lightspeed Tango headset.  I’m a little OCD, so when a headset wire is banging against my shoulder while I’m trying to tune a radio or point something out, it’s a little annoying. A headset without the wires caught my eye.

    As I’ve stated before in a previous article, I really like Lightspeed headsets.  They are more comfortable than Bose, and a little bit more affordable too.  The noise canceling quality is very high in the different Lightspeed models.  I personally believe it got even better with the Lightspeed Tango.

    Lightspeed Tango

    Let’s talk about the obvious first.  Not having a wire connecting you to the headset jacks is really nice.  You’re not tethered to anything, so your head is free to move anywhere without getting yanked back in place. Lightspeed developed a new technology, called Lightspeed Link, which bypasses Bluetooth or Wifi and connects the Panel Interface to the headset wirelessly.

    The Link technology works pretty well.  The only problem I have noticed is in certain airplanes, I occasionally lose one ear, but after I wiggle the input wires around, the deaf ear comes back up.  It may be a loose connector in the plane itself.

    The really nice thing about the Lightspeed Tango is the fact that it doesn’t need AA batteries anymore. Lightspeed put rechargeable lithium ion batteries in both the Panel Interface and the headset.  You get 12 hours of battery life out of both, far surpassing any length of time you would want to be in an airplane.  If the battery dies, there is a handy aux cable that can connect the Panel Interface directly to the headset (the ion batteries recharge with the included wall charger and USB cables in 2 hours).

    Though the Lightspeed Tango is slightly heavier than the Zulu 2 due to the Link hardware and the lithium ion battery, it is still extremely comfortable.  The ear cups actually fit better over my ears and give me a better seal with glasses on then the Zulu 2 did.  As with all Lightspeed products, there is no squeezing of my head and the cushions on top of the headset sit very comfortably on top of my head.

    The Bluetooth is much simpler to use than the Zulu 2 and definitely simpler than the Bose A20.  Sound quality is very good for phone calls and music.  The volume control on the headset itself is set to make smaller adjustments so you don’t have to deal with wide swings in volume.

    Overall, I’m a big fan of the Lightspeed Tango.  I am recommending them to all the pilots I talk to.  Rolling in at $400 cheaper than the Bose, you can’t go wrong.

    Lightspeed Tango 3

  • The Importance of Transition Training

    In September, the FAASTeam at the San Antonio FSDO put a special emphasis on transition training (AOPA put out a free course last year covering general transition training topics).  A lot of pilots don’t understand the need for transition training or what it even entails.

    Transition training deals mainly with piston engine aircraft, regardless of whether the airplane is a single or twin.  The FAA doesn’t have any special requirements for changing from one piston engine airplane to another, as long as the pilot has the appropriate endorsements (high performance, complex, high altitude, etc.) and is rated in that category and class.

    Transition training is promoted mostly by insurance companies. An insurance company looks at a pilots experience when deciding to insure him or her in a new airplane.  If the pilot has only flown Cherokees and Comanches and is now upgrading to a Malibu, then the insurance company is going to require some transition training with a knowledgable instructor.

    What is transition training?  It is when an appropriate rated pilot needs to learn how to fly a different airplane.  These are referred to commonly as checkouts, but with more complicated airplanes, the training is actually very in depth.

    Using the example above, Pilot A just sold his Comanche 260 and bought a 1987 Malibu.  Pilot A says, “A Malibu is a complex, high performance, single engine piston, which is what I had in my Comanche.  I can fly that, no problem.”  In reality, a Malibu has a lot of differences.

    pa46-transition-training

    First, there are more systems in a Malibu.  You have pressurization, air conditioning, emergency oxygen, turbo charging, and possibly radar.  Not to mention you are dealing with a Continental engine instead of a Lycoming.  And, is it a factory TSIO 520 or a converted 550?  2, 3, or 4 blade prop?  Glass panel or steam gauges?  What kind of autopilot?  Plus, it’s a much heavier airplane so it’s going to fly different, have different rotation and landing speeds and handle differently in stalls.  What’s the sight picture supposed to be on final approach?  What are the emergency procedures?

    Overwhelmed yet?

    An experienced, insurance approved instructor and training program is a necessity when getting into new airplanes.  It makes for safe pilots and safer skies.

    Texas Top Aviation offers Cirrus Transition Training as well as Bonanza Transition Training and Columbia/Corvalis Transition Training.  We are working on an insurance approved Piper PA 46 piston transition course as well (Malibu and Mirage) and will have the course approved by the end of 2016.  Contact us today to schedule your transition training.

  • Textron Aviation’s New Single Engine Turboprop

    An 8 seat, cabin class, single engine turboprop is set to come to market in 2018 from the new aviation conglomerate Textron Aviation (Textron owns Cessna, Hawker, and Beechcraft).  Details were announced last week at the European Business Aviation Conference and Exhibition.  The as yet unnamed aircraft will be equipped with Garmin’s G3000 avionics and will be outfitted with a GE 1,240 Shaft Horsepower engine.

    Cessna TurbopropThe GE engine will be equipped with a FADEC (Fully Automated Digital Engine Control) computer that will allow the pilot to make all necessary power adjustments using just one lever.

    Range will be about 1,600 miles at 285 knots, giving the airplane the same legs as a PC12 at slightly faster speeds, but a smaller cabin.  The cabin will be equipped with a belted lav if desired.

    To read more, check out the AOPA Article here.

Leave a Reply

Your email address will not be published. Required fields are marked *