I took a Piper Malibu to Cabo San Lucas a few weeks back. This was my second trip flying to Mexico, but the first where I arranged everything. Cabo is a beautiful place and the MMSL airport is a fabulous facility. For those who haven’t been fying to Mexico before, MMSL is the place to go. The folks there are extremely helpful and do most of the paperwork for you. You just have to pass along your information to them.
Flying to Mexico and back out is different than flying in the US. First of all, don’t forget your passport. The authorities on both sides frown upon that. You’ll probably get sent back to the US (or sent back to Mexico if you are on your return trip). Your aircraft also needs, Mexican insurance (talk to your US insurance agent) a radio license, and a customs decal.
Second, you’ll have to file an ICAO specific flight plan for flying to Mexico. This is available on Foreflight now, but I really like Fltplan.com’s way of doing it. I don’t fly internationally enough to remember what everything means, but Fltplan.com does a great job of walking pilots through the the different classifications. It’s almost impossible to get confused.
Third, you have to fill out an eAPIS form. This has to be done at least 24 hours prior to departure from the US, but it can be done as far in advance as you’d like. If your departure time changes or your passengers change, you can edit the eAPIS form to bring it current.
Flying to Mexico IFR is a lot simpler than flying VFR. I have only flown IFR and it is very easy. I’m already on a flight plan, already squawking a discreet code, and already on radar, so there really isn’t any way I can mess up the ADIZ penetration. I really recommend going in and out of Mexico IFR instead of VFR.
Once you land in Mexico, you have to close your IFR flight plan. The tower doesn’t do this for you. After clearing customs, you’ll have to pay a landing fee and sign your flight plan confirming you have arrived and closing it out.
When departing, you have to file another eAPIS 24 hours in advance. Wherever you plan on clearing Customs in the US, you’ll need to call the Customs office no less than 1 hour, but not more than 23 hours before arrival. It’s called an Advanced Notice of Arrival.
You’ll need to fill out a paper flight plan before departing, clear customs again to leave, then away you go.
There are a lot of really fun getaways in Mexico and flying there doesn’t have to be difficult. When you have the right information, flying to Mexico can be a breeze!
A few years ago I took off out of Chicago’s Dupage airport (KDPA) in a Bonanza headed for Deck Airport (9D4), a small uncontrolled airport about 60nm to the west of Philadelphia. It was late November and, unfortunately, due to some unexpected ice, I found myself flying a significant portion of the flight at 4-5,000 feet instead of the 11,000’ at which I had originally planned. This was an issue because I was burning significantly more fuel at 4,000’ than I would have at 11,000’. I did my fuel planning math and came to the conclusion that I would still make it to 9D4 with the required minimums. On I flew, watching the number on the totalizer decrease.
I arrived at 9D4 after dark. Although I didn’t think I would need one, I ended up having to fly an approach to get down below the cloud deck. My troubles weren’t over. After breaking out of the clouds, I was terrified to realize that the runway lights weren’t working.
Now, I had a problem. I was in a relatively unfamiliar area in marginal VFR at night and I was quickly running out of options as far as my fuel was concerned. Fortunately for me, 9D4 is located 14nm north of Lancaster Airport (KLNS), which is a towered airport with very nice approaches and facilities. Also working in my favor was the fact that Lancaster was reporting VFR. I headed as quickly as I could for Lancaster and landed uneventfully.
When I landed I had the required fuel minimums on the airplane, but I managed to scare myself pretty thoroughly. I realized that while I had been forced to deal with some unexpected complications: icing forcing me down several hours before my planned descent and inoperative runway lights that were not listed in the airport NOTAMs. I was very blessed that Lancaster was so close by and that I was able to land without having make an approach. Had LNS not been VFR, I could have easily burned through another 15 minutes of fuel maneuvering for and executing an approach. If, for some reason I’d had to go missed or perform a hold, I would have gone through my remaining fuel pretty quickly. To me, this is a classic example of “just because it’s legal, doesn’t mean it’s safe.” I realized I needed to change how I did my fuel planning.
Since then, I have enforced a personal minimum: 18 gallons must be on the Bonanza at the time I reach my destination. If things change un-expectedly enroute and I realize I won’t make it to my airport with at least 18 gallons, I stop. I had always tried to have an hour of fuel on board as a reserve, but having a hard number is an easy way for me to make decisions.
Having a fuel totalizer installed in an airplane is a really nice way to upgrade the panel and give the pilot a clearer idea of how much gas is being burned/ how much is remaining. The totalizer installed in our Bonanza is a JPI Fuel Flow 450. It has a lot of nice features which make fuel management chores much easier. If a totalizer is something that you are considering installing in your aircraft, or if you have one already, here are a few things that I’ve learned from my experience flying with them.
The JPI 450 totalizer installed in the Bonanza
(photo credit: www.jpinstruments.com)
While helpful, don’t rely too heavily on the totalizer to do your fuel math for you. Similar to the negative effect that using GPS navigation can have on a pilot’s ability to navigate via a chart, over dependence on digital fuel systems can lead to problems. A fuel totalizer should be telling you what you already know, not doing all your math for you. Do your fuel math and confirm it with the totalizer. If it failed, you should still know how much you have and how much is needed.
Likewise, don’t rely completely on the accuracy of a totalizer. Technology isn’t perfect, and if the instrument isn’t quite calibrated correctly, the numbers could be wrong. Fuel information is absolutely critical, and thus warrants constant monitoring and double checking. When you do arrive at your destination, keep track of how much fuel the airplane takes and compare it to the numbers on the totalizer to verify its accuracy.
Unless you are flying an airplane which has a “both” setting, you will still need to be keeping track of how much fuel is available in the aircraft’s individual tanks. For example: our Bonanza has two tanks, but the totalizer doesn’t keep track of that information. If I don’t remember to switch tanks, I can run one completely dry and the digital read out will indicate the remaining gas in the other tank. The totalizer won’t indicate anything about the individual tank quantity until the engine quits and the flow drops to zero.
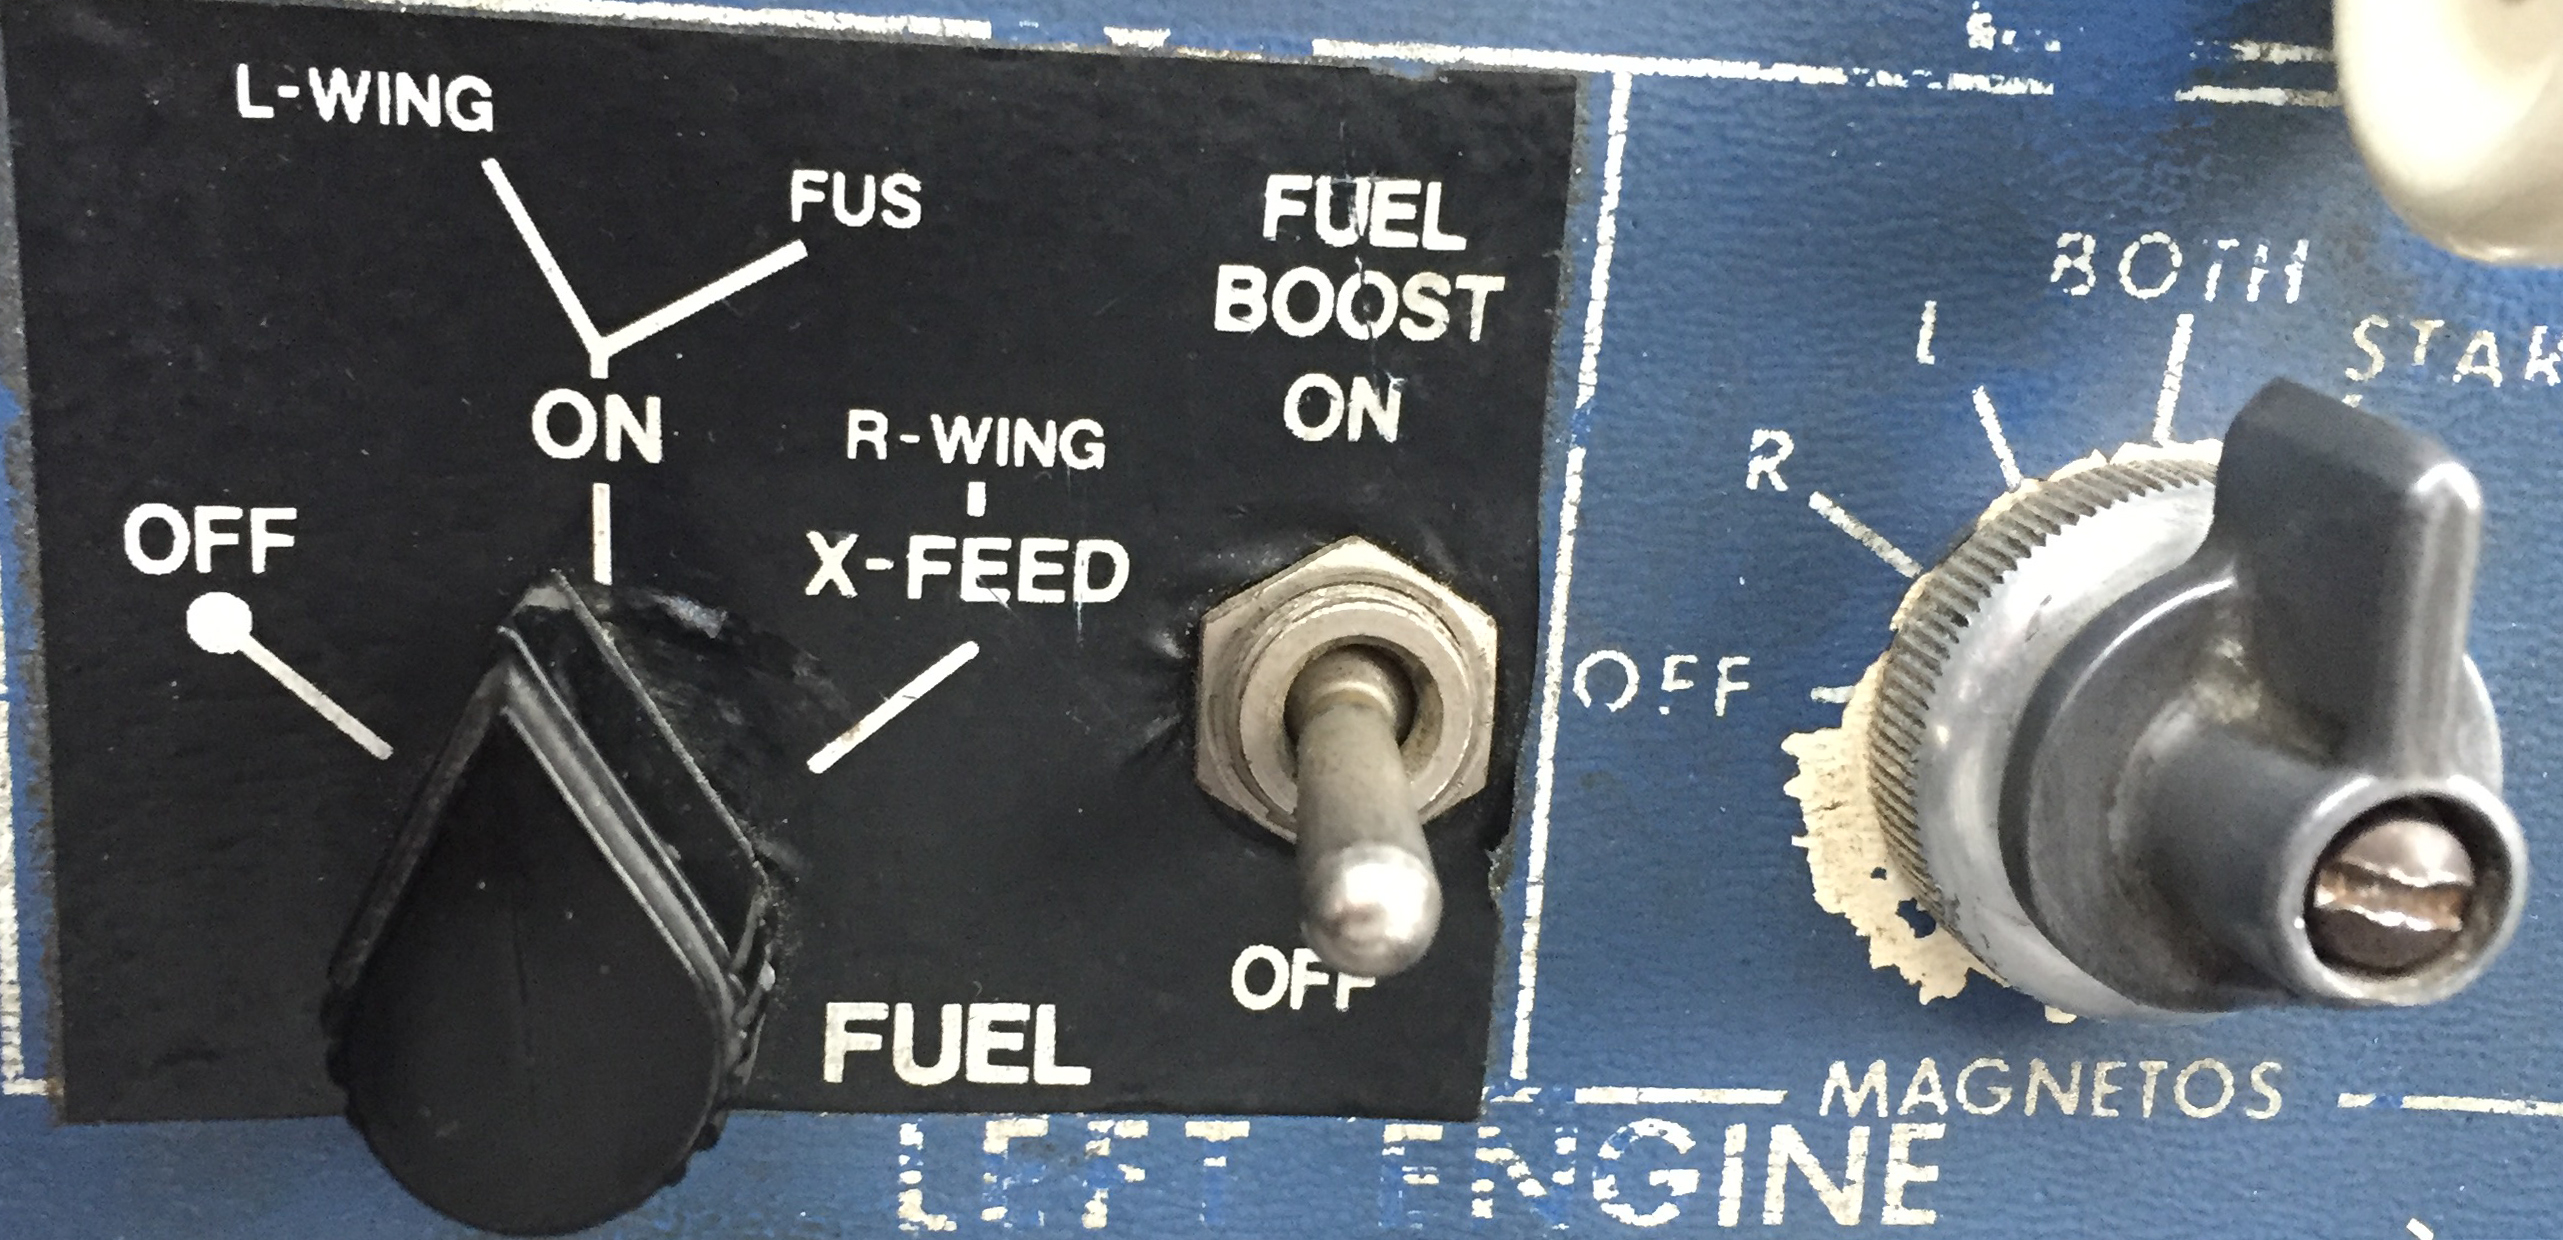
Pictured below on the left is a fuel selector from a Piper Aerostar. The airplane has two selector valves and three fuel tanks. While the system is not difficult to use, it does require proper understanding and regular monitoring to ensure that the fuel is distributed correctly. The picture on the right is the selector out of an A36 Bonanza. I love the simplicity of the Bonanza’s fuel system, but it still takes attention and intention on the part of the pilot to keep track of how much gas is available on either side.
The JPI unit that we have installed on our airplane even has an “hours and minutes remaining” screen as well as a “fuel required” screen. The totalizer actually talks to the GPS and is able to tell me how much gas I will need to get to my destination. Just remember that those numbers are computed only at the current flow and do not take into account the potential increases/ decreases in consumption which will occur as power settings are changed for descent and arrival into the airport. I may feel pretty good about my hours and minutes remaining when I’m sitting at 12,000 feet, but when center makes me descend to 5,000’ and I’m still an hour away from my destination, endurance will decrease. It also can’t take into account any additional flight time that may be required to shoot approaches, hold, or divert.
Have you ever heard of “G.I.G.O?” It stands for “Garbage In, Garbage Out.” What it means is that the information which the fuel totalizer is giving the pilot is only as good as the information that the pilot gave it at the beginning of the flight. The totalizer in our Bonanza does not have any method of checking the quantity in the fuel tanks. At start up the pilot inputs the amount of fuel on board the airplane and the totalizer keeps track of how much is burned which is then subtracted from that inputted number. Ergo, if the amount of fuel is not updated or is incorrect, the fuel total numbers displayed will be inaccurate. If a pilot told the computer that the tanks had been topped off, but didn’t verify it, the fuel could be exhausted and the totalizer would still indicate that there was fuel available. It is, therefore, VERY IMPORTANT to confirm the airplane is fueled to the amount desired (visually if possible) and use the fuel gauges in the airplane to verify the accuracy of the totalizer.
Use a timer: I like to use the timer on my phone to remind me when it is time to switch the fuel tanks. If I set the phone to vibrate and put it in my pocket, it will remind me to change tanks at the desired time if I haven’t remembered to otherwise. It’s also nice because I can write down exactly at what time (or quantity) I changed tanks so I can keep very accurate track of how much fuel I have in any given tank. This is especially helpful in airplanes that have more than two fuel tanks. Another option is setting the timer on a Garmin 430, 530, or G1000 to give an alert or message reminding the pilot to change tanks at a preset time.
It shouldn’t come as news to anyone that the importance of fuel planning cannot be overstated. I personally know multiple people who have run airplanes out of fuel because their planning wasn’t quite right or the weather changed and they were unwilling to take the time to stop. In the case of my Bonanza story earlier in this article, it was obvious to me before I even landed that I should have picked a fuel stop when it became apparent that I would arrive at my destination with less than my desired one hour margin.
The technology that we have now to help us keep track of our fuel usage is wonderful, but use it as an aid; not as your only source of fuel calculation. Remember to verify the amount of fuel on the airplane before you go because the number on the totalizer won’t mean anything if it doesn’t match the amount in the tanks! Above all, don’t be afraid to stop and get fuel when you need it. I’d rather have to tell the passengers that we need to stop for gas than deal with the potential consequences of running out.
Andrew Robinson is a 135 Charter Pilot and flight instructor who lives with his wife and 2 daughters in Pennsylvania. He flies Pilatus PC-12s and instructs in Beechcraft Bonanzas.
Almost all IFR pilots are familiar with visual approaches and what the requirements are in order to fly a visual approach. As a refresher, the Instrument Procedures Handbook defines a Visual Approach as “an ATC authorization for an aircraft on an IFR flight plan to proceed visually to the airport of intended landing; it is not an [Instrument Approach Procedure]” (page 4-56).
For ATC to issue a Visual Approach, the pilot must have the airport or the traffic to follow in sight. Once the pilot reports the airport or the traffic in sight, ATC can clear the aircraft for a visual approach.
A limiting factor for a visual approach is ATC’s Minimum Vectoring Altitude. “This altitude, based on terrain and obstruction clearance, provides controllers with minimum altitudes to vector aircraft in and around a particular location” (Instrument Procedures Handbook page 1-42). ATC has to restrict aircraft to these MVAs, which can sometimes be quite high due to terrain or obstacles in the vicinity of the airport.
Every pilot has been in a situation with a high MVA that ATC can’t get them below, but it’s solidly MVFR or VFR at the destination airport. The MVA keeps the pilot in the clouds, so a visual approach isn’t possible since the pilot can’t see the airport or the traffic to follow. This can lead to extra time to go out and fly an approach.
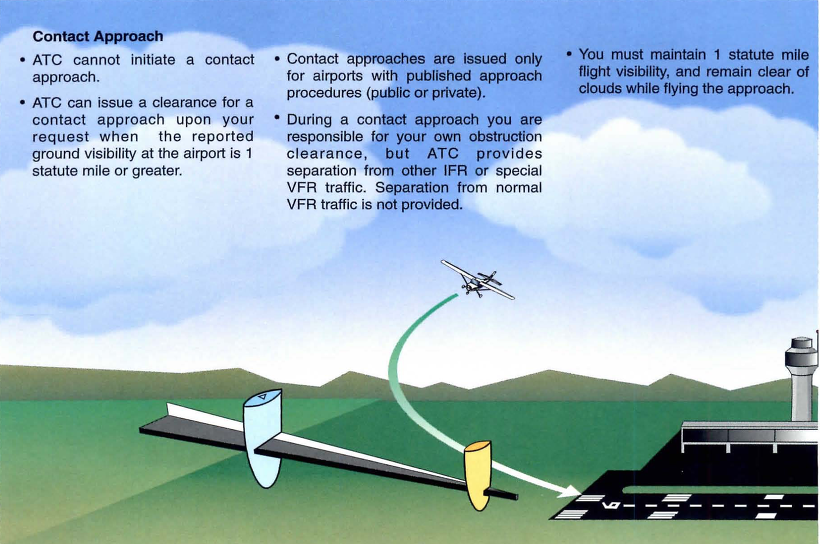
Enter a Contact Approach. A Contact Approach is different then a Visual Approach. “The main differences between a visual approach and a contact approach are: a pilot must request a contact approach, while a visual approach may be assigned by ATC or requested by the pilot; and a contact approach may be approved with 1sm visibility if the flight can remain clear of clouds, while a visual approach requires the pilot to have the airport in sight, or a preceding aircraft to be followed, and the ceiling must be at least 1,000 feet AGL with at least 3sm visibility” [Instrument Procedures Handbook page 4-57].
Here’s the simplified explanation: A pilot does not have to have the airport in sight to request a contact approach. All that is required is for the airport to be reporting at least 1sm visibility and for the pilot to remain clear of clouds.
When would this be helpful for an IFR pilot? Good question. Here’s a scenario.
Pilot Smalls is about 20 minutes from his destination, which is an uncontrolled airport with only one approach to runway 17. He is approaching from the south and the initial approach fix for the approach to 17 is about 15 miles north of the airport. The airport is under Center control. When he has arrived at this destination in the past, Center usually could only vector him down to 4,000 AGL. He is very familiar with this airport and the surrounding area as he comes to this destination at least 2-3 times a month for business.
Pilot Smalls listens to the AWOS, which is reporting a 2500 foot scattered layer and 10 miles visibility. He knows it is right traffic for 17 since there is a 2,000 foot antenna on the east side of the field. There is some hilly terrain around, but all the terrain is well below pattern altitude and doesn’t cause a safety issue.
Looking out at the clouds, Pilot Smalls observes that the cloud layer is scattered to broken, but more scattered on the west side of the airport, with several large openings that he can see the ground through. Center asks for his approach request and Pilot Smalls requests a visual approach. Center gives him a descent to 4,000 AGL, their MVA for the area. They tell him to report the airport in sight for the visual approach.
At 4,000 AGL, Pilot Smalls is going through the scattered layer of clouds, but can see the ground in between the clouds and deems he has room to maneuver safely between the clouds and stay clear of them. He can’t see the airport, so a visual approach seems unlikely. He can’t cancel IFR because then he would have to keep the VFR cloud clearance and visibility requirements in Class E airspace (1,000 feet above, 500 below and 2sm horizontally), which isn’t possible in this case.
5 miles from the airport, ATC states, “N12345, I’m going to have to send you out for the approach since you don’t have the airport in sight.” Pilot Smalls then requests a Contact Approach. ATC clears him for the Contact Approach to his destination, so Pilot Smalls descends through a break in the clouds, remaining clear of clouds, until he gets below the base of the ceiling. He maneuvers onto the right downwind, lands and cancels IFR.
Contact approaches can be useful at controlled and uncontrolled airports. The first time you request one, do so with a higher ceiling and some room to maneuver to keep your safety margins. After you’ve done a few, you can determine what your personal minimums are for a Contact Approach.
I would not recommend doing a Contact Approach at an airport you are unfamiliar with. It’s vital to know what obstacles are around since on a Contact Approach, the pilot is now responsible for traffic avoidance and terrain avoidance, whereas on a visual approach, ATC resumes that responsibility.
There was a bill introduced in Congress recently to take control of Air Traffic Control away from the FAA and give it to a private, for profit, corporation. The initial reaction of pilots is “Ahhh! User fees!” which we are all adamantly opposed to. There are a myriad of reasons why this is a bad idea (the “Flying” article makes a comparison to giving NASA to Richard Branson and Jeff Bezos) and we as pilots should be against it.
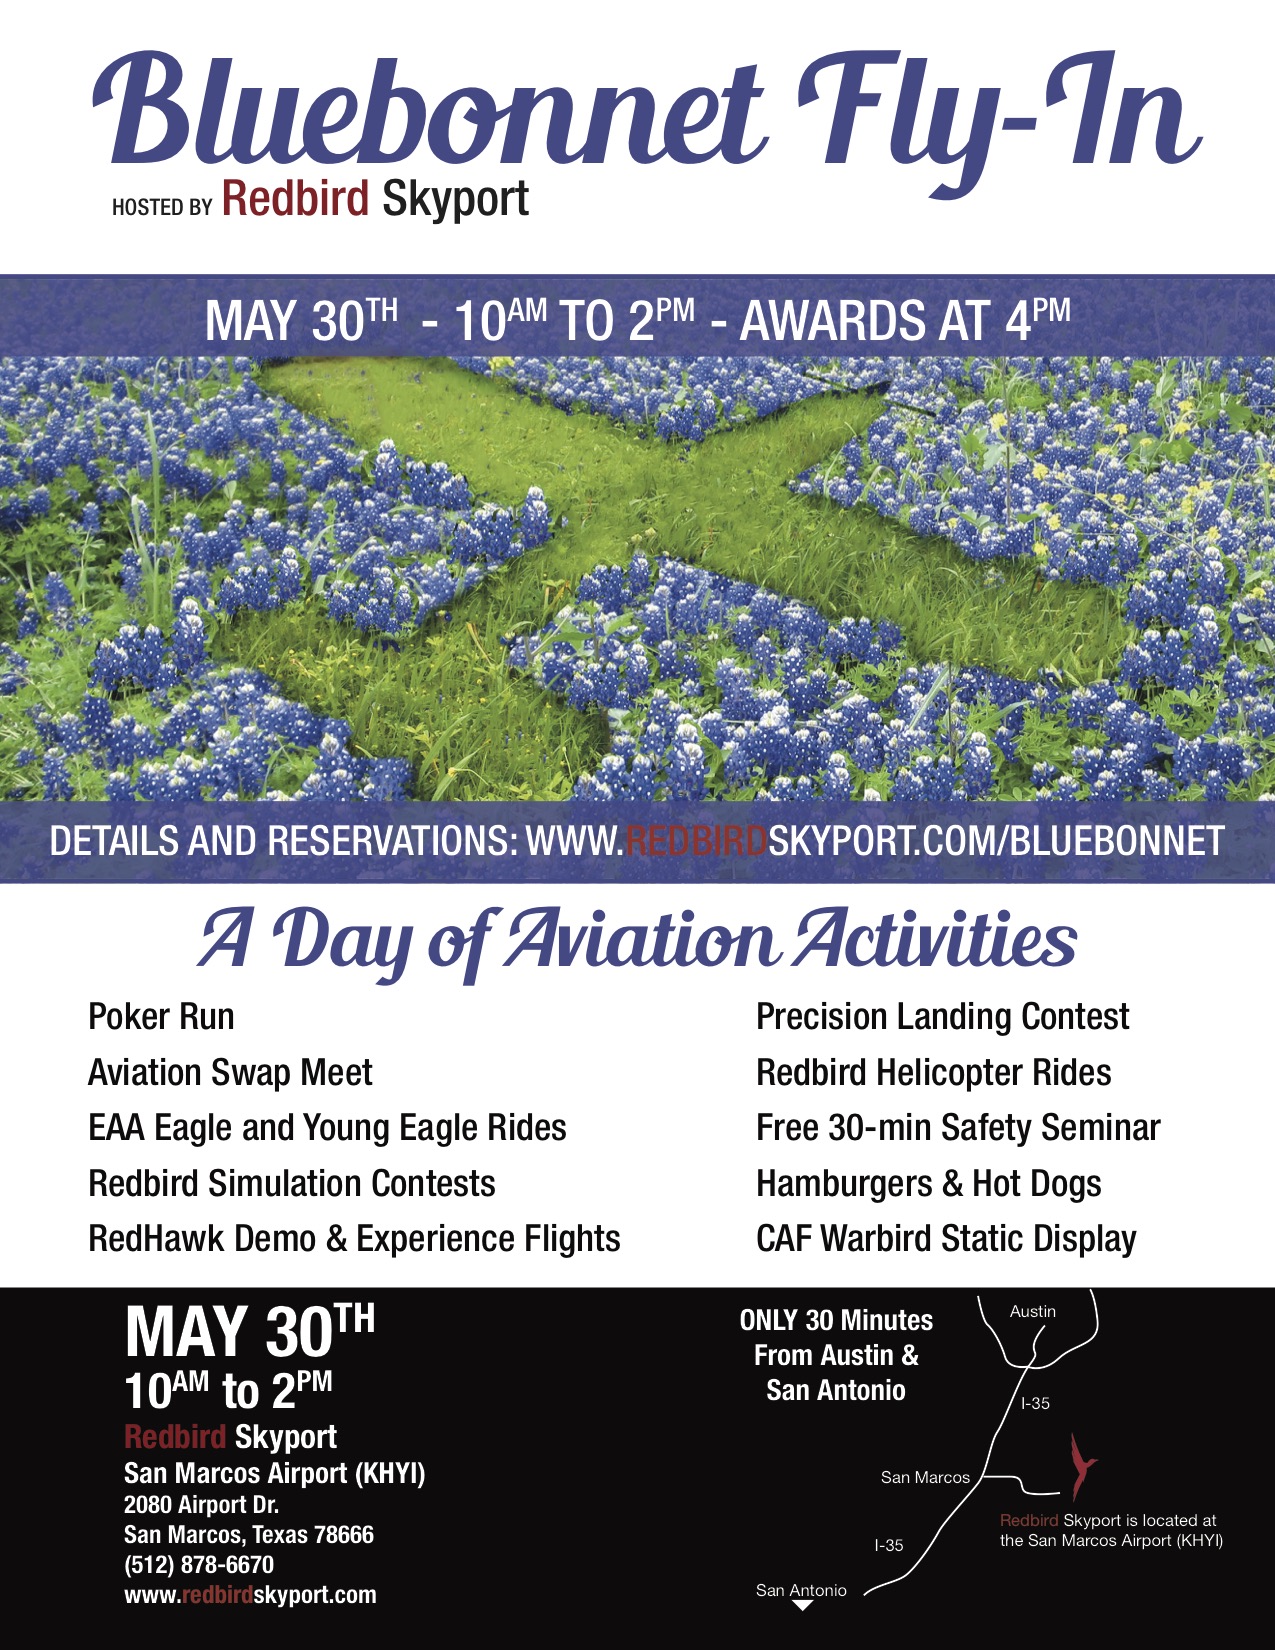
Come out to Redbird Skyport at the San Marcos Municipal Airport on Saturday, May 30th for the Bluebonnet Fly-In. Hank Gibson from Texas Top Aviation will be giving a safety presentation at 2pm in the large conference room entitled “Is The Approach Activate? Flying Garmin Approaches.”
Join Texas Top Aviation and Redbird Skyport as we open the summer together at the Bluebonnet Fly-In.
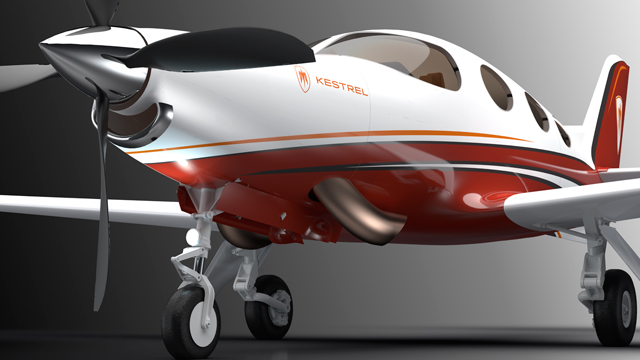
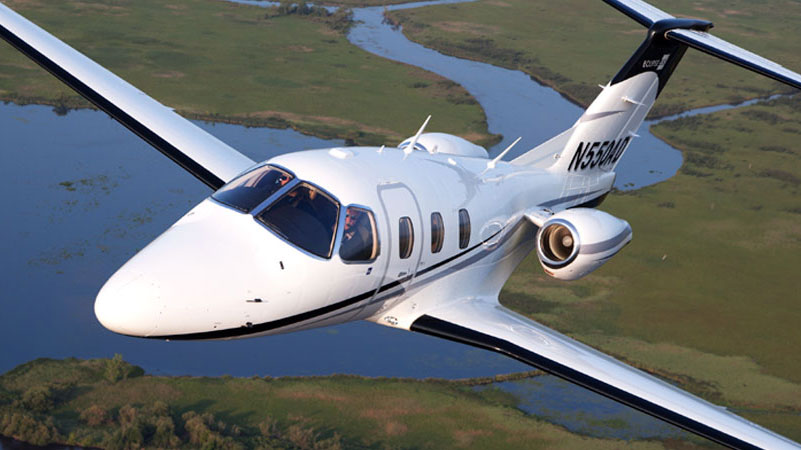
Earlier this month, Eclipse Aerospace and Kestrel Aircraft merged to form ONE Aviation. Most pilots are familiar with Eclipse, who makes the Eclipse 550 jet, but not many have heard of Kestrel Aircraft.
Kestrel Aircraft is run by Alan Klapmeier, co-founder of Cirrus Aircraft and brother to Dale Klapmeier, who still runs Cirrus. Klapmeier joined Kestrel in 2010 and brought innovation to the K350 Turboprop design that Kestrel was developing. Kestrel has been lacking in investors to further their project, but the merger will help a lot in getting more funding. Klapmeier assumed the CEO role for ONE Aviation.
The merger will also help bring more innovations to the Eclipse 550. The original Eclipse Jet was a miserable failure and the company went into bankruptcy in 2009. The Eclipse Jet came back to market in 2013 as the Eclipse 550 with many much needed improvements, including making GPS a standard amenity.
Klapmeier and his genius will lead ONE Aviation in good directions. The K350 will come to market a lot sooner as more investors will be drawn to the company, while the Eclipse 550 will continue to see new and innovative developments.
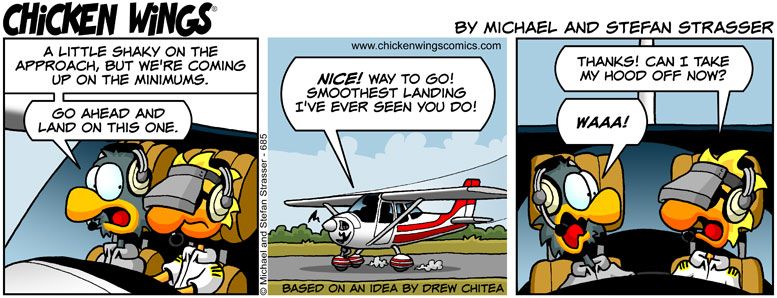
Most of us who have been through instrument training are familiar with the traditional view limiting devices. There is the original hood, which does a decent job of blocking a pilot’s view of outside, but there are still gaps that allow “peeking”, though that peeking doesn’t really help a pilot fly an approach. It does help them figure out which way is up, so it’s not a true simulation.
The other problem with a hood is the process of putting it on to begin simulating IFR conditions, then taking it off when it’s time to land. This process takes time and the instructor has to take the controls (or the autopilot flies), losing some of the realism of the simulation.
Overall, an IFR hood is relatively comfortable. The elastic band sits under your headset, doesn’t squeeze your heard, and doesn’t press underneath your ear cups of the headset, giving you a headache. Hoods are large and somewhat unwieldy.
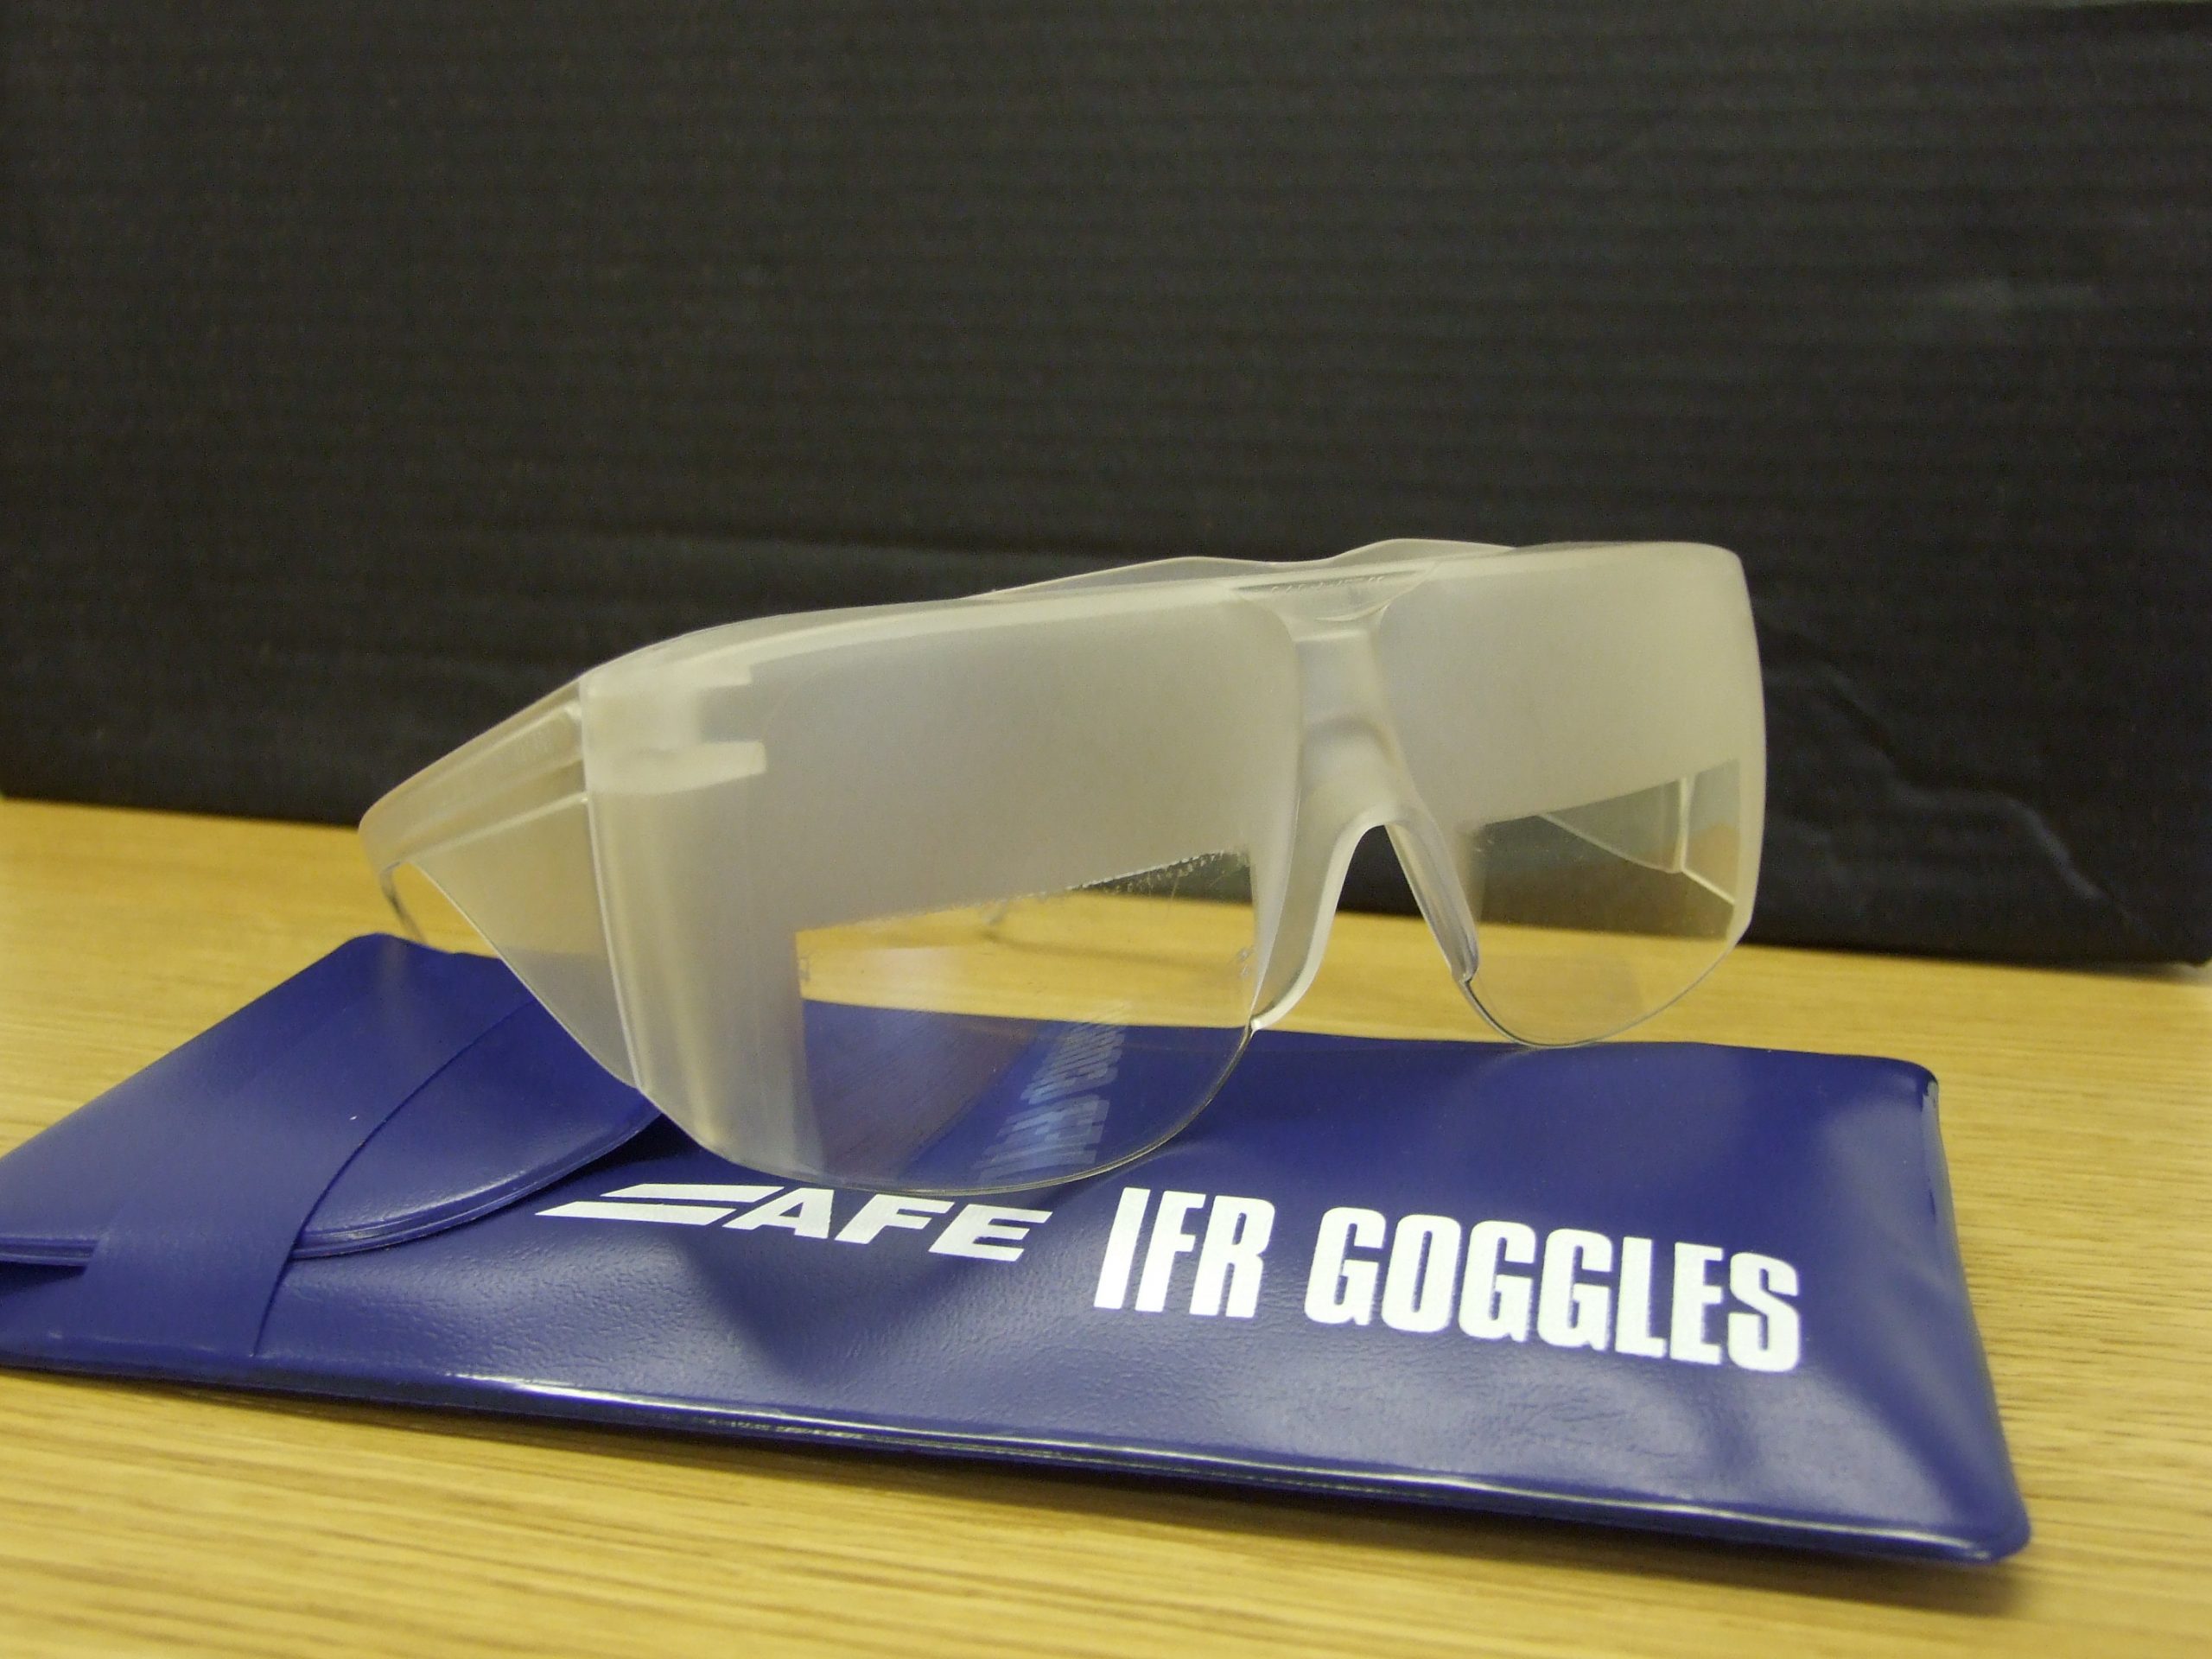
Foggles are another way to simulate IFR conditions for training. Most of the time, these are safety glasses that have most of the lens blacked out or fogged out, leaving little slits at the bottom for the pilot’s eyes to see the instruments.
Foggles aren’t quite as good as an IFR hood at blocking the outside. Due to their shape, there are often cracks that allow more “peeking” then a hood. The process of beginning to simulate IFR conditions and ending the simulated IFR conditions is easier though, since all the pilot has to do is put the foggles on or slip them off, which can often be done one handed (putting them on can be more difficult one handed since they have to fit underneath your headset). Wearing them for a long period of time can get painful as your headset is probably going to start crushing them against the side of your head.
The best comfort and view limiting combination I have found, so far, is called the ViBAN. It’s very comfortable and does a really good job of simulating IFR by blocking a view of the outside.
What’s the whole goal behind a view limiting device? When a pilot starts instrument training, ideally, all the training would take place in the clouds, since that is why someone get’s an instrument rating. As we all know, this isn’t possible, hence the need to simulate IFR conditions. The problem with simulating IFR is, it’s not true IFR. True IFR conditions are different then what a hood or a set of foggles can simulate. This can lead to spatial disorientation if a fresh instrument pilot enters the clouds for the first time, having done all his training in simulated conditions.
I’ve even heard a story of a pilot who did all his IFR training with a hood, passed his check ride, went into the clouds the first time, and put the hood on because he was getting disoriented since he hadn’t ever experienced true IFR.
What about full motion simulators? How I wish every airport had a full motion simulator for instrument training. Full motion sims are truly the best way to simulate IFR conditions. A pilot can easily get spatially disoriented in a sim if he or she isn’t careful. It’s a great way to simulate IFR conditions, but, alas, this just isn’t possible.
Are we doomed to just do an okay job of training instrument pilots in simulated IFR conditions with a hood or foggles?
Nope, at least not anymore.
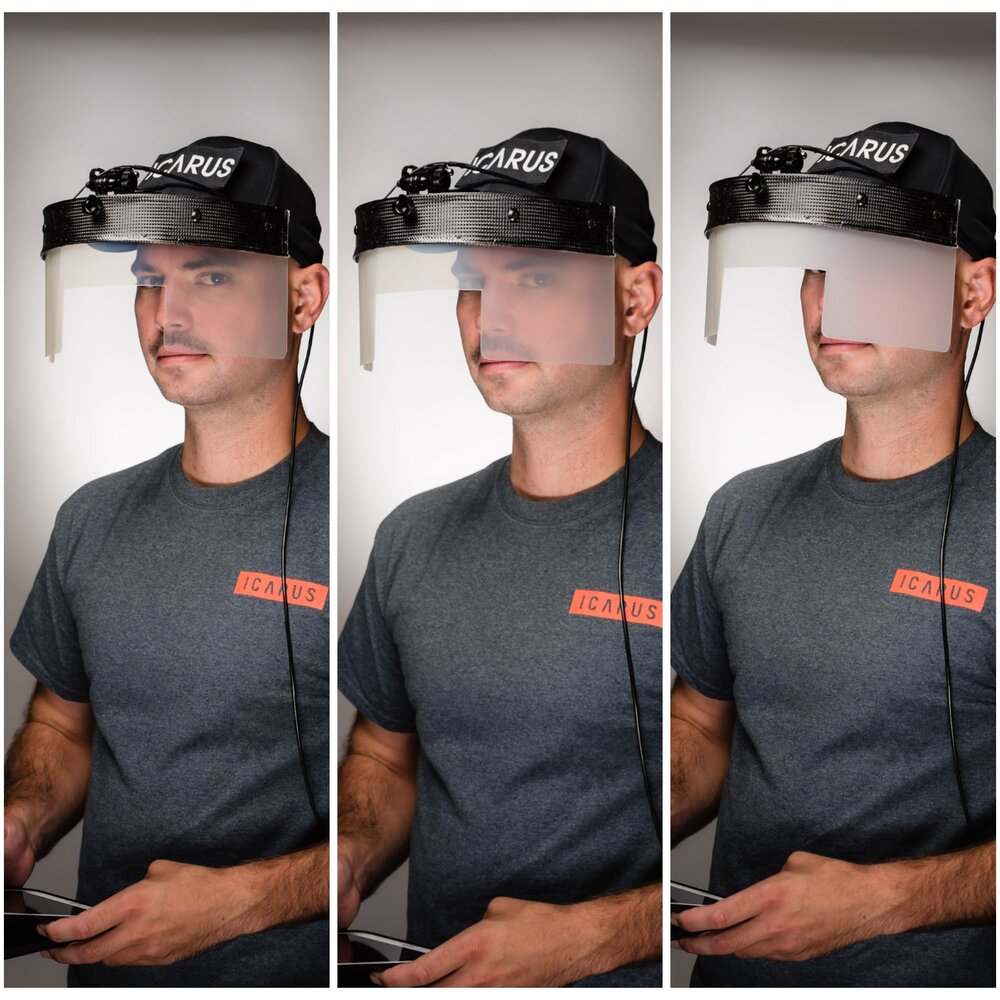
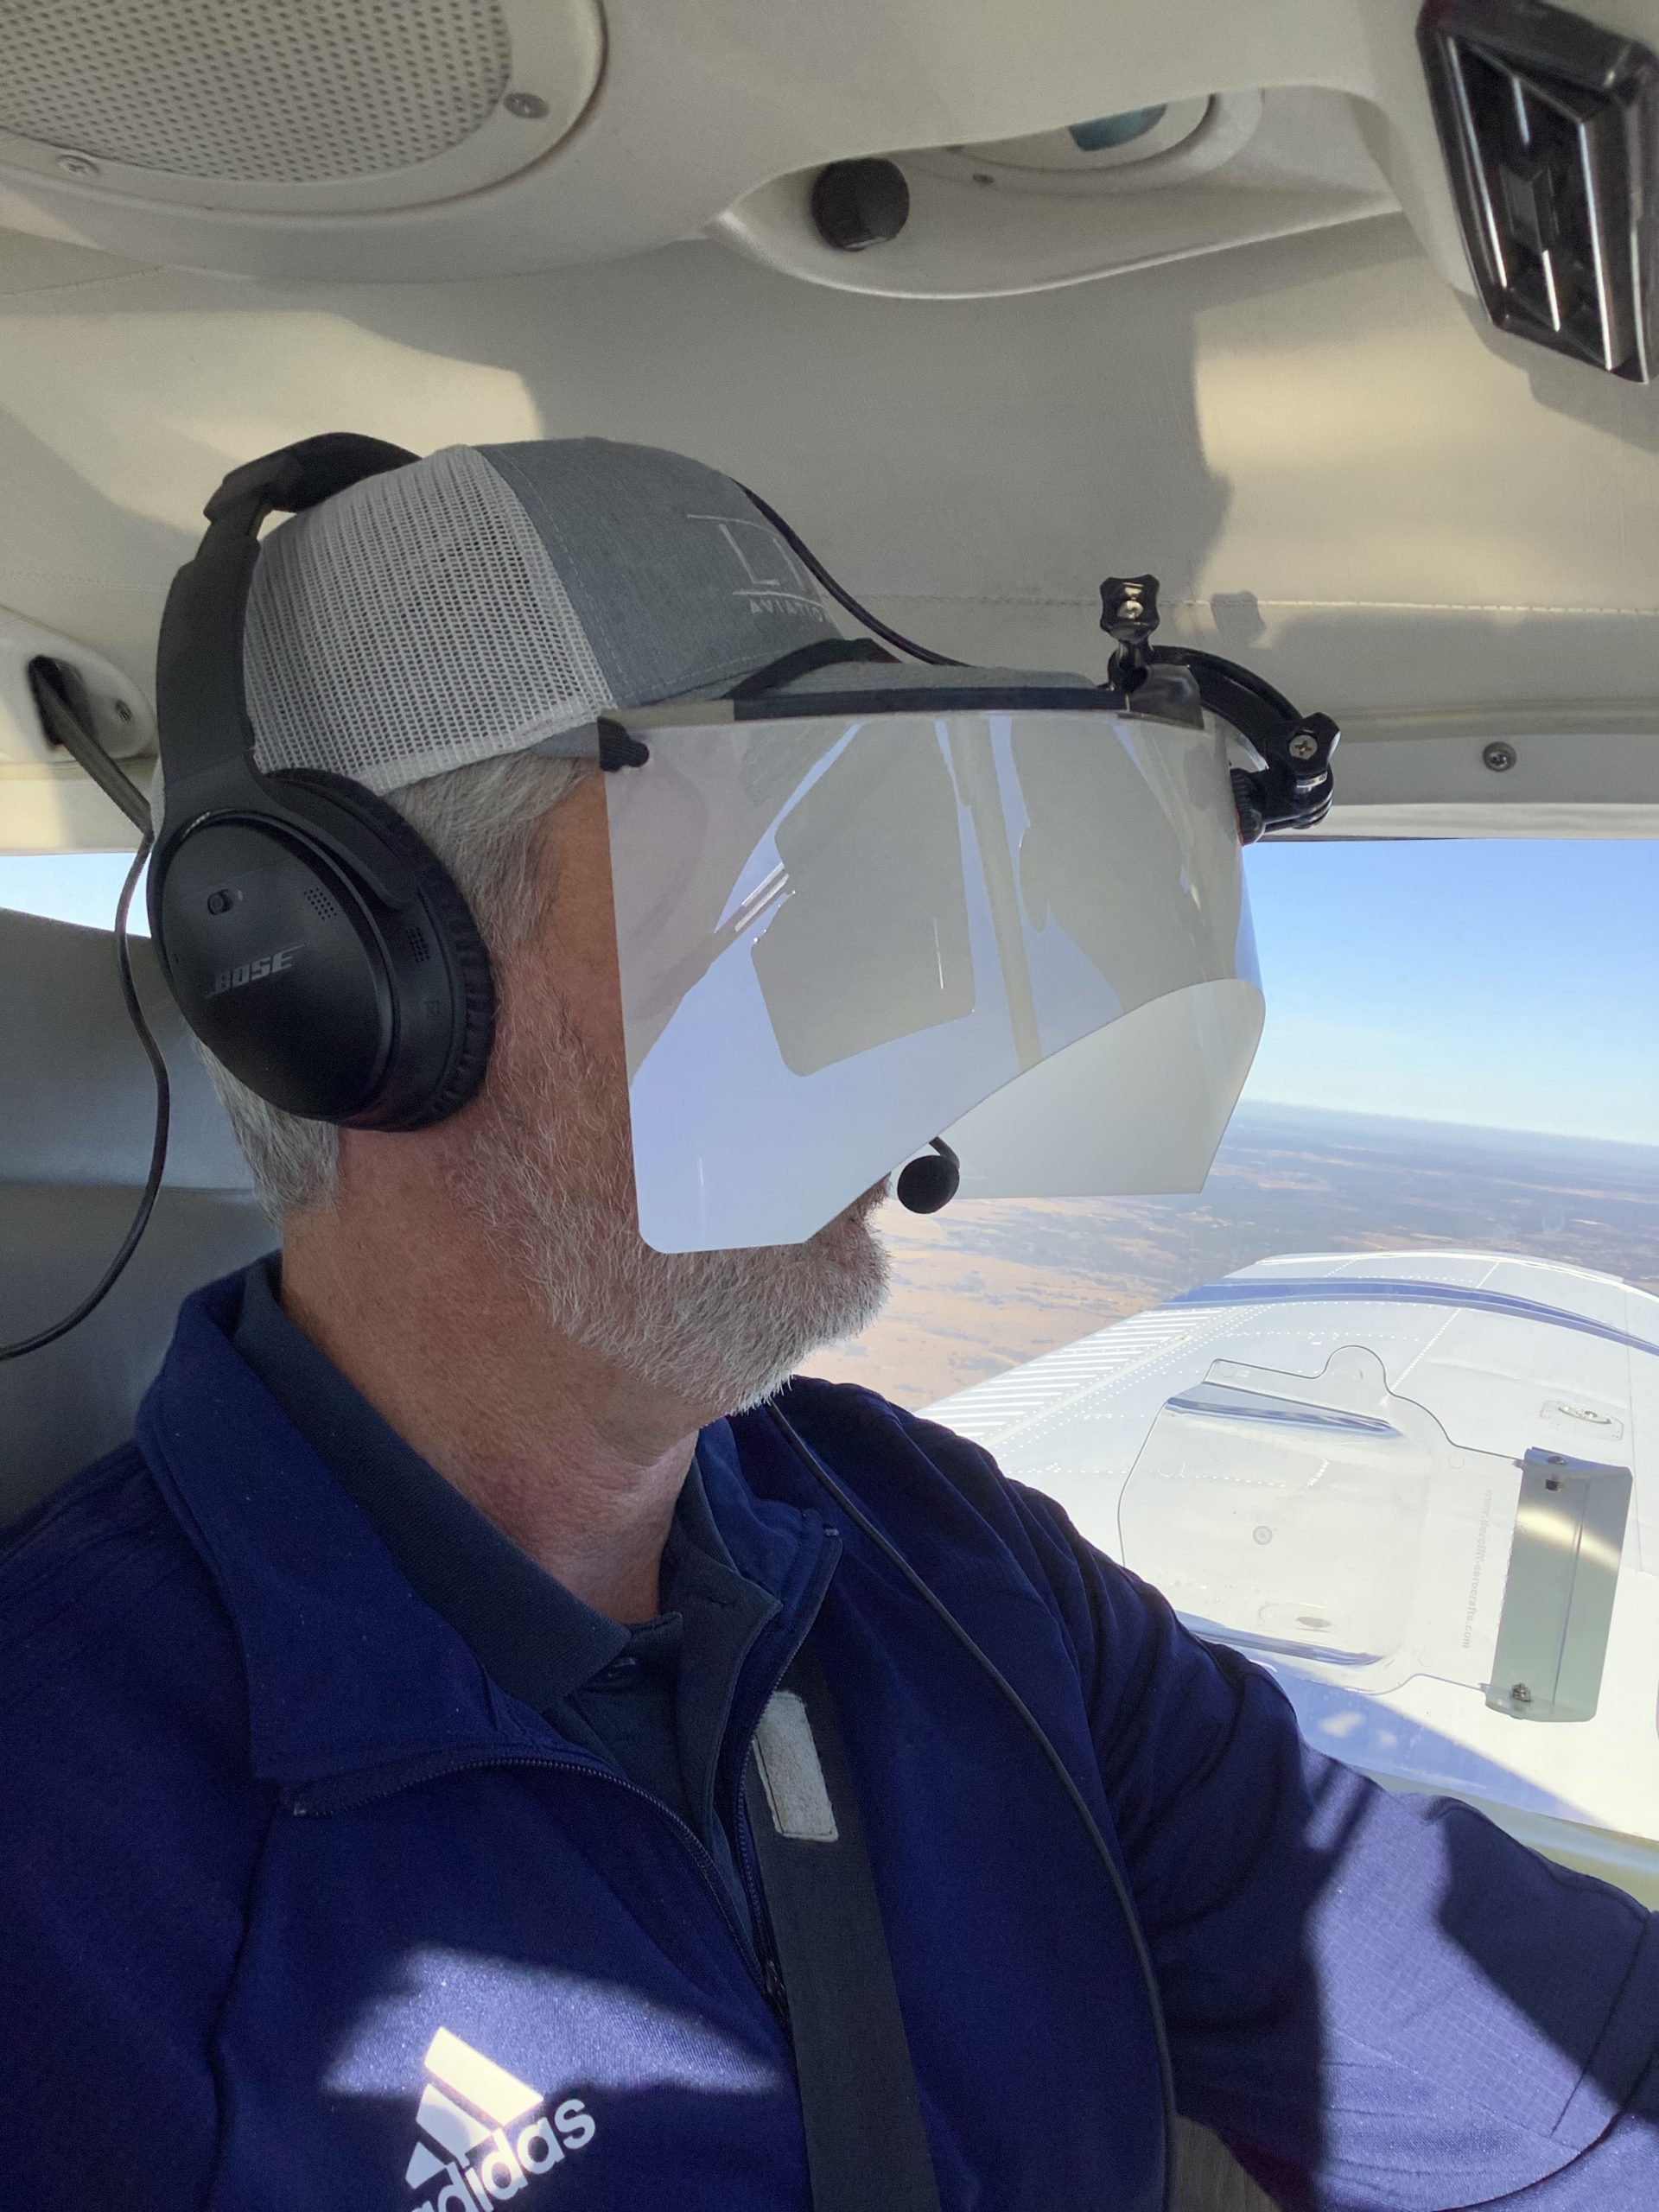
Enter the ICARUS Device. The ICARUS Device, which stands for Instrument Conditions Awareness Recognition and Understanding System, is an amazing piece of equipment which truly simulates IFR conditions in the training environment. The ICARUS is a plastic shield that uses a Polymer Dispersed Liquid Crystal film that allows the degradation of a pilot’s visibility. It clips on to a baseball cap and is attached to a battery. That battery is then bluetoothed to an iPad or iPhone App that allows the instructor to put the pilot into and take him out of simulated IFR conditions.
Originally designed for helicopter training, it’s an excellent tool for fixed wing IFR training too. I’ve been using it for the last month and a half and I am hooked. The customer’s that I have used it with truly say that they cannot see a thing outside. Because the plastic shield turns white, it really does give the view that the pilot is in the clouds. The inner ear certainly believes it. The curve of it fits the glare shield in most planes nicely (there is some custom cutting that would have to take place for specifically rounded glare shields, but it fits Cirrus and Piper Saratogas nicely, the two planes I have used it in), and it sits away from the pilot’s face, blocking out all windows, which is what clouds do.
The greatest thing from an instructor’s standpoint is the ICARUS Device app. The pilot puts the device on before taxi and I set the app to VMC. This completely clears the ICARUS Device so the pilot can see just fine for taxi and takeoff. Then, at about 400 AGL, I tap the <1/2 VIS button on the app, and boom, the pilot is in the clouds. I even have a time delay to slowly make the ICARUS Device opaque to simulate slowly entering the clouds. I do the same thing on an approach, except in the reverse order, simulating we are slowly exiting the clouds.
The ICARUS Device is a game changer for IFR training. It’s comfortable, easy to use, the battery lasts for a long time (though bring a standard USB charging cord with you in the plane because the battery failure mode makes the ICARUS Device opaque instead of transparent. You don’t want that to happen at 200 AGL!), and, most important, it truly simulates IFR conditions.
After using it, I believe all flight schools and CFII should get one of these, both in the fixed wing and helicopter world. It’s the best option for simulating IFR conditions.
Texas Top Aviation, LLC was given an ICARUS Device by the ICARUS Device company to test. Texas Top Aviation, LLC was not paid for our above opinion on the ICARUS Device (trust me, if it was terrible, I would have told you!).