In the Pre-Takeoff Checklist for any Cirrus aircraft, it calls for pilots to perform a Cirrus Autopilot Check. It is prudent to check the autopilot before your flight to ensure that all aspects of the autopilot are working properly. The only problem is, the checklist doesn’t spell out how to perform the Cirrus Autopilot Check. You would have to go to the POH for the airplane, which is usually in the back seat or a bag somewhere and therefore hard to get to, in order to find the procedure.
The procedure for checking the autopilot is slightly different depending on what autopilot is in your airplane. The procedures for all three are below.
S-TEC 55x
Sync the heading bug to your current heading
Activate heading mode on the autopilot
Twist the heading bug left and right to ensure the ailerons move left and right
Sync the heading bug to your current heading
Activate vertical speed mode on the autopilot
Move the vertical speed bug (or the vertical speed on the altitude pre-selector if you have a steam gauge Cirrus) up and down to ensure the elevator moves accordingly
Ensure you can overpower the autopilot
Press the autopilot disconnect switch to ensure the autopilot shuts off
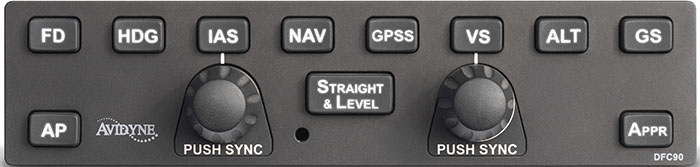
Avidyne DFC 90
Press the AP button to activate the autopilot
Ensure AP, ROLL, and PITCH Annunciations are depicted in green on the top of the PFD
Set the heading bug 90 degrees from the current heading
Press the HDG button on the autopilot
Ensure the ailerons are moving in the proper direction and HDG is annunciated on the top of the PFD
Ensure you can overpower the autopilot
Press the autopilot disconnect switch on the stick and ensure the autopilot has disconnected
Garmin GFC 700
Press the AP button to activate the autopilot
Ensure you can overpower the autopilot
Press the autopilot disconnect switch on the stick to ensure the autopilot has disconnected
Earlier this year, Cirrus debuted it’s new Learning Management System (LMS), Cirrus Approach. For several years, Cirrus has led the way in online systems training while using several different platforms for it’s LMS. Cirrus Approach is the culmination of lots of sampling and tinkering, and boy, did Cirrus knock it out of the park.
For those of you unfamiliar with the Cirrus training program, here is the quick rundown. When a pilot who has no Cirrus time buys a Cirrus aircraft, initial transition training is required to familiarize the pilot with the aircraft systems, speeds to fly, power settings, etc. The Cirrus Transition Course is a 3 day that gets a VFR pilot up to speed in the airplane. Under the Cirrus Embark program, those 3 days of training are covered by Cirrus and free to the new owner.
If the pilot is an IFR pilot, then the 5 day Cirrus Advanced Transition Training Course is required. If the pilot has Cirrus experience, but with a different engine or avionics configuration, there are courses for that too. The Cirrus Embark program covers 3 days of training for most courses for a new Cirrus owner.
As part of the aforementioned courses, there are systems to learn about and procedures to understand. This is where the Cirrus Approach LMS excels. Cirrus has done a great job of putting together lots of good videos (that are actually interesting but not annoying) on the airplane, systems, how to fly it, etc. for each course. It cuts down greatly on the time that the training instructor has to spend on the ground with the pilot since the pilot has already compiled knowledge through Cirrus Approach.
Cirrus Approach is accessible online at learning.cirrusapproach.com. To get access to the courses, create an account, then select the Learning Catalog. The courses are categorized based on the type of training (Transition, Advanced Transition, Avionics Differences, Airframe & Powerplant Differences, Recurrent, and Specialty), then further broken down into the type of airplane, engine and avionics (eg. SR22T G6 Perspective+). Make sure the correct engine and avionics configuration is selected! Notice, there is a difference between the SR22T and SR22 (Turbo & Non-Turbo).
Anyone can do the specialty courses. I would highly recommend for everyone to take the Engine Management course as well as the Icing Awareness Course for you TKS and FIKI operators. The Takeoff & Landing course is a good refresher course for a pilot who hasn’t done any training in a while.
The Recurrent Training courses are encouraged for all Cirrus pilots. There is an IFR Refresher, a VFR Refresher, and a Skills Refresher. These are recommended to rotate through with a CSIP (Cirrus Standardized Instructor Pilot) on a yearly basis. With a little extra ground, a Flight Review and an IPC can be accomplished yearly using these courses.
Are you ready to take part in one of the most exciting Texas aviation events of the year? Registration is now open for the 2025 Texas Top Aviation Fly-In, happening March 26th-28th, 2025, at the stunning Lajitas Golf Resort in Lajitas, Texas.
Whether you’re a pilot looking for a getaway, wanting to make new pilot buddies, or just seeking a one-of-a-kind adventure, the 2025 Texas Top Aviation Fly-In promises an unparalleled blend of community, aviation instruction, and scenic Big Bend recreation. Not to mention, great golf!
Why You Should Register
As one of the top 2025 Texas aviation events, this Fly-In features:
Two rounds of golf at the #1-ranked Black Jack’s Crossing Golf Course
Aviation seminars from industry leaders
Making new friends and seeing old ones at our group dinners
Non-golfing activities, like Jeep rentals, exploring Big Bend, or relaxing at the Resort spa
Spaces are limited, so secure your spot now for our 6th Annual Fly-In!
Event Highlights
Fly-In Golf Tournament
Enjoy two rounds of golf at Black Jack’s Crossing Golf Course:
Round 1: March 26th, 2025, 1:30 PM
Round 2: March 27th, 2025, 1:30 PM
Aviation Seminars
Learn from top experts on Thursday morning, March 27th, 2025:
Paul New: Cirrus and Cessna mechanic
Scott Williams: Aviation attorney
Travis Ulhorn: San Antonio Air Traffic Controller
Community and Connection
Relax and connect at evening group dinners starting at 7:30 PM.
Pricing
$1,475 per person (2 nights + golf) + tax
$1,100 per person (2 nights, no golf) + tax
$475 for non-golfing spouse + tax
Registration includes lodging and golf; food and beverages will be billed directly to the attendee.
Key Details
Golfers: Arrive by noon, March 26th, 2025
Non-Golfers: Arrive by dinner on March 26th
Complimentary shuttles provided from Lajitas International Airport (T89)
Register Today
Don’t miss out on one of the best Texas aviation events of the year. Register now and be part of the 2025 Texas Top Aviation Fly-In. Spaces are limited, so don’t wait!
One of the first questions a student pilot asks me when starting the cross country portion of his or her training is, how do I know what altitude is best for my flight? This is a good question, because without taking certain aspects of the flight into account, it’s really just a crap shoot when selecting an altitude. Craps and flying don’t mix, so let’s take a look at a few considerations when selecting an altitude.
Sky Coverage
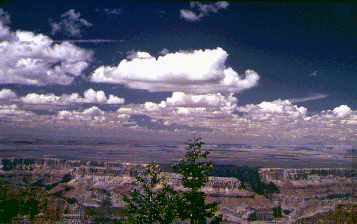
Sky coverage has several subcategories when it comes to selecting an altitude. First is how high are the bases? Is it IFR (VFR pilots would be grounded), marginal VFR (1,000 AGL to 3,000 AGL ceiling), or good VFR (above 3,000 AGL ceiling)? If the cloud deck is only 2,500 feet off the ground, then VFR pilots are limited to either 1,000 AGL to 2,000 AGL. This is an excellent segue into why VFR pilots shouldn’t scud run!
Second, what kind of cloud deck is it? Is it an actual ceiling (broken or overcast), or is it a scattered layer? Few or scattered layers usually allow VFR pilots to find a hole to get higher to some smoother air, making the flight more pleasant. VFR pilots, always make sure to check the destination weather as it could be scattered where you are departing from, but it might be broken or overcast where you are arriving.
Last, how high are the tops of the clouds? Pilots can only get this information in the planning stage from the area forecast or from pilot reports, so most of the time, it’s not very precise information. If the tops are at 10,000 feet and the pilot is flying a 172 on a 30 mile trip, it doesn’t make much sense to get on top of the clouds.
Terrain and Obstacles
Terrain goes hand in hand with sky coverage. If there are low clouds and high terrain, that doesn’t bode well for trying to stay VFR and not hitting anything. Obstacles need to be taken into account too, as there are some pretty tall radio towers that can stretch up into a 1,500-2,000 AGL deck of clouds.
Winds Aloft
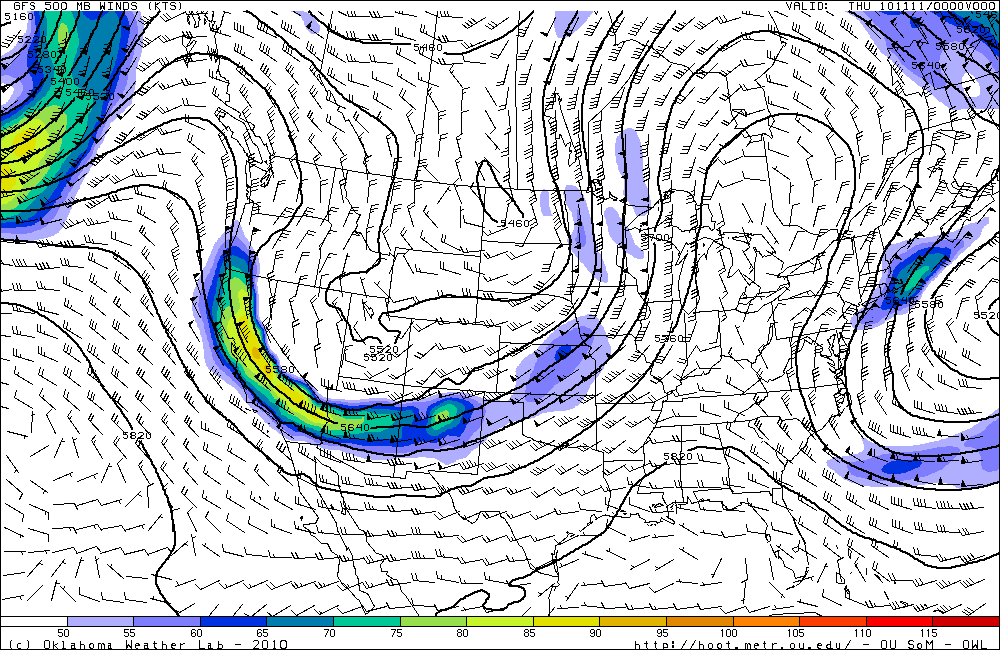
Once the sky coverage and terrain have been considered, it’s time to look at the winds aloft. Tailwinds are preferred, but, sometimes, a headwind is the only option. After taking the clouds and terrain into account, this narrows down your altitude to a handful of options. The winds aloft will further narrow it down.
Aircraft Performance
Once you have two or three altitudes in mind, taking a look at the performance charts for your airplane will help nail down that final altitude. Pull out the POH, compare fuel burn and cruise speed, and you’ll have your altitude selected.
I got the privilege of going to the EAA AirVenture at Osh Kosh this year. It was my first Osh Kosh experience. I’ll be the first to tell you, walking in the gate on the first day is mildly overwhelming. There are people and stuff everywhere. Airplanes, tents selling everything from airplane parts to mattresses (I wasn’t really sure how mattresses tied to flying), vendors, colleges, and loads of people.
Photo Courtesy of William Day, copyright 2018, All Rights Reserved
After I gathered myself from my initial shock, I set out to explore all that I could. I spent most of the first morning walking around the different manufacturer’s tents, getting a gauge on all the new airplanes I could never afford and only hope to ever fly.
The short of it is, the Cessna/Textron Denali is going to be stellar once it gets completed. The Epic E1000 (if it ever gets certified) might take a large market share from TBM, though they will have an uphill climb. The Cirrus Vision Jet is very cool and should be a relatively simple step up for SR22T owners. The Pilatus Jet is huge. Finally, the Diamond DA62 would be my below 12,500 airplane and the Piper M350 would be my pressurized plane. Money being no factor, of course.
Photo Courtesy of William Day, copyright 2018, All Rights Reserved
I decided to take in the entire airshow on Day 1, all 4 hours of it. Upon realizing I would be very stiff necked if I did that each day for the three days I was there, I decided on Day 2 to check out some seminars and learn something. I took a seaplane ground school course on Day 2, then listened to a NASA presentation on electric airplanes and low boom sonic jet technology (how to make supersonic passenger flight quieter).
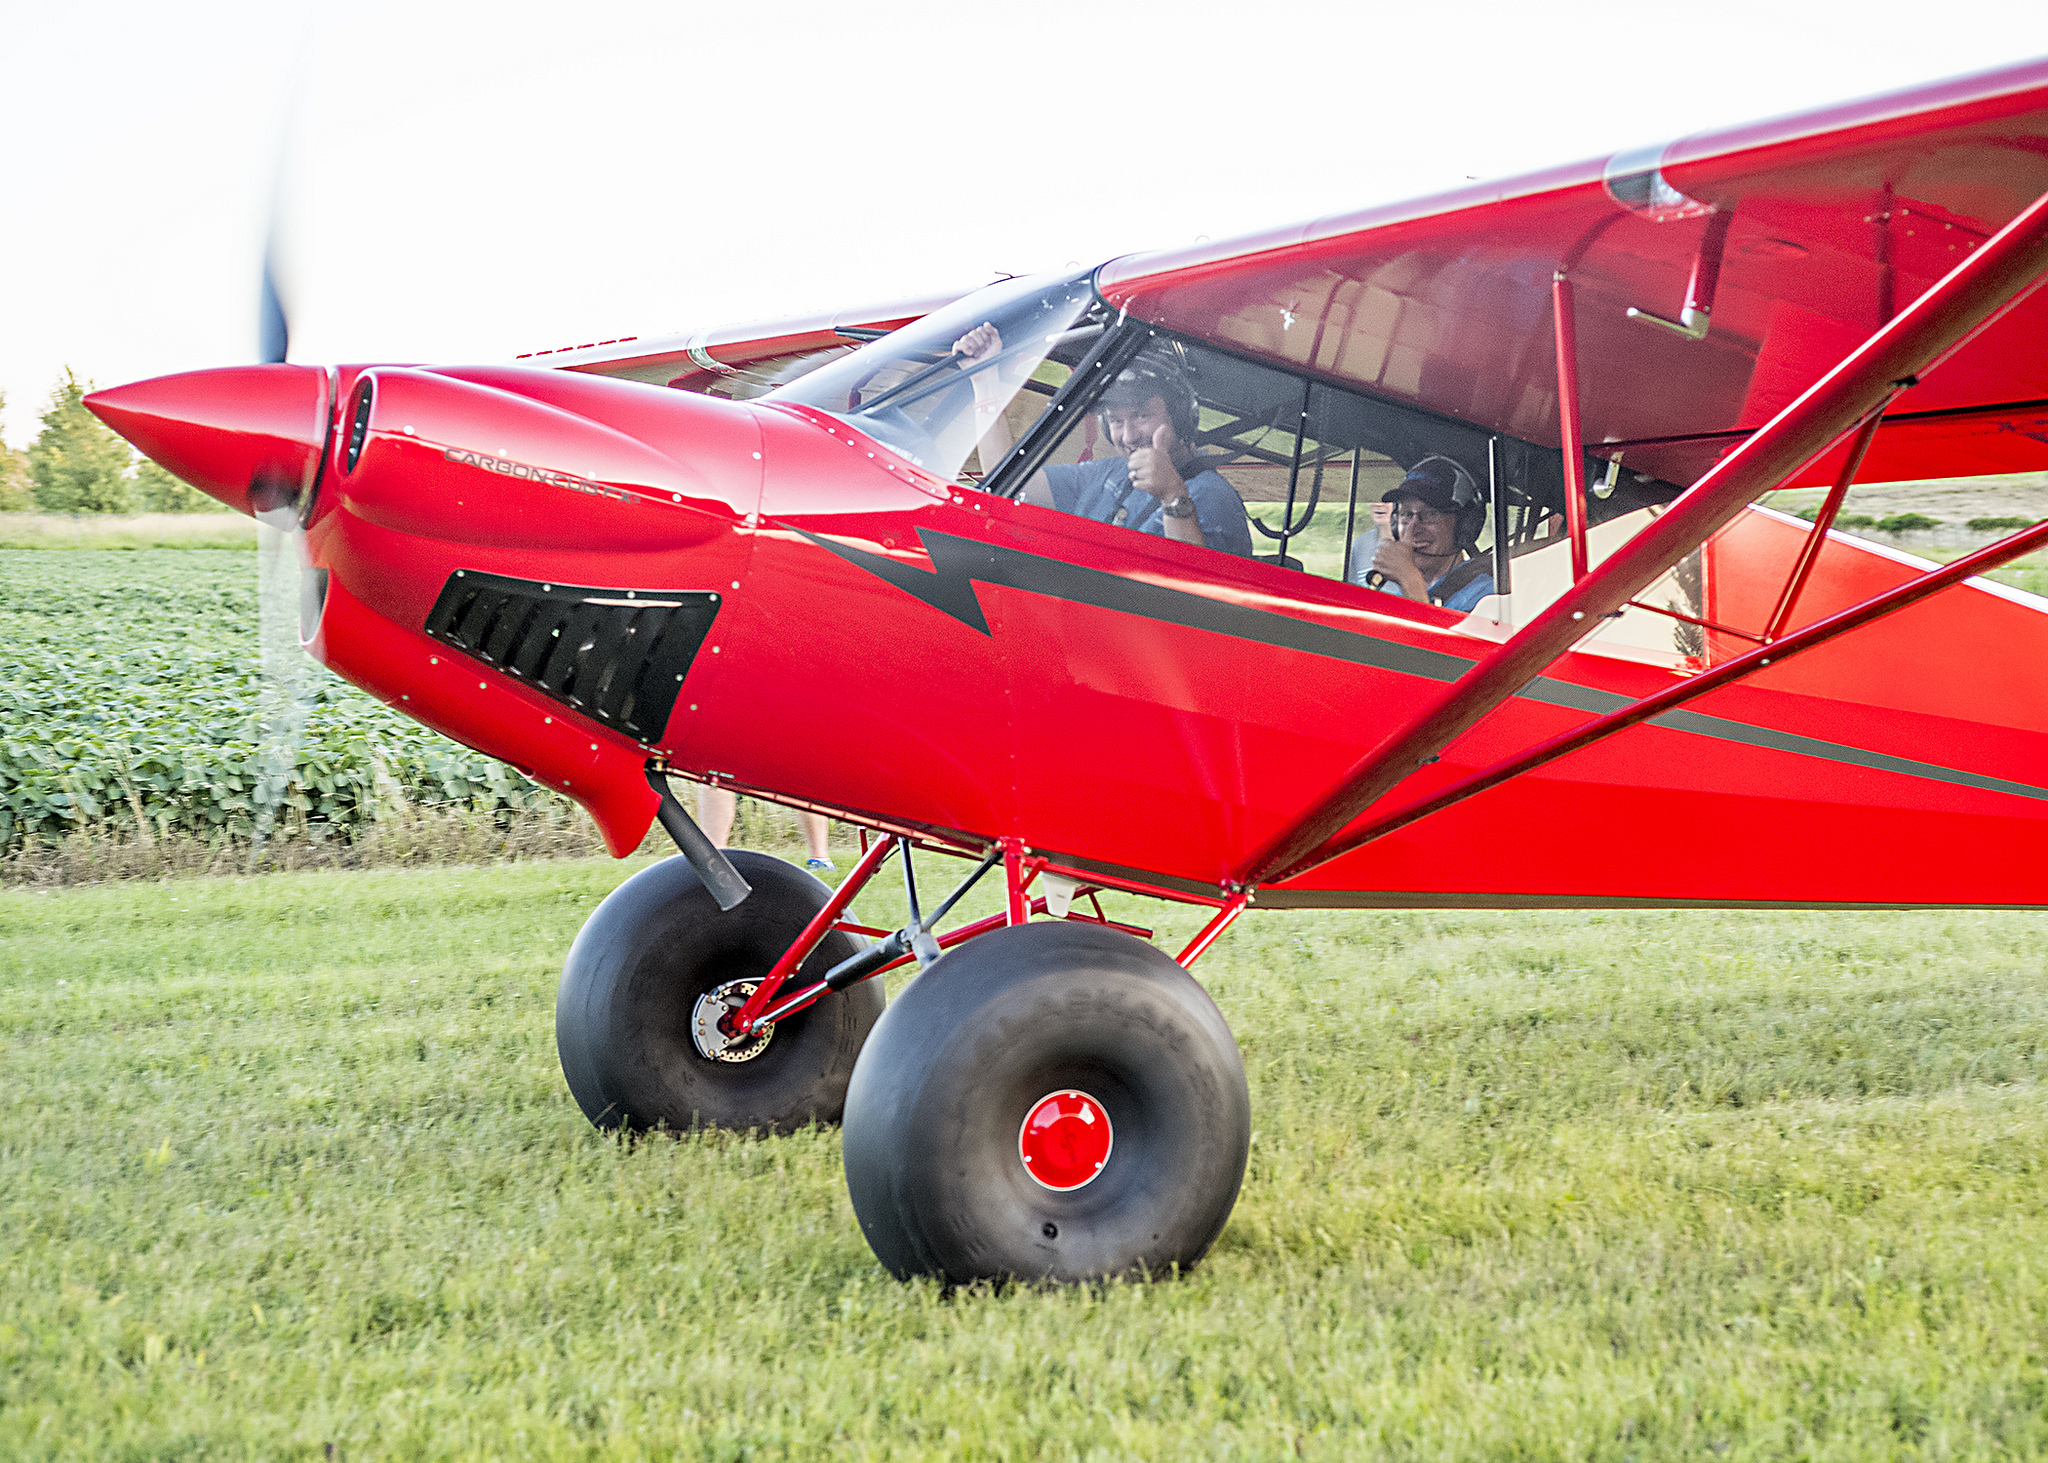
The end of Day 2 at Osh Kosh had to be the highlight. I got to hang out with Cub Crafters at the 51WI grass strip just north of the OSH Class D airspace. There was a free BBQ and I got to take a ride in a Carbon Cub. My landing from the back seat was a bit rusty, but still a very cool experience. Buzzing the BBQ area in tandem was pretty neat.
Photo Courtesy of William Day, copyright 2018, All Rights Reserved
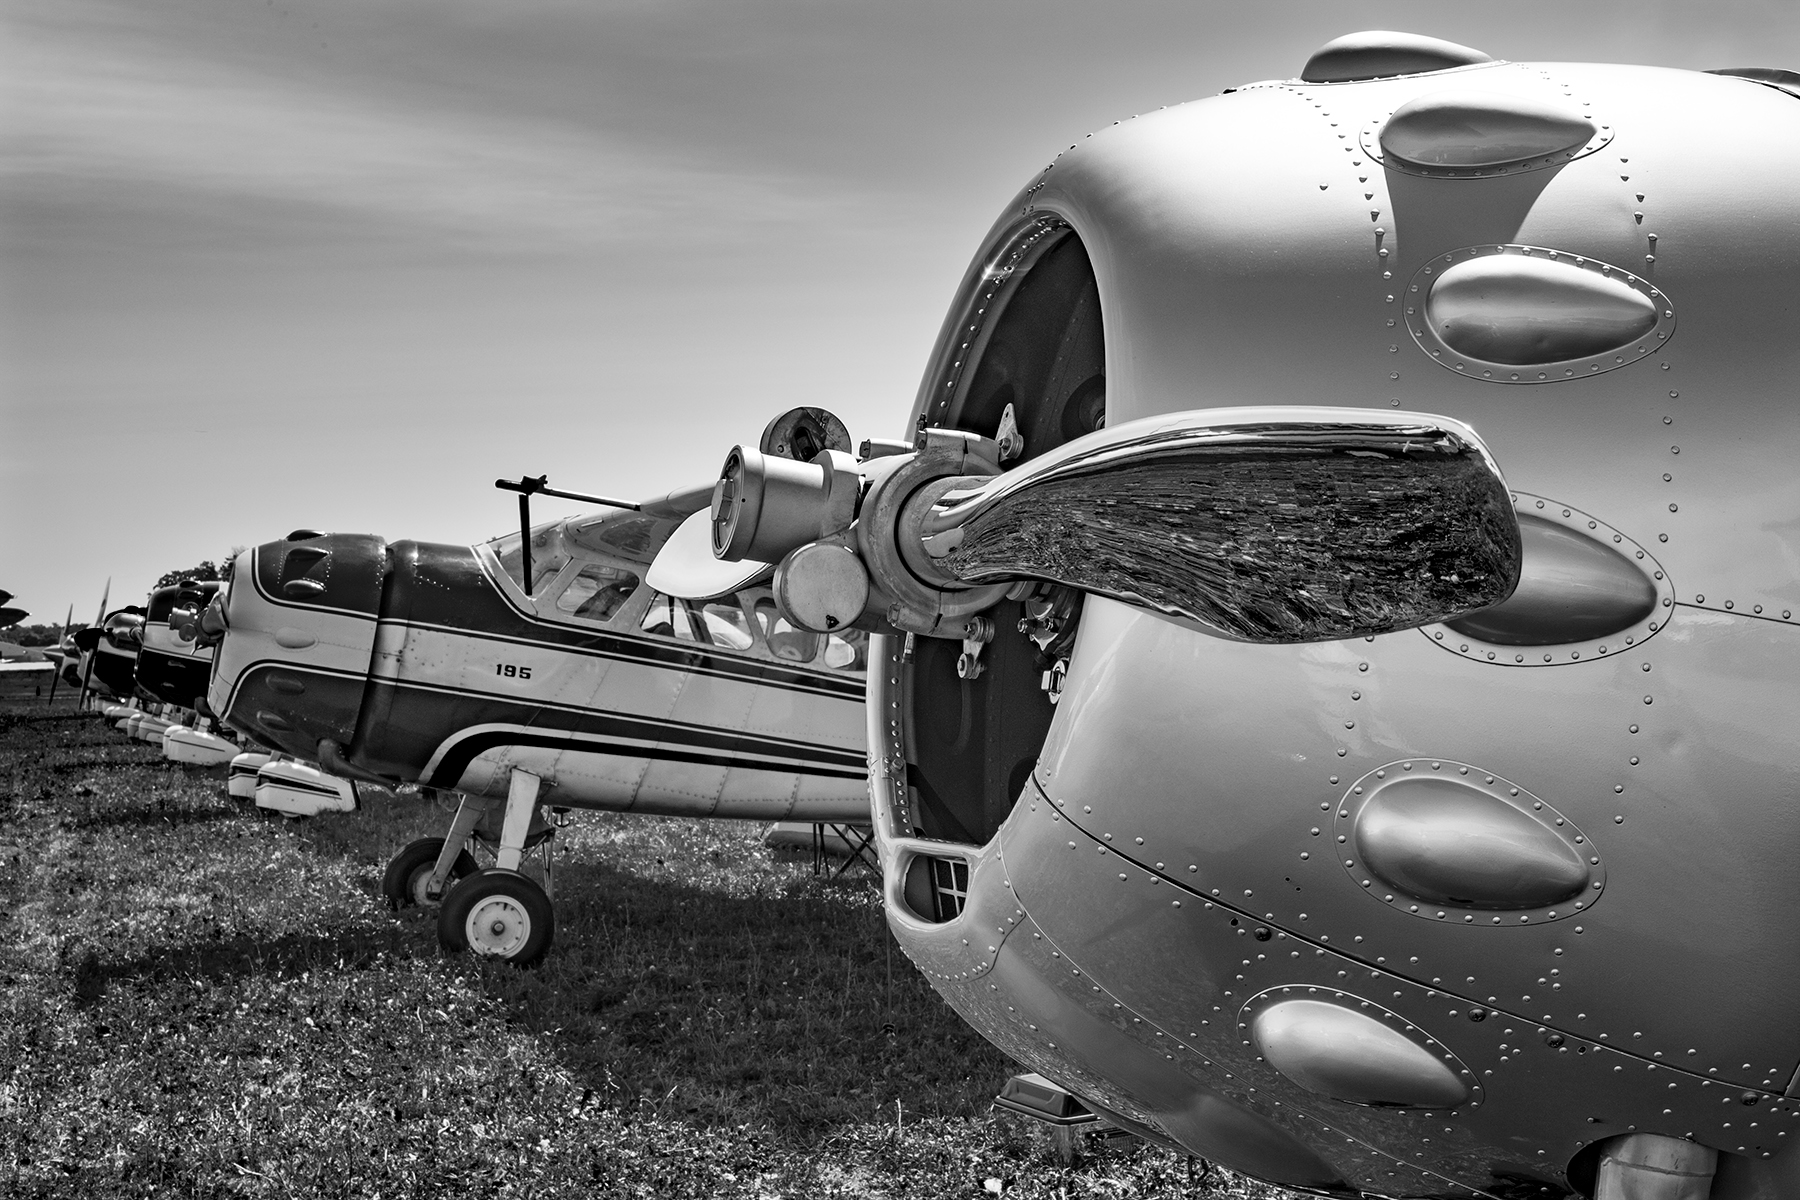
Day 3 brought some cooler temps and some clouds. We walked out to the vintage airplanes, spending the morning gawking at Cessna 195s and Wacos. Then I took the plunge to explore all the vendor hangars. My idea was to walk around and see if I can find some interesting and innovative technology. Well, after 2 of the 4 hangars, my head was spinning, so I decided to watch the rest of the airshow to let my brain drain out a bit.
Photo Courtesy of William Day, copyright 2018, All Rights Reserved
3 Days was a good amount of time to spend. I don’t think I could have stayed all week, but only a day or two wouldn’t have been worth it. I flew up with a former student in his TBM 700, which was a very nice way to travel. We landed and stayed in Green Bay (KGRB), which was super easy and low stress. Had a great tailwind on the return and made it to Houston non-stop.
A few closing observations:
The Stratos 716X Personal Jet
If Stratos Aircraft is ever able to bring this to market, it sounds awesome. 400 knots, single engine, single pilot, with 6 seats. Being a single engine jet, similar to the Cirrus Vision Jet, it’s 100 knots faster, plus with the airflow and engine technology, it doesn’t have that big V Tail in the back, thereby reducing drag. I have a feeling it would find a good market, but the certification process is a bear to get through. Just ask Epic.
The Lancair Mako
This is a legit airplane. Lots of thought was put in to the design of the Mako by the new Lancair organization in Uvalde, TX (KUVA). The airplane was extremely comfortable, capable, and pretty cool. The stick is in the center, with throttles on the side (where the stick would be in a Cirrus or Columbia). AC, full Garmin integration, and the cool factor of the nose gear retracting, but not having a gear handle. Higher useful load than a Cirrus or Columbia, it would be a great alternative (and cheaper) to one of it’s certified competitors.
Avionics
There is a lot of new avionics technology hitting the market. Dynon, beloved by experimental enthusiasts, is finding a foothold in the certified world with some neat panels. It will be an uphill battle to take on Garmin, but there is some potential in the retrofit market to offer a cheaper alternative to the Garmin TXi.
Speaking of the TXi, I played around with the 10.7″ panel at the Garmin booth. It is extremely intuitive. Garmin did a great job of making it a simple touch screen interface, easy to use, and easy to learn.
Avidyne is pushing their iPad integration with the IFD 100 iPad app. It ties via Wifi or Bluetooth to an IFD 550 or 440 navigator, giving an additional screen in the cockpit to work with. You have the ability to modify flight plans and such on the iPad and it will show up on the GPS units.
Photo Courtesy of William Day, copyright 2018, All Rights Reserved
All in all, Osh Kosh was an experience I’m glad to have finally experienced. I don’t think I would go every year like some folks, but every few years, especially when my sons are older, seems like just enough for me, but not too much.
All Photos Courtesy of William Day, copyright 2018, All Rights Reserved
On July 15th, the medical reforms that AOPA and many other aviation advocacy organizations had pushed so hard for were passed into law. President Obama signed the medical reforms law on the 15th, but, before practical application of the law takes place, the FAA has to translate the law into regulations.
What do the new medical reforms mean for medical certificates and flying? First, you still have to get a medical examination at some point in your flying career. Student pilots will still need an initial medical examination. Initially, for pilots who have held a medical certificate at some point over the previous 10 years, a new medical examination may not be needed (this still has to be regulated by the FAA so exact details aren’t known yet).
So, if you’re medical certificate has expired but you have had one in the past 10 years, you qualify. But, if you have had your medical certificate revoked, suspended, withdrawn or denied, you don’t qualify.
Once that student pilot receives the initial medical certificate (or the experienced pilot decides to start flying again), all that needs be accomplished is to take a free, online course on aeromedical factors every two years and meet with a physician at least once every four years.
There are some operating limitations that will be put into place for folks operating without a third class medical. Pilot’s can operate aircraft with no more than 6 seats that weigh less than 6,000 pounds, can carry 5 passengers, and are able to operate in day or night VFR or IFR conditions. Pilot’s may not operate for hire, nor climb above 18,000 feet or fly faster than 250 knots.
It will take some time for the FAA to put the regulations in place, but the process has begun.
This is Part 2 of the Proper Cross Country Flight Checklist article. To read Part 1, click here.
Airplane Covers
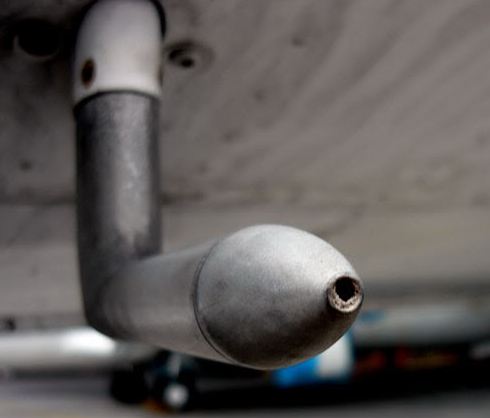
If you’re going to be leaving your airplane outside at your destination, make sure you have proper covers and plugs to protect it while you are gone. A friend of mine forgot to put his pitot cover on his airplane while it was parked outside and had his departure delayed because of a mud dauber which had moved in while the airplane sat on the ramp.
An example of a pitot tube blockage taken from www.student-pilots.com
Tie-Down Ropes
Depending on your destination airport/FBO, there may or may not be tie down ropes available on the ramp. It isn’t uncommon for there to be tie down loops, but no ropes. I generally try to carry a set of ropes in the airplane and even my own set of chocks. If you are going to a fly-in or landing at a private strip, steaks with tie down ropes can be very useful as well. Don’t forget to take your ropes and chocks with you when you leave, though. Ropes and chocks which are left unattended can cause problems for airport machinery (plows) and other airplanes.
Paper and a Pen
Back to basics! Don’t forget to bring a pen/ pencil and something to write on to keep track of clearances and frequencies.
EAPIS/ Boarder Crossing Procedures
If you are planning to fly across the U.S. Border, you will need to have filed the proper paperwork and make sure to bring along your passport/greencard. If you want to fly into Canada everyone on board the airplane is required to have a passport.
Basic Tools
You never know when you may need a screwdriver or some pliers. Having a small toolbox which you can throw in the airplane could be a life saver.
GPS
If you have a GPS, make sure that your data base is up to date.
Camera
Pretty self explanatory…but, don’t forget the camera charger!
Currency
Look through your pilot logbook and the airplane logbook and make sure that everything is up to date. If you need to get an IPC or a BFR done before you leave, give yourself some buffer time in case you have to reschedule.
Other Considerations
Sometimes it makes sense to go to a larger airport despite having to pay additional fees and higher gas prices. Often, if I am traveling at night or after regular business hours, it is worth the extra expense to know that there will be assistance available should I need it. It also isn’t always necessary to get a hotel…there are airports such as Noble County, Ohio (I10) that have beautiful campsites available on the airport. If you like camping, it can be a fun alternative to shelling out the cash for a hotel and rental car.
Camping out next to the airplane can be a fun way to spend the night.
Finally, I like to take the airplane out for a short flight and make sure that everything is working properly before I bring the family and get everything loaded up. (Plus, it’s a perfect excuse to go for a little joyride.) I’d much rather find out that the battery is dead or the plugs are fouled when I have time to fix the issues. If possible, do your test flight on a day when your maintenance shop is open so you can get any problems addressed immediately. If you haven’t done much cross country flying or if you are a little rusty, ask a flight instructor or another pilot to look over your planning. There is also nothing wrong with having an instructor or experienced friend come along on the first few trips until you become more comfortable doing it on your own.
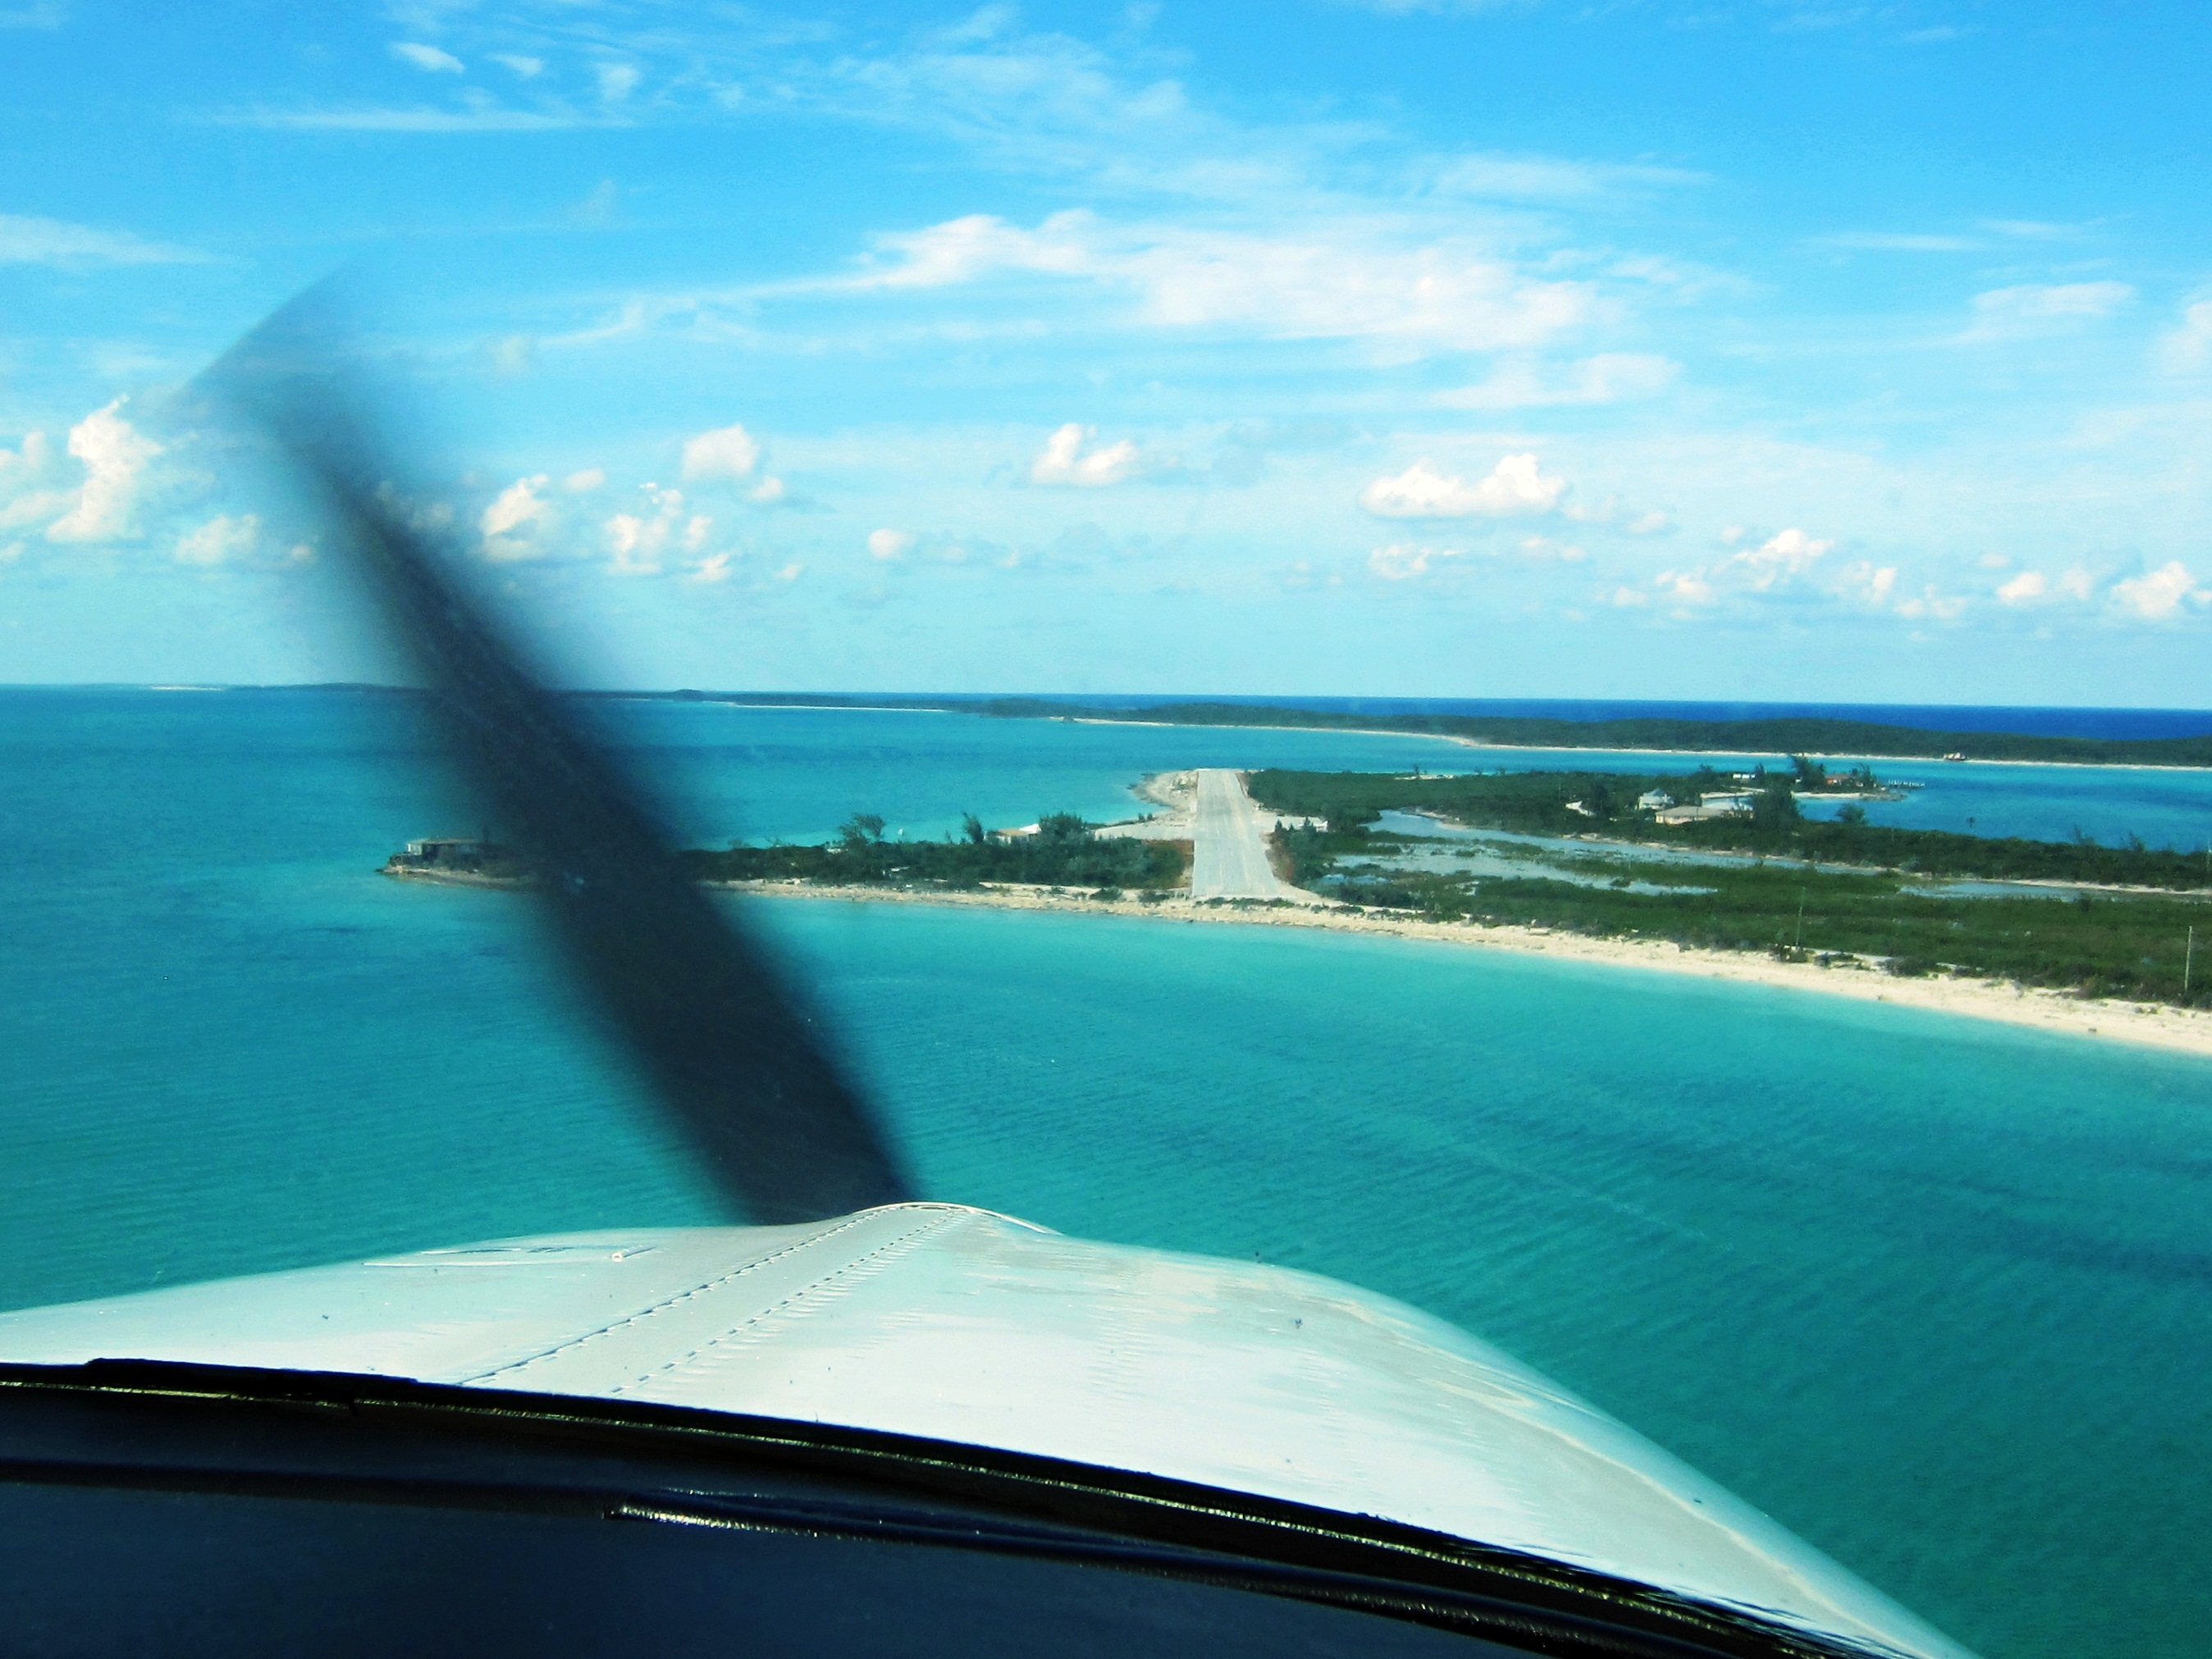
An approach into Farmer’s Cay in the Bahamas.
In my opinion, cross country flying is one of the most rewarding things a pilot can do with their certificate. The view available from the window of a general aviation airplane is so different than the one you get out the window of a car or a commercial airliner. If you’re willing to invest the time and money, you’ll get a lot more out of your trip than a few hours in your logbook. So, what are you waiting for….haven’t you always wanted to go to Oshkosh?
Andrew Robinson is a 135 Charter Pilot and flight instructor who lives with his wife and 2 daughters in Pennsylvania. He flies Pilatus PC-12s and instructs in Beechcraft Bonanzas.