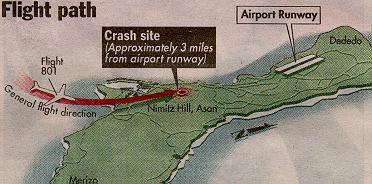
I ran across the story about the Korean Air flight that crashed in Guam in the late ’90s the other day. It was a 747 that hit the side of hill about 3 miles short of the runway, killing most of the people on board. The flight was at night (arrival time was about 1:30am) and the pilot’s lost sight of the runway on a visual approach due to inadvertent IMC entry. They didn’t execute a missed approach soon enough, got too low, and crashed.
These were experienced pilots, mind you, who had flown into that airport a number of times. They were experienced enough to know when to execute a go around. There were several other factors that led up to the crash, but, ultimately, they lost sight of the runway due to inadvertent IMC entry.
To all the VFR pilots out there, what do you do if you accidentally fly into a cloud? It’s a lot easier to encounter inadvertent IMC at night, simply because you can’t see the clouds in front of you. It is no less dangerous during the day, either.
So, we’re going back to the basics today. What really is the best course of action for a VFR pilot when flying into a cloud? One option (and in my opinion, the best option) is to turn around. Immediately start scanning your instruments, execute a shallow banked 180 degree turn while maintaining altitude, and fly out of the cloud you just flew into. If you have an autopilot, turn it on immediately and let it do the turn.
What if you were descending or climbing when you encountered the inadvertent IMC? In this case, just reverse whatever you were just doing. If you were descending, climb. If you were climbing, descend. Caution is needed, though, as climbing or descending when flying on instruments for an inexperienced IFR pilot could lead to a greater chance of disorientation.
One thing that could assist in spotting those clouds at night is turning the cockpit lights down. This will allow you to see outside a little bit better and start to notice when those ground lights are disappearing.
Most VFR pilots only do instrument flying on flight reviews. That doesn’t lead to a very high level of proficiency, so go out and grab your instructor and tell him to put you under the hood once a month. You’ll be a better pilot overall for it.
IFR pilots, taking a note from the Korean Air flight; if you lose sight of the runway on a visual approach, especially at night, go missed and ask for the instrument approach procedure. Don’t try and duck down below the clouds as there may be a hill or a mountain directly below you.
Looking for some good $100 Hamburger options in the state of Texas? Here are some other good fly-in eateries around Texas. These are ranked in no particular order because they are all just really good! Most of these are located on the airport property, but a few are in town and worth the drive!
Lockhart BBQ (50R): With 4 BBQ options in Lockhart (and City Market BBQ 10 minutes away in Luling), you can’t go wrong with a stop in Lockhart. Just grab the keys for the giant suburban, and away you go. Most folks who stop off in Lockhart will give it a legitimate claim over Hard 8 in Stephenville.
Angelina County Airport Restaurant (KLFK): This is pure East Texas eating here in Lufkin. With greasy, tasty burgers and sandwiches, breakfast, and ladies who call you “Sugar” when taking your order, this is down home if I ever tasted it. Lufkin and Brenham are currently neck and neck for the best Texas burger.
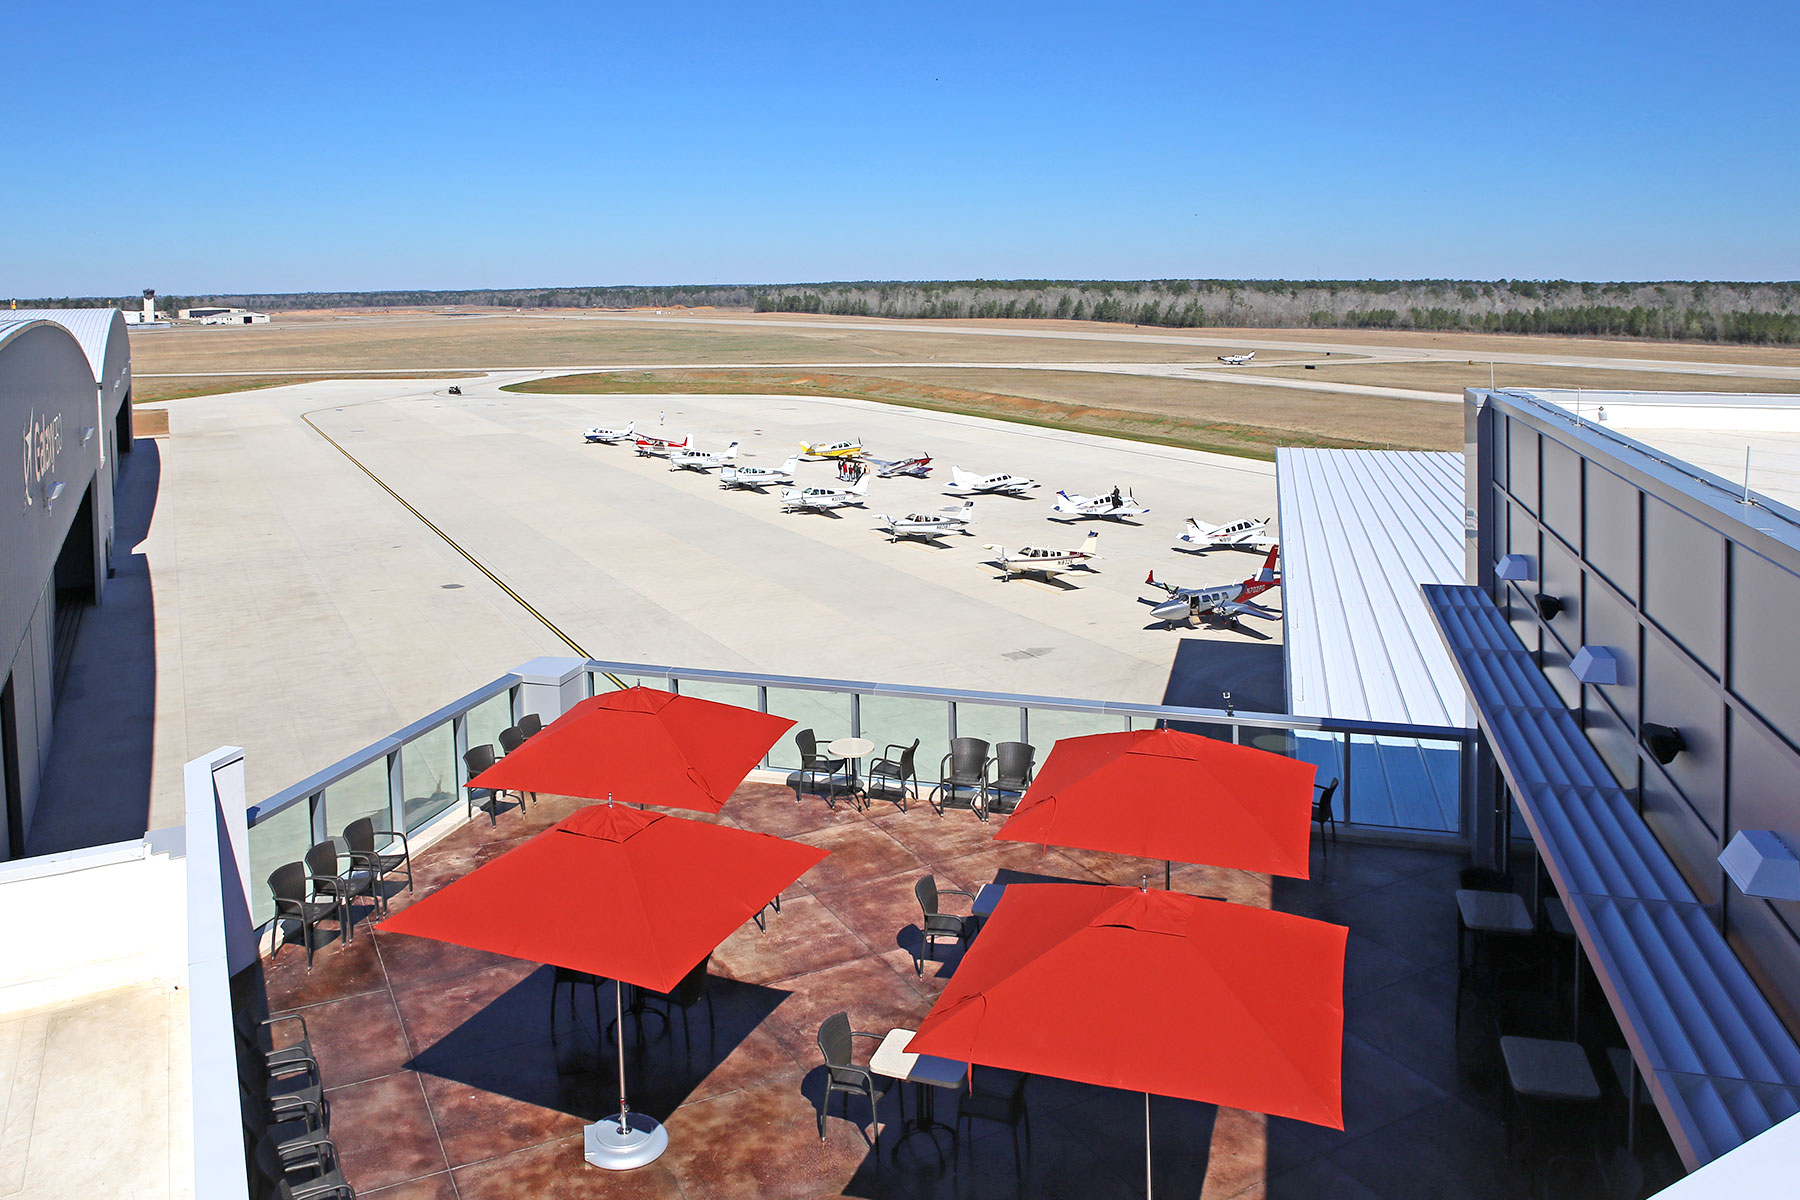
Black Walnut Cafe (KCXO): This airport diner, located at the Galaxy FBO in Conroe on the north side of Houston, is top notch. The food is excellent (I have eaten several different sandwiches and have not been disappointed) and you can’t beat the 3rd floor runway view from the patio. Not a bad place to spend the lunch hour, though make sure you get there before the lunch hour. It fills up quick.
Airport Diner (T82): Right next to the Hangar Hotel, the Airport Diner in Fredericksburg brings back memories of the old soda fountains of the ’40s and ’50s. With plates like the Warthog (their sausage sandwich with Fredericksburg made sausage) and the Whirly Bird (their chicken tenders wrap), the Airport Diner fully embraces the airport theme. Better to stop for lunch on a weekday rather than a weekend as their isn’t a whole ton of seating. Check your NOTAMs as the restaurant is closed on Mondays and Tuesdays.
Radial Engine Cafe (KGPM): A good little stop in the Dallas area for a simple burger, fries, and a Coke. Don’t get the smaller 17/35 runway at GPM confused with the much larger 16/34 runway at GKY just to the west. Approaching from the south, this can be easily done.
Clear Springs Restaurant (KBAZ): Come for the onion rings, stay for the fish. Clear Springs is just a 5 minute drive from the airport and there are always plenty of crew cars available. You could probably make a whole meal out of the onion rings themselves, but the fish is top notch too.
Gate 12 (KCLL): The College Station Airport now has the 12th Man! Aggie Fans will appreciate the Gate 12 experience with all the Texas A&M decorations scattered throughout the restaurant. Bring an appetite if you want to tackle the burgers. They are huge! Parking is only at the FBO. Only military planes get to park in front of the restaurant.
Cooper’s BBQ (KAQO): Llano, TX is known for BBQ. Just fly in to the airport, get a car, and after a 10 minute drive, you can take your pick of any kind of BBQ under the sun. Careful, as it’s easy to over order!
Hangar 6 Restaurant (KUVA): The newest restaurant on the list, located on the ramp at the Uvalde Airport, Hangar 6 tips it’s hat to the military history of the Uvalde airport while serving really good food. Taxi in and walk up to the quaint little joint. They even have a playground for the kids!
Sky Restaurant (KVCT): Not quite within walking distance, but just a short drive from the FBO, Sky Restaurant specializes on the seafood, but they also have good burgers and steaks. VCT is popular amongst the Air Force and Navy trainers in the area, especially around lunch!
Runway Cafe (KLBX): The best place I have found for seafood along the Texas Gulf Coast. With a huge runway to land on and a beautiful FBO next door, this is my go to for Fried Shrimp when I’m in the Houston area.
Delta Charlie’s (KRBD): With quite an extensive menu (and a full bar for those overnight trips), I will definitely make RBD one of my routine stops. Dallas Jet Center recently opened in the terminal, so fueling your stomach and your plane can all be done in one spot.
The Red Baron Restaurant (KDHT): The Panhandle of Texas hides many surprises and the Red Baron restaurant in Dalhart, TX is no exception. For those early morning flights, The Red Baron makes a solid breakfast and a mean cup of coffee. Lunch satisfies even the hungriest pilot. Dalhart has a very spiffy modern FBO to sleep away that burger and fries until your passengers show back up too.
Hogg’s BBQ (KDUX): I came hungry and I left very happy. Hogg’s makes some good West Texas BBQ. Huge helpings and an aviation themed dining room makes for a good choice. Restaurant is located just behind the terminal building. I was there for dinner and it wasn’t too crowded, but I bet lunch is hoppin’!
Aviator’s Grill (KDWH): Located in the Gill Aviation, FBO, Aviator’s Grill has a great selection of creative sandwiches. Hooks can be a little tricky to navigate while taxiing, but just tell ground you are going to Gill, and they will direct you to lunch.
Bill’s Burgers (KBMQ): A short drive from the airport in the Burnet FBO’s new courtesy van deposits you at Bill’s Burgers, the largest burger this side of the Mississippi. Always a popular lunch spot, especially on weekends, hitting lunch early or late is a good plan. Don’t get a full order of fries unless you want to share. It’s huge! Closed on Mondays.
In my book, these are the other great places to stop on a flight in Texas. Always make sure to come hungry! I probably missed a few along the way, so please feel free to add others to the list!
Note: Some of the above restaurants are either closed for COVID, or are only doing takeout. Make sure you call before hand. Google doesn’t always have updated information.
Looking for some good $100 Hamburger options in the state of Texas? Here are some other good fly-in eateries around Texas. These are ranked in no particular order because they are all just really good! Most of these are located on the airport property, but a few are in town and worth the drive! Lockhart…
It’s that time of year again! Yes, it’s the New Year, but it’s also time to register for the 2024 Texas Top Aviation Fly In. The Aviator’s Academy’s sister company, Texas Top Aviation, is hosting it’s 4th annual fly in event on March 19th-22nd, 2024 at the Shangri-La Resort in Grand Lake, OK.
For those not familiar with the annual Texas Top Aviation Fly In, we’ve been hosting this event since 2019 and it is always well attended and fills up fast. Geared around aviation education, golf, community, and a whole lot of fun, the fly in is always very popular.
This year, we are adding a Par 3 Shootout for early arrivals on Tuesday, March 19th at the Shangri-La’s Battlefield Par 3 Course. The 4th Annual 2 Round Golf Tournament begins on the afternoon of Wednesday, March 20th and finishes up on the afternoon of Thursday, March 21st.
The biggest hit of the week is always the safety seminars on Thursday morning. This year, Texas Top Aviation has secured the talents of Paul New, expert Cirrus, Columbia, and Cessna mechanic, and owner of Tennessee Aircraft services. If you listen to Mike Busch’s podcast, Paul is a regular. Scott Williams, owner of The General Aviation Law Firm, will be presenting on LLC’s and Illegal Charters, while Hank Gibson, owner of Texas Top Aviation and The Aviator’s Academy, will present a study on several different accidents and what can be learned from other’s mistakes.
It’s guaranteed to be a fun week. The Grove Regional Airport in Grove, OK will be our host airport (KGMJ) this year. Sign up soon as space is limited. Registration is only open till February 23rd, 2024. For more information and to register, simply Click Here. We hope to see you there!
It’s that time of year again! Yes, it’s the New Year, but it’s also time to register for the 2024 Texas Top Aviation Fly In. The Aviator’s Academy’s sister company, Texas Top Aviation, is hosting it’s 4th annual fly in event on March 19th-22nd, 2024 at the Shangri-La Resort in Grand Lake, OK. For those…
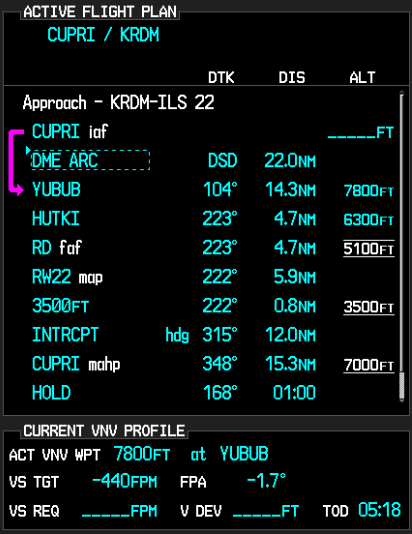
The Garmin G1000/Perspective combined with the Garmin GFC 700 Autopilot can be a great tool in descent planning. When you want to end up at pattern altitude a certain distance from the airport or you get a clearance to cross a fix at a certain altitude, Garmin VNV is a great tool. Here’s how to use it.
VFR Garmin VNV Use
Let’s say you want to end up at pattern altitude 3nm from your destination, but you don’t want to descend down into the bumps before you have to. Here’s how to set it up:
Go to the Flight Plan page on the MFD
Press the ATK OFST soft key on the bottom of the MFD. It stands for Along Track Offset, which, in laymen’s terms, means you are setting a point along your track a certain distance from your destination. In this case, it will be 3nm
Input the distance using either the keypad or the small FMS knob and press enter
Select the altitude you want to be at (in this case pattern altitude) and press enter
You will see a point 3nm before you destination appear on your magenta line and a Top Of Descent (TOD) appear where you need to start your descent
1 minute before the Top Of Descent, an indicator will appear next to your altimeter
To have the GFC 700 Autopilot fly the descent for you, you have to do two things
Set the Altitude bug for the desired altitude
Press VNV on the autopilot
All you have to do now is manage power
IFR Garmin VNV Use
Let’s say you are told to cross a fix at a specific altitude. Here’s how to use Garmin VNV to plan it out.
Go to the Flight Plan page on the MFD
Turn the cursor on and highlight the altitude blank next to the fix in the flight plan
Input the desired altitude
You will see a Top Of Descent (TOD) point appear along your course where you need to start your descent
1 minute before the Top Of Descent, an indicator will appear next to your altimeter
To have the GFC 700 Autopilot fly the descent for you, you have to do two things
Set the Altitude bug for the desired altitude
Press VNV on the autopilot
All you have to do now is manage power
The Garmin G1000/Perspective combined with the Garmin GFC 700 Autopilot can be a great tool in descent planning. When you want to end up at pattern altitude a certain distance from the airport or you get a clearance to cross a fix at a certain altitude, Garmin VNV is a great tool. Here’s how to…
The Bluebonnet Fly-In at Redbird Skyport has been rescheduled due to weather and the recent flooding in San Marcos. The new date for the Bluebonnet Fly-In will be Saturday, June 6th from 10am-4pm.
Hank Gibson of Texas Top Aviation will still be presenting on Garmin 430/530 Approaches this Saturday at 2pm in the large conference room at Redbird.
The Bluebonnet Fly-In at Redbird Skyport has been rescheduled due to weather and the recent flooding in San Marcos. The new date for the Bluebonnet Fly-In will be Saturday, June 6th from 10am-4pm. Hank Gibson of Texas Top Aviation will still be presenting on Garmin 430/530 Approaches this Saturday at 2pm in the large conference…
Chuck’s Aircraft, the Austin Cirrus Service Center located at the Austin Executive Airport (KEDC), is celebrating it’s 10 year anniversary this month. What better what to celebrate than to fly in for Texas BBQ? That’s what they thought too!
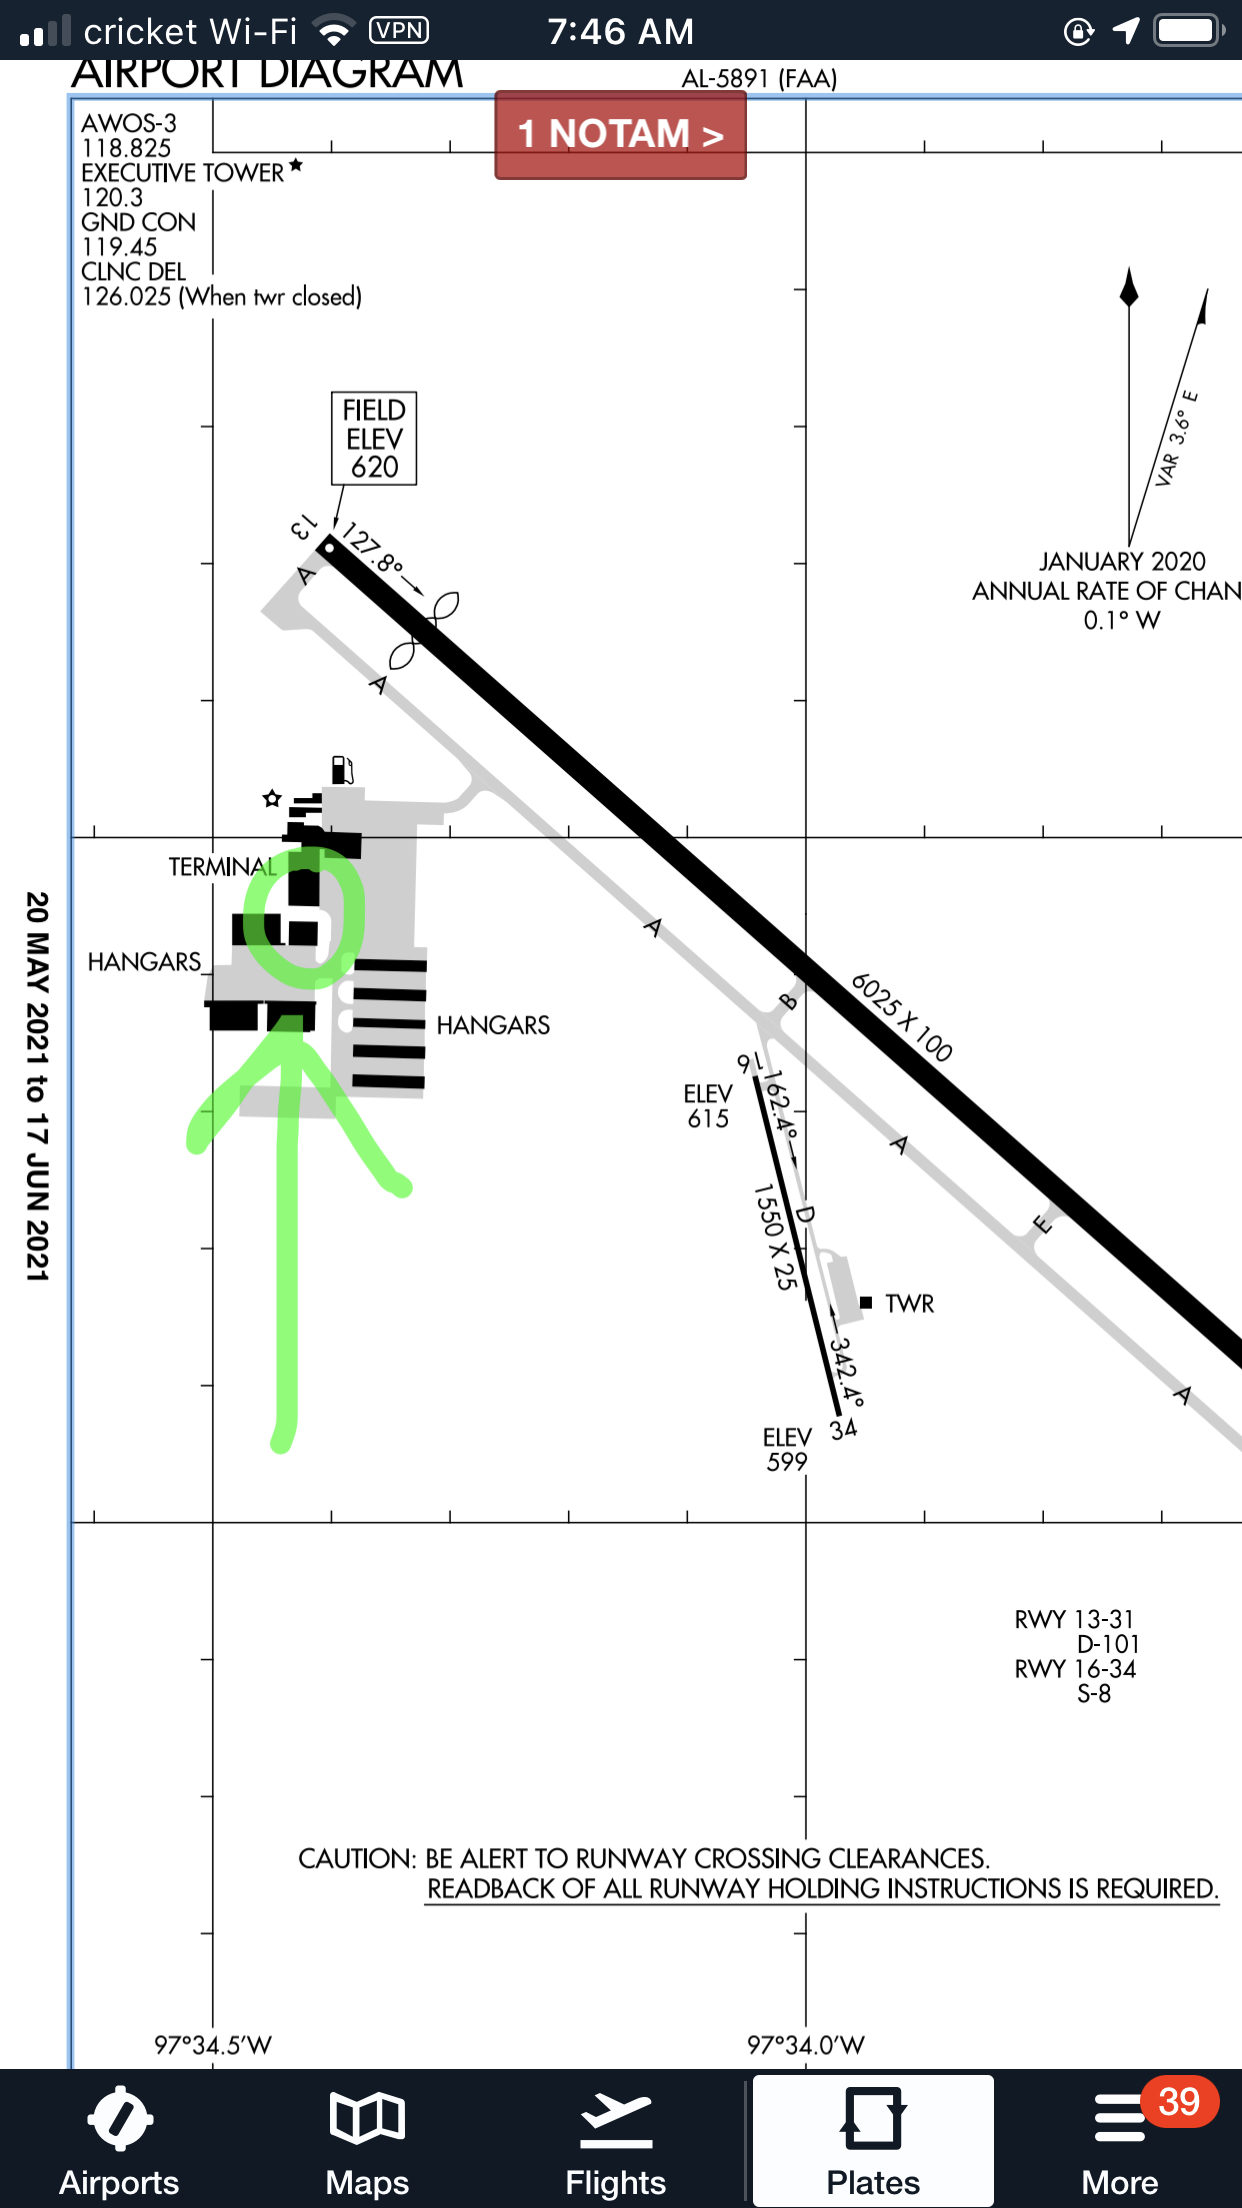
Chuck’s Aircraft will be hosting its 10 Year Anniversary Fly In on Friday, June 25th from 1pm to 5pm on their ramp at EDC (see airport diagram below). Chuck’s Aircraft always provides quality maintenance for Cirrus and other aircraft, so come show your appreciation for them.
Chuck’s Aircraft, the Austin Cirrus Service Center located at the Austin Executive Airport (KEDC), is celebrating it’s 10 year anniversary this month. What better what to celebrate than to fly in for Texas BBQ? That’s what they thought too! Chuck’s Aircraft will be hosting its 10 Year Anniversary Fly In on Friday, June 25th from…
Only now did I begin to realize the severity of the situation. The deer had completely broken the left main gear off of the airplane. Obviously, landing in this condition would not be ideal. Landing without a nose wheel is one thing, but landing without one of the mains would be a very dangerous and undesirable proposition.
The company’s maintenance guys arrived on the scene while I executed a few more low passes so that they could take a look. We all came to the same conclusion that the best situation for landing would be to retract the other two wheels so I could land on the belly. Unfortunately, the landing gear wouldn’t retract. Cranking the emergency gear handle didn’t work either as it is not designed to bring the wheels up, only to put them down.
I flew circles around the airport for a while as different options were all discussed. I owe a lot to the guys on the ground who were digging through the manuals coming up with solutions. Eventually, it was decided that I would try cranking the gear up by hand, even though the checklist in the airplane said that it could only be used to lower the gear. Even if we damaged the hand cranking mechanism, it would be worthwhile…plus, I’d already torn off the left main entirely, surely a little damage to the retraction mechanism wouldn’t be the end of the world!
Following the checklist, I pulled the CB for the gear motor and started cranking. To my great relief, the “in transit” light illuminated and the three green indication went away. It was difficult work to crank the gear up manually. The handle is in a very poor location in Barons and Bonanzas, plus I was working against gravity. It is also possible that there was some debris from the missing wheel causing friction or binding. While I was cranking, the rescue crews were being coordinated while extra vehicles and people had been called in from the city for support.
After some time had passed, enough to get a slightly sore arm from cranking, the lights indicated that the gear was up and locked. I lined up for one more pass hoping to verify that the landing gear was up and the landing gear doors were closed. After the final go ahead from everyone on the ground, all that was left was the landing.
I had been doing my best to keep the passengers informed of what was happening throughout the whole flight, but I felt bad for them as the news changed from the beginning of the flight: “precautionary landing” was quite different than the briefing I ended up giving them before we landed. I informed them that I was going to be “… killing the engines and landing with the gear up….” They did an impressive job of staying calm and being responsive. Before we landed, I made sure that they were all briefed on what to expect, how to unbuckle, and how to evacuate from the airplane. It is difficult to convince someone that everything is going to be fine when there are hordes of emergency vehicles (including ambulances) waiting next to the runway in anticipation of your landing.
Shortly before landing, I went through my flows and callouts, then verified by use of the checklist to ensure I hadn’t missed anything. I distinctly remember sitting in the airplane preparing for the landing, all the while being in complete disbelief that this was a real situation. I never imagined that I could be flying an airplane that was missing a wheel strut. Previously, my assumption had been that if there was an event serious enough to shear off one of my mains, the airplane wouldn’t continue flying. It all seemed like a bad dream.
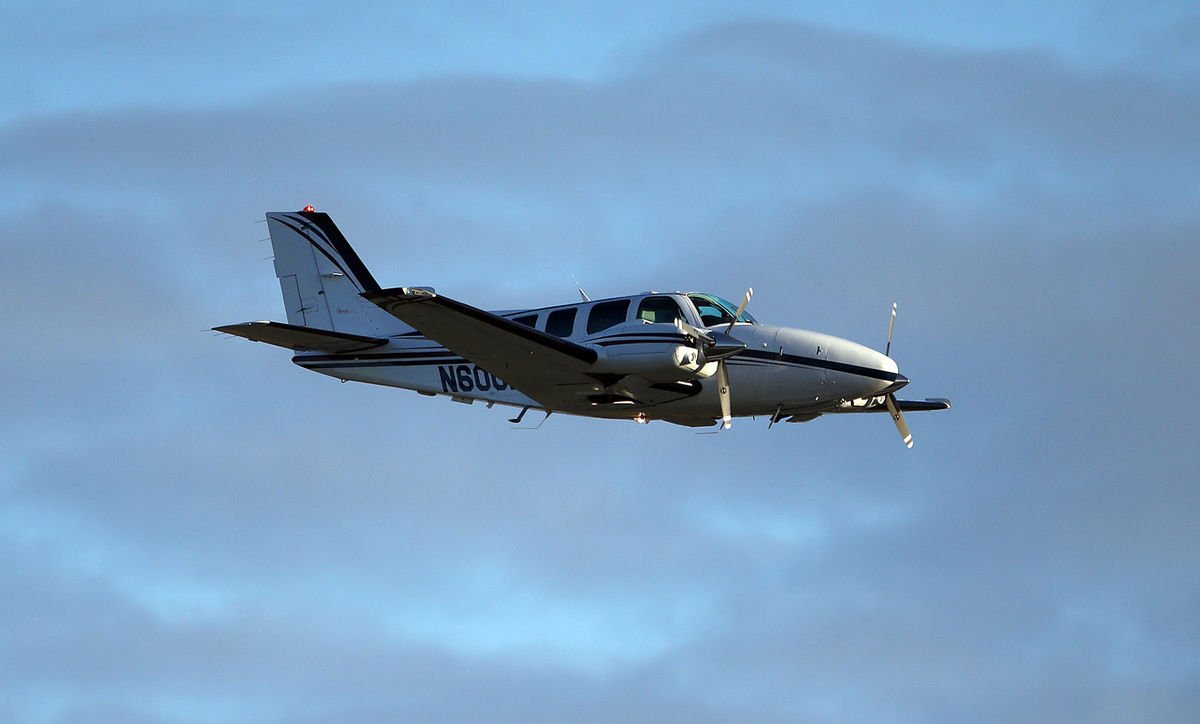
I elected to use runway 26 since it was the longest. I wanted to be able to carry extra speed in order to give myself extra time between pulling the mixtures and landing so that I could feather the props and turn the fuel shut off valves to the off position (never thought I’d have to do that!) without being rushed. As I made my final approach with the engines shut off, I went through my final memory items and couldn’t help but laugh about just how backwards everything was from normal arrival procedure. GUMPS: Gas- Off (normally on the fullest tank), Under carriage- Up (Definitely not normal), Mixtures- Idle cut off (I normally save this for when I’m parked on the ramp), Props- Feathered (Again, never thought I’d have to do that in real life), Seatbelts- On (the only one that stayed the same!).
On final approach for runway 26 with the gear up and the props feathered. Photo Credit: www.lancasteronline.com
I’ve had several remarks about how quiet the airplane must have been during the final un-powered glide to the runway, and while that is absolutely true, I must confess that I never noticed. I was so focused on the task at hand that the silence in the airplane simply wasn’t something that stuck out to me. What did make an impression on me, however, was the acceleration the airplane experienced when the props were feathered. I’ve heard it preached many times the importance of feathering the propeller on a dead engine, but never truly appreciated the importance of it until I did it myself. I remember the airplane accelerating noticeably as though I had hit a boost button which was hidden somewhere in the cockpit for just such an occasion.
Although I didn’t notice the lack of noise upon killing the engines, the sickening, deafening noise which was produced during the touchdown and deceleration is something which I will never forget. Another thing that surprised me was the smoke which filled the cockpit and cabin as we slowed down. This was produced by the friction between the belly and the runway, although nothing was burning.
I don’t know how long the airplane actually slid for after touching down, but it felt like an eternity. However, when the noise subsided and the motion stopped everything returned to real time. I unfastened my seat belt, opened the door and climbed out onto the wing. I helped the passengers evacuate and we retreated to a safe distance on the side of the runway while the firefighters rushed in to do their job.
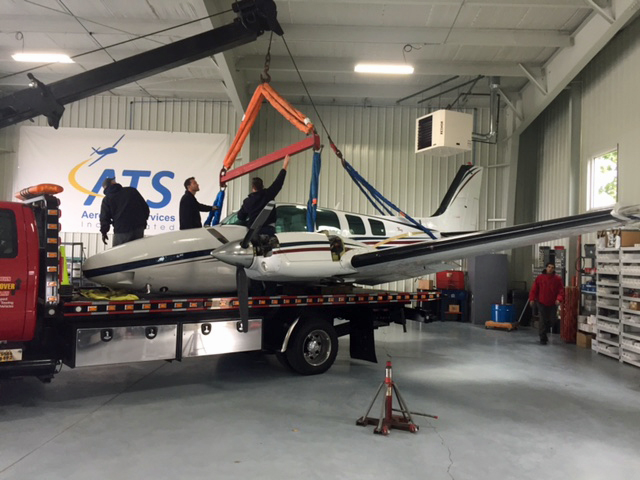
Tow Truck Unloading the Baron in the Maintenance Hangar
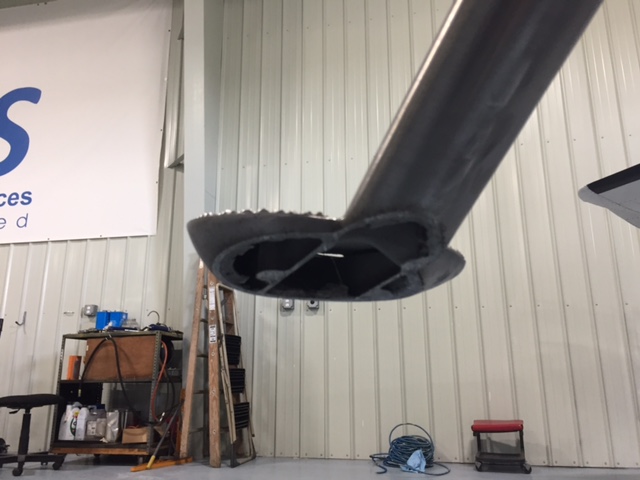
The step took the brunt of the runway damage and actually saved the right hand flap from contacting the runway at all
It was 8:35 am. So, from the time we took off to the time we landed was almost exactly an hour and a half. Not surprisingly, the passengers elected not to continue on to Pittsburgh and instead accepted a ride home in a car. The rest of my day was a blur of paperwork, reports, and phone calls.
Andrew Robinson is an airline pilot for Piedmont Airlines. He is a former 135 Charter Pilot and flight instructor who lives with his wife and 2 daughters in Pennsylvania. He instructs in Beechcraft Bonanzas.
Read Part 1 Here Only now did I begin to realize the severity of the situation. The deer had completely broken the left main gear off of the airplane. Obviously, landing in this condition would not be ideal. Landing without a nose wheel is one thing, but landing without one of the mains would be…

 Most VFR pilots only do instrument flying on flight reviews. That doesn’t lead to a very high level of proficiency, so go out and grab your instructor and tell him to put you under the hood once a month. You’ll be a better pilot overall for it.