Chuck’s Aircraft, the Austin Cirrus Service Center located at the Austin Executive Airport (KEDC), is celebrating it’s 10 year anniversary this month. What better what to celebrate than to fly in for Texas BBQ? That’s what they thought too!
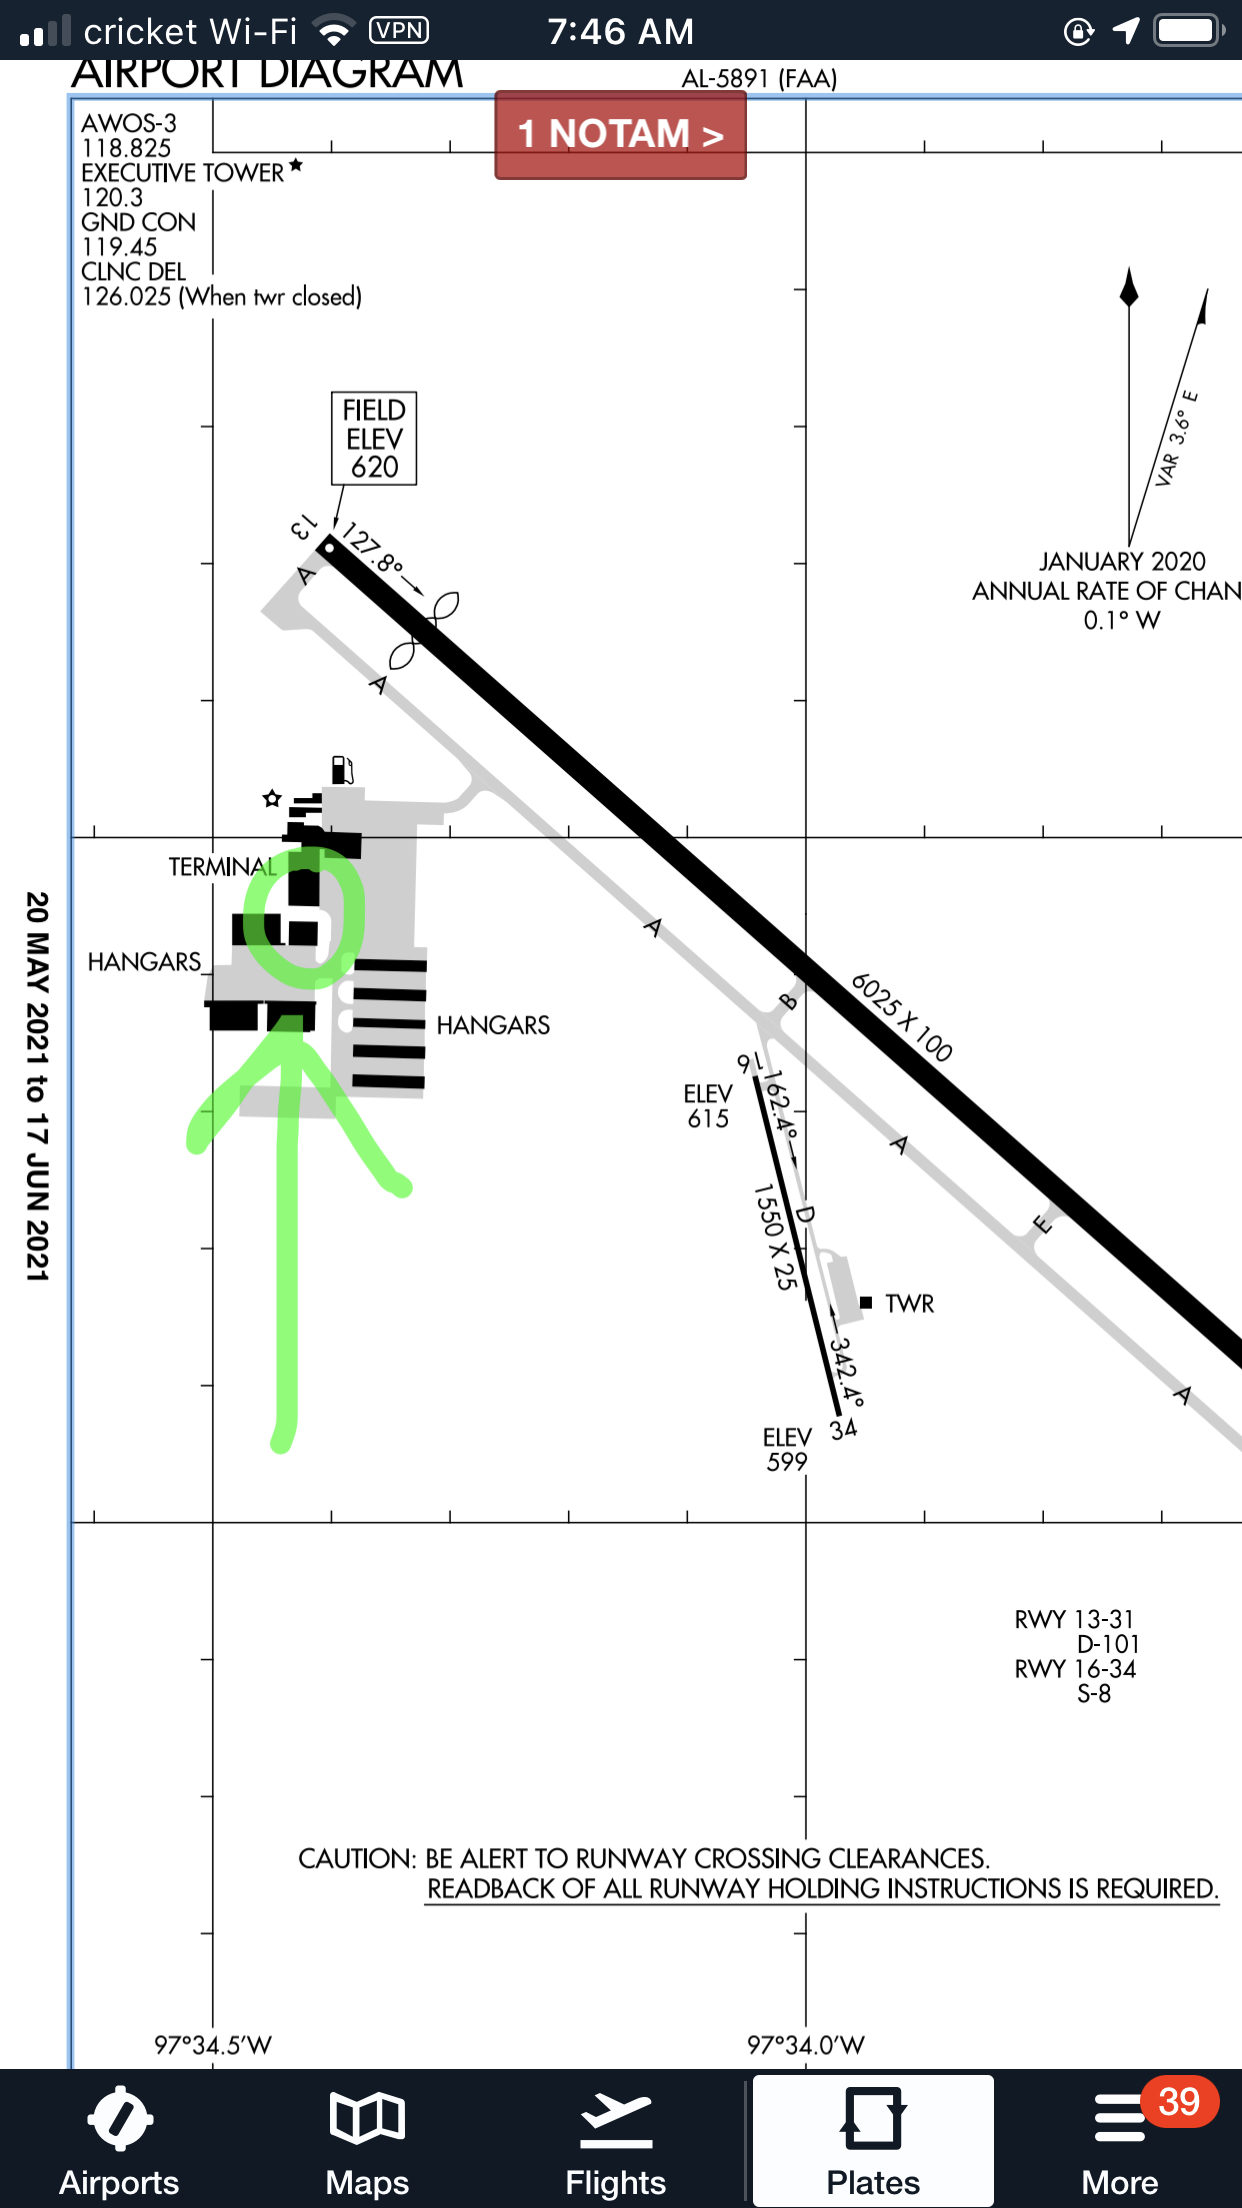
Chuck’s Aircraft will be hosting its 10 Year Anniversary Fly In on Friday, June 25th from 1pm to 5pm on their ramp at EDC (see airport diagram below). Chuck’s Aircraft always provides quality maintenance for Cirrus and other aircraft, so come show your appreciation for them.
Has it come time to buy your first airplane? Have the skies been calling your name? Or are you just tired of standing in the airport security line then getting shoved in a long metal tube with no leg room? Or, maybe you are a businessman who does business in remote areas that have local airports but are hard to get to commercially.
Wherever your need is, you have decided it’s time to make a purchase. If you are familiar with aviation, you may have an airplane in mind that you would like to have, but is that the right airplane for your mission? If you are new to aviation, you may have no idea what airplane to go for. Here are some helpful hints in narrowing down the different airplane options out there to fit your specific mission.
Flying For Enjoyment, but Not Going Far Fast
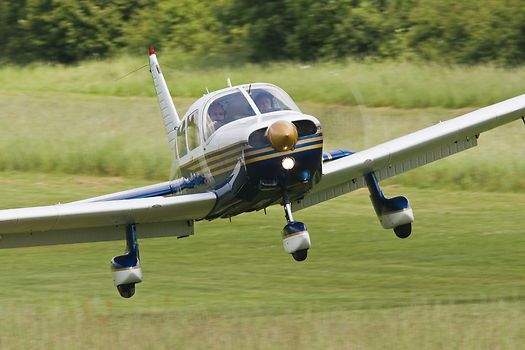
If you’re just a weekend flyer who is tired of dealing with flight school rentals, but you don’t need to carry a lot of people or go very far, your options are pretty numerous. Anything from a Cessna 152 to a Piper Cherokee, maybe a Beech Sundowner, or a Bellanca Viking, or anything in between. If you are content with taking a weekend hop for a hamburger at 100-110 knots, you have limitless options for airplanes. Tailwheels (Cubs, Citabrias, Huskies) are excellent birds for you well.
Getting Places Fast With Only You and Maybe One Passenger
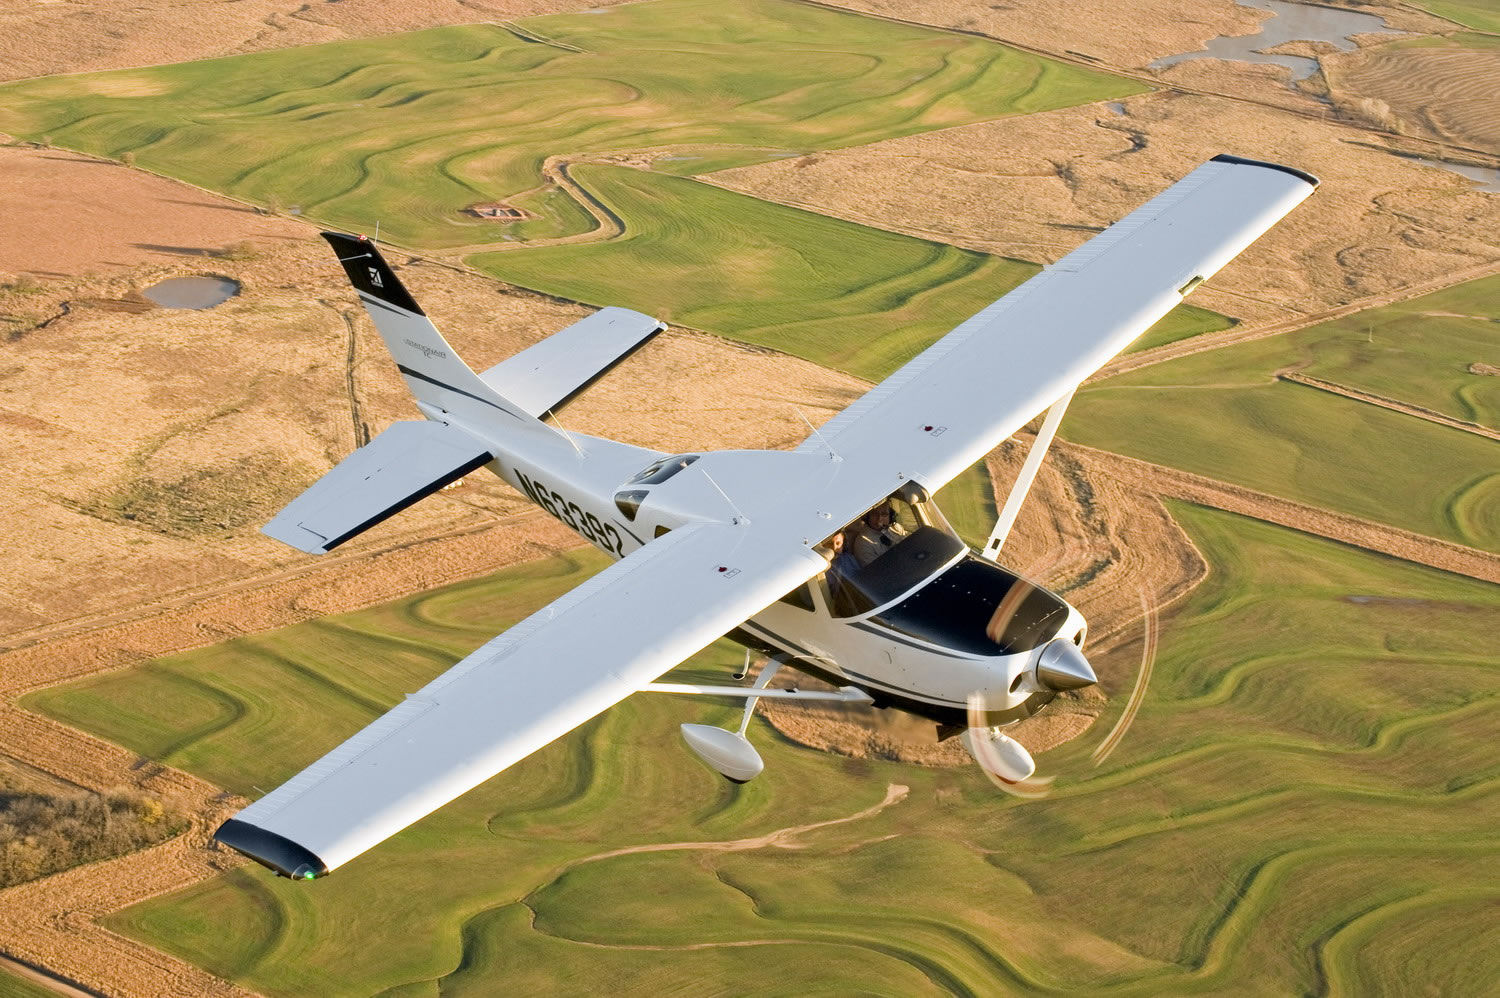
Need to go 200-300 miles fast and not worried about weight? A Cirrus SR22T, a Columbia 400, or Cessna Corvalis might be just what you need. Cruise speeds on those are all around 180-190 knots at 10,000 feet. All are oxygen equipped if you want more speed higher up, as the service ceilings are 25,000 feet. Payloads run in the range of 400-500 pounds with full fuel. All these have air conditioning options, too.
Hauling More Weight, but Still Need the Speed?
A little slower (150-170 knots) but a little bit more payload options are A36 & B36 Bonanzas, Piper Saratogas, Cessna 206s, or Cessna 210s might suit your fancy. All come in turbo models if you are a high elevation dweller. The Cessna 206 has been used for many years as cargo and people haulers in remote regions like Alaska, South America, and Africa. I’ve even seen pictures of snowmobiles being carried in a 206.
Tired of Oxygen Cannulas?
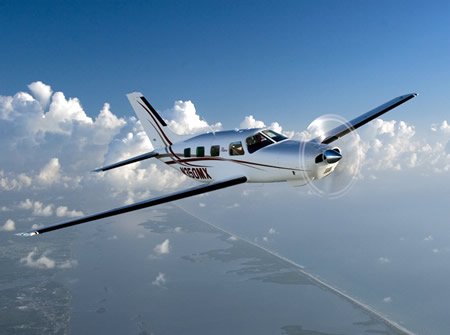
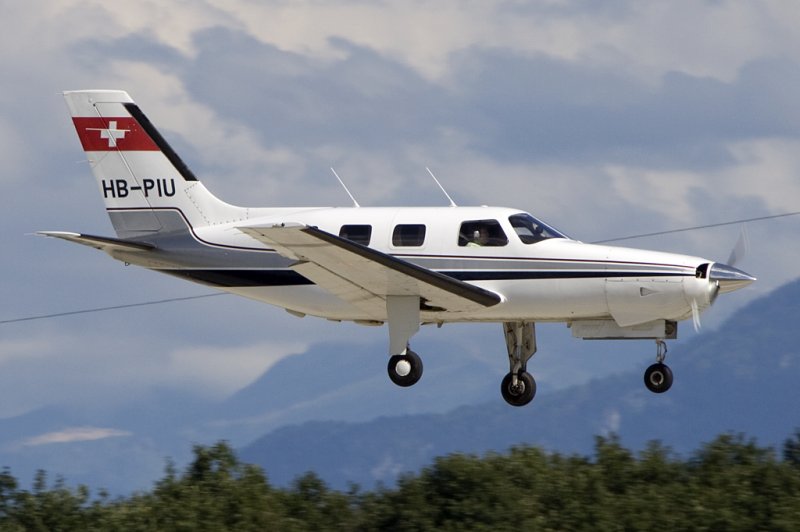
The next step up from a Cirrus, Corvalis, or Saratoga is the Piper Malibu. A bigger brother to the Saratoga, the different PA-46 models offer one of the best options for a single engine piston out there. All except the Matrix (PA-46-350T) are pressurized, all the pistons cruise about 200 knots, and all are configured with club seating with plenty of leg room. Useful loads range around 1200-1400 pounds (they hold 120 gallons of fuel, so payloads range from 480-680 pounds). The original Malibu (PA-46-310P) only burns 16.5 GPH so that allows partial fuel to be carried to allow more people and bags. All have 6 seats.
Need to Carry Even More Weight?
It’s time to get into the piston twin market, then. A Cessna 414, a Cessna 421, a Cessna 340, a Beech Duke or a Beech Baron are all pretty good options here. The 421 and the 414 have the largest cabins, while the Duke has the highest useful load. Cruise speeds range from 200-220 knots, but the cabin is roomier and you get a few more pounds useful load than a piston single. If you do get into a 421, get good training as they are equipped with Continental geared engines, which can be tricky to operate if you don’t know what you are doing.
Need to Carry a Lot of People and Go Fast?
Turboprops are the way to go for you. King Airs have the most utility while the Pilatus PC-12 is the cream of the single engine turboprop crop as you can put almost anything you want in it. If you have 4-5 passengers, stay away from a Piper Meridian as you can’t carry a lot of weight. Those are better for 2-3 passengers at the most (plus a pilot). The TBM 900 is pricey, but fast (300-325 knots). The original TBM 700 can be had for under a million bucks, you get 280 knots, and a very usable useful load. You still can’t fill all 6 seats with full fuel, but you can do more with it then a Meridian.
Have a Boatload of Money Sitting Around?
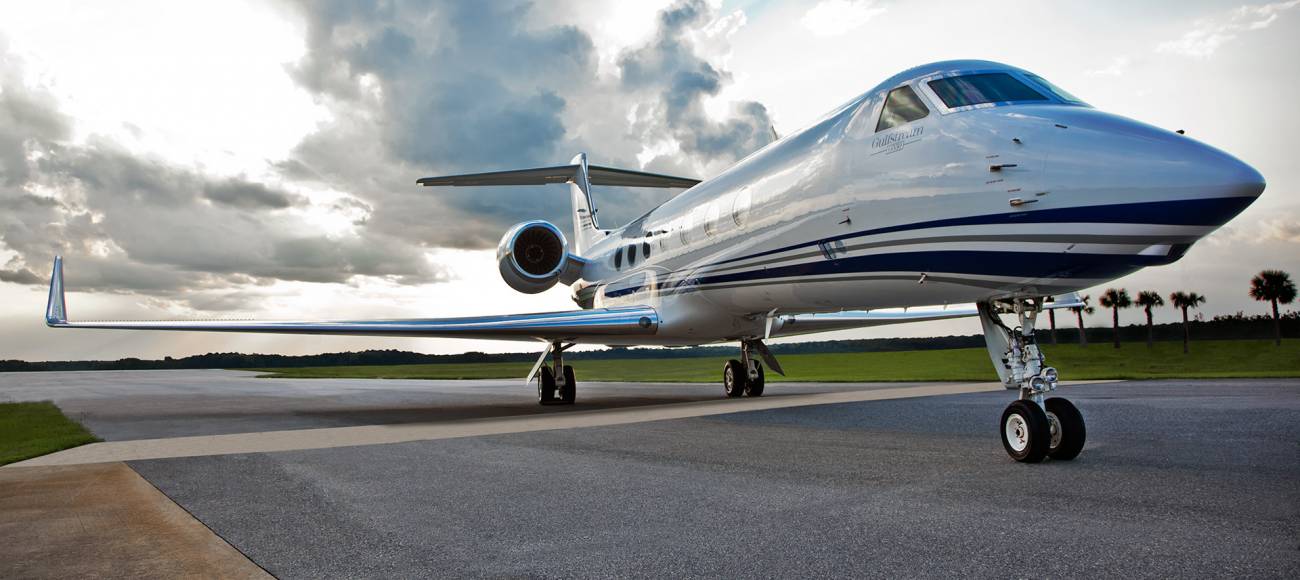
A jet might be for you then. Fuel, insurance, maintenance, and hangar costs are high, but jets will get you places real fast with room for all your friends and family.
Has it come time to buy your first airplane? Have the skies been calling your name? Or are you just tired of standing in the airport security line then getting shoved in a long metal tube with no leg room? Or, maybe you are a businessman who does business in remote areas that have local…
Looking for some good $100 Hamburger options in the state of Texas? Here are some other good fly-in eateries around Texas. These are ranked in no particular order because they are all just really good! Most of these are located on the airport property, but a few are in town and worth the drive!
Lockhart BBQ (50R): With 4 BBQ options in Lockhart (and City Market BBQ 10 minutes away in Luling), you can’t go wrong with a stop in Lockhart. Just grab the keys for the giant suburban, and away you go. Most folks who stop off in Lockhart will give it a legitimate claim over Hard 8 in Stephenville.
Angelina County Airport Restaurant (KLFK): This is pure East Texas eating here in Lufkin. With greasy, tasty burgers and sandwiches, breakfast, and ladies who call you “Sugar” when taking your order, this is down home if I ever tasted it. Lufkin and Brenham are currently neck and neck for the best Texas burger.
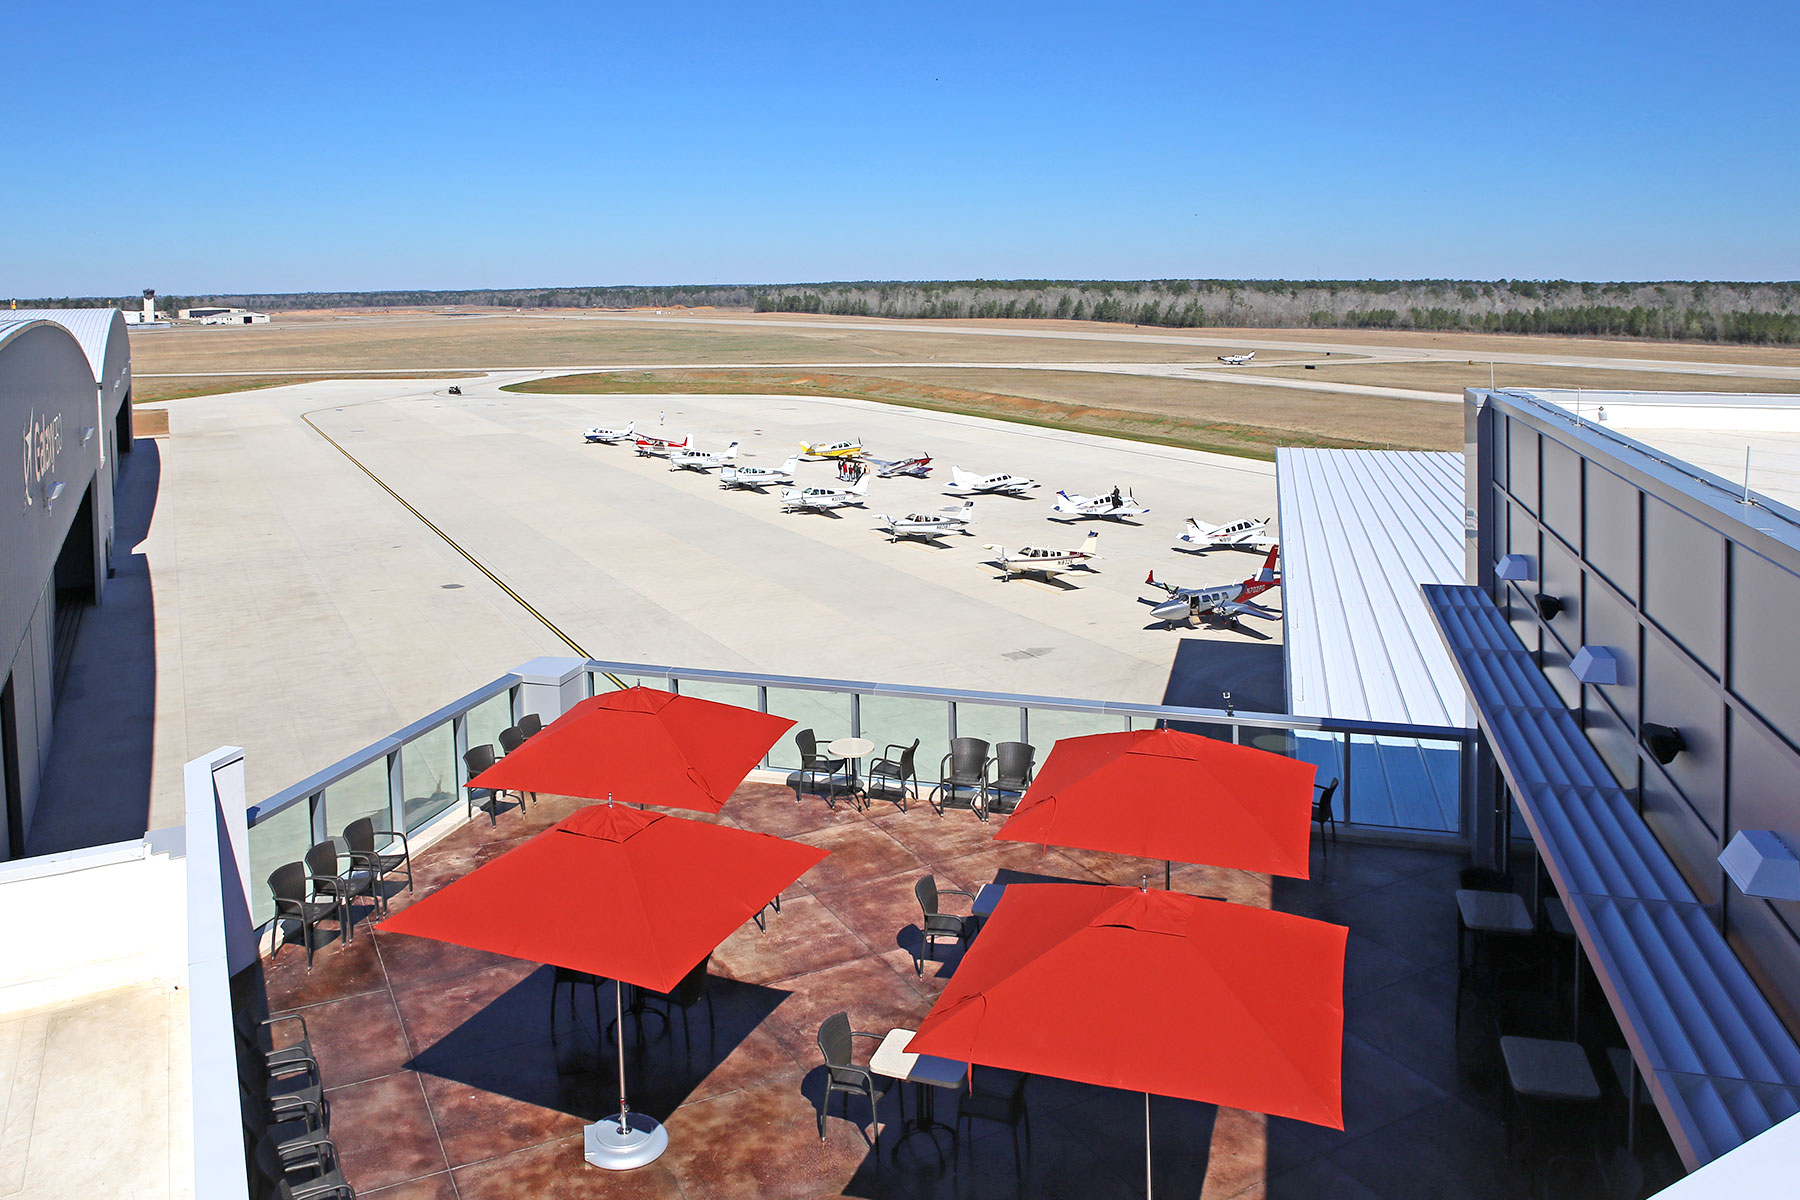
Black Walnut Cafe (KCXO): This airport diner, located at the Galaxy FBO in Conroe on the north side of Houston, is top notch. The food is excellent (I have eaten several different sandwiches and have not been disappointed) and you can’t beat the 3rd floor runway view from the patio. Not a bad place to spend the lunch hour, though make sure you get there before the lunch hour. It fills up quick.
Airport Diner (T82): Right next to the Hangar Hotel, the Airport Diner in Fredericksburg brings back memories of the old soda fountains of the ’40s and ’50s. With plates like the Warthog (their sausage sandwich with Fredericksburg made sausage) and the Whirly Bird (their chicken tenders wrap), the Airport Diner fully embraces the airport theme. Better to stop for lunch on a weekday rather than a weekend as their isn’t a whole ton of seating. Check your NOTAMs as the restaurant is closed on Mondays and Tuesdays.
Radial Engine Cafe (KGPM): A good little stop in the Dallas area for a simple burger, fries, and a Coke. Don’t get the smaller 17/35 runway at GPM confused with the much larger 16/34 runway at GKY just to the west. Approaching from the south, this can be easily done.
Clear Springs Restaurant (KBAZ): Come for the onion rings, stay for the fish. Clear Springs is just a 5 minute drive from the airport and there are always plenty of crew cars available. You could probably make a whole meal out of the onion rings themselves, but the fish is top notch too.
Gate 12 (KCLL): The College Station Airport now has the 12th Man! Aggie Fans will appreciate the Gate 12 experience with all the Texas A&M decorations scattered throughout the restaurant. Bring an appetite if you want to tackle the burgers. They are huge! Parking is only at the FBO. Only military planes get to park in front of the restaurant.
Cooper’s BBQ (KAQO): Llano, TX is known for BBQ. Just fly in to the airport, get a car, and after a 10 minute drive, you can take your pick of any kind of BBQ under the sun. Careful, as it’s easy to over order!
Hangar 6 Restaurant (KUVA): The newest restaurant on the list, located on the ramp at the Uvalde Airport, Hangar 6 tips it’s hat to the military history of the Uvalde airport while serving really good food. Taxi in and walk up to the quaint little joint. They even have a playground for the kids!
Sky Restaurant (KVCT): Not quite within walking distance, but just a short drive from the FBO, Sky Restaurant specializes on the seafood, but they also have good burgers and steaks. VCT is popular amongst the Air Force and Navy trainers in the area, especially around lunch!
Runway Cafe (KLBX): The best place I have found for seafood along the Texas Gulf Coast. With a huge runway to land on and a beautiful FBO next door, this is my go to for Fried Shrimp when I’m in the Houston area.
Delta Charlie’s (KRBD): With quite an extensive menu (and a full bar for those overnight trips), I will definitely make RBD one of my routine stops. Dallas Jet Center recently opened in the terminal, so fueling your stomach and your plane can all be done in one spot.
The Red Baron Restaurant (KDHT): The Panhandle of Texas hides many surprises and the Red Baron restaurant in Dalhart, TX is no exception. For those early morning flights, The Red Baron makes a solid breakfast and a mean cup of coffee. Lunch satisfies even the hungriest pilot. Dalhart has a very spiffy modern FBO to sleep away that burger and fries until your passengers show back up too.
Hogg’s BBQ (KDUX): I came hungry and I left very happy. Hogg’s makes some good West Texas BBQ. Huge helpings and an aviation themed dining room makes for a good choice. Restaurant is located just behind the terminal building. I was there for dinner and it wasn’t too crowded, but I bet lunch is hoppin’!
Aviator’s Grill (KDWH): Located in the Gill Aviation, FBO, Aviator’s Grill has a great selection of creative sandwiches. Hooks can be a little tricky to navigate while taxiing, but just tell ground you are going to Gill, and they will direct you to lunch.
Bill’s Burgers (KBMQ): A short drive from the airport in the Burnet FBO’s new courtesy van deposits you at Bill’s Burgers, the largest burger this side of the Mississippi. Always a popular lunch spot, especially on weekends, hitting lunch early or late is a good plan. Don’t get a full order of fries unless you want to share. It’s huge! Closed on Mondays.
In my book, these are the other great places to stop on a flight in Texas. Always make sure to come hungry! I probably missed a few along the way, so please feel free to add others to the list!
Note: Some of the above restaurants are either closed for COVID, or are only doing takeout. Make sure you call before hand. Google doesn’t always have updated information.
Looking for some good $100 Hamburger options in the state of Texas? Here are some other good fly-in eateries around Texas. These are ranked in no particular order because they are all just really good! Most of these are located on the airport property, but a few are in town and worth the drive! Lockhart…
MMOPA will be hosting it’s second Safety Standdown event at many locations across the country for Piper PA46 owners and pilots. The first iteration of MMOPA Safety Standdown in the fall of 2019 was a big hit. Each event was very well attended by MMOPA members.
What is Safety Standdown you ask? Safety Standdown was put together as a mid-year training event as part of the MMOPA Master Aviator program. It’s goal is to allow PA46 owners and pilots to fly in to a location at a reasonable time (the event starts at 10am local time), received some good quality ground training over relevant safety topics by highly experienced PA46 instructors, have a free lunch, then depart mid-afternoon to arrive back home before dark.
The event is free to all attendees. Lunch will be provided at each location. This event is not exclusive to MMOPA members, either. Any PA46 owner or pilot, or just anyone interested in the PA46 world, are invited to attend.
Texas Top Aviation is hosting the South Central Region Spring Safety Standdown at the Henrickson Jet Center at the Austin Executive Airport (KEDC). Hank Gibson and Pedro Vargas-Lebron will be presenting on the following topics:
MMOPA Operational Practices review and importance of stabilized approaches
Crosswind Takeoffs and Landings
High Density Altitude Operations
A discussion of thunderstorms, resources in the cockpit for weather avoidance, and accidents that have occurred involving thunderstorms
The MMOPA Spring Safety Standdown will take place on Saturday, April 18th, 2020. Registration is required for the event. The link for registration can be found here.
Come on out for some high quality training and free BBQ with 50 of your closest PA46 buddies!
MMOPA will be hosting it’s second Safety Standdown event at many locations across the country for Piper PA46 owners and pilots. The first iteration of MMOPA Safety Standdown in the fall of 2019 was a big hit. Each event was very well attended by MMOPA members. What is Safety Standdown you ask? Safety Standdown was…
Looking for an airplane with more seats, more useful load, and good speed? Look no further than the PA-46-310P Piper Malibu. It feels like a corporate airplane, but this turbo charged piston single is good owner/pilot airplane for taking the family on vacation or using on business trips.
The original Piper Malibu, which was manufactured between 1984-1988, is a great next step airplane for Cirrus owners, Saratoga or Lance owners, and Mooney owners looking to move up to a pressurized, 6 seat piston. The pressurization has got to be one of the best parts of the Piper Malibu. The ability to climb up to the low flight levels (the service ceiling is FL250, but the airplane performs great between 16,000 and FL190) to catch better winds and get a better true airspeed (the airplane gains about 2.5 KTAS for every thousand feet) without having to wear oxygen makes the ride much more enjoyable.
Equipped with six seats and a 4,100 pound gross weight, the Piper Malibu allows for a lot more carrying ability than a Cirrus or even a Saratoga. Now, like most piston airplanes, you can’t take 6 average adults, bags, and full fuel, but here’s the great part: the Continental TSIO 320 only burns 16.5 GPH in cruise at 75% power. The plane will still fly 200 KTAS at 16.5 GPH. With 120 gallon capacity, even taking half tanks still allows for a 2.5 hour range with an hour reserve. At 200 KTAS, that’s 450 miles. And, you gain an extra 360 pounds useful load at half tanks. That’s not too shabby.
The Piper Malibu was designed to be comfortable, fast, and be able to carry some baggage. There are two baggage compartments, one in the nose behind the firewall and one in the rear behind the rear seats. The nose baggage is wide enough to fit golf clubs in, while the back baggage is large enough to fit rolling suitcases in (the front baggage has no problem with roller bags either). Lots of weight in bags? Again, no big deal. Just plan on taking less fuel and still flying for 2.5 hours.
From a pilot’s standpoint, the Piper Malibu is a pretty straightforward airplane to fly, though it does require some specialty training. A lot of PA-46s on the market right now have upgraded glass panels and digital engine monitors, making piloting the airplane that much more streamlined. Most Piper Malibus are equipped with the KFC 150 autopilot. Some have a yaw damper installed, others don’t. Some have the vertical speed and altitude capture installed, others don’t. It just depends on that specific airplane. They aren’t like a Cirrus where they are all made the same.
Looking to upgrade to something with more seats, a higher service ceiling, but not a significant increase in fuel costs? Look into the Piper Malibu. You can get one in good shape from about $300,000.
Looking for an airplane with more seats, more useful load, and good speed? Look no further than the PA-46-310P Piper Malibu. It feels like a corporate airplane, but this turbo charged piston single is good owner/pilot airplane for taking the family on vacation or using on business trips. The original Piper Malibu, which was manufactured…
One evening this summer, my wife and I were flying down the southern shore of Long Island in my father’s E33 Bonanza. We enjoyed the sunset as we flew westbound and our plan was to fly the New York Hudson corridor, where we would arrive just after dark. As we approached New York’s airspace, two voices in my head started having a debate.
The first voice said: “You should turn on your landing light when you get to New York to make the airplane more visible.”
The other voice said: “That’s true, but I bet you’ll burn the landing light out”
Well, as it turned out, both voices were right. My landing light fired right up when I needed it to fly the Hudson, but when it came time to land back home I had no such luck. Unfortunately, this was not the first time that I had been given the chance to practice my blackout landings. This Bonanza model has only one landing/ taxi light which is mounted in the lower cowling behind the propeller. This location is less than ideal because the filament in the bulb is fragile and can be damaged by engine vibration.
We landed uneventfully and after putting the airplane away, I decided it was time to look into upgrading the lighting to something a little more modern. I was unsure of my options, but seeing as the airplane needed a replacement bulb regardless, it seemed like a good opportunity to make a change.
After doing a little reading, I learned that HID or LED landing lights would be the best solution to my problem. I was familiar with LED aircraft lights, but had never heard of HID before.
Here is what I learned:
HID Landing Lights
HID, or High Intensity Discharge landing lights, create light by arcing electricity through a sealed gas capsule. They are brighter than LED and traditional incandescent, and the light created more closely resembles the look and feel of sunlight. HID installations require a ballast to carefully regulate the flow of electricity to the gas capsule and also require a “warm up” period after being turned on in order to reach their full brightness.
Fitting an aircraft with HID landing lights tends to be more expensive and time consuming than installing an LED light and would likely require involvement by an A&P/ IA. However, if you want the brightest light available, HID is probably the best bet.
Pros
Brighter, more natural looking light
Draws less power than standard bulbs
Long bulb life
Does not generate much heat
Cons
More expensive than other lighting options
Lights must “warm up” after being turned on
Cannot be pulsed easily
Cost/complexity of installations
LED Landing Lights
LED, or Light Emitting Diode landing lights, have no filament and work by moving electricity through diodes which are connected into a circuit. These lights have become very popular for many uses due to their simplicity, low cost, and brightness.
While not as bright as HID light, the LED lights require no “warm up period” and can be easily pulsed. LED lights draw much less power from the aircraft’s electrical system than traditional bulbs and boast incredible life length. LED bulb installation is very simple and can often serve as a direct replacement for the original lights.
Pros
Instant light (no warm up)
Incredible life length (>5,000 hours)
Low Cost
Simplicity of installation
Can be pulsed easily
Low power draw
Cons
Not as bright as HID lighting
After weighing the options, I decided to replace the incandescent bulb in the Bonanza with an LED bulb. I read the reviews online and talked to some of my friends who work in aviation and eventually decided on the Lycoming Alphabeam. The Alphabeam is FAA/PMA approved and is available through Aircraft Spruce and other aviation parts vendors. The bulb cost around 250-300 dollars and I was able to install it as a direct replacement for our old light. All I had to do was take the old one out, put the new one in, and make a logbook entry.
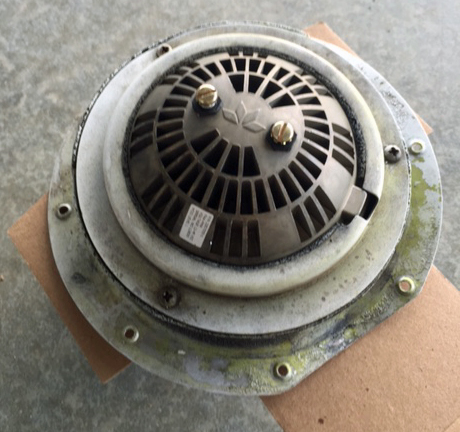
Below are some pictures of the installation:
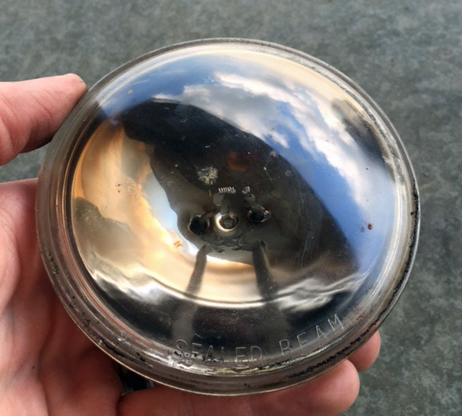
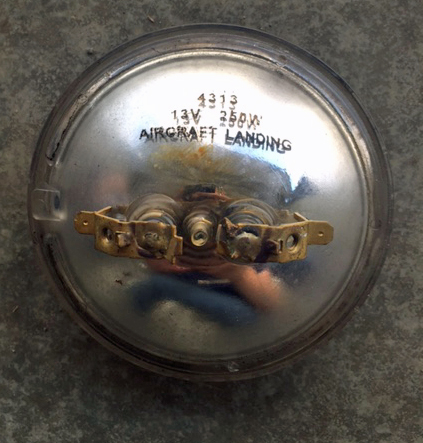
After removing the old bulb, I double checked the information on the back to be sure I ordered the correct LED replacement.
You can see that the bulb is a 13V, 250W landing light, #4313.
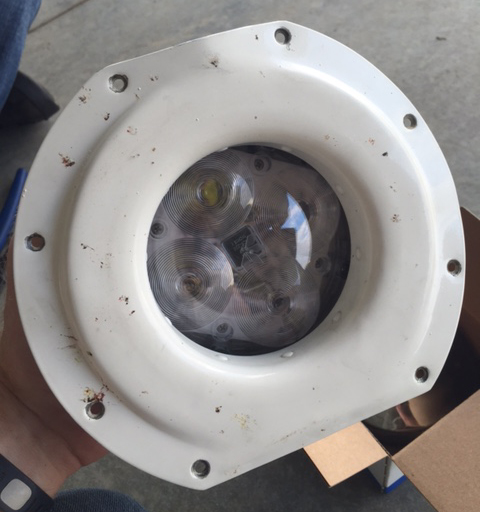
The new light mounted easily into the existing bracket with no modification.
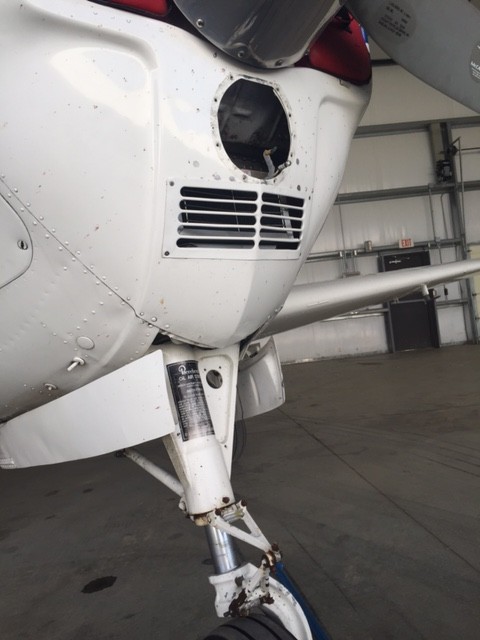
After mounting the new bulb, I reconnected the wiring and installed the bracket back into the nose bowl.
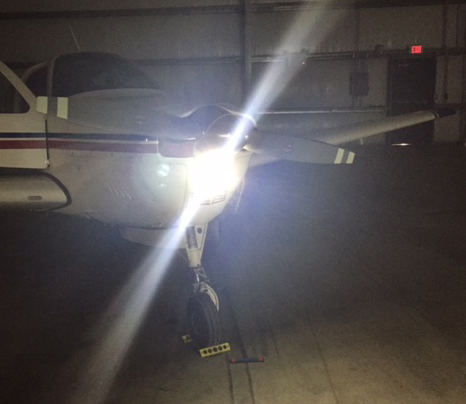
It works!
Last weekend I finally had an opportunity to take the airplane out after dark and see how the new light compared to the old one. I am pleased to say that it did a wonderful job and exceeded my expectations.
If you are interested in seeing a side by side comparison of the different lighting options, a quick Google search should provide what you are looking for. In my own experience, I would say that the LED light was brighter than the old light and did a very good job illuminating the taxiway and runway. It was extremely nice not to be concerned that my light wouldn’t work as I was setting up for landing at an unfamiliar field after dark. I also enjoyed feeling that I had the option to leave it on during climb and cruise in order to increase my visibility to other aircraft.
Many models of aircraft have multiple landing/ taxi lights installed which greatly reduces the likelihood of having to land without one. In our case, spending the extra money to upgrade to the LED bulb made sense because of the desire for increased reliability. If you are looking for a relatively inexpensive way to upgrade your airplane, LED or HID lighting may be something to consider.
Andrew Robinson is a 135 Charter Pilot and flight instructor who lives with his wife and 2 daughters in Pennsylvania. He flies Pilatus PC-12s and instructs in Beechcraft Bonanzas.
One evening this summer, my wife and I were flying down the southern shore of Long Island in my father’s E33 Bonanza. We enjoyed the sunset as we flew westbound and our plan was to fly the New York Hudson corridor, where we would arrive just after dark. As we approached New York’s airspace, two…
Hank Gibson from Texas Top Aviation will be presenting a seminar on flying Garmin instrument approaches with the different Garmin GPS units. Whether you have a Garmin 530/430 unit, a Garmin GTN 750/650 unit, or a Garmin G1000, all will be discussed. You’ll walk away with some tips and tricks, plus a better understanding of your Garmin unit.
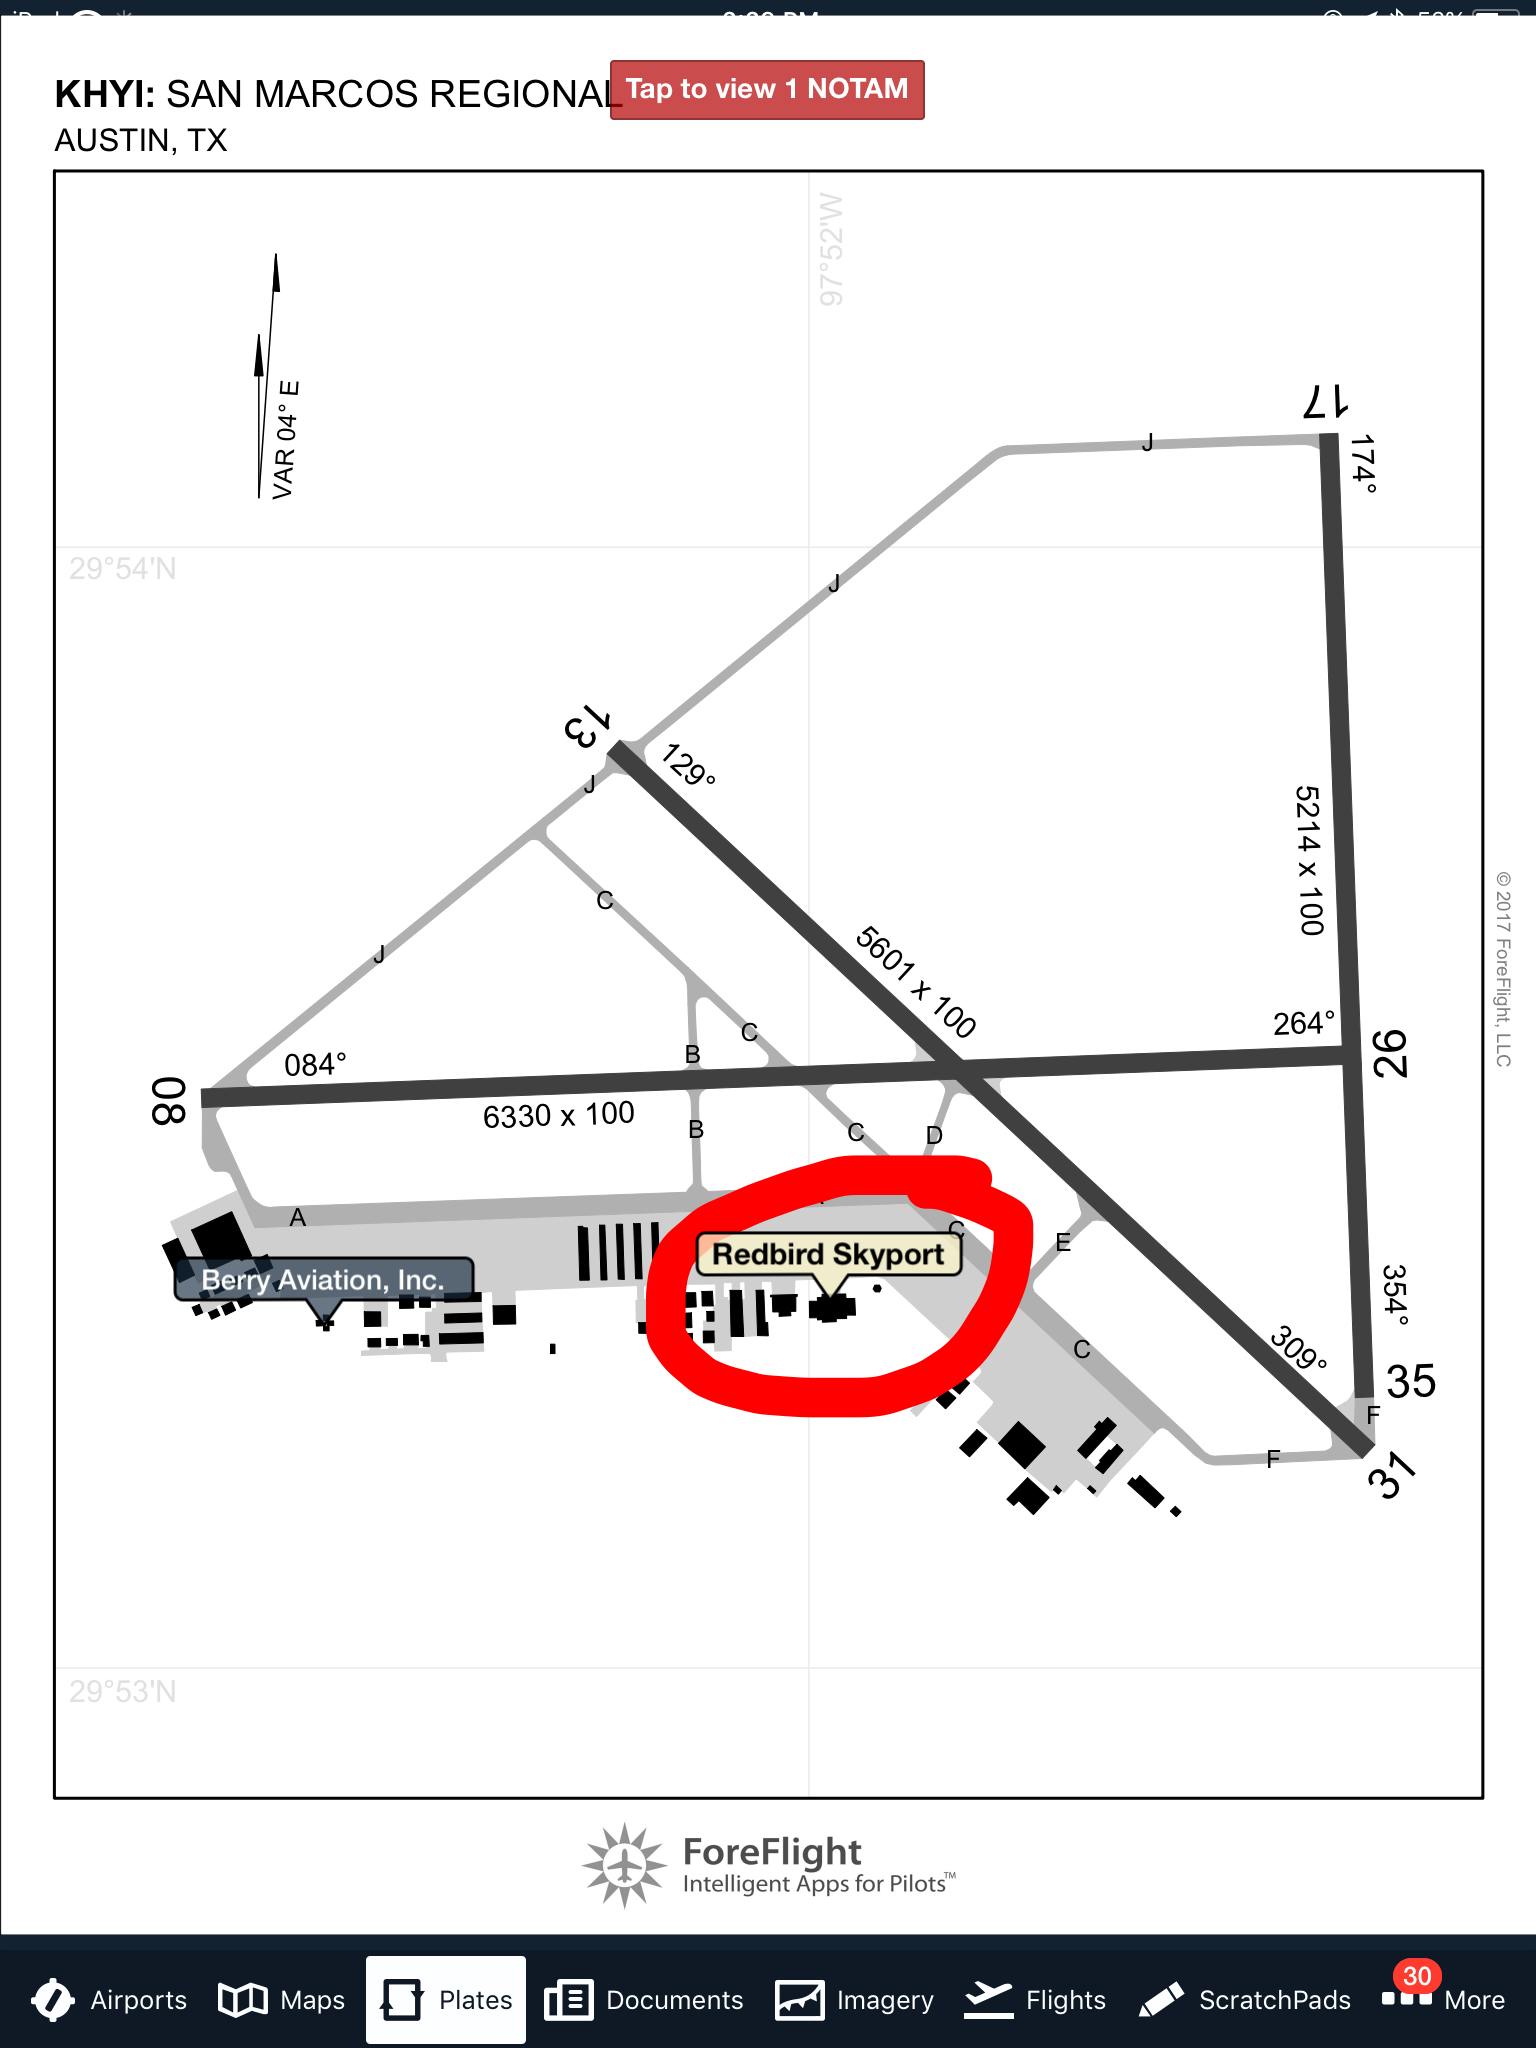
WINGs credit will be given for attending. The seminar is hosted by Redbird Skyport at the San Marcos Airport (KHYI) in Redbird’s large conference room. The seminar will begin at 10am on Saturday, June 30th, 2018.
It’s always quicker to fly than drive and Redbird has plenty of ramp space to accommodate seminar attendees.
Registration is required. Please visit the registration page on FAASafety.gov. Space is limited to 20 individuals, so please make sure you register if you want to attend.
Hank Gibson from Texas Top Aviation will be presenting a seminar on flying Garmin instrument approaches with the different Garmin GPS units. Whether you have a Garmin 530/430 unit, a Garmin GTN 750/650 unit, or a Garmin G1000, all will be discussed. You’ll walk away with some tips and tricks, plus a better understanding of…