It’s that time of year again! Yes, it’s the New Year, but it’s also time to register for the 2024 Texas Top Aviation Fly In. The Aviator’s Academy’s sister company, Texas Top Aviation, is hosting it’s 4th annual fly in event on March 19th-22nd, 2024 at the Shangri-La Resort in Grand Lake, OK.
For those not familiar with the annual Texas Top Aviation Fly In, we’ve been hosting this event since 2019 and it is always well attended and fills up fast. Geared around aviation education, golf, community, and a whole lot of fun, the fly in is always very popular.
This year, we are adding a Par 3 Shootout for early arrivals on Tuesday, March 19th at the Shangri-La’s Battlefield Par 3 Course. The 4th Annual 2 Round Golf Tournament begins on the afternoon of Wednesday, March 20th and finishes up on the afternoon of Thursday, March 21st.
The biggest hit of the week is always the safety seminars on Thursday morning. This year, Texas Top Aviation has secured the talents of Paul New, expert Cirrus, Columbia, and Cessna mechanic, and owner of Tennessee Aircraft services. If you listen to Mike Busch’s podcast, Paul is a regular. Scott Williams, owner of The General Aviation Law Firm, will be presenting on LLC’s and Illegal Charters, while Hank Gibson, owner of Texas Top Aviation and The Aviator’s Academy, will present a study on several different accidents and what can be learned from other’s mistakes.
It’s guaranteed to be a fun week. The Grove Regional Airport in Grove, OK will be our host airport (KGMJ) this year. Sign up soon as space is limited. Registration is only open till February 23rd, 2024. For more information and to register, simply Click Here. We hope to see you there!
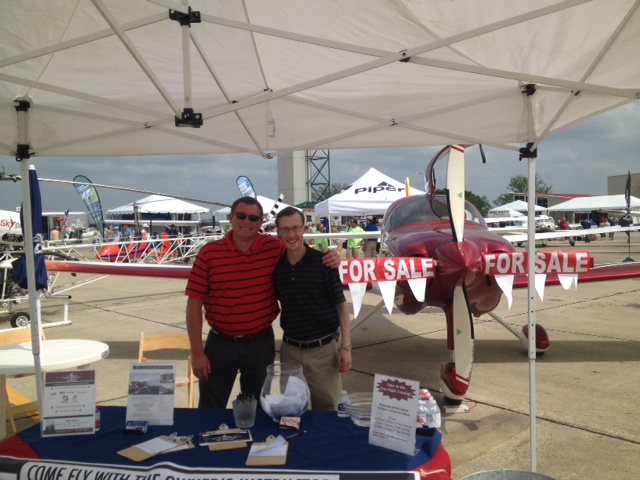
Texas Top Aviation was at the AOPA Regional Fly-In at the San Marcos Regional Airport (KHYI). If you weren’t there, you certainly missed out spending time with 2,500 other airplane and flying enthusiasts!
The day began somewhat gloomy and windy with the threat of rain. Organizers feared that weather would keep a lot of people from coming. Boy, were they wrong!
There were many classic airplanes, many modern and pretty nicely equipped airplanes, and everything in between. There were aviation celebrities, Rod Machado and the Kings of King Schools fame, to name a few. Not to mention the fabulous BBQ!
Texas Top Aviation had several drawings for free training and 3 lucky winners. We also had a Lancair Super ES for sale, N132BB (which made the San Marcos Record newspaper!). It definitely stood out with it’s unique paint job. The flames on the tail drew many oohs and aahs.
Departing the San Marcos Airport after the fly in was like battling traffic in Austin at rush hour (though, Austin doesn’t have any air traffic controllers). The San Marcos controllers probably hadn’t seen that much traffic since the airport was an Army Air Base back during WWII. It was quite a sight to see all the exhibitor’s airplanes lined up ready to head skyward.
Thanks to all of you who stopped by the Texas Top Aviation booth! It was a pleasure meeting all of you and we look forward to working with you in the future!
Hank Gibson and Russell Moore of Texas Top Aviation
Where were you on April 26th? Texas Top Aviation was at the AOPA Regional Fly-In at the San Marcos Regional Airport (KHYI). If you weren’t there, you certainly missed out spending time with 2,500 other airplane and flying enthusiasts! The day began somewhat gloomy and windy with the threat of rain. Organizers feared that weather…
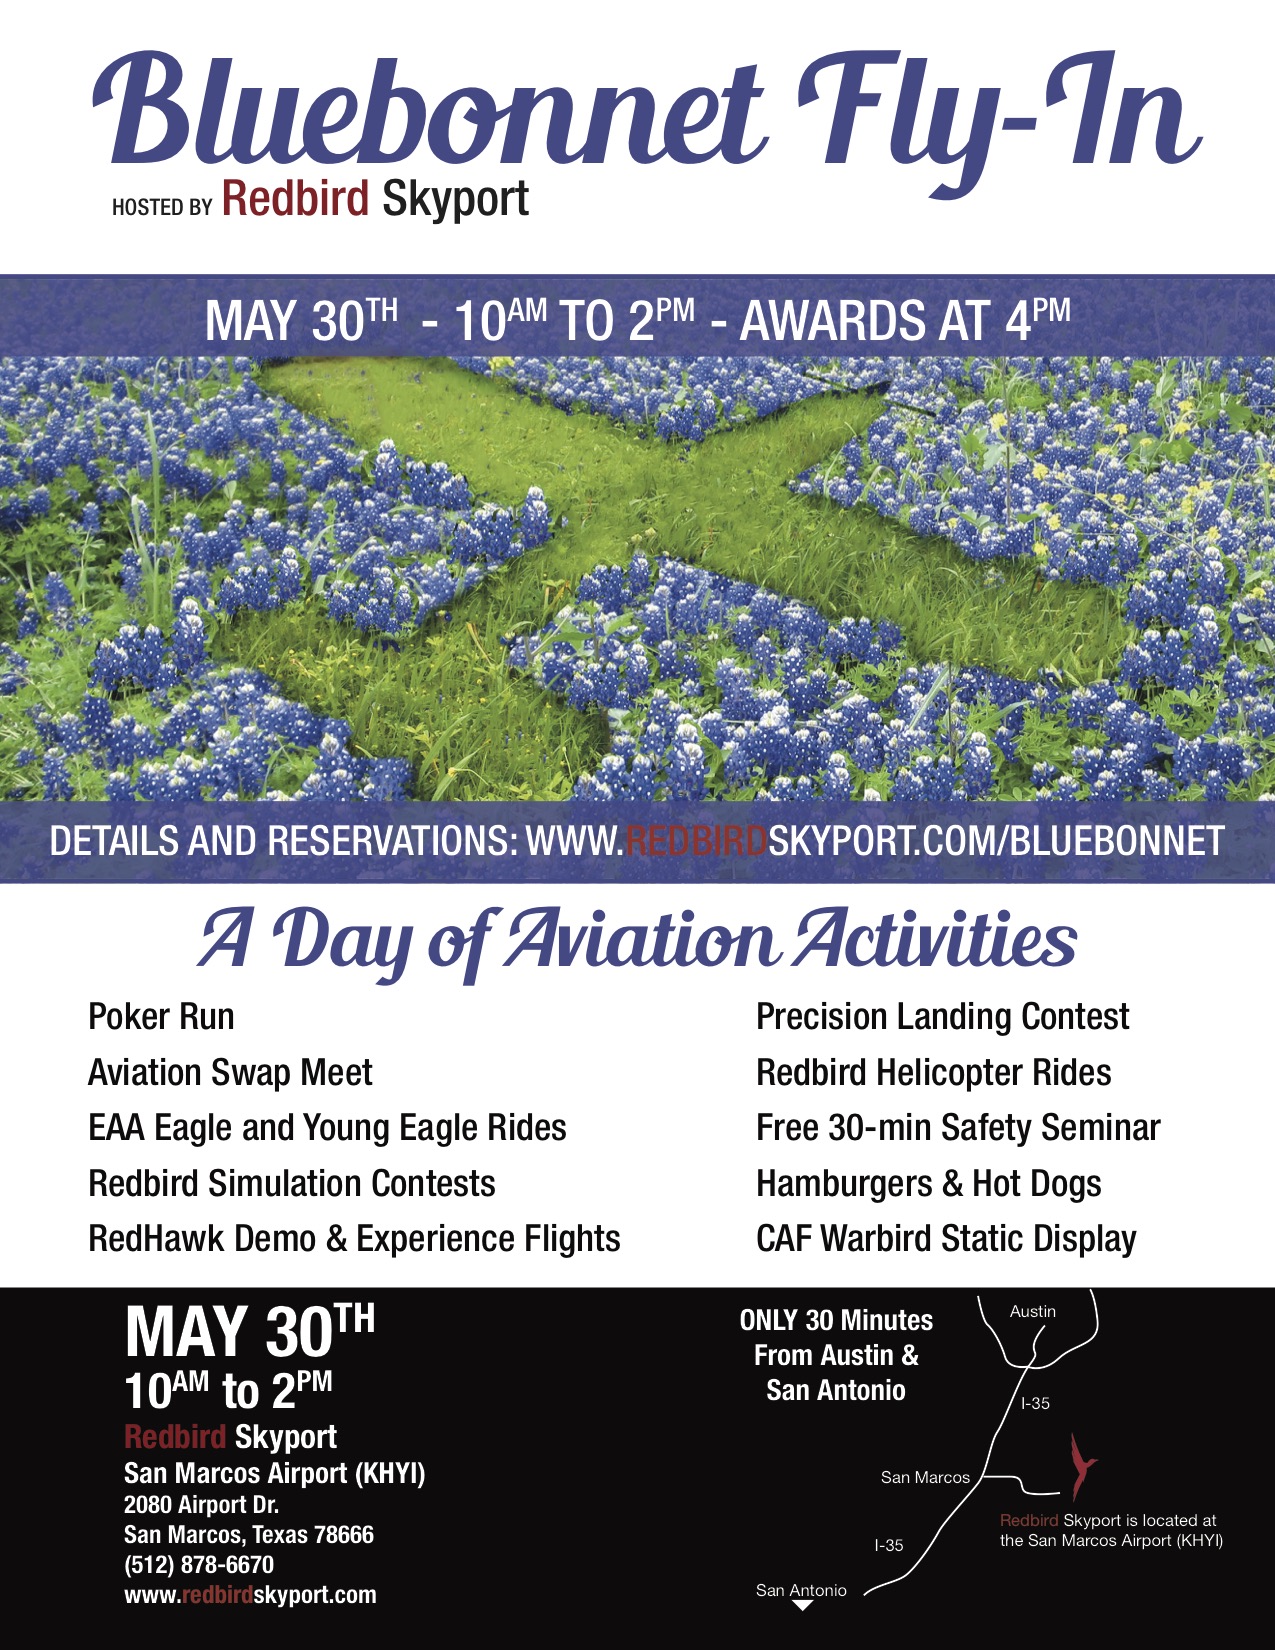
Come out to Redbird Skyport at the San Marcos Municipal Airport on Saturday, May 30th for the Bluebonnet Fly-In. Hank Gibson from Texas Top Aviation will be giving a safety presentation at 2pm in the large conference room entitled “Is The Approach Activate? Flying Garmin Approaches.”
Join Texas Top Aviation and Redbird Skyport as we open the summer together at the Bluebonnet Fly-In.
Come out to Redbird Skyport at the San Marcos Municipal Airport on Saturday, May 30th for the Bluebonnet Fly-In. Hank Gibson from Texas Top Aviation will be giving a safety presentation at 2pm in the large conference room entitled “Is The Approach Activate? Flying Garmin Approaches.” Join Texas Top Aviation and Redbird Skyport as we…
Let’s face it: airplanes are not the best classrooms. The propeller is running, the engine is making lots of noise, the pilot is attempting to multi-task and the instructor is barking orders. That’s almost as much overstimulation as being a parent to 4 kids under 10 (I have experience in that arena!). That’s even before takeoff!
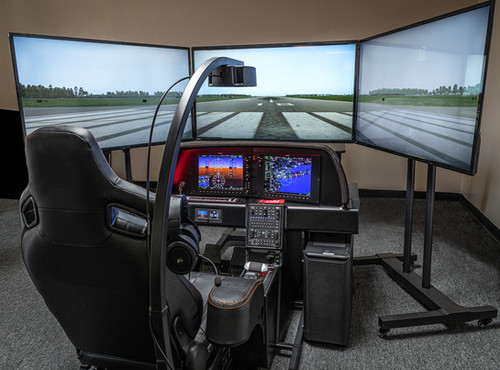
At Texas Top Aviation, we have observed many situations where a simulator would be an excellent way to introduce different concepts and supplement training. Now, in our Austin Executive (KEDC) office, we finally have a really good simulator.
Meet the Noble Flight Simulator, the next best thing to a Cirrus cockpit. With the Noble Flight Simulator, we can duplicate 6 different types of Cirrus aircraft (G3 SR22, G3 SR22T, G5 SR22, G5 SR22T, G6 SR22, and G6 SR22T). The Garmin Perspective panel easily swaps between the G3 and G5 configuration to the G6 configuration, so the buttons are all in the proper places.
Want to experience actual emergencies? An engine failure is a lot less stressful in a simulator.
Want to pull CAPS (Cirrus Airframe Parachute System)? The Noble Flight Simulator has a realistic CAPS handle with the same amount of pull pressure that the CAPS handle in the airplane has.
Need an IPC or want to practice approaches? All approaches done on a Noble Flight Simulator are luggable, plus a full IPC can be accomplished.
Want to save fuel? The Noble Flight Simulator is for you!
To top it all off, the Noble Flight Simulator that Texas Top Aviation has is classified as an Advanced Aircraft Training Device. It is certified to the highest standards of non-motion simulators, allowing pilots working toward their private and instrument ratings to log a significant amount of time toward that certificate or rating. Up to 20 hours of IFR training is allowed to be logged in an AATD toward an instrument rating. That’s huge!
Texas Top Aviation is also developing a CAPS specific course to expose Cirrus pilots to the many different scenarios where pulling CAPS would be necessary. This teaches Aeronautical Decision Making to Cirrus pilots who struggle with the decision of whether or not to pull CAPS. Look for CAPS course information under our Aircraft Training page later this summer.
Interested in checking the simulator out? Contact us today!
Let’s face it: airplanes are not the best classrooms. The propeller is running, the engine is making lots of noise, the pilot is attempting to multi-task and the instructor is barking orders. That’s almost as much overstimulation as being a parent to 4 kids under 10 (I have experience in that arena!). That’s even before…
I have used a few different sun shields in airplanes in my flying career. I have found one that I really like. Bruce’s Custom Covers knocks it out of the park for usability and ease of storage.
Let’s start off with functionality. Like other window sun shields, Bruce’s Custom Covers fit very nicely into the airplane glare shield and side windows. Depending on the type of airplane you have, some of the window covers use the suction cups and others don’t. I recently had 2 customers order from Bruce’s, one that owns a P210 that uses the suction cups for all windows, including the glare shield, and the other owns a Cirrus which doesn’t use the suction cups on anything.
They work great. They do the job of blocking the sun and keeping the cabin much cooler while the airplane is sitting on the ramp.
The thing I like best about Bruce’s Custom Covers is their storage. Other sun shields require you to roll them up and lash a tie around them. Bruce’s, on the other hand, come folded very neatly in a black canvas bag. The folded covers don’t take up nearly as much room as the rolled up covers, plus they are really easy to just fold up and store.
Bruce’s Custom Covers also sells plugs for cowling, pitot tubes, etc., as well as aircraft exterior covers.
Bruce’s Custom Covers gets my recommendation for anyone wanting to get some new sun shields. For those of you in Texas, you know you need them!
I have used a few different sun shields in airplanes in my flying career. I have found one that I really like. Bruce’s Custom Covers knocks it out of the park for usability and ease of storage. Let’s start off with functionality. Like other window sun shields, Bruce’s Custom Covers fit very nicely into the…
I was recently clued in to a really cool (and very cost efficient) iPad yoke mount.
It’s called a PopSocket and you won’t find it on any aviation website (I have to credit Joe Casey of Casey Aviation with this nifty find).
It’s very simple. You take the mount (see right) and stick it to your yoke. Then you pick one of a ton of designs from PopSocket and stick it to the back of your iPad (you can even create your own design! B2 Bomber anyone?).
It’s low profile, doesn’t get in the way of anything, and is easily removable. The PopSocket mounts are $10 apiece (depending on the size of your iPad, you may want to get 2). The PopSocket is $10, so at the most, you’ll be in $40 plus tax and shipping. Most mounts on Sporty’s are upwards of $50 and require a lot of installation, are big and bulky, and usually require lots of juggling to get the iPad in and out of the mount.
Give the PopSocket a try.
I was recently clued in to a really cool (and very cost efficient) iPad yoke mount. It’s called a PopSocket and you won’t find it on any aviation website (I have to credit Joe Casey of Casey Aviation with this nifty find). It’s very simple. You take the mount (see right) and stick it to…
It was a rainy Thursday afternoon and I was eating lunch with my family when my phone rang. My wife and I had just been discussing how miserable the weather was, so it was only natural that about 30 minutes later I was soaking wet and sitting in one of our Aerostars getting ready to take off for Ohio. I didn’t have much information about who I would be flying, or why, but I knew that I was going to pick someone up to fly them home; something about a missing airplane. So off I went into the muck. My biggest concern at that point being whether or not my clothes would ever dry out.
I arrived uneventfully and walked happily into the FBO, but found myself quickly in a very different atmosphere. It turned out I had two passengers to pick up, a husband and wife, and they had arrived at the FBO before me. As I walked in the door, the wife received a phone call. The person on the phone told her that search teams had found her father’s airplane crashed in the woods and that he was dead. I learned the rest of the details quickly and it was hard to stomach.
She was travelling home that day to be with family until they were able to locate her father. She was pregnant with her first baby and was in her third trimester. The baby was to be her dad’s first grandchild. He’d owned a Lake Amphibian for years and had stayed at home to work while his wife was out of town. He was last seen leaving work on Tuesday of that week and was reported missing on Thursday by his co-workers. Airport security footage showed him pulling the airplane out and taking off at 20:48 (after sunset) on Tuesday night.
After a few minutes we loaded the Aerostar and took off. It was the saddest flight I’ve ever done. Understandably, my passanger sobbed on and off from the time she got off the phone until we landed a couple of hours later. The weather seemed appropriate as we flew along through the rain and were greeted at our destination by a grief stricken family and a few reporters.
I said a sad goodbye and left, but I couldn’t help but think about their situation. It really hit close to home with me as it was easy to draw parallels between my family and theirs: she was very close in age to me and pregnant with her first child. My wife and I were new parents. Her dad had owned his airplane for about the same length of time that my dad has owned his Bonanza. Additionally, it isn’t uncommon for my parents to go a couple days without being able to reach each other because they both travel.
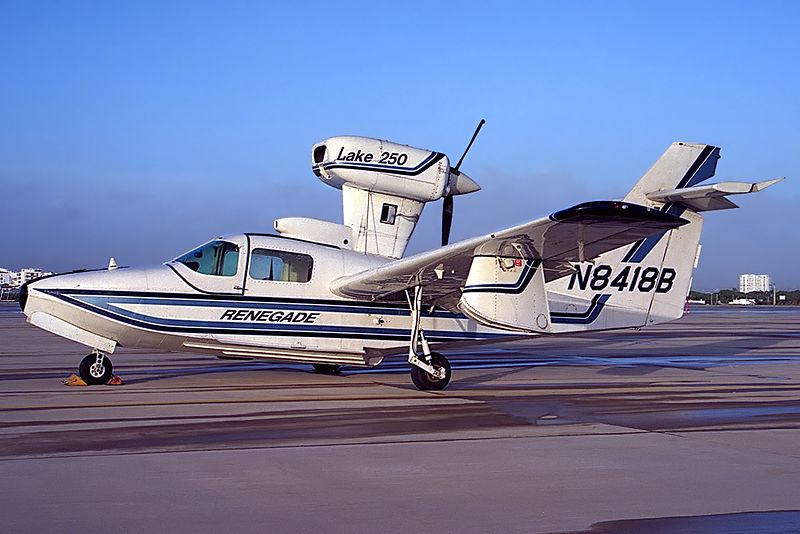
A Lake 250, the same type of aircraft involved in the accident.
But what happened..?
In the time since the accident, the NTSB has published their findings and unfortunately, it makes the situation sadder. It was completely avoidable.
Airport security cameras showed that after removing the airplane from the hangar, the pilot did not complete a preflight inspection or even a walkaround of any kind. He simply climbed in and left. The investigators were unable to find any traces or odor of fuel in the wreckage, nor any mechanical abnormalities with the airplane. In fact, according to the report, the engine was put on a test stand and ran perfectly. It would seem that the pilot simply never checked the fuel quantity and took off. The airport cameras captured the take off and a bright flash about 30 seconds after the aircraft departed.
Here is an excerpt from the report:
The National Transportation Safety Board determines the probable cause(s) of this accident as follows: The pilot’s attempted 180-degree return to the runway immediately after takeoff in dark night conditions, which resulted in collision with trees and terrain. Also causal was the pilot’s inadequate preflight inspection, which resulted in a takeoff with little-to-no fuel on board the airplane.
Interestingly, the report also details their ability to use logbook information and fuel receipts to show the airplane was taken on a long cross country on its last flight and likely not fueled again.
Another thing which stuck out in my mind upon learning the details of the crash was how important it is to let someone know when you’re going flying. Having another person know roughly when a flight is leaving, where it’s going and and when to expect it back could potentially save the lives of the people on board. In the case of this accident, the pilot didn’t alert anyone that he was going flying and therefore, no one realized he was missing for 2 days.
From reading the NTSB report I don’t get the impression that he survived the crash, but I can’t help thinking about the possibility that he, or others in similar circumstances, could survive a crash and then die from their injuries because no one knew to look for them. When I flew charter, we weren’t legally allowed to take off VFR without letting someone at the company know the details of the flight. I’ve adopted this as my personal policy as well. One text message could be the difference between being rescued or not.
Finally, every pilot should ensure that a proper walk around is completed! It’s easy to assume everything is okay with an airplane, especially one that no one else has access too. In addition to a thorough preflight, I like to walk all the way around the airplane and visual check fuel caps, doors, chocks, ropes, etc., immediately before getting in to ensure that everything is ready. I know a couple of pilots who have taken off with various panels and compartments open simply because they got distracted during their walk around and never closed them. (A good policy is to never walk away and leave something open). Perhaps even more mind boggling is that he apparently didn’t look at the fuel gauges after start up and before take off. I also have to wonder how much fuel he had remaining upon completion of the previous flight.
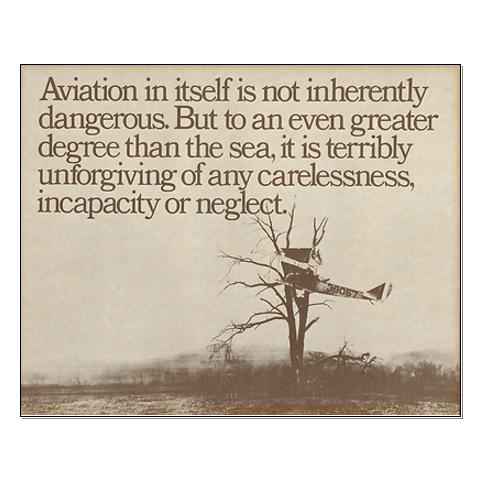
“Aviation in itself is not inherently dangerous. But to an even greater degree than the sea, it is terribly unforgiving of any carelessness, incapacity or neglect” is likely a familiar quote to just about every pilot. It is often written on a poster with a picture of an old timey bi-plane hanging out of a tree, but I think that it is absolutely on point. Carelessness in the preflight and neglecting basic pilot responsibilities (in this case fuel planning) cost this father his life and his opportunity to meet his first grandchild.
I know this article is a real downer, but it’s supposed to be. Its tragic that accidents take place which are completely avoidable. Obviously this case was beyond the normal realm of carelessness and neglect, but, we as pilots need to be extremely careful not to get so comfortable with an airplane that we stop doing the things which are so basic and important to safety. One of my professors in school used to say “aviation is fun, but it plays for keeps,” which is an effective way to remind myself how important it is to do it right.
*Out of respect to the family, I have not included any specific names, tail numbers or airports in this article.
It was a rainy Thursday afternoon and I was eating lunch with my family when my phone rang. My wife and I had just been discussing how miserable the weather was, so it was only natural that about 30 minutes later I was soaking wet and sitting in one of our Aerostars getting ready to…