Is The Approach Active? Flying Garmin Instrument Approaches Seminar

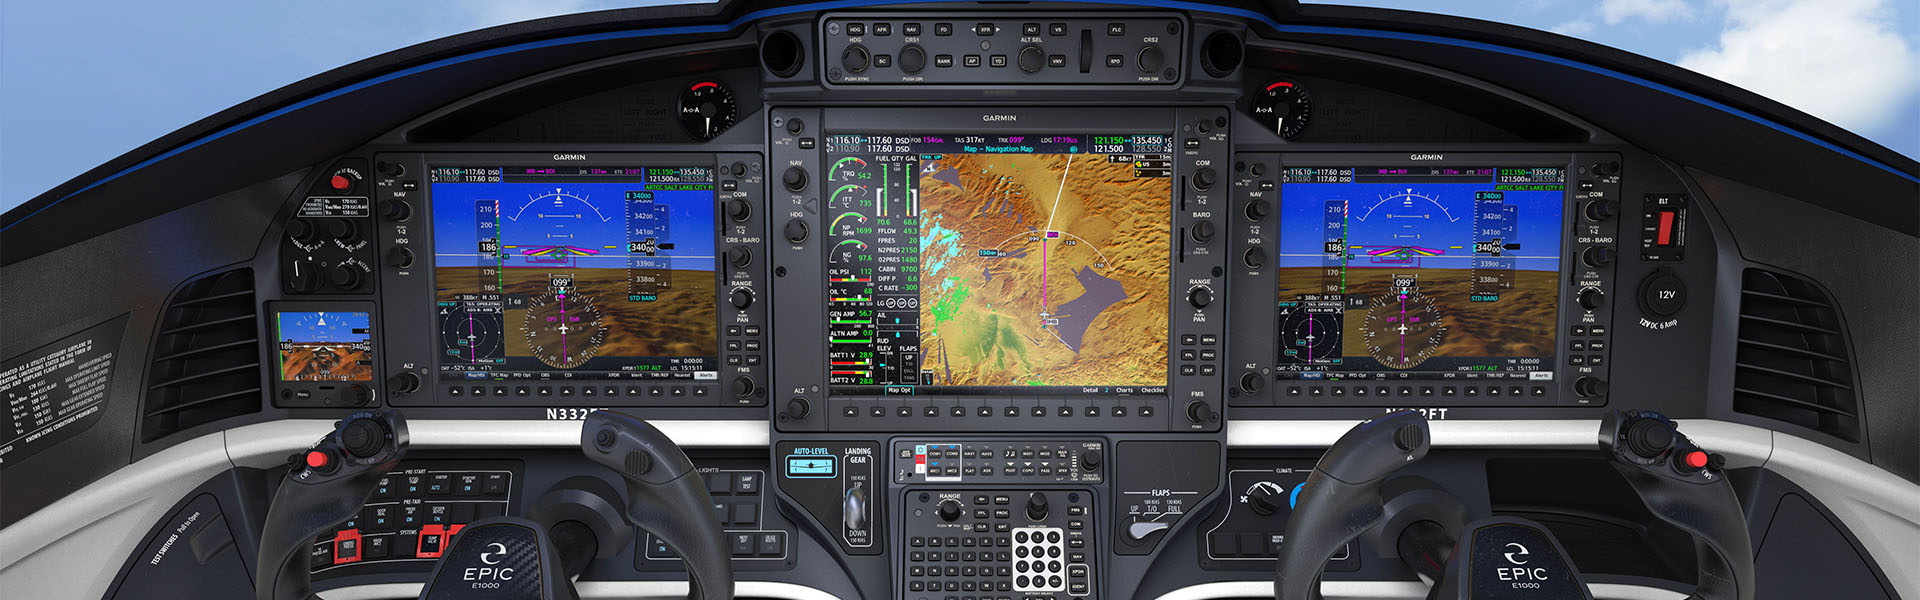
Hank Gibson from Texas Top Aviation will be presenting a seminar on flying Garmin instrument approaches with the different Garmin GPS units.  Whether you have a Garmin 530/430 unit, a Garmin GTN 750/650 unit, or a Garmin G1000, all will be discussed.  You’ll walk away with some tips and tricks, plus a better understanding of your Garmin unit.

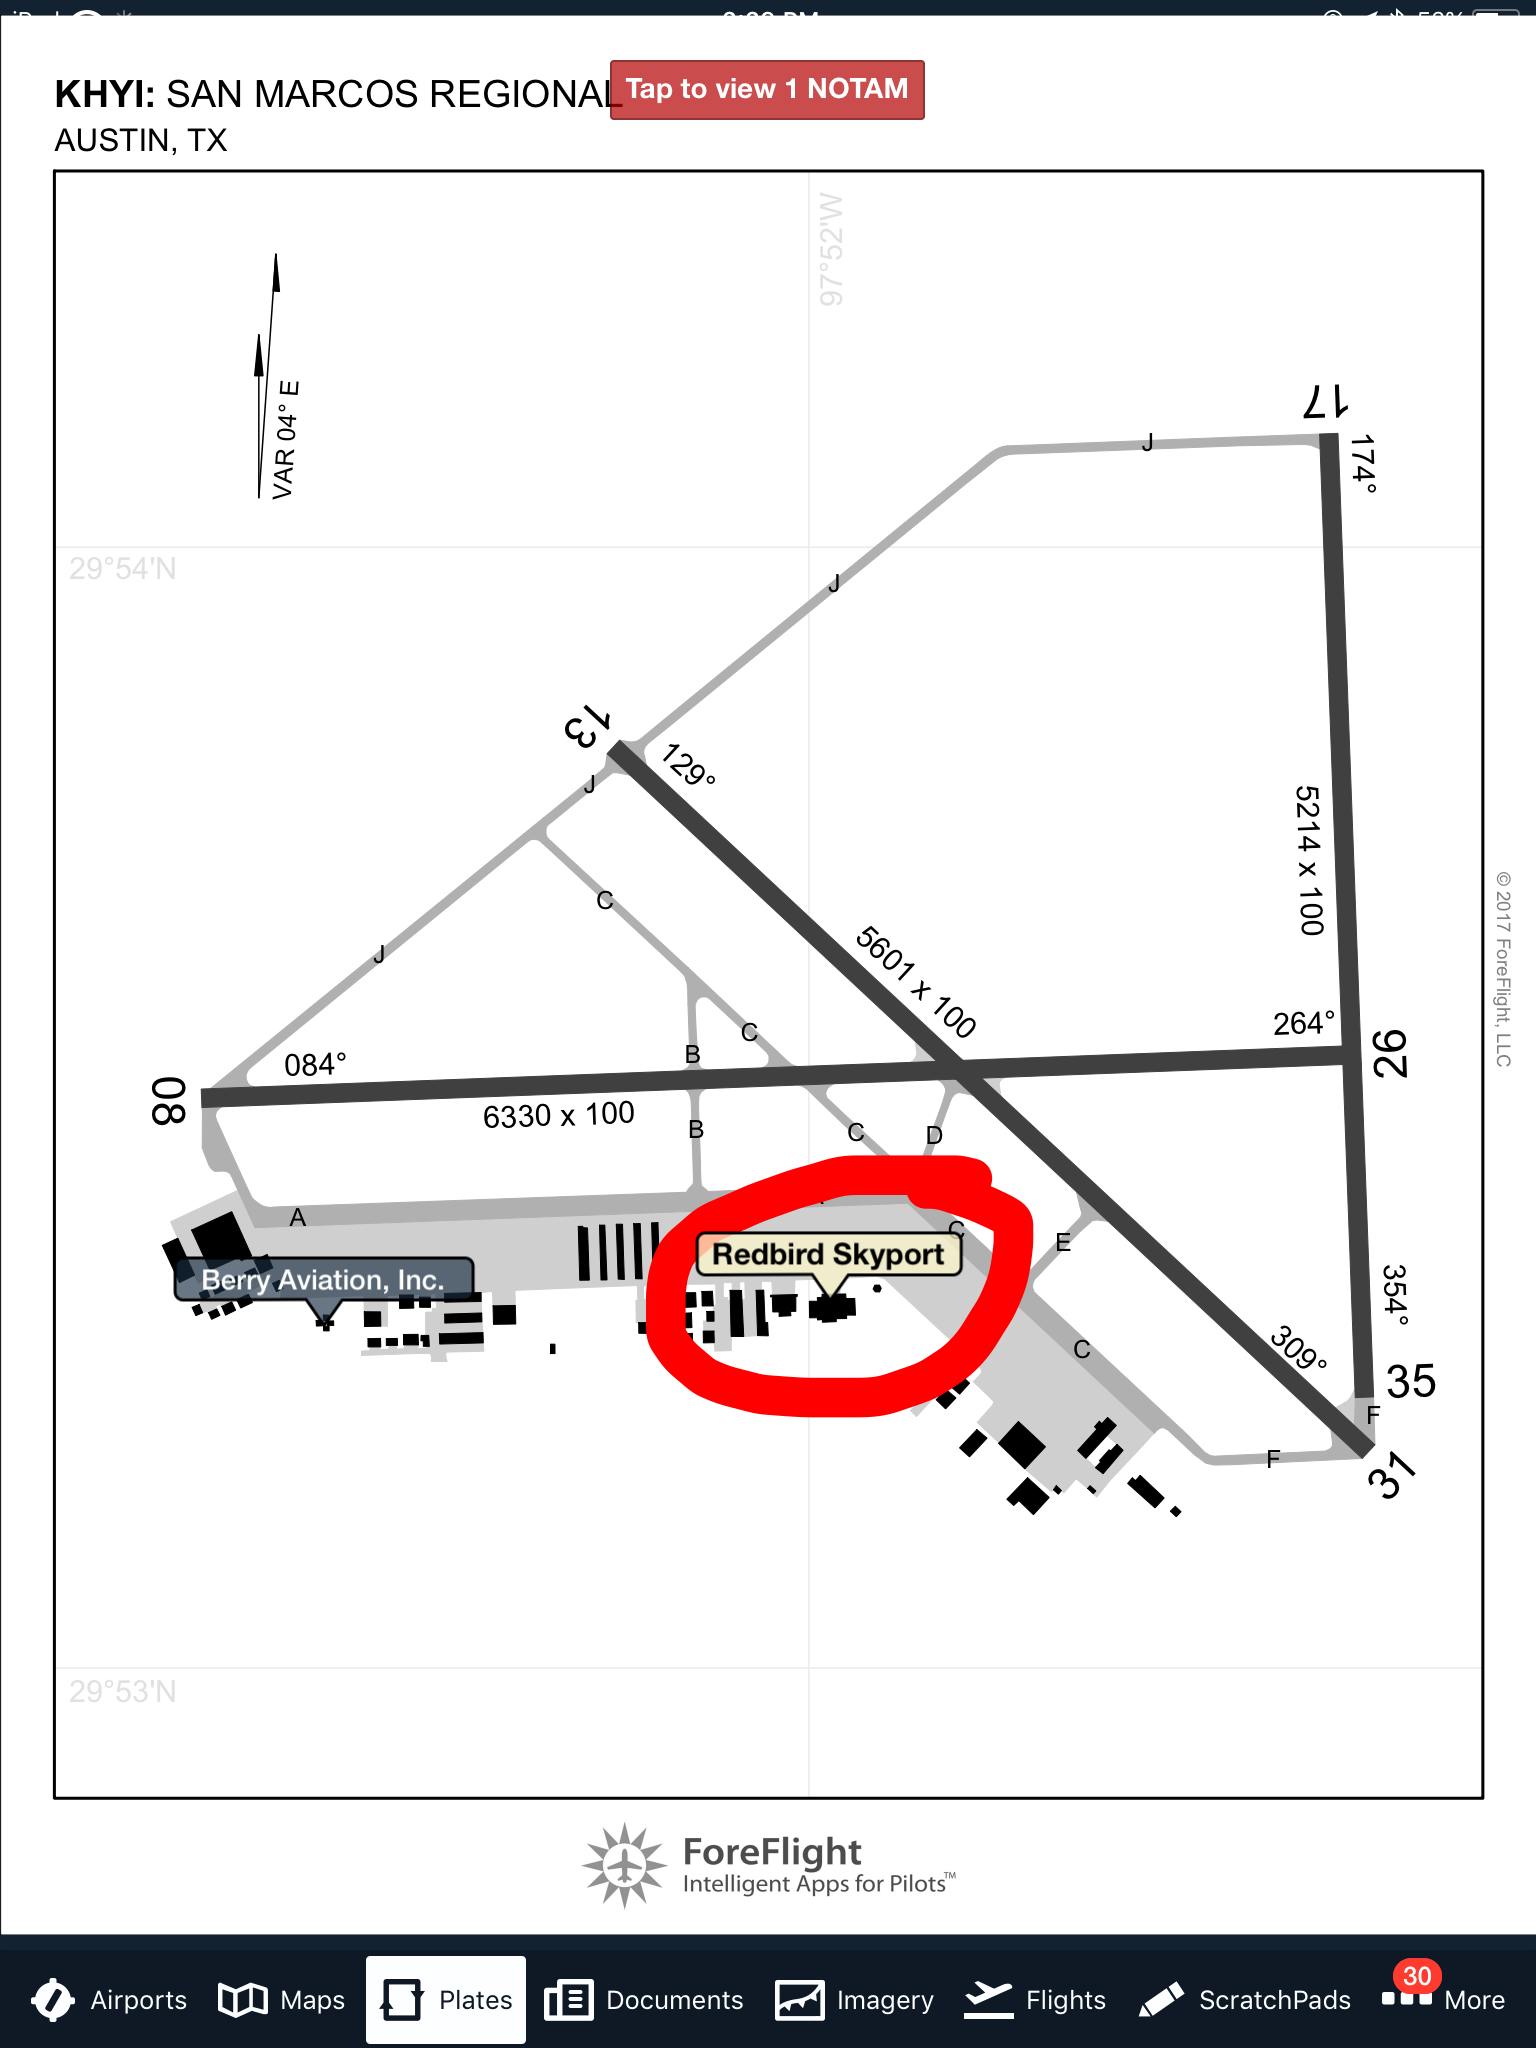
WINGs credit will be given for attending.  The seminar is hosted by Redbird Skyport at the San Marcos Airport (KHYI) in Redbird’s large conference room.  The seminar will begin at 10am on Saturday, June 30th, 2018.

It’s always quicker to fly than drive and Redbird has plenty of ramp space to accommodate seminar attendees.

Registration is required.  Please visit the registration page on FAASafety.gov.  Space is limited to 20 individuals, so please make sure you register if you want to attend.

Similar Posts

  • The Anatomy of a Hot Start

    Are you one of those pilots who hates fuel stops simply for the fact that the engine doesn’t have time to cool off?  You pump gas into the plane, hit the bathroom, get in the plane and the oil temperature is still up at 160-170 degrees, leading you to have to figure out how to get the plane going again with a hot engine.  For those without proper training, this usually means a lot of jockeying around with the throttle, mixture, and fuel pump to try and get the thing started without flooding it.  After coughing and wheezing several times, the engine finally comes to life, leaving you to only guess what worked and without the knowledge of how to duplicate it.

    Hot Start 2

    Let’s take a step back for a minute to see what is actually happening with a hot engine.  Once the engine is shut off, the fuel in the lines leading from the tank to the engine is vaporized, meaning there is more air in the fuel lines than liquid fuel.  In the engine block itself, there is still liquid fuel in the injectors, but only enough for the engine to cough then quit if started.

    When a normal priming and starting procedure is performed, too much fuel is forced into the cylinders and the engine becomes flooded.  A flooded engine just means that the stoichiometric ratio is way too rich, meaning there is too much fuel and not enough air.  The prime does the trick of getting the fuel vapor out of the fuel lines, but it shoves too much fuel into the cylinders.  Once the engine is flooded, it’s a waiting game to allow air into the engine to get the mixture right.  All Lycoming powered high performance and turbo charged engines are notoriously easy to flood when hot.

    So, what’s the solution?  By taking a step back to see what is actually happening, you can attack the problem from the source, which is the fuel lines.  You need to get the vapor out of the fuel lines and get some liquid fuel in there.  The procedure for this varies based on the make and model of engine, but I’m going to use the example of the Continental IO-550-N that is in a Cirrus SR22.  I found this procedure in the Continental Engine Manual and it works every time.

    (Pilots of other airplanes, keep reading.  I have sections below for PA46s, Columbias, and Bonanzas as well )

    • Mixture:  Full Lean (this allows fuel in the fuel lines, but prevents it from going past the mixture control into the engine, sending all fuel back to the fuel tank; a small amount of fuel leaks past the mixture control providing prime for the engine)
    • Throttle:  Idle
    • Low Boost Pump:  Run for 30-60 seconds (see note below)  (15 seconds in the Turbo Cirrus)
    • Mixture:  Full Rich
    • Throttle:  Open about 1/4 travel (not 1/4″, that won’t be enough)
    • Boost Pump:  Off, but have your finger on Low Boost
    • Starter:  Crank (engine will turn over a few more times before firing, this is normal)
    • At the first indication of start, turn the Low Boost on, increase the throttle to ensure the engine catches,  then adjust the throttle for 1,000 RPM
      • The engine will fire right about the time you start thinking it isn’t going to work

    A few notes regarding engine temperatures:

    • If the oil temperature is above 150 degrees, a hot start will be required.  If oil temp is close to 200 degrees, run low boost for 60 seconds in a non-turbo.  If oil temp is 175, run low boost for 45 seconds in a non-turbo.  If oil temp is 150, run low boost for 30 seconds in a non-turbo.  Use 15 seconds for all temps above 150 in a Cirrus Turbo.
    • If the oil temperature is between 125-150, skip the hot start procedure, don’t prime the engine, leave the boost pump off, and crank the engine, then boost pump on when it starts and slightly increase throttle to make sure the engine catches
    • If the oil temperature is between 100-125, skip the hot start, don’t prime the engine, and perform a normal start with the boost pump on
    • If the oil temperature is below 100, perform a normal prime and start

    Piper Malibu (PA46-310P with Continental Engine)

    • Mixture:  Full Lean (this allows fuel in the fuel lines, but prevents it from going past the mixture control into the engine, sending all fuel back to the fuel tank; a small amount of fuel leaks past the mixture control providing prime for the engine)
    • Throttle:  Idle
    • Low Boost Pump:  Run for 15-30 seconds depending on oil temperature…
      • Greater than 150 degrees: 30 seconds
      • Less than 125-150 degrees:  15 seconds
      • Less than 100-125 degrees, no need to run the Low Boost
      • Perform normal cold start below 100 degrees
    • Mixture:  Full Rich
    • Throttle:  Open about 1/4 travel (not 1/4″, that won’t be enough)
    • Boost Pump:  Off, but have your finger on the Primer Button
    • Magnetos:  On
    • Starter:  Crank (engine will turn over a few more times before firing, this is normal)
    • Engine should fire with the Low Boost Pump off, but…
      • If the engine starts to die, simultaneously increase the throttle a little bit and hit the primer button.
      • Only tap the primer button, don’t hold it as you’ll flood the engine if you hold it At the first indication of start, turn the Low Boost on, increase the throttle to ensure the engine catches,  then adjust the throttle for 1,000 RPM

    Piper Mirage & Matrix (PA46-350P and PA46-350T with Lycoming Engine)

    • Leave throttle and mixture idle
      • Before you turn the battery on, ensure the mixture is idle cutoff
      • If the mixture is forward and the battery is on, the low boost pump in the fuel tank will start pumping fuel to the engine and quickly flood it
    • Ensure Magneto switches are on
    • Open throttle 1/4 travel (not 1/4″ as this won’t be enough)
    • Crank
    • As soon as the engine begins coughing and wheezing (and this is what it will sound like), push the mixture 3/4 of the way forward
    • Once the engine has a good solid fire, smoothly and swiftly push the mixture all the way forward
    • Reduce throttle
    • Note:  The Emergency Boost Pump can be used as part of the hot start technique, but I usually leave it off.
      • Pro to the Emergency Boost Pump is it can help suck more fuel in and purge vapor during the start
      • Con is that if the engine doesn’t start on the first try, you are flooding your motor

    Columbia 400

    • Throttle and Mixture Idle Cutoff
    • Vapor Suppression:  Run for 30-60 seconds.  Reference above temperatures on the non-turbo Cirrus for run times
    • Mixture full forward
    • Throttle 1″ in
    • Prime for 3 seconds, then off
    • Crank
    • Once engine fires, primer might need to be pushed momentarily to purge excess vapor
      • On Columbia 350s, the throttle should be twisted (or pushed depending on if it’s an Avidyne or Garmin Columbia) in while cranking
      • Be prepared to reduce power once engine fires

    Beechcraft 36 Bonanza

    • Throttle and Mixture Idle Cutoff
    • Low Boost:  Run for 30-60 seconds.  Reference above temperatures on the non-turbo Cirrus for run times
    • Mixture full forward
    • Throttle open 1″
    • High Boost until fuel flow peaks, then off
    • Crank
    • Once engine fires, Low Boost might need to be engaged momentarily to purge excess vapor

    There are other “procedures” for hot starting out there, but most of them involve starting with full throttle, which can lead to the airplane shooting ahead on a ramp or taxi way if the brakes aren’t properly set.  This can lead to high repair costs, so always be cautious.  Figuring out what is happening when the engine is hot will give you a better chance of getting it started right away.

  • Flying Through Rain

    For the most part, flying through rain is a non-event. If the NexRad or Radar is showing light green or dark green, usually there aren’t that many bumps and your plane just gets a wash. Sometimes the visibility drops down a little bit making us IFR pilots have to transition to our instruments.

    It get’s a little more exciting when the precipitation on your screen turns to yellow. This means there is a lot more precipitation echoes either in the clouds or coming out of the clouds, meaning harder rain. I usually tend to stay away from yellow unless it’s absolutely necessary to go through it.

    I had a situation a few weeks ago where I deemed it necessary to fly through some yellow NexRad returns. I was flying a G1000 Columbia into Monroe, Louisiana, KMLU. The winds were mostly light, but slightly favoring runway 04, which was the runway in use. As I got closer, a decent size rain shower with mostly yellow returns was sitting over the final approach fix for runway 04 and slowly tracking to the northeast.

    I didn’t particularly want to spend the entire approach getting beat on with rain, so I decided to fly the RNAV 14 approach at MLU and circle to land on runway 04. The rain hadn’t quite reached the airport yet, so I decided that circling to 04 should be no problem.

    I started the RNAV 14 at the FLESH IAF. Since I was approaching from the west, I did not need to do the procedure turn, so I joined the Final Approach Course (FAC) after crossing FLESH.

    In the meantime, that rain shower was inching closer to the FAC for the RNAV 14. I wasn’t concerned about my safety if I flew through some of it and I didn’t have passengers on board who would get nervous, so I elected to continue. I wasn’t seeing any lightning coming out of the clouds, so it appeared to only be moderate rain.

    Just before I got to JIVEY, the FAF, I entered the clouds and the rain. About 20 seconds later, my altimeter and airspeed started bouncing around a lot. Now, based on all I’ve said so far, what would cause that, and what would you do?

    (Jeopardy theme song playing while contestants ponder questions)

    The answers? Due to the moderate precipitation, water had gotten into my static port and caused the unusual readings on my altimeter and airspeed indicators on the G1000.

    I had experienced this before, so I knew what to do. I reached down and turned the static source from primary to alternate, which starts taking static pressure from inside the cabin in the Columbia. Instantly, everything went normal.

    The other time I had experienced this was also in a Columbia, so I’m under the impression that the way the Columbia static ports are designed, they are a little bit more susceptible to water creeping into them than other airplanes.

    Moral of the story? If your pitot/static instruments start jumping around, the first thing you do is turn your alternate static source on.

  • Avidyne Entegra Chart Updates

    Columbia 400 Avidyne Entegra

    There are a number of airplanes out there equipped with the Avidyne Entegra PFD and MFD system, most notably the Cirrus SR20 and SR22 models from the early 2000s and the Columbia 350 and 400 from the same era.  The Entegra is pretty simple and easy to learn, but doesn’t have the capability that it’s Garmin glass panel counterparts do (I have not, however, tried the R9, which could prove much more capable than it’s predecessor).  I have found that pilots master the Entegra a lot quicker because of the reduced functionality.

    One of the nice features of the Avidyne Entegra is the CMAX Chartview option.  With a yearly subscription, you can get all the Jeppesen approach plates and airport diagrams for the entire US on your MFD.  Just like your GPS, though, you have to update the charts monthly to keep them legal.  After a period of time when you don’t keep up with the updates (I believe it is 90 days), then the charts disappear.

    The update process is a little tricky if you don’t have someone to explain it to you.  Once you go through it a few times, you’ll have it down pat.  Here’s the process for the Avidyne Entegra Chart Updates.

    Jeppesen Subscription

    The first step in performing your Avidyne Entegra Chart Updates is to create an account with Jeppesen, who handles all the GPS NavData and MFD Chart updates for both Garmin and Avidyne.  If you already have a Jeppesen subscription, you can skip down to the next section.  To do that, simply go to jeppdirect.jeppesen.com, and then do the following:

    • Click on Avionics Data on the upper left hand side
    • Click “Purchase Avionics Subscription”
    • Then, click on “Create Account” in the new users section
    • Once you’ve created an account, login, then put in your aircraft information and select 1 update for the Avidyne Entegra EX500 EX 5000
    • Click Continue at the bottom and you can put in your payment information

    Software Needed

    There are two different programs depending on if you have a PC or a Mac.  If you have a PC, you need the Jeppesen Services Update Manager (JSUM).  If you have a Mac, you need the Jeppesen Distribution Manager (JDM).  Download whichever one you need, then login, and your updates will show up.

    Downloading the Avidyne Entegra Chart Updates

    First, we’ll go through the process of performing the Avidyne Entegra Chart Updates process for a Windows computer, using JSUM.    You’ll need two 2 GB USB drives formatted to FAT 16.  Here’s how to format to FAT 16.

    • Go to My Computer after inserting the USB drive
    • Right click on the drive
    • Click on Format, then select FAT and press OK

    Once the USB drive is formatted to FAT16, open up the JSUM program.  Login and your updates will be displayed on the screen

    • You’ll need to set the Avidyne CMAX Key Code
      • Right click the Avidyne Electronic Charts Service and click Set Avidyne Key
      • To get the key code, visit MyAvidyne.com and create an account using your JeppView subscription number and your serial number for your Avidyne MFD (found on the AUX page) and your PFD serial number (displayed on startup when the PFD is warming up)
      • Once you get the Key Code, copy and paste it in the window and click OK
    • Click on the service and click Start
    • The program should automatically detect the drive (if it doesn’t, click browse and select the drive)
    • Click Continue and the charts will start downloading and automatically programmed to the USB drive
    • If you are updating NavData on the MFD as well, follow the same steps as listed above in order to update the NavData

    Next, we’ll go through the Avidyne Entegra Chart Updates process on a Mac, using the JDM program.  You’ll need two 2 GB USB flash drives formatted to FAT 16 (the easiest way to format to FAT 16 is on a Windows computer, using the process above).

    • Open the JDM program and login
    • Insert the first USB drive
    • You’ll need to set your Avidyne CMAX Key Code
      • Click Service Details under the Electronic Charts Service
      • Click Set Avidyne CMAX Key Code
      • Program automatically detects the USB drive
    • Click and drag the Electronic Charts service over to the USB and release
    • The service is downloaded and copied to the USB drive automatically
    • Eject the USB drive
    • Insert the second USB drive (or plug the USB drive in to your MFD, do the update, then reformat the drive) and follow the same steps for the NavData

    Updated the MFD with the Avidyne Entegra Chart Updates

    Avidyne Cirrus

    Once everything is programmed the your USB drives, the rest of the process is simple.  Just go out to your airplane, plug in the first USB drive with the Electronic Charts on it, turn your battery on and the avionics master, and the system will upload the information automatically.  Once it’s finished, turn everything off, pull the USB drive out, then insert the second USB drive and do the same thing.

    Now, you’re all updated!

    If you’d like to see a video on the process, Jeppesen has some very good videos on the updating procedure.  The links are below.  If you have questions, please contact Texas Top Aviation and an expert will help you through the process.

    JSUM USB Programming Procedure

    JDM USB Programming Procedure

    Avidyne Entegra Chart Updates Upload

  • Direct to the FAF

    A common practice when ATC is setting an aircraft up for a visual approach is giving a clearance direct to the Final Approach Fix (FAF) for the approach for that runway.  The theory is, the pilot will fly to the FAF, then he’ll pick up the airport and fly visually in.  It is a handy way of setting the pilot up for a 5 mile straight in visual approach.

    For anyone who flies with a Garmin GPS, whether is be a 430, a G1000, or a GTN 750, you have probably discovered a little nuance with going direct to the FAF.  Once an approach is loaded into the flight plan, whether is is loaded via vectors or via an IAF, all the waypoints on the approach go into the flight plan.  If the FAF is selected in the flight plan and the direct to command is given, the plane turns to the FAF and flies direct to it.

    The fun starts once the plane gets to the FAF.  The Garmin doesn’t sequence to the next waypoint.  It just keeps the FAF as the active waypoint and the airplane just continues on the course it had to get to the FAF. This has probably caused some stress and frustration as the pilot is expecting the airplane to turn inbound (if the autopilot is engaged), but then it keeps flying, usually away from the runway.

    How to fix this?  If a Garmin GPS is closely inspected once the direct to the FAF command is selected, the pilot will notice that the GPS goes into Suspend mode.  The Garmin programers thought this was a good idea to do.  

    How to get it to sequence properly?  Well, once the FAF is the active waypoint and the airplane is flying direct to it, simply unsuspend the GPS, then the airplane will turn inbound on the final approach course and track inbound and the glide slope will pop up.  On the 430 or 530, just press the OBS key.  On the G1000, press SUSP.  On the GTN 750, tap UNSUSP on the bottom of the unit.

    Hopefully, this will lead to reduced frustration on what otherwise should be a simple approach to an airport.

  • 2018 Great American Lancair Rally

    A brand-new event for Lancair owners, the 2018 Great American Lancair Rally will be a multi-stage “grand tour” of the Western US.  Starting and ending in Central Texas, the Rally will take place September 24th through October 5th 2018.

    The Rally will begin in Uvalde, TX (KUVA) on September 24th at the Lancair headquarters.  There will be 6 legs, with stops at:

    • Sedona, Arizona (KSEZ)
    • Paso Robles, California (KPRB)
    • Redmond, Oregon (KRDM)
    • Spanish Fork, Utah (KSPK)
    • Taos, New Mexico (KSKX)
    • San Marcos, TX (KHYI)

    At each stop, there will be food, drinks, and fun for everyone.

    Lancair plans on making instructors available to pilots who would like any kind of training along the way.  Hank Gibson from Texas Top Aviation will be one of the instructors available.

    Lancair plan to make the Great American Lancair Rally an annual event, with the 2019 Rally spanning the eastern half of the country.

    The Great American Lancair Rally is open to all Lancair owners, potential owners and interested aviators. Fly a different airplane?  All makes and models are welcome!

    For more information & to register, check out the 2018 Great American Lancair Rally’s website.

  • Free iPad Webinar

    Are you thinking of buying an iPad and going to a paperless cockpit?  Have you just recently purchased an iPad and are unsure of how to use Foreflight to it’s fullest extent?  Check out this free webinar on Monday, January 19th.  Gary Reeves, a Master CFI from California, will be hosting the 90 minute seminar, which begins at 1800 Z.  He will be able to point you in the right direction for what type of iPad to purchase, how to set up your Foreflight account, and the basics of using the App.

    You can finally get rid of those paper charts, saving clutter in the cockpit.  Just make sure you bring along a charger for those extended flight in case your battery dips low!

    To sign up for this webinar, click here.  There is no cost associated with the webinar.

Leave a Reply

Your email address will not be published. Required fields are marked *