IM SAFE: Are You Really?

As pilots, we are all familiar with the IM SAFE acronym that the FAA puts out.  It comes up as part of the ground training over Human Factors during private pilot ground school.  We all memorize it, spit it out for our check rides, then most of us promptly forget about it.

When I was training for my pilot’s licenses, I was at a Part 141 school that was very standardized (LeTourneau University, who has a fabulous aviation school).  Before each flight, we had to do a self evaluation based on the weather and the IM SAFE checklist.  Based on our answers, we would then determine if the conditions were conducive to flying as well as if I was physically okay to fly.

This was a great tool because not only do pilots have to pre-flight the airplane, they also need to pre-flight themselves.  It’s very easy to fall into one of the “Hazardous Attitudes” if there is a pressing meeting or you haven’t flown in a while and it’s a beautiful day, but maybe you aren’t physically fit to control an airplane.

Let’s break down the IM SAFE checklist to dig a little deeper into the physically fit side of flying.

Illness

This one is pretty easy.  Are you sick?  If so, how sick?  If you can’t hardly talk or your body feels like it was hit by a truck, then flying probably isn’t in your best interest.

The tricky area can become if you are only a little sick.  Maybe you have a cough or a little cold or a headache is starting to form.  You probably could go fly, but is it really a good idea?  It could be something worse, or it may be nothing.  You have to know yourself and put limits on yourself before you wake up on the day of your big meeting two states over.  Set illness personal minimums and stick to them.

Medication

There are a slew of drugs, both prescription and over the counter, that pilots cannot take and fly.  AOPA has a hotline to call for pilots to find out if they can fly with the medication they are taking, or what meds they can take to give them relief and still operate an aircraft.

Another great resource is your medical examiner.  Just give him/her a call and they will be more than happy to let you know what you can and can’t take.  They’ve been educated in the area of aviation so they are very knowledgeable.

Stress
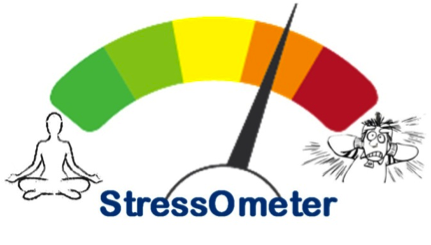
StressometerThis is a huge one that pilots ignore a lot.  Maybe it was a stressful day at work, maybe you are running late to the airport, your meeting got moved up, whatever.  Stress can jump on you and mess up a pilot’s thinking very quickly.  If you have a lot of other things on your mind and you aren’t able to focus just on flying, it might be a good idea to stay on the ground.


Alcohol

Out of the whole IM SAFE list, the alcohol limitations are very clearly defined.  8 hours bottle to throttle, no more than 0.04% BAC, no operating an airplane while under the influence, and no carrying passengers who are visibly intoxicated.  For your personal minimums, it’s a good idea to increase that time to 12, 18 or even 24 hours bottle to throttle.

Fatigue

Learning to fly while a college student led to a fair share of canceled flights due to fatigue.  I operate best on 8 hours of sleep in the past 24 hours.  I can function on 6, but anything less than 6 hours, my performance drastically drops off, sometimes to a point where I wouldn’t be safe.  I discovered this while with my flight instructor attempting to do a holding pattern and completely botching it up.

I observed this as a CFI quite often.  If I was doing ground with a student and they were struggling, my first question would be, how much sleep did you get last night?  More often than not, if I had to ask that question, I would get an average answer of 3 to 4 hours (I even had one guy show up for a flight block on 2 hours sleep.  I sent him back to the dorm).

Fatigue is very easily overlooked because it’s not measurable.  Needing to get a flight lesson done or needing to get somewhere when you are obviously fatigued is not a good idea.  Make sure you get a good night’s sleep before a flight and don’t be afraid to cancel if you didn’t.  Set some sleep personal minimums and make them hard and fast.

Eating

Don’t skip meals and fly.  Performance greatly decreases when a pilot is hungry.  At the very least, stick a couple of food bars in your flight bag to give you some nourishment.

Also, stay hydrated, especially in the summer time.  I carry a huge bottle of water with me on all my flights because I get headaches if I don’t drink enough.  Getting dehydrated on a long flight can lead to all sorts of performance problems (over hydration is also a problem in the air, but that’s what Gatorade bottles are for, right?).

All this to say, have some personal minimums when it comes to you and your body.  Check the plane, check the weather and check yourself.  If anything falls in the “red” area in any one of those three categories, stay on the ground and don’t press your luck.

Similar Posts

  • Cirrus G2 Vision Jet

    Well, that was fast.

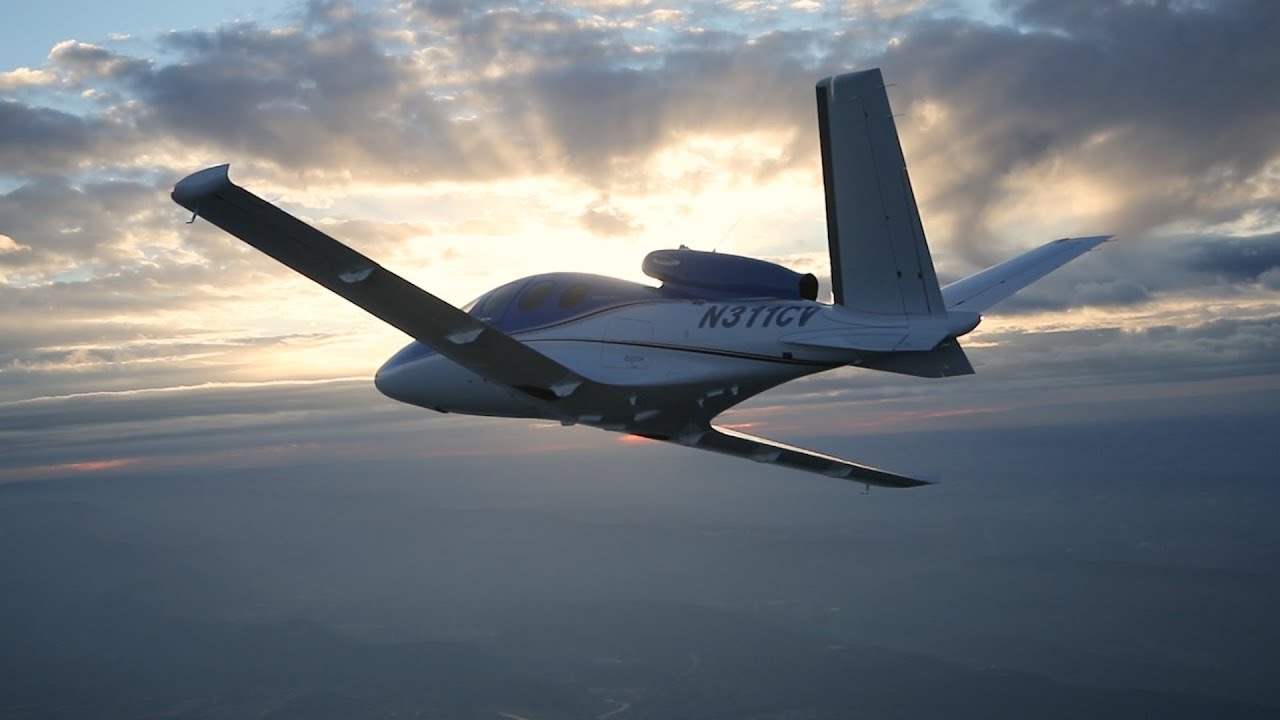
    In January, Cirrus announced the Generation 2 SF50 Vision Jet.  After getting the Generation 1 Vision Jet certified in late 2016, Cirrus didn’t waste any time in starting in on improvements.

    The improvements are pretty sweet, making the G2 Vision Jet even easier to fly and step into for Cirrus’ target market, SR22 owners.

    Here are the improvements on the G2 Vision Jet.

    RVSM Approval

    The G2 Vision Jet has received RVSM approval, allowing the airplane to fly at 31,000 feet.  RVSM stands for Reduced Vertical Separation Minimums (read more about RVSM here).  RVSM airspace starts at 28,000 feet, the G1 Vision Jet’s ceiling.  Now that the G2 Vision Jet is RVSM certified, it can fly at 31,000 feet.

    For piston pilots, you are left scratching your head as to the advantage of this.  In a jet, the higher you go, the thinner the air, so the faster you go, and the less fuel you burn since the thin air needs less fuel to mix with.  This caps out at a certain altitude and the speed begins dropping and you start losing efficiency (even though the fuel burn is quite low).

    According to Cirrus, at 31,000 feet, the G2 Vision Jet cruises over 300 KTAS and gets a range boost to almost 1,200 nm.

    Garmin Perspective Touch+

    Cirrus & Garmin have taken the new NXi interface and paired it with the Garmin Perspective Touch to create the Touch+.  You can read about the improvements on the NXi here, all of which are included in the Touch+ in the G2 Vision Jet.

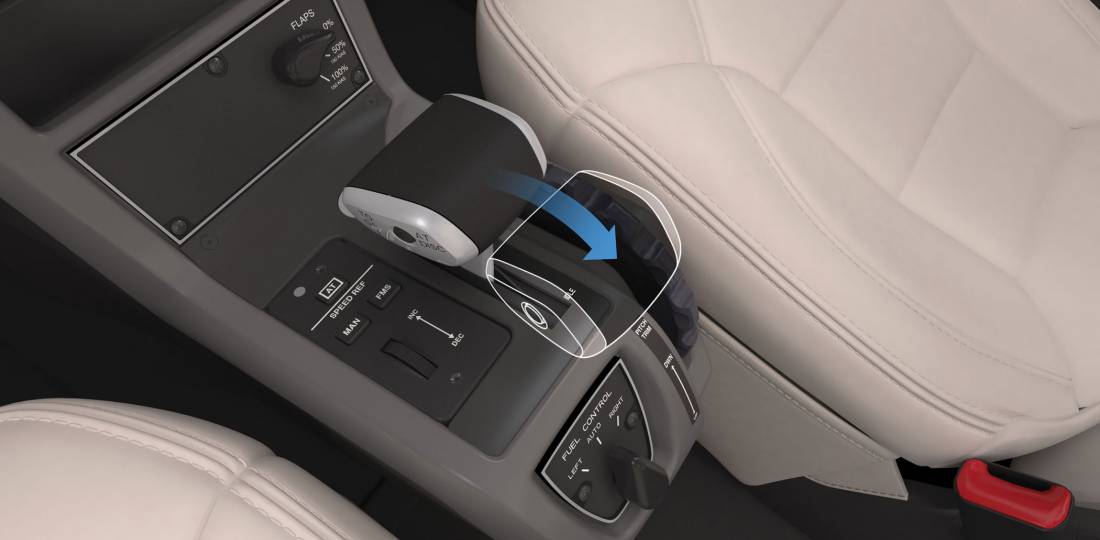
    The big improvement that is included in the Touch+ is Autothrottle capability.  An Autothrottle is integrated with the autopilot.  It automatically adjusts power settings and speeds based on the phase of flight without the pilot having to touch the throttle.  Pretty cool.

    New Cabin

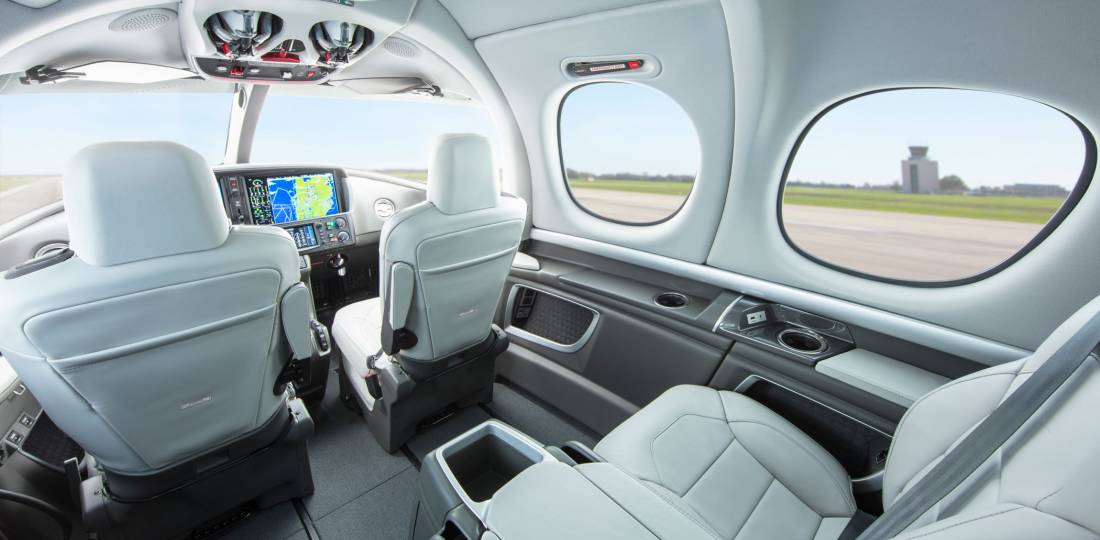
    The G2 Vision Jet has a redesigned cabin as well, making it an extremely passenger friendly airplane.  The second row has been redesigned and equipped with a center console.  There is also a drop down TV screen that allows passengers to connect their mobile devices to it to watch movies or videos while traveling (no internet on board, yet.  That’ll probably be the G3 Vision Jet!).

    Cirrus also put in more noise reduction in the cabin, creating a quieter ride for passengers.  Cirrus also allows for multiple different seating configurations, depending on the needs of the owner.

    As always, Cirrus is on the leading edge of airplane technology, creating airplanes that are easy as well as fun to fly.  I’m excited to see how they continue to improve the design to both the SR22 and the Vision Jet.

  • An Educational Runup

    When a pilot thinks of an engine runup in a single engine piston airplane, typically it is let’s find out if the engine is running rough or not, meaning a spark plug is fouled.  Believe it or not, there is a little more to learn from a runup than just checking the spark plugs.

    A distinct advantage to having an engine monitor that monitors all EGTs and CHTs is you get a better idea of engine health.  When switching to one magneto or the other during the runup, all the EGTs should rise, showing that the temperature of the exhaust gas is going up from each cylinder.  This occurs because when running on only one magneto and one set of spark plugs in each cylinder, the mixture takes longer to burn, so, when the exhaust valve in the cylinder opens, the burn is still on going and this hits the EGT probe, causing a temperature rise.  An indication of a magneto failure in flight would be a rise in all the cylinders EGT without a change in mixture setting.

    Now that we know what to look for when checking each magneto, what would one look for to show that there is a problem?  The basic that each student pilot is taught still applies.  The engine manufacturer puts a limit on RPM drop during the runup.  When checking one magneto or the other, watch for an excessive RPM drop.  If the RPM drops past the limit, this usually will be accompanied by engine roughness.

    Why is that?  Let’s look at the cause for the excessive RPM drop.  For this, we need to go back to our EGT indicators.  Let’s say we have a 6 cylinder engine.  When the key is turned to the right magneto, the RPM drops 250 RPM and the engine gets very rough.  Look at the EGT gauge.  The cylinders where the spark plugs are firing normally will all show a temperature.  The cylinder (or cylinders) where there is no combustion, meaning a bad plug, will show no temperature.  This is because the mixture is just sitting in the cylinder and not igniting, therefore, no exhaust gases will be pushed out so there will be no EGT indication for that cylinder.  This is also how you tell a mechanic which cylinder to check for the bad plug.

    It could also be a bad magneto.  If multiple cylinders EGT all drop, or the engine wants to quit entirely, you have a bad magneto or bad ignition harness.

    What else can you learn during the runup?  Electrical system health is key, especially in all electric airplanes (meaning no vacuum system).  It’s a very good idea to turn on all the lights and pitot heat to ensure that a rise is indicated on the ammeter.  This means the alternator is carrying the load and working properly.

    The next time you do your runup, keep an eye on your EGT to see the rise during a magneto check.

  • Cirrus SR20 vs. Diamond DA40

    Note:  For this article I am comparing a 2008 Cirrus SR20 G3 and a 2008 Diamond DA40 XLS.

    Aircraft shopping can be a tedious process.  First, a buyer needs to know what the mission is.  How far will flights typically be, how many people will be on board, and how fast does the airplane need to be.  Then, the buyer has to figure out what the budget is.  Finally, a prospective owner needs to figure out how much airplane he or she can handle.

    Two very good airplanes for newer pilots transitioning from a flight school 172 who need a faster airplane to build experience in, but also want to experience a glass panel, are the Cirrus SR20 G3 and the Diamond DA40 XLS.

    Cirrus SR20 G3

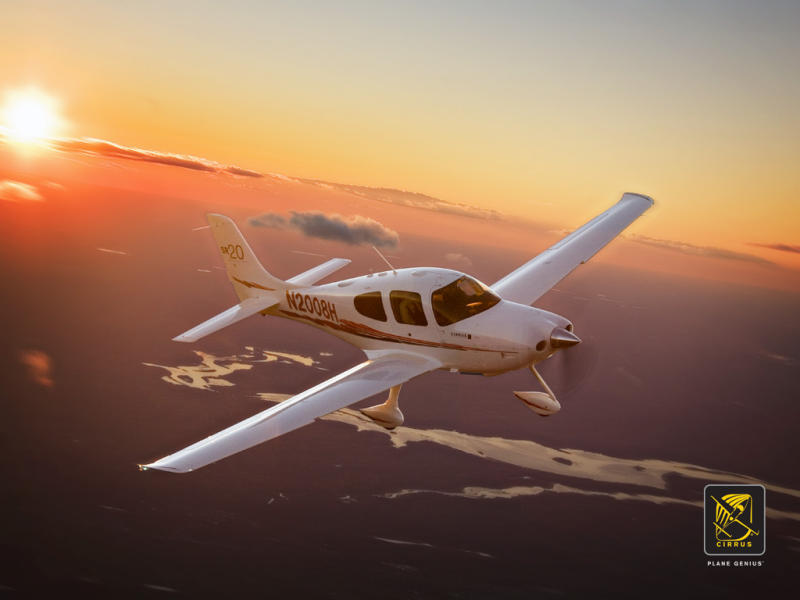
    The 2008 Cirrus SR20 G3 is a good airplane.  The G3 is equipped with the 6 cylinder, Continental IO-360-ES, 200 HP engine.  Performance-wise, an owner can expect 135-140 knots true at 9 GPH (Lean of Peak) or 145-150 knots true at 11.5-12 GPH (Rich of Peak).  The 3 blade propeller equipped models have better takeoff and climb performance than the 2 blade propeller equipped planes, especially in high density altitude conditions.

    Cirrus SR20 Comparison

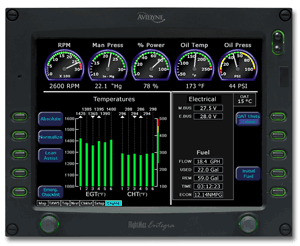
    The airplane is equipped with the Avidyne Entegra EX 5000 glass panel system.  Most models out there will have Avidyne’s CMAX (Chart View) and all will have the Avidyne EMAX (Engine Monitoring).  All came from the factory with the STEC 55x autopilot (though a handful will have the STEC 55 SR, which doesn’t have glideslope functionality).  They also came from the factory with dual Garmin 430s. Most units have been upgraded to WAAS.

    Some owners have upgraded the autopilot to the Avidyne DFC 90, which is a nice upgrade.  The STEC 55x is a rate based autopilot which takes it’s commands from a hidden turn coordinator that is behind the instrument panel in front of the co-pilot’s seat.  The STEC has some crosswind limitations on approaches where the pilot can actually fly better than the autopilot.

    The DFC 90, however, is an attitude based autopilot that  takes it’s commands from the attitude indicator on the Primary Flight Display (PFD).  It also adds a Straight and Level button as well as an Indicated Airspeed hold button, adding safety and functionality.  It does much better in crosswinds on an instrument approach then the STEC.

    A select few SR20s have been upgraded to a single (or dual) Garmin GTN 650 touch screen GPS unit.  The GTN 650 is a very nice upgrade.  The Garmin 430 is a great unit, but the learning curve with the GTN 650 is much less.  The touch screen setup makes a little more sense to the new user.

    Values on the 2008 SR20 G3 with 1,000 hours or less run somewhere between $220,000-$260,000, depending on total time and equipment.

    Diamond DA40 XLS

    A handful of 2007 XLS DA40s were made, but not many.  Most XLS models you will see are 2008 and later. These are equipped with the Lycoming IO-360, 4 cylinder, 180 HP engine with the Powerflow Exhaust STC. Due to the Powerflow Exhaust, the performance is equal to the SR20.  At 6,000-8,000 feet, you will routinely see 140 knots true at 10-10.5 GPH.  Higher altitudes will give slightly better performance and lower fuel burn.  Like the SR20, the Diamond DA40 XLS comes with either a 2 blade or 3 blade prop.  Go with the 3 blade as the takeoff and climb performance is much better.

    Diamond DA40 Comparison

    Where the DA40 XLS has a leg up on the 2008 SR20 G3 Avidyne is in the avionics.  Diamond got on the Garmin G1000 train a little sooner than Cirrus did and the XLS is equipped with the G1000 and GFC 700 autopilot.  The Garmin GFC 700 autopilot is the best GA autopilot I have flown with.  It is an amazing piece of equipment.

    Most, if not all, DA40 XLS models will have both WAAS and Synthetic Vision.  Cirrus didn’t get Synthetic Vision till they put the Cirrus Perspective by Garmin in their aircraft in the middle of 2008.

    The DA40 has great visibility due to the massive amount of glass surrounding the pilot.  The big glider wings give it excellent pop off the runway, but quite a different climb pitch attitude than most other piston single engine airplanes.  The airplane does like to float on landing if the pilot doesn’t get the speed right.

    Values on the 2008 Diamond DA40 XLS equipped with the Garmin G1000 are around the low-mid $200,000 range.

    Comparison

    Performance wise, the airplanes are about equal.  Rich of peak, the Cirrus out performs the Diamond, but uses more fuel.  Both have about 5 hour ranges (though the Cirrus has bigger fuel tanks, 56 gallons usable compared to the Diamond long range tanks of 50 gallons usable).  Useful load is slightly better in the Diamond due to the fact that the Lycoming engine has 2 fewer cylinders than the Cirrus.  The Cirrus does have a roomier back seat, a larger baggage area, and a side stick instead of a center stick, but the DA40 has a back door.  The Cirrus also has the CAPS system, though an owner has to do a $15,000 repack every ten years.  Airplane values are about the same.

    I give a slight edge to the Diamond, though, and here’s why.  For about the same price, a purchaser can get the Garmin G1000 system complete with the GFC 700 autopilot in the DA40 XLS.  The Avidyne and STEC system is great, but the Garmin system is definitely above and beyond.  To get the Garmin G1000 in an SR20, you’d have to look at the Cirrus Perspective by Garmin, which came out in late 2008, and you’d be paying $300,000 or more for a single engine piston with 200 HP (though you do get Air Conditioning!).

    So for my money, I would go for the Diamond DA40 XLS.  I believe you get a little bit more bang for your buck and you don’t lose anything with the DA40 XLS.  Don’t get me wrong, I love the Cirrus, but comparing the two, I think the Diamond DA40 XLS rates a little higher.

  • Garmin Smart Glide

    Recently, I was training a customer who had a brand new instrument panel installed in his TBM 700. The avionics shop that did the work (Abilene Aero, who I highly recommend for any panel installs, located at KABI) told us when we picked the plane up that the new Garmin GTN 750Xi had the most recent software update, which included the Garmin Smart Glide.

    I had never used the Garmin Smart Glide before, so I was eager to check it out during our training. When we got to engine failures, we pushed the Emergency button on the Home page of the GTN 750Xi, and then the magic happened.

    The plane was also equipped with a Garmin G600TXi PFD and the Garmin GFC 600 Autopilot. In order for Smart Glide to work, there has to be either a GTN 750Xi or GTN 650Xi installed, along with a G500TXi or G600TXi and a Garmin Autopilot. Garmin is working on getting the legacy G500 as well as the GI 275 and G5 to work with the above GPS units for Smart Glide as well.

    Here’s what happens. The plane loses it’s engine. The pilot’s workload and stress level suddenly goes way up. Trim the airplane for best glide, find the nearest airport, attempt restart. Do it quickly so you have time to focus on the glide. Oh yeah, squawk 7700 and declare your emergency. All the while plummeting toward the ground in a somewhat controlled crash. Yikes.

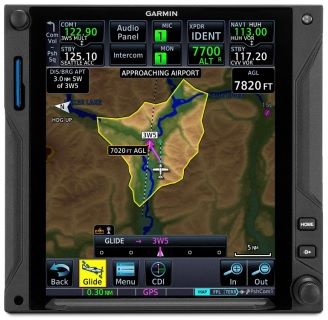
    Garmin Smart Glide takes over the flying part, allowing the pilot to handle the restart, while making it much easier to squawk, talk and plan the engine out landing. On the home page of the GTN 750Xi/650Xi, the pilot simply taps the Emergency icon on the bottom of the screen. The Autopilot comes on and goes into IAS mode and maintains best glide while descending. The GPS immediately analyzes the Glide Advisor, and turns to the nearest airport in the glide ring (if there is no airport within gliding distance, the GTN 750Xi advises the pilot). Then, the Autopilot flies directly to the Nearest airport, allowing the pilot the ability to take attempt a restart.

    Once it is determined that the engine won’t start, the Garmin Smart Glide has excellent situation awareness tools. On all screens, the pilot is constantly being advised of how high AGL the plane is currently, while advising also of how high AGL the plane will be over the airport that the glide is set up for. There is also a short cut on the screen to tap to squawk 7700 as well as runway length information at the airport.

    The Garmin Smart Glide Button wasn’t installed yet in the TBM, but that will make things even easier when it is (it will be certified in January). This is amazing technology that all Garmin GTN 750Xi pilots should have their software updated to. Remember, you have to have a Garmin Autopilot and a Garmin PFD for it all to work.

  • The Go Around Button

    Back in the old days, when flying an approach in an early Cirrus SR22 (circa 2004; yes, in airplane technology, those were the old days), performing a missed approach procedure was a lot of work.  You were low to the ground and weren’t able to see the runway.  Then, you had to start climbing so you don’t hit the ground, then push a lot of buttons in order to get the GPS and autopilot set fly the missed approach procedure.  It was very easy to get distracted with button pushing, then forget to fly the airplane, putting yourself and passengers in very unsafe circumstances.  The go around button has changed all that.

    Going Missed the Old Fashioned Way

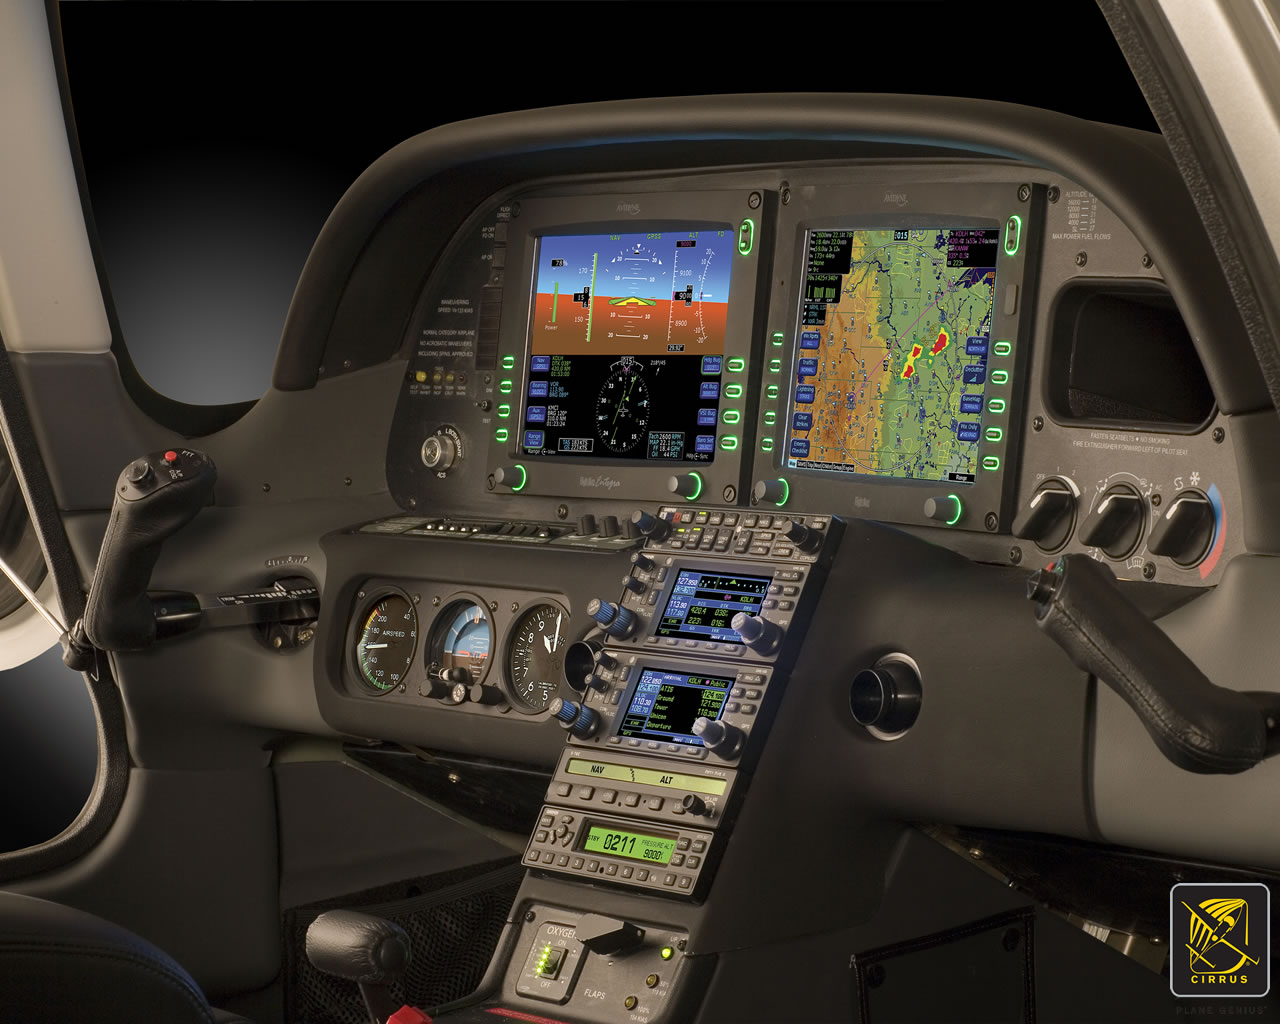
    Let’s stick with our example of the 2004 Cirrus.  The SR22 in 2004 was equipped with the Avidyne Entegra system, complete with dual Garmin 430 GPS units, and an STEC 55x Autopilot.  A very capable IFR flying machine (we could use the same example of a 2004 or 2005 Lancair Columbia 350 or 400 that was equipped the same way, except the screens were vertical instead of horizontal).

    Avidyne Cirrus Go Around Button

    We’ll use the ILS 15 at the Temple airport, KTPL, for our example.  You pass TPL, the outer marker at 1,683 with the glide slope already centered.  Everything is going well so far.  The number 1 Garmin 430 is set to VLOC and the autopilot is showing NAV and APR for the lateral guidance and GS on the vertical, tracking the glide slope.  The last weather report stated the clouds were Broken at 500 feet, so it appears like you’ll be able to get in on the approach.

    As you get closer to the Decision Altitude, the clouds aren’t letting up at all.  You hit 1,000 feet on your altimeter, 120 feet above the minimums, and you still can’t see a thing.  Another 100 feet lower doesn’t change anything, so you elect to proceed with the missed approach.  This means things are about to get busy.

    Here’s the process:

    • Fly the airplane first, meaning shut off the autopilot, pitch the nose up to about 7 degrees, TRIM, add full power, retract the flaps, and step on the right rudder
    • The Garmin 430 is now in SUSP mode, meaning the missed approach point is locked in as the active waypoint.  So, you have to press the OBS button to cause the GPS to cycle over to the missed approach procedure
    • You have to press the VLOC button on the Garmin 430 in order to change the CDI back to GPS
    • You have to re-engage the autopilot by pressing NAV twice (which engages GPS Steering mode)
    • You have to reset your altitude bug (if you hadn’t set it for the missed approach altitude previously)
    • You have to press VS and ALT on your autopilot to have the STEC continue the climb

    That’s a lot of work, isn’t it?  Plus, that’s an extensive amount of head down time in the cockpit, with your eyes looking elsewhere other than the instruments while hand flying.  All very low to the ground, I might add.  Can you see how this can be dangerous?  (Note:  The Avidyne IFD 550 has made this a little easier with automatically switching from VLOC to GPS and automatically engaging the missed approach procedure in the flight plan)

    The advent of the Go Around Button has streamlined the process, leading to safer operations where it matters most.  The functions of the Go Around Button vary based on the airplane, but here are three examples, the Garmin G1000 Cessna Corvalis TT, the Garmin G1000 Piper Mirage, and the Garmin Perspective Cirrus SR22.

    Cessna Corvalis TT

    We’ll take the above situation and swap out the airplanes.  Gone is the 2004 Cirrus SR22.  Insert a 2008 Cessna Corvalis TT, equipped with the Garmin G1000 suite and the GFC 700 autopilot.  The go around button is positioned directly above the twist in throttle.

    Cessna Corvalis G1000 Go Around Button

    When you push the Go Around Button, here’s what the system does:

    • Disconnects the Autopilot
    • Sets the Flight Director for 7.5 degrees pitch up (which is about your normal climb angle) and wings level
    • Switches the CDI back to GPS
    • Takes the GPS out of SUSP mode and cycles the flight plan to the first waypoint on the missed approach procedure

    Here’s what you have to do:

    • Follow the flight director by pitching the nose up and TRIM
    • Add full mixture, prop and throttle (prop & throttle should be full already)
    • Retract the flaps
    • Step on the right rudder
    • Re-engage the autopilot, then press NAV and VS (or FLC) and set your altitude bug if it isn’t already set

    Not too bad, eh?  Makes the whole situation streamlined and safer.

    Piper PA46-350P Mirage

    Same situation, different airplane.  You’ll notice the procedure for the Piper Mirage is almost exactly the same as the  Corvalis procedure.  The difference between the two airplanes is where the autopilot controller is.  In the Corvalis, the autopilot controller is positioned on the left side of the MFD, making it easy to scan back and forth while pushing buttons on the autopilot.

    The Piper Mirage autopilot controller is positioned below both screens and in front of the power quadrant. With this positioning, the pilot’s eyes have to go a lot further to see which autopilot button he is pushing. In this case, it becomes very important to get the airplane climbing and trimmed before going down to engage the autopilot.

    As in the Corvalis, here is what the Go Around button does:

    • Disconnects the Autopilot
    • Sets the Flight Director for 7.5 degrees pitch up (which is about your normal climb angle) and wings level
    • Switches the CDI back to GPS
    • Takes the GPS out of SUSP mode and cycles the flight plan to the first waypoint on the missed approach procedure

    And here’s what you have to do:

    • Follow the flight director by pitching the nose up, then TRIM
    • Add full mixture, prop and throttle (prop & throttle should be full already)
    • Retract the flaps
    • Step on the right rudder
    • Re-engage the autopilot, then press NAV and VS (or FLC) and set your altitude bug if it isn’t already set

    Cirrus SR22

    Cirrus Perspective Go Around Button

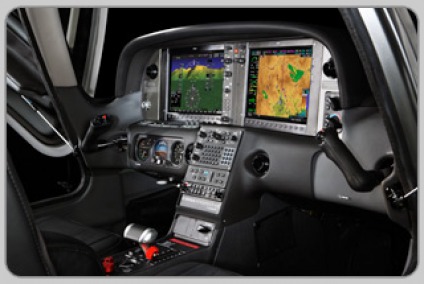
    This time, we’ll use the 2010 Cirrus SR22T with the Garmin Perspective and GFC 700 Autopilot. One thing I really like about how Cirrus configured their system is where the Go Around button is.  It’s actually on the throttle itself, making it much more intuitive.  This way, you can press the Go Around button while adding full throttle.

    There is one major difference between the Garmin Perspective in the Cirrus and the G1000 in the Corvalis. When you press the Go Around button in the Cirrus, the autopilot actually stays on.

    Here’s what happens when you press the Go Around button in the Cirrus:

    • Flight Director pitches to 7.5 degrees pitch up and wings level
    • AP Mode switches to Go Around mode, following the flight director
    • GPS comes out of SUSP mode
    • CDI switches back to GPS

    All the pilot really has to do is add power, take the flaps up, then press NAV on the GFC 700 to get the autopilot following the missed approach procedure.

    If you aren’t familiar with the Go Around button or haven’t used the one in your plane lately, it’s good to go up with a knowledgeable instructor and fly a couple of approaches where you perform the published missed approach afterward.  That way, he or she can assist you through the first missed approach, then give you pointers until  you get comfortable with the Go Around button.

  • Guardian Seven Trauma

    First Aid Kit on Steroids

    We have all seen the little first aid kits that a pilot can get to carry in an airplane. It usually has some bandaids, maybe some gauze, and some antibiotic ointment. Very helpful in the even that your paper VFR chart cuts your finger when you are unrolling it.

    What happens if you crash in a harsh environment and you have some actual injuries to take care of?

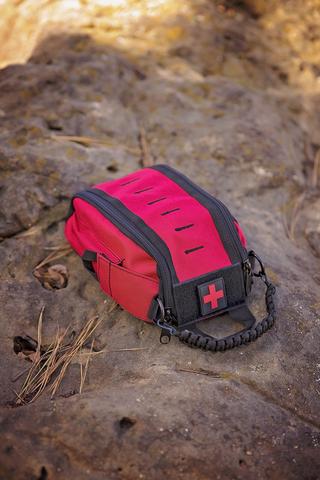
    Enter the Guardian Seven Trauma G7-Alpha Trauma and Egress Kit. It literally is a First Aid Kit on steroids.

    Guardian Seven Trauma has put together a kit that contains just about anything you need to take care of an injury from an airplane crash. Plus, the kit only weighs less than 2 pounds. It easily mounts in an aircraft and can be opened with only one hand.

    The kit contains:

    • CAT Tourniquet
    • Quick Clot Z Hold Hemostatic Gauze
    • 4″ Emergency Trauma Dressing
    • Nasal Airway
    • ARS Needle
    • HyFin Chest Seal Twin Pack
    • (4) 3″ Gauze Rolls
    • Triangle Bandage
    • Mylar Blanket
    • Leatherman Z Rex Tool (for emergency egress)
    • Trauma Shears
    • Roll of Medical Tape
    • Bear Claw Glove Kit
    • Permanent Marker
    • Multi Purpose Paracord Handle
    • Nylon Straps with Buckles (2)
    • Medical Patch

    Want to upgrade your first aid kit? Visit Guardian Seven’s website to order the G7-Alpha kit.

Leave a Reply

Your email address will not be published. Required fields are marked *