The Importance of Transition Training

In September, the FAASTeam at the San Antonio FSDO put a special emphasis on transition training (AOPA put out a free course last year covering general transition training topics).  A lot of pilots don’t understand the need for transition training or what it even entails.

Transition training deals mainly with piston engine aircraft, regardless of whether the airplane is a single or twin.  The FAA doesn’t have any special requirements for changing from one piston engine airplane to another, as long as the pilot has the appropriate endorsements (high performance, complex, high altitude, etc.) and is rated in that category and class.

Transition training is promoted mostly by insurance companies. An insurance company looks at a pilots experience when deciding to insure him or her in a new airplane.  If the pilot has only flown Cherokees and Comanches and is now upgrading to a Malibu, then the insurance company is going to require some transition training with a knowledgable instructor.

What is transition training?  It is when an appropriate rated pilot needs to learn how to fly a different airplane.  These are referred to commonly as checkouts, but with more complicated airplanes, the training is actually very in depth.

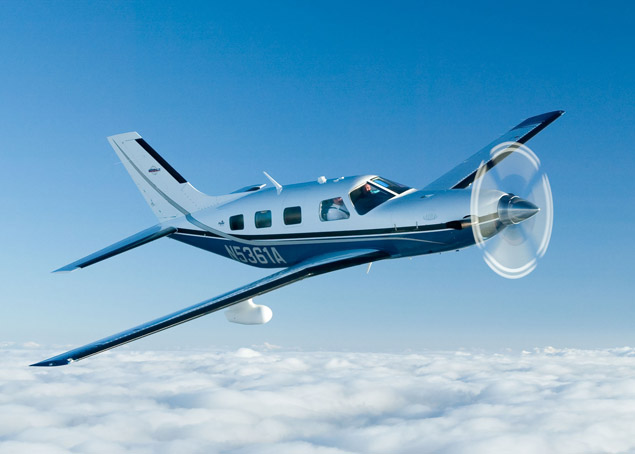
Using the example above, Pilot A just sold his Comanche 260 and bought a 1987 Malibu.  Pilot A says, “A Malibu is a complex, high performance, single engine piston, which is what I had in my Comanche.  I can fly that, no problem.”  In reality, a Malibu has a lot of differences.

pa46-transition-training

First, there are more systems in a Malibu.  You have pressurization, air conditioning, emergency oxygen, turbo charging, and possibly radar.  Not to mention you are dealing with a Continental engine instead of a Lycoming.  And, is it a factory TSIO 520 or a converted 550?  2, 3, or 4 blade prop?  Glass panel or steam gauges?  What kind of autopilot?  Plus, it’s a much heavier airplane so it’s going to fly different, have different rotation and landing speeds and handle differently in stalls.  What’s the sight picture supposed to be on final approach?  What are the emergency procedures?

Overwhelmed yet?

An experienced, insurance approved instructor and training program is a necessity when getting into new airplanes.  It makes for safe pilots and safer skies.

Texas Top Aviation offers Cirrus Transition Training as well as Bonanza Transition Training and Columbia/Corvalis Transition Training.  We are working on an insurance approved Piper PA 46 piston transition course as well (Malibu and Mirage) and will have the course approved by the end of 2016.  Contact us today to schedule your transition training.

Similar Posts

  • US Aircraft Expo Returns to Addison

    The 2022 Fly In Season kicks off March 4th-5th with the US Aircraft Expo at the Addison, TX Airport (KADS). Cutter Aviation at KADS will be the host for the event. All the major and minor aviation manufacturers will have static aircraft displays. Come see all the new Cirrus innovations, the Piper M600, and the Diamond DA62. All the latest and greatest technology will be available for your viewing enjoyment.

    If you are planning on flying in, the FBOs at ADS are Million Air and Atlantic.

    The event will run from 10am-3pm on both days, March 4th and March 5th.

    For more info, check out the US Aircraft Expo website.

    Don’t forget to check out other big fly in events in 2022: Sun N Fun, the Texas Top Aviation Fly In at Santa Fe, and Osh Kosh!

  • Flying to the Bahamas

    A couple weeks ago, my employer informed me that he wanted to take a group to Nassau, The Bahamas. I thought, no big deal, this should be an easy trip. The more I started to read, though, the more I realized it wasn’t going to be just a “normal” trip.

    If you aren’t a member of AOPA, I would highly recommend joining. AOPA’s website was where I started researching. They actually have a checklist to help you along the way.

    The first step is getting the paperwork started. All souls on board are going to need a valid passport. In our case, a couple of passengers need to get theirs. Since it was a little shorter notice, we had to go through the expedited process. It’s fairly simple. A quick internet search gave me a couple of people that helped the process along.

    Next was making sure the aircraft had all it’s paperwork. The airworthiness certificate was easy as it’s always in the plane (or should be).

    The registration certificate was next to check. We recently upgraded to the King Air 350 so we had to make sure we had the original issuance registration certificate. The Bahamas supposedly doesn’t allow Temporary Certificates and I really didn’t want to test that policy.  Thankfully after a couple of calls between owner and the FAA we got the original.

    The aircraft and pilot are both also required to have an FCC Radio License. This is only for international flying, but not an everyday thing pilots think about.

    After that was flight planning. I use FltPlan.com. The actual filing of the flight plan was very easy. I use the prescribed routes from the website. In the remarks section of the flight plan put ADCUS (Advise Customs). This advices ATC to let customs know of your arrival. It’s basically an added safety net in case you forget to call ahead or your flight times end up being way off.

    The other item when dealing with flight planning is dealing with eApis. There are numerous companies who will provide this service for you. I elected not to use one of those. If you go to the CBP website, you can set up an account and do all of it yourself. Take your time and really plan the flight out well to make sure your arrival times are as close to real time as possible. If you’re way off, this will make any customs agent very frustrated and that is not something you want to be dealing with.

    Approach charts and en route charts are another hurdle. Thankfully Foreflight has you covered. With my subscription, I already had en route charts. The approach charts were the real issue. In the Bahamas, the only places that have approved instrument approaches is Nassau and Freeport. Fortunately, we were going to Nassau. Foreflight does charge almost $400 for the Caribbean and Bahamas charts.  Emailing the FBO is a good option as they can usually supply approach plates for international flights.

    You’ll also need a CBP sticker. This goes on the outside of the aircraft showing customs you’re in the system. This can be found on the CBP website as well. It takes a little bit to get the
    sticker in the mail. However, once you pay for the sticker, the receipt can be used in place of the sticker.

    The final thing I focused on was picking an FBO. I chose Jet Aviation. They had CAA which gave us a Jet fuel discount. Their facility was excellent and staff was very friendly. The thing that put it over the top for me was how they handled customs. I emailed Jet Aviation all the information for myself and passengers and they pre-filled all the customs forms for me. When we arrived, customs took all of five minutes and then my passengers were out the door.

    While in Nassau, I stayed at Breezes Resort. It’s all inclusive so that helps keep the costs down for your owners if you’re a corporate pilot. It’s next to some of the other bigger resorts so there were shuttles available to get to other amenities. The only complaint I might have was the power kept cycling on and off and the internet wasn’t reliable. This proved challenging when trying to plan for the return trip.

    The return trip required a lot of the same preparation. Again it was nice to have a good FBO to help prepare the paperwork required to clear customs. Jet Aviation handled the General Declarations for me and my passengers. All I was required to do was file the flight plan and file eApis, which was actually challenging while my internet at the resort was on the fritz.

    Don’t forget to call US Customs at your Port of Entry! As this was Ft. Lauderdale for us, I called them twenty four hours in advance as prescribed. The customs agent was friendly and helpful with any questions I had. I think the best advice I can give throughout this whole experience is call ahead and ask lots of questions! Did I say that already?

    The morning of the return trip went off with no hitches. Again, Jet Aviation had set up a driver to pick me up and he was on time. Jet Aviation had all the General Declarations paperwork pre-filled out for myself and passengers. Again, I use FltPlan.com to file my flight plans. Their service performed flawlessly even though I had heard rumors of flight plans not going through. To curb my bet, I talked with the staff at Jet Aviation and they made a call to tower for me to verify that the flight plan had gone through; of course, it had.

    The actual flight out of Nassau was pretty uneventful. The last real hurdle I had was dealing with customs in Ft. Lauderdale, and hurdle it was. When we landed at FLL, ground instructed me over to customs ramp. There was no one to tell us where to park on the ramp. This was extremely frustrating.

    A Learjet taxied in prior to us and had taken up most of the ramp but, we found a spot and shutdown. Once we shut down, no one came out to our aircraft. I walked in to talk to someone and was greeted by a Boarder agent who was less than helpful. Since the Learjet had parked first, they got to go through first. Evidently, we were not allowed in the building until they were done. This didn’t make my owner too happy!

    Be prepared, though, if another airplane is on the Customs ramp before you arrive.  You are not supposed to get out of the airplane until a Customs agent comes and meets you, even to go to the bathroom.  This can result in large fines.

    Once we were allowed in, the process went smoothly. We had to put all of our bags through the x-ray machine. Beyond the x-ray machine, CPB didn’t require any other security measures. On other crossings I’ve done, CPB had opened up bags and sifted through clothes, so just doing the conveyor belt was a surprise. The rest of the trip was fairly commonplace. We stopped in Destin FL for dinner before making our final leg into Dallas. All in all, it was an excellent trip and I’m excited to do another one.

    Ryne Bergren works for a Part 91 operation in Dallas flying a King Air 350. Being a Part 91 outfit, he doesn’t get to rely on a “dispatch” or “company” to help with any international flight planning. This was a learning experience for him. Hopefully this will be a help to anyone for future trips.

  • Merry Christmas 2018

    So the Word became human and made his home among us. He was full of unfailing love and faithfulness. And we have seen his glory, the glory of the Father’s one and only Son (John 1:14).

    From the Texas Top Aviation family (Hank, Kelsey, Everett, Cooper, and Cord) to your family, we wish you a Merry Christmas!  We are thankful for how the Lord has blessed us this year.  We pray for blessings on your family this coming year.

    Keep the wheel side down and the sunny side up!

    Merry Christmas!

  • Drones: A Brief History

    Drones; these technological wonders have, seemingly, come out of nowhere over the course of a few years. Although they bring with them the promise of convenience and fun, they have also brought problems and uncertainty for the government, general public, and, specifically, the aviation community. But, where did drones come from and are they really something to be worried about? Let’s take a look at Unmanned Aerial Systems (UAS) and hopefully put to bed some of the concerns which seem to be following them around.

    It shouldn’t come as a surprise to anyone when I say that drones have recently become overwhelmingly popular. The military, businesses, and hobbyists are increasingly utilizing them for all kinds of purposes, which range from enemy surveillance to package delivery. Drone pilots are in high demand and several aviation universities are even offering majors designed to produce graduates which specialize in UAVs (Unmanned Aerial Vehicles).

    Drones are relatively new to the landscape of unmanned flying machines. Although model airplanes have been popular since the dawn of aviation, the first “drones” didn’t start becoming commercially available until a few years ago. As electronic technology advanced, so did model aviation. Models became more and more sophisticated and could be flown remotely as long as they remained within sight of the person flying it.

    It wasn’t until about 3 or 4 years ago that the technology became available to develop drones. This is due to the need for very small and light electric motors, batteries, and stabilization systems. Once these started to become popular, it didn’t take long for drones to become bigger, cheaper, and completely automated.

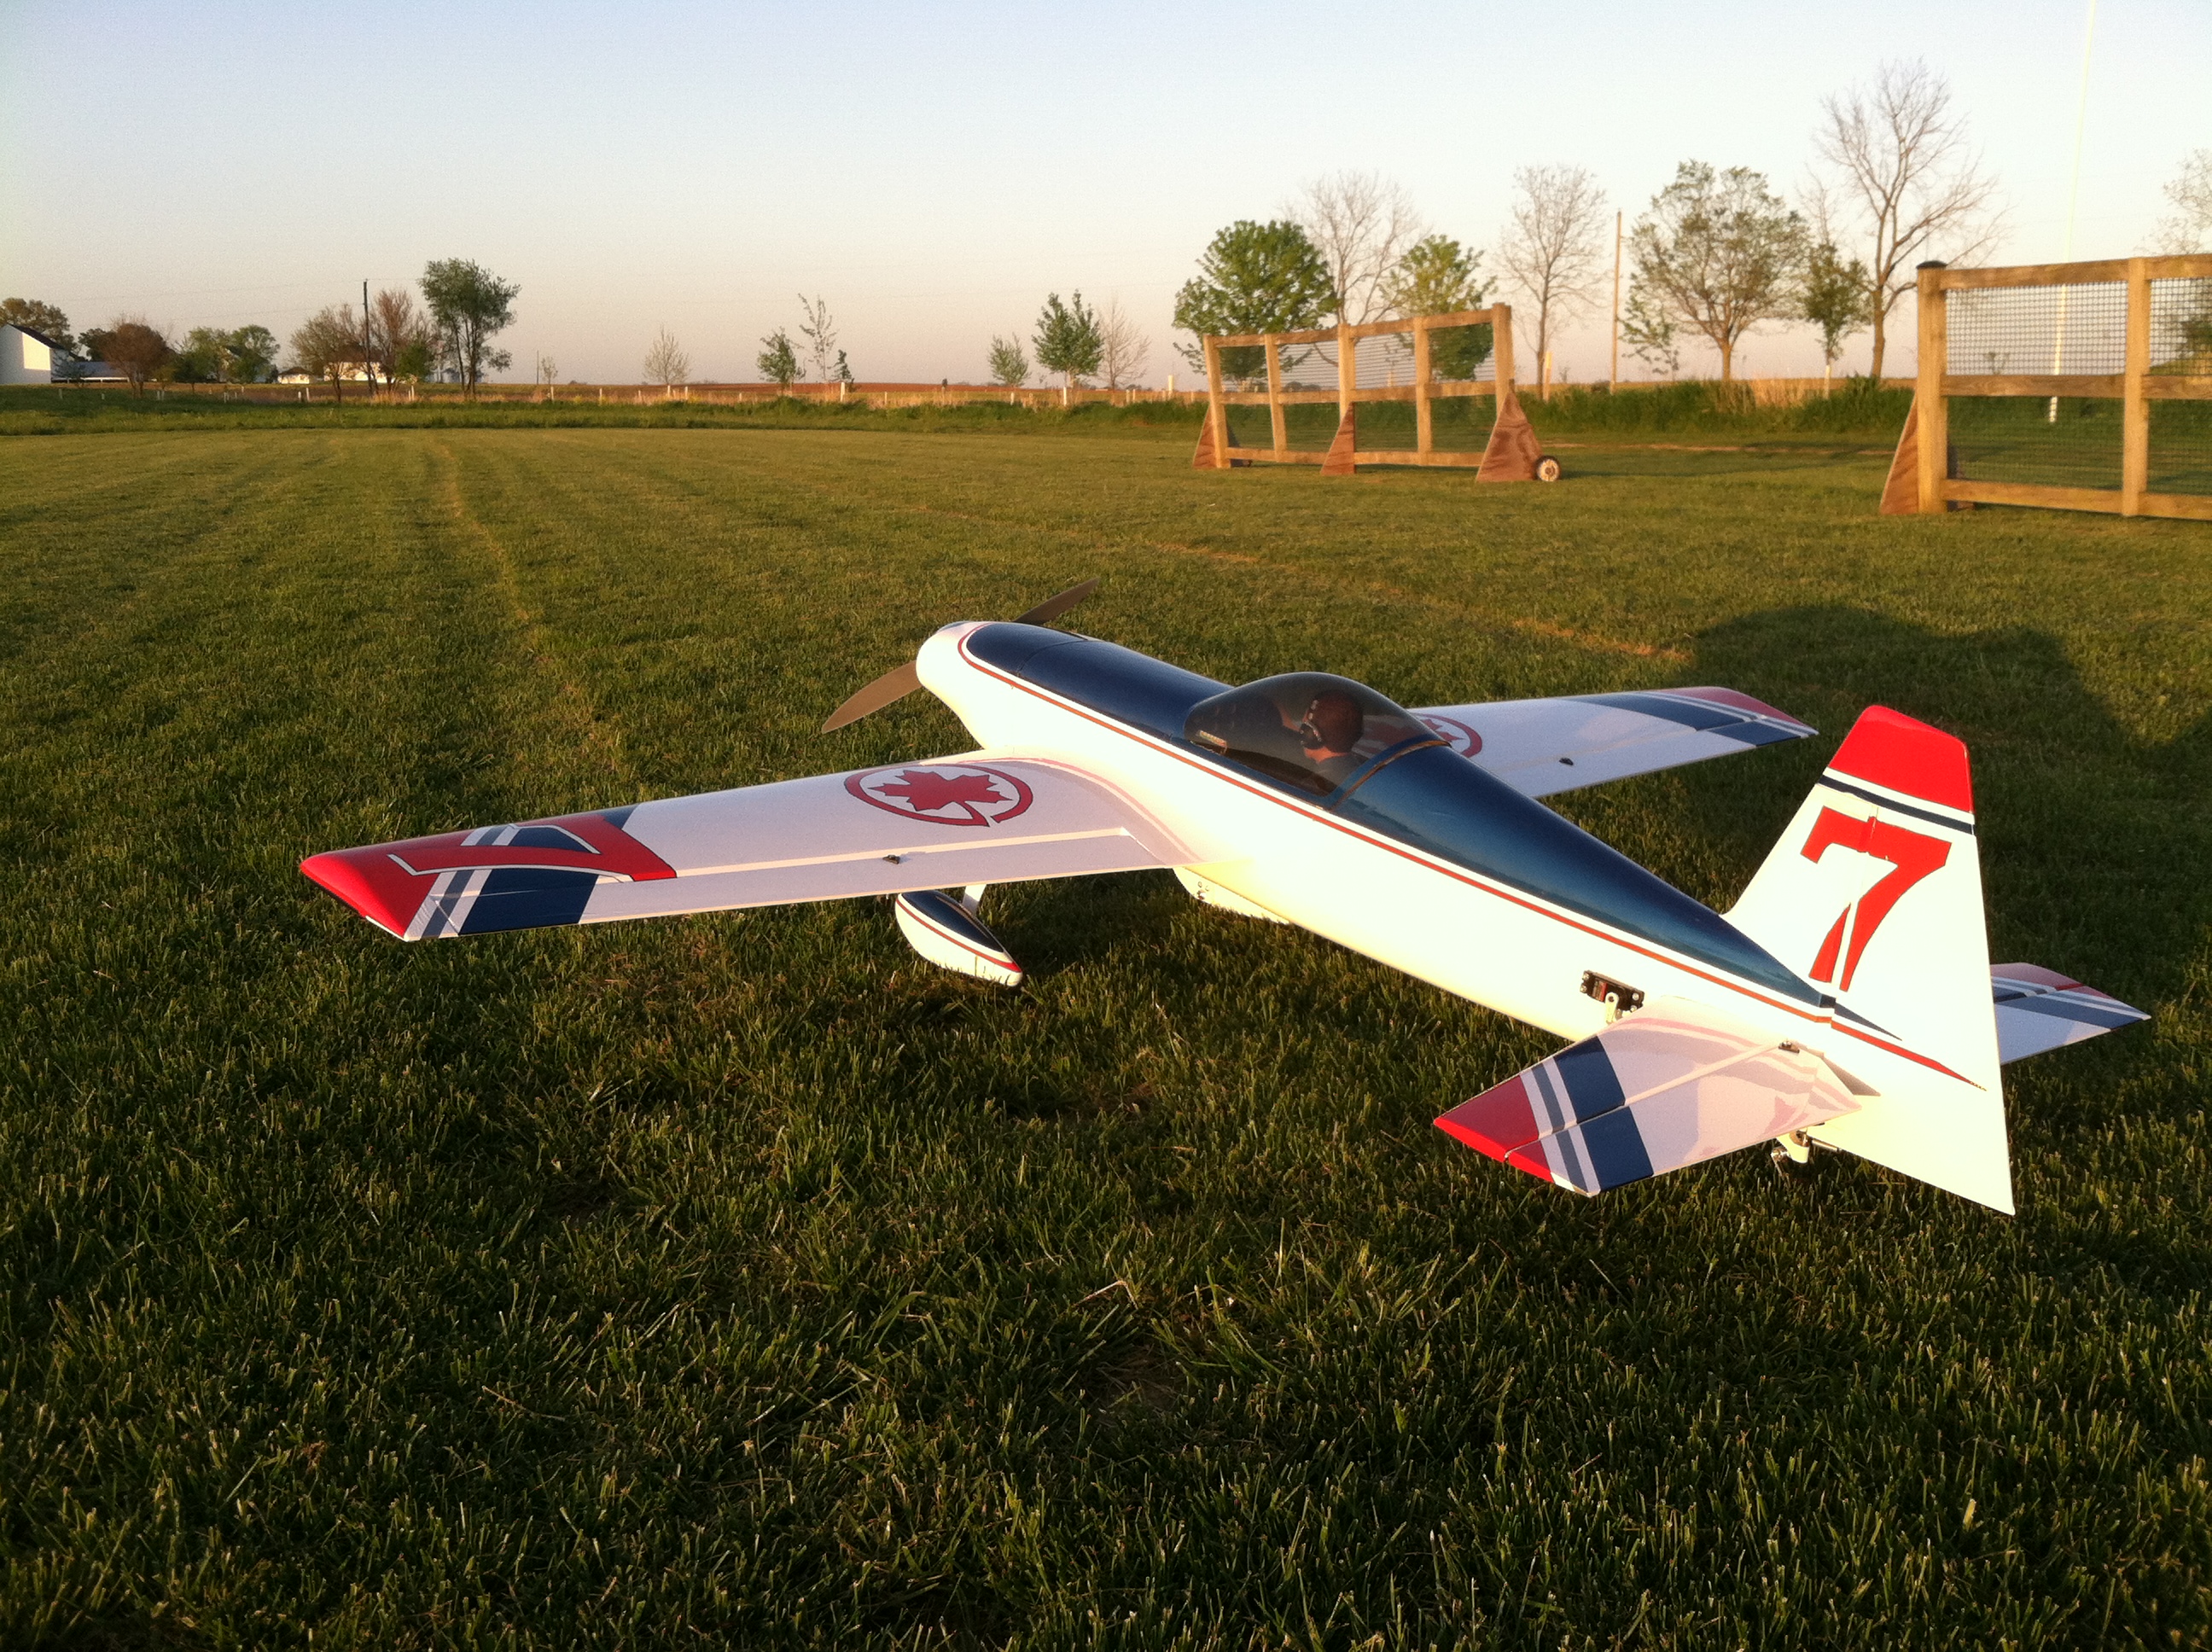
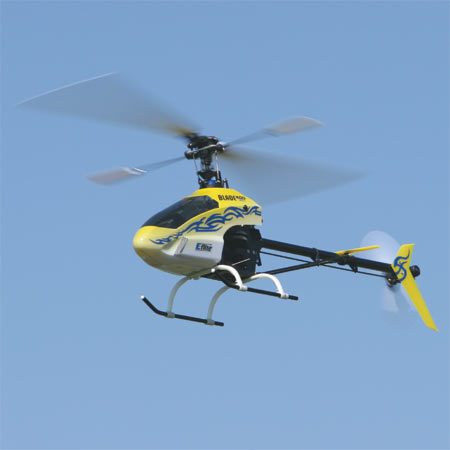
    It is important to note that there is a difference between drones and conventional model airplanes and helicopters. Drones are defined most simply as an unmanned vehicle which can be operated without user input from the ground. Conventional model aircraft can take all shapes and sizes, but must be operated within line of sight from the operator; as they have no ability to fly, takeoff, land, or navigate without input via a radio transmitter. So, if you happen to see a model aircraft flying, don’t assume automatically that it is a drone. Most of the time, model airplanes, helicopters and even drones are being flown safely and legally.

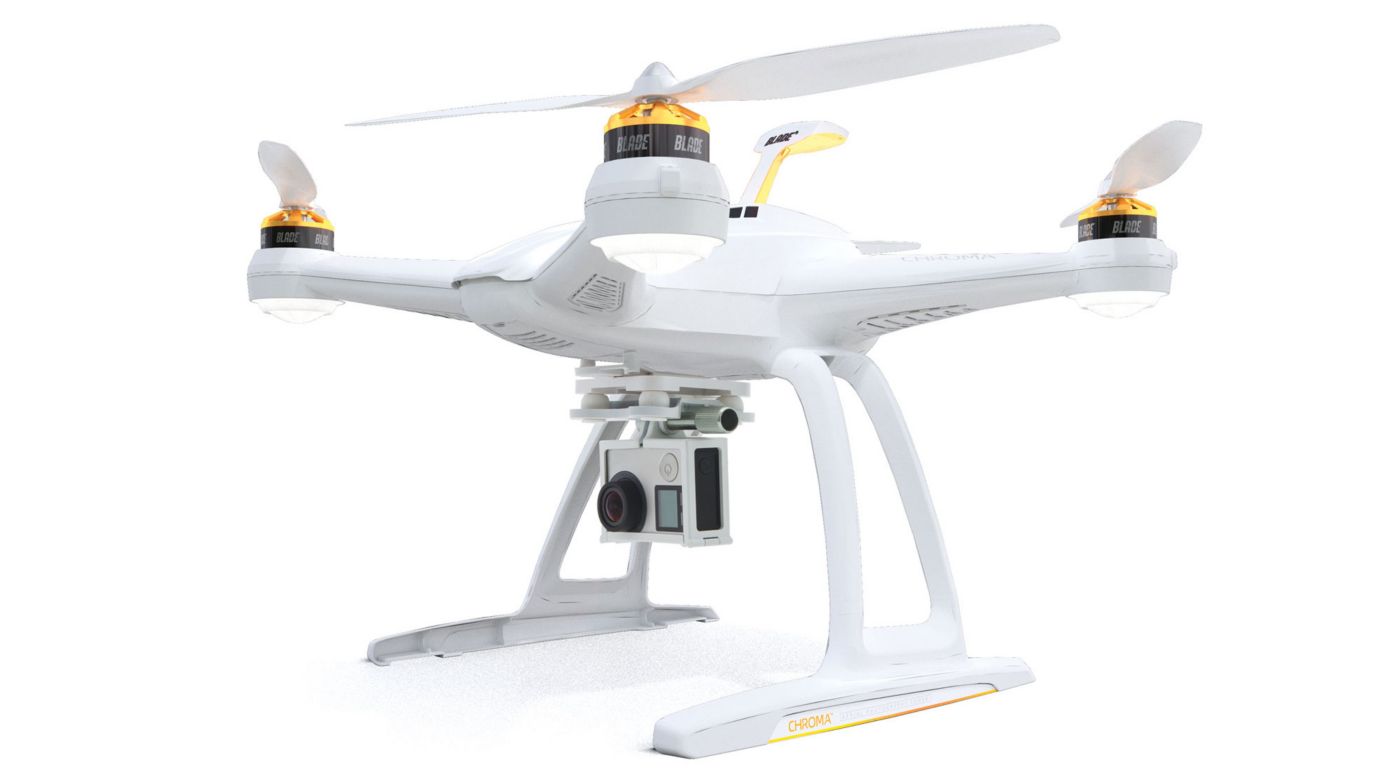
    Generally, a drone is designed with several arms which come off of a central body. Each of the “arms” typically has a motor with a rotor mounted on it to provide lift while the main body is home to the radio equipment, landing skids and camera gear. If you see a model flying that looks like a conventional airplane or helicopter, odds are it isn’t a drone. Most likely it is being flown recreationally by someone nearby.

    Historically, model airplanes and helicopters have been difficult to learn to fly. Before the times of pre-built foam airplanes and ready to fly drones, a modeler had to build their flying machine and find someone to teach them how to fly it. (Otherwise, they would likely only get one short flight). New modelers would be directed toward the local model flying club and would get plugged in with a group of established fliers who could outline the rules for model aircraft as well as get them up in the air safely.


    However, because most everything is purchased online in today’s market, drones are bought and flown by enthusiasts who have not been taught the rules, safety protocols, and procedures necessary to safely operate their new kits. In addition, the drones incredible stability and ability to be flown without any skill means that anyone with great enough funds and an equally great lack of common sense can buy a model and program it to fly over any location they choose. Unfortunately, sometimes that includes places which cause problems.

    Andrew Robinson is a 135 Charter Pilot and flight instructor who lives with his wife and 2 daughters in Pennsylvania.  He flies Pilatus PC-12s and instructs in Beechcraft Bonanzas.

  • Hold Anywhere

    The latest Garmin software version on the Garmin G1000 and Cirrus Perspective by Garmin has a really neat feature.  It gives the pilot the ability to create a hold at any fix, VOR, NDB, or even airport.  If the point is in the GPS database, a hold can be created over it.

    How does it work?  Here are the steps.

    Let’s say ATC tells you to hold over an intersection on a Victor Airway that you are already on.  Since you are tracking the airway already, the airway should be in your flight plan complete with all the waypoints on it.

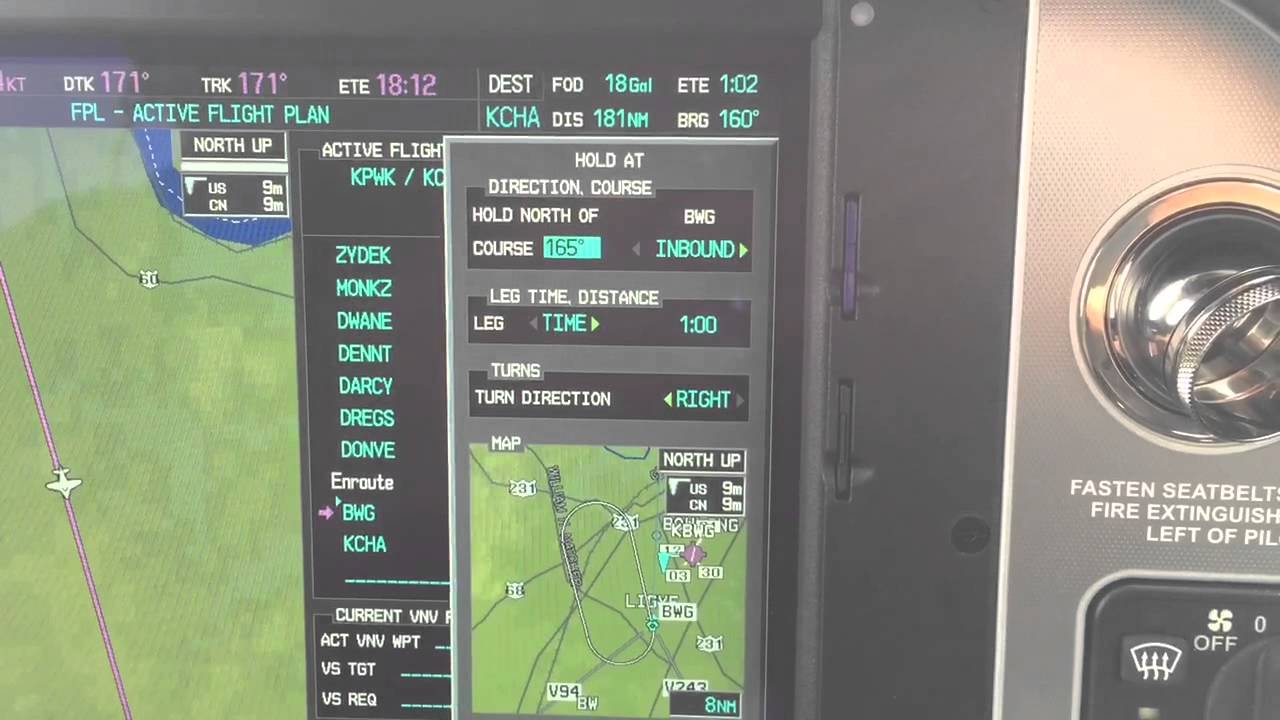
    Bring up your flight plan and highlight the waypoint to hold at.  Press the menu key.  Using the big knob, scroll down to highlight the hold at waypoint option at the bottom of the bottom of the menu.  Press enter.

    garmin-holding-pattern

    Now you can build the hold.  You select what the inbound or outbound course will be.  Select a timed hold or a distance hold.  Then select left or right hand turns.  You can even input your expect further clearance time.  Press enter and now you have a hold as a waypoint in your flight plan.  Assuming you have a WAAS unit, the autopilot will fly the hold for you.

    If you are ever told to “Hold Present Position,” Garmin has you covered.  Simply press menu on the flight plan page, scroll down to Hold Present Position, then follow the prompts on the screen to build a hold at your present position.

  • Cirrus Alternator Failure

    A Cirrus is an electric airplane.  There are no vacuum pumps and therefore no vacuum driven instruments. The Klapmeier brothers did this on purpose, trying to make it a modern airplane.  No vacuum systems means no vacuum pump failures, hence there is a lower likelihood of instrument failures in IMC.

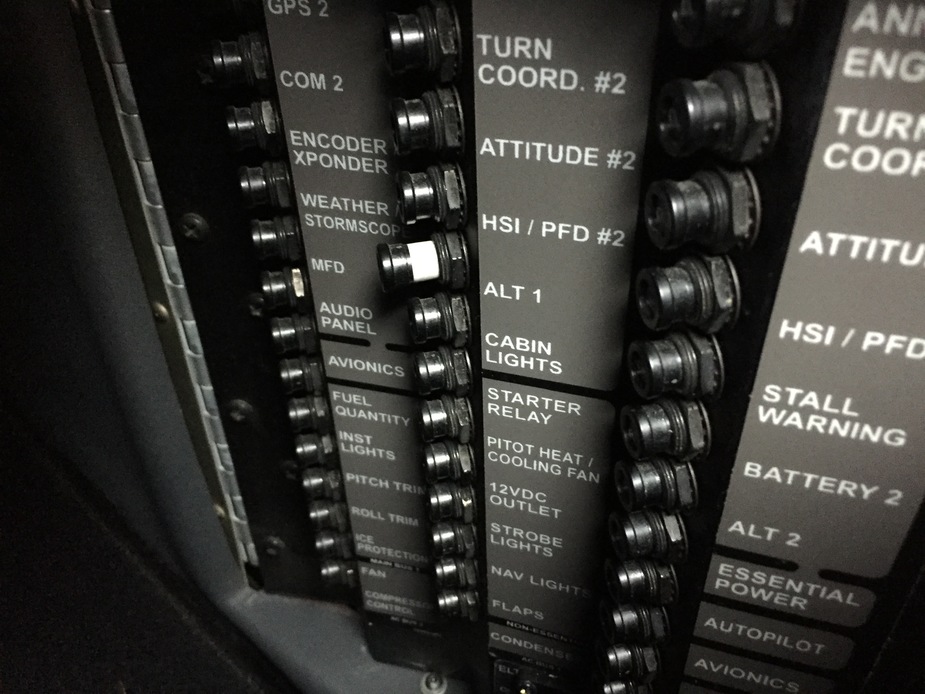
    What Cirrus did instead was put a lot of electricity producing and storing devices in the airplane.  All SR20 and SR22s are equipped with 2 engine driven alternators and 2 backup batteries.  Alternator 1 is a 28 volt alternator (the amperage varies based on whether or not you have an air conditioner) while Alternator 2 is a 28.5 volt alternator.  There are 2 24 volt backup batteries, as well.  Battery 1 is also used for starting.

    In traditional airplanes that have 1 alternator, an alternator failure can affect a lot of things.  Depending on how many electronics are in the airplane, the battery can get depleted quite quickly.

    The Cirrus electrical system is quite ingenious.  It’s a little bit different based on whether you have an Avidyne Cirrus or a Garmin Perspective Cirrus.  I will discuss that further below.

    The main goal of this article is to talk through what happens in the event of a #1 Cirrus Alternator Failure (an Alternator 2 failure actually isn’t a big deal at all, though Alt 2 is required for IFR flight), the procedure for trying to fix it, and a technique I have developed that makes the pilot’s job easier.  First, let’s go through the #1 Cirrus Alternator Failure procedure.

    Alternator 1 Failure

    In either avionics configuration, the Cirrus Alternator Failure procedure is the same.

    • Check and reset the circuit breaker for Alternator 1 (Reset only once)
    • Cycle the Alternator 1 master switch
    • If Alternator 1 doesn’t come back online, leave the Alternator 1 master switch off and shed load on the battery

    Avidyne Entegra

    The Avidyne Entegra has 2 busses, the Main Bus and the Essential Bus.  Alternator 2 isn’t set to come on until the engine RPM reaches 1700.  While on the ground, Alternator 1 runs both the Main and Essential Buses.  In the air, Alternator 1 runs the Main Bus and Alternator 2 runs the Essential Bus.  Since Alt 2 is 28.5 volts, the higher voltage won’t allow the power from Alt 1 to cross over and run the Essential Bus.  There are also 2 one-way directional diodes that prevent the voltage from Alt 2 to cross over and run the Main Bus.

    Having said all that, when Alternator 1 fails, Battery 1 is now running the items on the Main Bus.  There are a significant number of items on the Main Bus which causes the 24 volt battery to quickly lose it’s charge. This precipitates the need for shedding load.  Items like GPS 2, the air conditioner and aircraft lights can all be turned off.

    In the above scenario, Alternator 2 is running the Essential Bus still that has all the Essential items on it.  Those include:

    • The PFD
    • Flight Instruments and associated Avidyne computers
    • Engine Instruments and associated Avidyne computers
    • GPS 1
    • Com 1
    • Nav 1
    • Autopilot
    • Stall Warning
    • Charging Battery 2

    Note 2 important items that are not on the Essential Bus:  the flaps and the landing light (which is very handy at night).  Those two are only on the Main Bus, which Battery 1 is now powering.

    Let’s further enhance our scenario.  You are flying over Nevada (quite remote and not a lot of airports) at night, 30 minutes from the nearest airport when your Alt 1 fails.  When you get to the airport you are planning on landing at, you want to have your flaps and your landing light, but we don’t know how long Battery 1 will last.

    The solution (this is where my technique comes in):  Turn off the Battery 1 master switch.  This is an easy solution to ensuring you have battery power to use your flaps and landing light.  Instead of going through and shedding load, simply turn off the source.  You’ll still have all the above items on the Essential Bus, which is all you need to keep safely flying.  Then, when you get to your landing airport, turn Battery 1 back on to utilize your flaps and landing light.

    Garmin Perspective

    Cirrus wired the Garmin Perspective plane a little bit differently.  There are now 2 Main Buses along with the Essential Bus.  Alternator 1 runs Main Bus 1, while Alternator 2 runs Main Bus 2 and the Essential Bus. Both Alternators are running all the time.  The Alternator 1 Failure procedure remains the same.

    The cool thing that comes along with the second Main Bus in the Perspective is the amount of items you still have available to you in the event of an Alternator 1 failure.  The only items you lose will be:

    • Yaw Damper
    • Landing Light
    • Air Conditioner and associated components
    • EVS Camera
    • 12 Volt power supply in armrest

    Everything else is powered off of Alternator 2.  That’s not much.  The only item you really want on the above list is the landing light if you are going to be landing at night.

    Follow the Alternator 1 Failure procedure, then do my technique again.  Turn off Battery 1 to save the battery power in order to use the landing light when needed.

    Cirrus did a great job creating an all electric airplane with plenty of backups in case something fails.  I focused mainly on the Alternator 1 failure here.  If Alternator 2 fails, the system is wired for Alternator 1 to run everything while still charging Battery 1 and 2.  No big deal.

    In my experience, turning off Battery 1 to conserve battery power is just a simpler solution when shedding load in the event of a Cirrus Alternator Failure.

Leave a Reply

Your email address will not be published. Required fields are marked *