The South Central Cirrus Owner’s and Pilot’s Association (COPA) Region is hosting a Fly In dinner at the Austin Executive Airport (KEDC) on Friday, October 8th. The event is from 5-9pm. There will be a cash bar, a catered dinner ($25/person), a special guest speaker, and great mingling amongst the Cirrus owners and pilots in our region!
Fly in or drive to EDC. The dinner will be in the Henrickson Jet Center’s main hangar. You will need to RSVP so event organizers can get a proper head count. The link to RSVP is here.
Cirrus Aircraft will be bringing two new 2016 SR22s that will be available for viewing.
Last fall, the Malibu & M-Class Owner’s and Pilot’s Association (MMOPA) announced a new program to encourage and enhance safety, the Master Aviator Program.
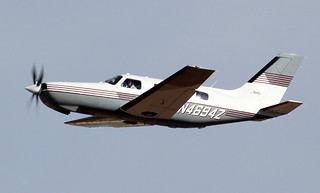
The MMOPA Master Aviator Program was designed as a system to recognize those in the Piper PA46 community who strive to become the best pilots they can be. Each year, those who have achieved each of the levels in the program will be honored at the MMOPA Convention (the 2020 MMOPA Convention will be in Tucson in the spring of 2020) by getting Wings pinned on.
What is the heart behind the MMOPA Master Aviator Program, you ask? Here’s a quote from the MMOPA Website:
This program is the result of MMOPA having identified areas of flight operation that need improvement to increase safety. It provides a path forward for training for the PA46 pilot, honors those pilots that elect to participate in the MMOPA Master Aviator Program, and rewards those pilots that progress upwards to ultimately reach the highest level (MMOPA Master Aviator).
The main focus areas of the MMOPA Master Aviator Program are pilot flight experience (flying more during a year increases skills), stall/spin awareness, and operations in the runway environment (improper aircraft handling during takeoff, landing, and go around, with a particular emphasis on rudder control).
The MMOPA Master Aviator Program tackles these three areas in each of the different levels of achievement: Aviator, Senior Aviator, and Master Aviator.
To achieve the Aviator Wings, a PA46 pilot must do the following:
Complete Initial Training with an Approved Training Provider
Fly 100 total hours in a PA46
Attend an Approved Mid-Year Training Event (M-Class, MMSTF, MMOPA Safety Standown, MMOPA Maintenance Standown, to name a few)
Attend the MMOPA Convention once in the last 3 years
No accidents/incidents in a PA46 in the last 3 years
To achieve the Senior Aviator Wings, a PA46 pilot must have received their Aviator Wings and do the following:
Completed at least one yearly Recurrent Training Event
Attend the MMOPA convention once in the last 3 years
No accidents/incidents in a PA46 in the last 3 years
To achieve the Master Aviator Wings, a PA46 pilot must have received their Senior Aviator Wings and do the following:
Completed at least two yearly Recurrent Training Events
Fly 300 total hours in a PA46
Receive a tailwheel endorsement
Attended the MMOPA convention once in the last 3 years
No accidents/incidents in a PA46 in the last 3 years
To incentive PA46 pilots, MMOPA offers a $400 voucher to program participants to accomplish the Aviator Mid Year Training, the Senior Aviator Upset/Recovery Training, and the Master Aviator Tailwheel Training. A PA46 pilot is only eligible for one voucher per year.
I received the Master Aviator Award at the MMOPA Convention this year. All told, there were close to 40 participants who received one of the three levels of achievement at the MMOPA Convention in Amelia Island, FL this year.
Interested in applying to be a part of the MMOPA Master Aviator Program? You can find out more information on MMOPA’s website.
When I was working on my instrument rating back in 2007, my instructor and I did a lot of unpublished holds. In ground school, I heard a lot about holding for weather or holding due to a traffic delay. At my first job, my chief flight instructor was also a Continental (now United) captain and he told me a lot about having to hold for weather going into different places.
I heard all this, but I figured it would never happen to me when I’m flying GA airplanes.
Boy was I wrong!
I was flying a Piper Malibu into Phoenix with two passengers for Super Bowl weekend and the weather was awful. No thunderstorms, but moderate precipitation and low ceilings. We were coming into Deer Valley (KDVT) on the north side of Phoenix and about an hour out, ATC advised me that arrivals into DVT were having to hold and to expect a delay. The controller said the delay would be about 30 minutes, so by doing a quick calculation, I determined the delay would probably be all cleared up by the time I got in the area. At the time, I didn’t know if the delay was due to weather or traffic congestion.
Twenty minutes later, the controller advised me that there was still a delay. I queried what it was for and he informed me it was due to weather. He asked me if I wanted to hold or divert. I listened to the ATIS and heard the ceilings were variable from just below the minimums to just above. I told him I would hold as the TAF I saw predicted the ceilings to go up.
“Malibu, hold present position, hold east, expect further clearance 2140 Zulu.” Gulp.
At this point, my autopilot had gone out, it was turbulent and I was definitely in the soup. This was going to be fun.
After recovering my wits, I read back the clearance, then set about setting up this hold without getting too far from my present position. The Malibu I was flying had a Garmin 530 which I was using as my primary means of navigation. I was on V190, but I didn’t have all the fixes in my flight plan. What to do? And what to do fast?
The 530 has a rarely used function called a User Waypoint. It comes in handy in situations like these. On the moving map, you can turn the cursor on, move the cursor to any point on the map, and, by pressing enter, create a User Waypoint. This is what I did on V190. After I created it, I had to go to my flight plan, find the right spot, and input the User Waypoint just like I would any fix. Just a note here, when you create a User Waypoint, make sure you remember what you named it so you can find it again.
After I input the User Waypoint in the flight plan, I had to go back and activate the leg that the User Waypoint was the end point on. Then, to make sure the flight plan didn’t go to the next waypoint once I crossed my User Waypoint, I had to press the OBS button on the 530 in order to put the GPS in suspend mode.
Keep in mind, my autopilot wasn’t working, so this involved a lot of multi-tasking!
That’s how to do a present position hold using the Garmin 530. Got all that? Here’s a concise review:
Create a User Waypoint
Turn the cursor on by pressing the FMS knob
Move the cursor to the point where you want your User Waypoint
Press enter and name the User Waypoint
Press the Flight Plan button
Input the User Waypoint into your flight plan at the proper point
Activate the leg that the User Waypoint is the end point on
Finally, press the OBS button to put the GPS in suspend mode
After you’re cleared onward, just press the OBS button again to take the GPS out of suspend mode
You have just received the keys of your shiny new (to you) airplane complete with a beautiful Garmin G1000 glass panel flight deck. Synthetic Vision, WAAS, and ADS-B are all installed. You are ready to cruise in high technology.
You turn on the PFD and MFD and notice one problem. All your databases are expired. No big deal, right? Your Garmin 530W was easy as pie to update with it’s single data card.
You start looking around and can’t find the data card. Then you notice that there are several SD cards in slots on the panels. SD cards won’t fit in your Blue Jepp Skybound card reader. Confusion sets in which quickly leads to full on panic.
What have you gotten yourself into?!
No need to fear, Texas Top Aviation is here to help with your Garmin G1000 database update confusion (and hopefully not panic).
Database Update Providers
First, you have to choose who to get your Garmin G1000 updates from. You have two options. One is Garmin (fly.garmin.com; always use either Firefox or Chrome to update, don’t use Safari). The other is Jeppesen.
Honestly, there is no difference between the data that each provides. If you had a 530 or 430 before, you used Jepp already. Just keep the Jepp account, call them, and have them get you set up for your Garmin G1000 updates.
If you didn’t have a Jepp account before, I would use Garmin, for a couple of reasons. You get multiple downloads in case you mess something up (Jepp NavData gives 1 download per month, while Safe Taxi, etc. you get 2-3). On Jepp, you have to call in and have them reset the account, which can be a pain if it’s after hours or a Saturday or Sunday.
The other problem with Jepp is since Boeing bought Jeppesen, I have found it extremely difficult to find online where to set up a new account and purchase databases. Yes, you can always call, but, again, problematic after hours or on a weekend.
The only problem with Fly Garmin for your Garmin G1000 updates is Garmin is constantly updating their program. You have to update their downloader quite often, which can be a bit frustrating.
I’m going to use Fly Garmin as my example.
What to Buy
Garmin gives you a couple of different bundle options for your Garmin G1000 updates, the OnePak and the PilotPak. The main difference between the two is the PilotPak includes approach charts that display on your PFD and the OnePak doesn’t. Therefore, the OnePak is about $200 cheaper.
Both include Navigation Data, SafeTaxi, Obstacles, Airport Directory, Terrain, and the BaseMap.
How to Update
Once you have followed all the instructions on Garmin’s website (or gotten Jeppesen set up), here is what to put on which SD card.
NOTE: YOU WILL NEED TO PURCHASE ONE OR TWO BLANK SD CARDS FOR THE NAVIGATION DATABASES. DO NOT PUT THE NAVIGATION DATA ON THE SD CARD THAT IS ALREADY IN THE TOP SLOT ON THE MFD. THAT IS FOR ENGINE DATA LOGGING ONLY. NO NAVIGATION DATA SHOULD EVER BE PUT THAT ON THAT CARD.
Bottom Card, PFD
SafeTaxi
Obstacles
Bottom Card, MFD
SafeTaxi
Obstacles
Airport Directory
Flite Charts
Top Card, PFD & MFD (This is the new blank SD card(s) you bought)
NOTE: REMOVE THE TOP SD CARD IN THE MFD THAT IS ALREADY IN THE SLOT AND DON’T PUT ANY DATABASE INFORMATION ON IT.
Ignore everything above and put all databases on the bottom card of the MFD. You have database sync, so you don’t have to mess with multiple cards. When you do an update though, go to the AUX chapter on the MFD and scroll down to the Databases page. Ensure that all dates match what you just put on the SD Card.
For you Jeppesen users, check out the new Bad Elf Wombat updater that works with the iPad JDM app for updates.
Are you one of those pilots who hates fuel stops simply for the fact that the engine doesn’t have time to cool off? You pump gas into the plane, hit the bathroom, get in the plane and the oil temperature is still up at 160-170 degrees, leading you to have to figure out how to get the plane going again with a hot engine. For those without proper training, this usually means a lot of jockeying around with the throttle, mixture, and fuel pump to try and get the thing started without flooding it. After coughing and wheezing several times, the engine finally comes to life, leaving you to only guess what worked and without the knowledge of how to duplicate it.
Let’s take a step back for a minute to see what is actually happening with a hot engine. Once the engine is shut off, the fuel in the lines leading from the tank to the engine is vaporized, meaning there is more air in the fuel lines than liquid fuel. In the engine block itself, there is still liquid fuel in the injectors, but only enough for the engine to cough then quit if started.
When a normal priming and starting procedure is performed, too much fuel is forced into the cylinders and the engine becomes flooded. A flooded engine just means that the stoichiometric ratio is way too rich, meaning there is too much fuel and not enough air. The prime does the trick of getting the fuel vapor out of the fuel lines, but it shoves too much fuel into the cylinders. Once the engine is flooded, it’s a waiting game to allow air into the engine to get the mixture right. All Lycoming powered high performance and turbo charged engines are notoriously easy to flood when hot.
So, what’s the solution? By taking a step back to see what is actually happening, you can attack the problem from the source, which is the fuel lines. You need to get the vapor out of the fuel lines and get some liquid fuel in there. The procedure for this varies based on the make and model of engine, but I’m going to use the example of the Continental IO-550-N that is in a Cirrus SR22. I found this procedure in the Continental Engine Manual and it works every time.
(Pilots of other airplanes, keep reading. I have sections below for PA46s, Columbias, and Bonanzas as well )
Mixture: Full Lean (this allows fuel in the fuel lines, but prevents it from going past the mixture control into the engine, sending all fuel back to the fuel tank; a small amount of fuel leaks past the mixture control providing prime for the engine)
Throttle: Idle
Low Boost Pump: Run for 30-60 seconds (see note below) (15 seconds in the Turbo Cirrus)
Mixture: Full Rich
Throttle: Open about 1/4 travel (not 1/4″, that won’t be enough)
Boost Pump: Off, but have your finger on Low Boost
Starter: Crank (engine will turn over a few more times before firing, this is normal)
At the first indication of start, turn the Low Boost on, increase the throttle to ensure the engine catches, then adjust the throttle for 1,000 RPM
The engine will fire right about the time you start thinking it isn’t going to work
A few notes regarding engine temperatures:
If the oil temperature is above 150 degrees, a hot start will be required. If oil temp is close to 200 degrees, run low boost for 60 seconds in a non-turbo. If oil temp is 175, run low boost for 45 seconds in a non-turbo. If oil temp is 150, run low boost for 30 seconds in a non-turbo. Use 15 seconds for all temps above 150 in a Cirrus Turbo.
If the oil temperature is between 125-150, skip the hot start procedure, don’t prime the engine, leave the boost pump off, and crank the engine, then boost pump on when it starts and slightly increase throttle to make sure the engine catches
If the oil temperature is between 100-125, skip the hot start, don’t prime the engine, and perform a normal start with the boost pump on
If the oil temperature is below 100, perform a normal prime and start
Piper Malibu (PA46-310P with Continental Engine)
Mixture: Full Lean (this allows fuel in the fuel lines, but prevents it from going past the mixture control into the engine, sending all fuel back to the fuel tank; a small amount of fuel leaks past the mixture control providing prime for the engine)
Throttle: Idle
Low Boost Pump: Run for 15-30 seconds depending on oil temperature…
Greater than 150 degrees: 30 seconds
Less than 125-150 degrees: 15 seconds
Less than 100-125 degrees, no need to run the Low Boost
Perform normal cold start below 100 degrees
Mixture: Full Rich
Throttle: Open about 1/4 travel (not 1/4″, that won’t be enough)
Boost Pump: Off, but have your finger on the Primer Button
Magnetos: On
Starter: Crank (engine will turn over a few more times before firing, this is normal)
Engine should fire with the Low Boost Pump off, but…
If the engine starts to die, simultaneously increase the throttle a little bit and hit the primer button.
Only tap the primer button, don’t hold it as you’ll flood the engine if you hold it At the first indication of start, turn the Low Boost on, increase the throttle to ensure the engine catches, then adjust the throttle for 1,000 RPM
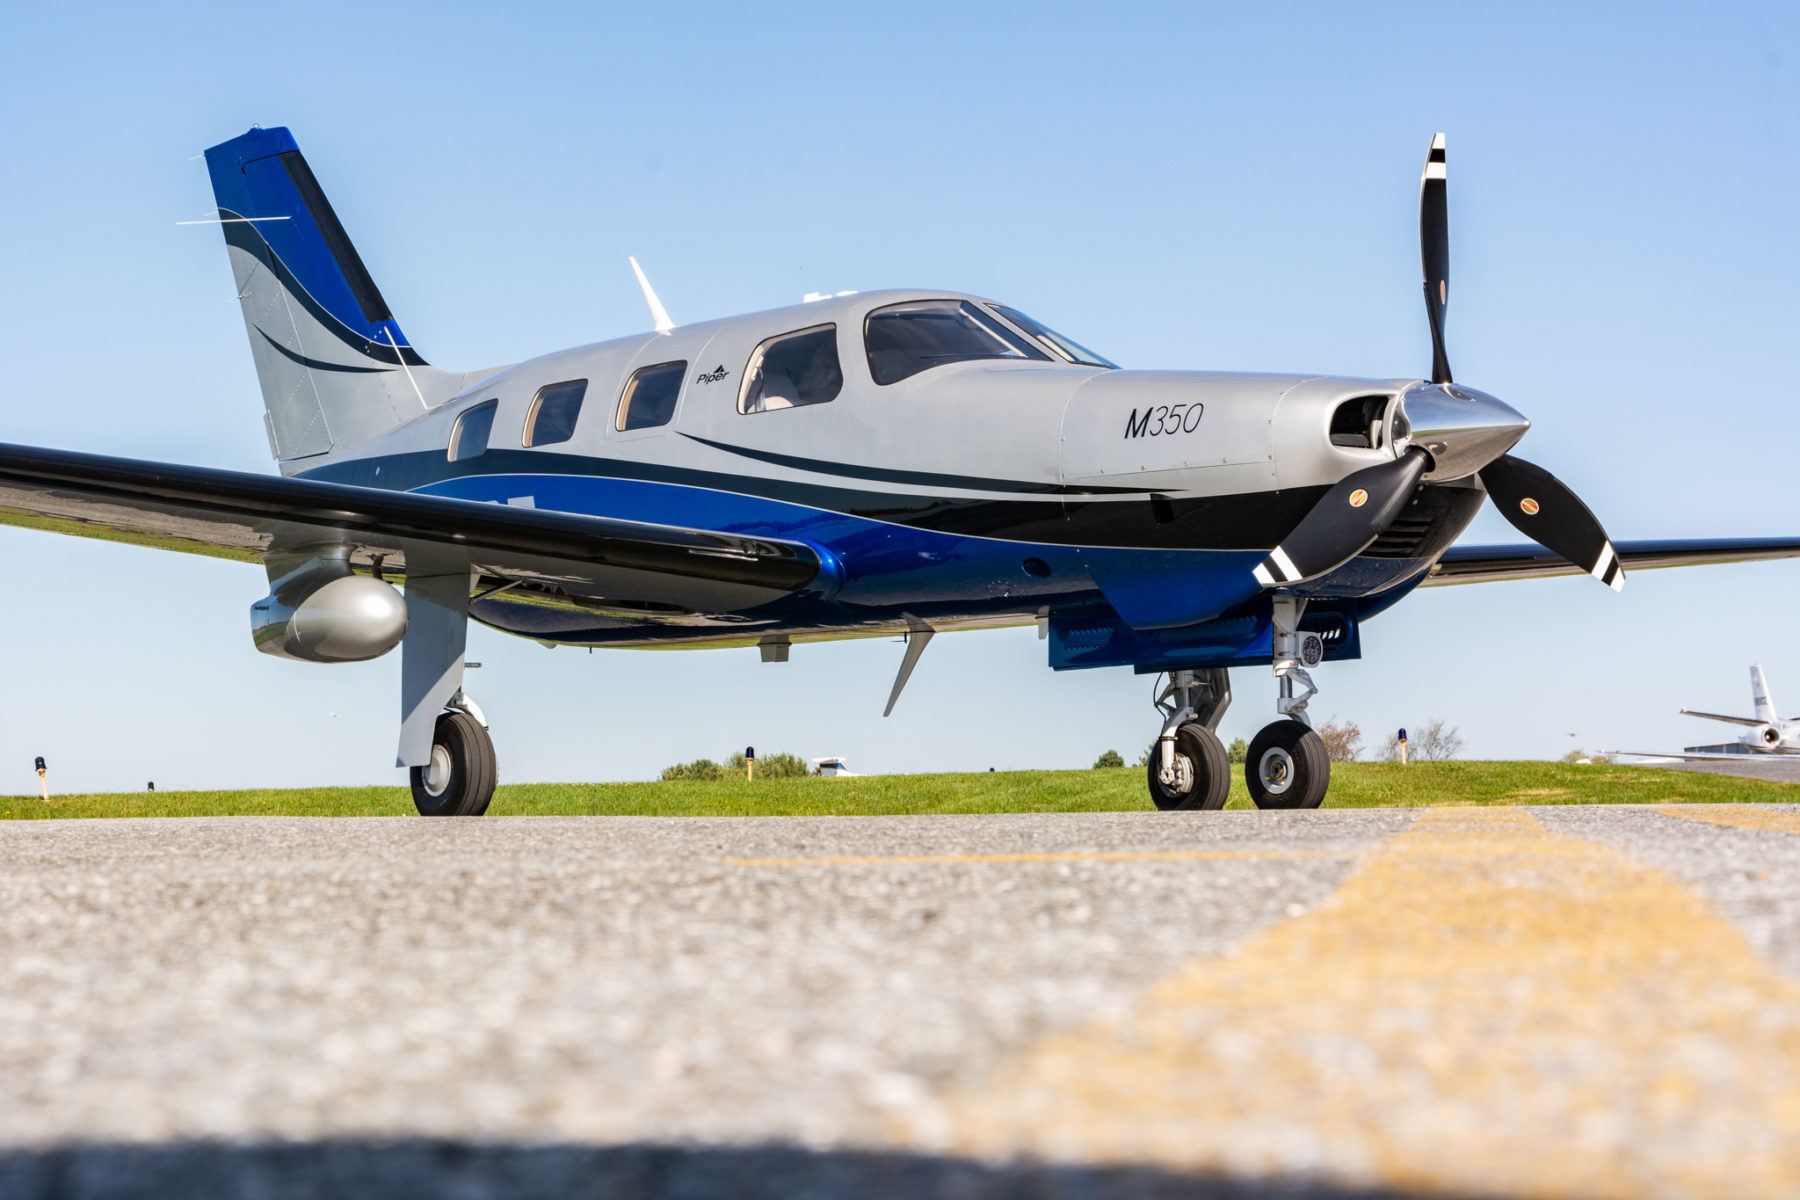
Piper Mirage & Matrix (PA46-350P and PA46-350T with Lycoming Engine)
Leave throttle and mixture idle
Before you turn the battery on, ensure the mixture is idle cutoff
If the mixture is forward and the battery is on, the low boost pump in the fuel tank will start pumping fuel to the engine and quickly flood it
Ensure Magneto switches are on
Open throttle 1/4 travel (not 1/4″ as this won’t be enough)
Crank
As soon as the engine begins coughing and wheezing (and this is what it will sound like), push the mixture 3/4 of the way forward
Once the engine has a good solid fire, smoothly and swiftly push the mixture all the way forward
Reduce throttle
Note: The Emergency Boost Pump can be used as part of the hot start technique, but I usually leave it off.
Pro to the Emergency Boost Pump is it can help suck more fuel in and purge vapor during the start
Con is that if the engine doesn’t start on the first try, you are flooding your motor
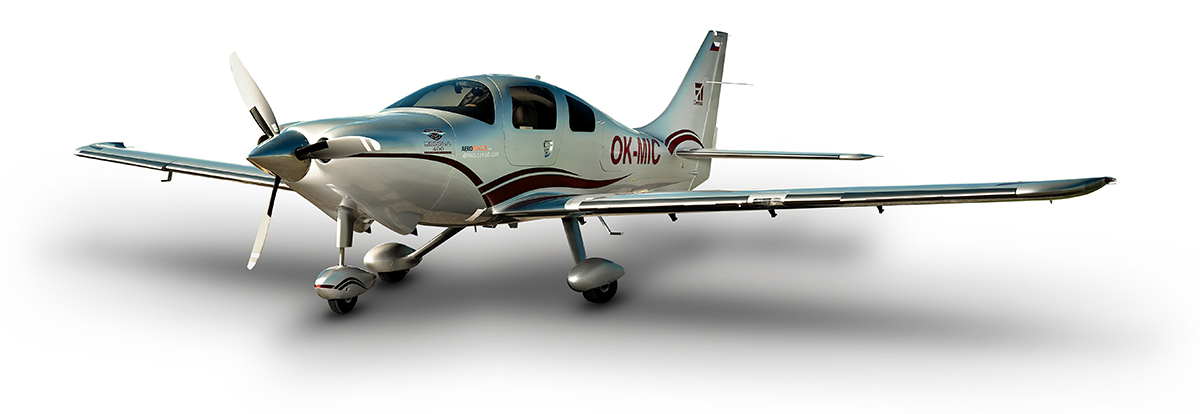
Columbia 400
Throttle and Mixture Idle Cutoff
Vapor Suppression: Run for 30-60 seconds. Reference above temperatures on the non-turbo Cirrus for run times
Mixture full forward
Throttle 1″ in
Prime for 3 seconds, then off
Crank
Once engine fires, primer might need to be pushed momentarily to purge excess vapor
On Columbia 350s, the throttle should be twisted (or pushed depending on if it’s an Avidyne or Garmin Columbia) in while cranking
Be prepared to reduce power once engine fires
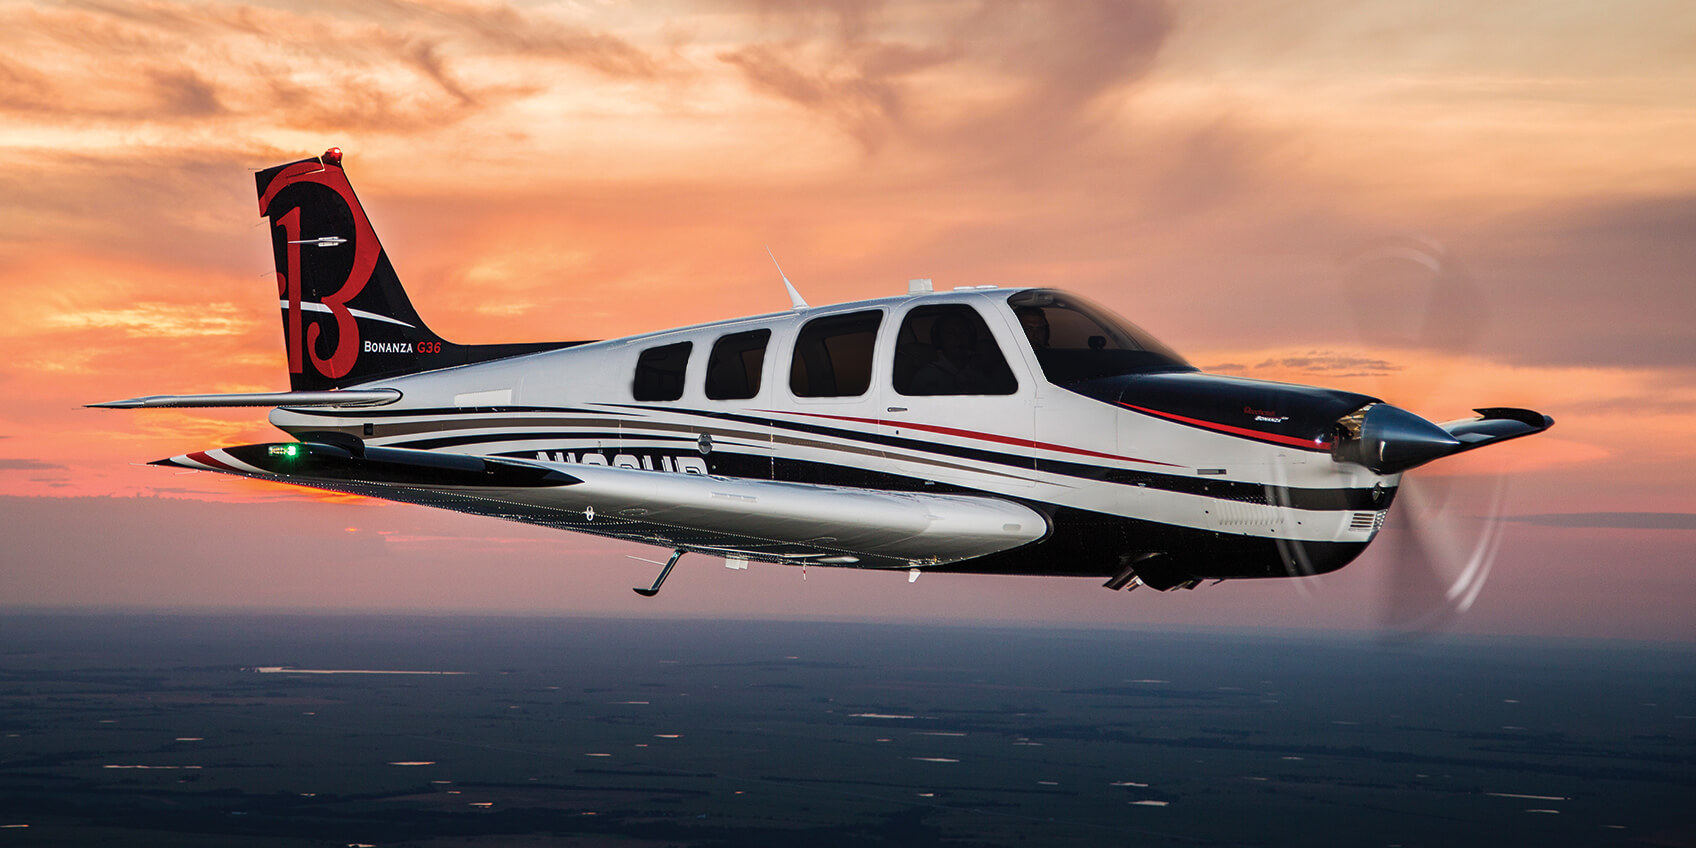
Beechcraft 36 Bonanza
Throttle and Mixture Idle Cutoff
Low Boost: Run for 30-60 seconds. Reference above temperatures on the non-turbo Cirrus for run times
Mixture full forward
Throttle open 1″
High Boost until fuel flow peaks, then off
Crank
Once engine fires, Low Boost might need to be engaged momentarily to purge excess vapor
There are other “procedures” for hot starting out there, but most of them involve starting with full throttle, which can lead to the airplane shooting ahead on a ramp or taxi way if the brakes aren’t properly set. This can lead to high repair costs, so always be cautious. Figuring out what is happening when the engine is hot will give you a better chance of getting it started right away.
Texas Top Aviation was at the AOPA Regional Fly-In at the San Marcos Regional Airport (KHYI). If you weren’t there, you certainly missed out spending time with 2,500 other airplane and flying enthusiasts!
The day began somewhat gloomy and windy with the threat of rain. Organizers feared that weather would keep a lot of people from coming. Boy, were they wrong!
There were many classic airplanes, many modern and pretty nicely equipped airplanes, and everything in between. There were aviation celebrities, Rod Machado and the Kings of King Schools fame, to name a few. Not to mention the fabulous BBQ!
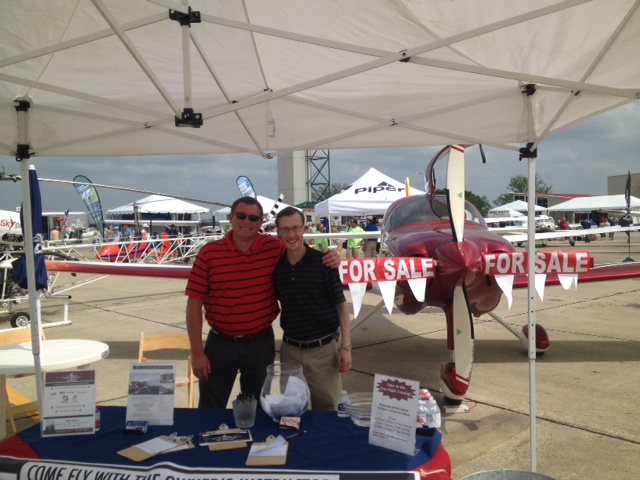
Texas Top Aviation had several drawings for free training and 3 lucky winners. We also had a Lancair Super ES for sale, N132BB (which made the San Marcos Record newspaper!). It definitely stood out with it’s unique paint job. The flames on the tail drew many oohs and aahs.
Departing the San Marcos Airport after the fly in was like battling traffic in Austin at rush hour (though, Austin doesn’t have any air traffic controllers). The San Marcos controllers probably hadn’t seen that much traffic since the airport was an Army Air Base back during WWII. It was quite a sight to see all the exhibitor’s airplanes lined up ready to head skyward.
Thanks to all of you who stopped by the Texas Top Aviation booth! It was a pleasure meeting all of you and we look forward to working with you in the future!
Hank Gibson and Russell Moore of Texas Top Aviation
Recently, I did my TBM and Meridian recurrent training with Joe Casey of Casey Aviation. I always like being challenged my more seasoned instructors than me because I always get to learn something. When I learn something, it makes me a better instructor and allows me to give better instruction to my customers. Plus, there is still a bunch that I don’t know!
Joe has a podcast titled The Malibu Guru (because he really is the Malibu guru!). During our training, we did a podcast together and he interviewed me. I get to tell about Texas Top Aviation and some exciting things coming up this summer (hint: the biggest exciting thing is called The Aviator’s Academy). Before I give too much away, take a listen to the podcast.