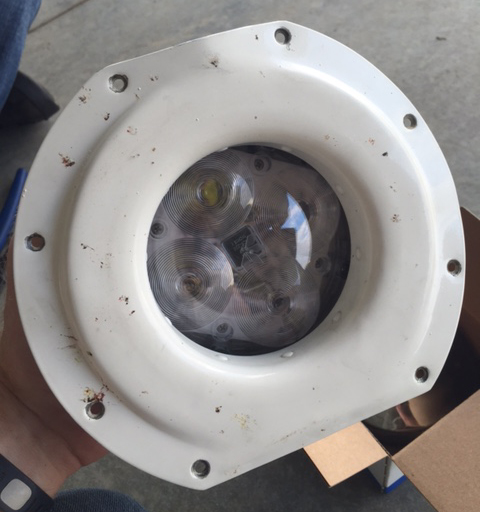
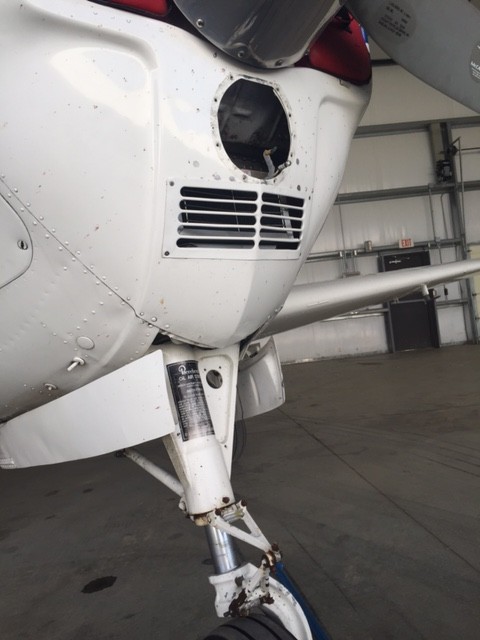
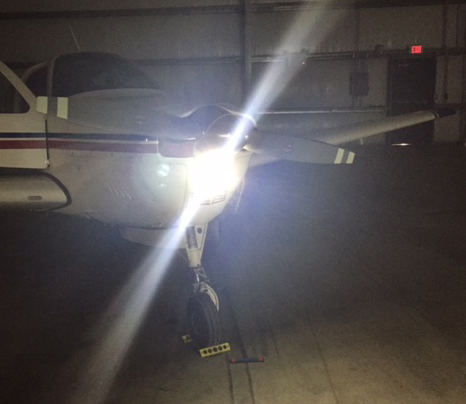
After Market Ice Protection

It’s winter time, so that means winter weather for the aviation community.  For single engine piston pilots, that means dealing with icing conditions.  For us Texan flyers, ice only presents an issue for maybe a week out of the year (the exception being for those Panhandle residents!), but it’s nice to have some protection.

Most single engine pistons do not come with ice protection from the factory and, of those that do, most are not Flight Into Known Icing (FIKI) approved.  The systems are “get out of jail” systems that can reduce the amount of ice you pick up if you accidentally get into icing conditions and you are on your way out.  The Cirrus SR22 line of aircraft has had the TKS system option since 2006, with the new FIKI system being available since 2010.  The Cessna TTx has a FIKI option that was debuted in 2014.

The above mentioned airplanes use TKS systems.  There are a handful of single engine pistons that use boots that are FIKI certified:  the Piper PA46 line (Malibu, Mirage, and Matrix) and the Cessna P210 and T210 line (though not all are equipped with boots).

If you find yourself flying into wintry conditions often and want some protection for your clean wing airplane, there are some aftermarket options for a lot of airplanes now.  Do note that all these systems do come with a pretty hefty price tag, but can be worth it if you fly into icing a good bit.

CAV Ice Protection TKS Systems

CAV Ice Protection is a TKS system outfitter.  What is TKS fluid?  According to Flying Magazine:

“TKS systems dispense an ethylene glycol-based fluid with a freezing point below minus 70 degrees F through porous titanium panels attached to the leading edge of the wing and empennage. The fluid is released through thousands of the panels’ laser-drilled holes, which are not much larger than the size of a human hair. As air flows over the wing and empennage, it disperses the fluid, coating the surfaces, and preventing the formation and adherence of ice.”

The advantages of a TKS system are the whole entire wing gets coated to get rid of any extra ice that adheres to the top or bottom of the wing surface.  The disadvantage is there is only a finite amount of fluid, so when it runs out, you don’t have any more protection.  The fluid also adds extra weight agains the useful load of the airplane.
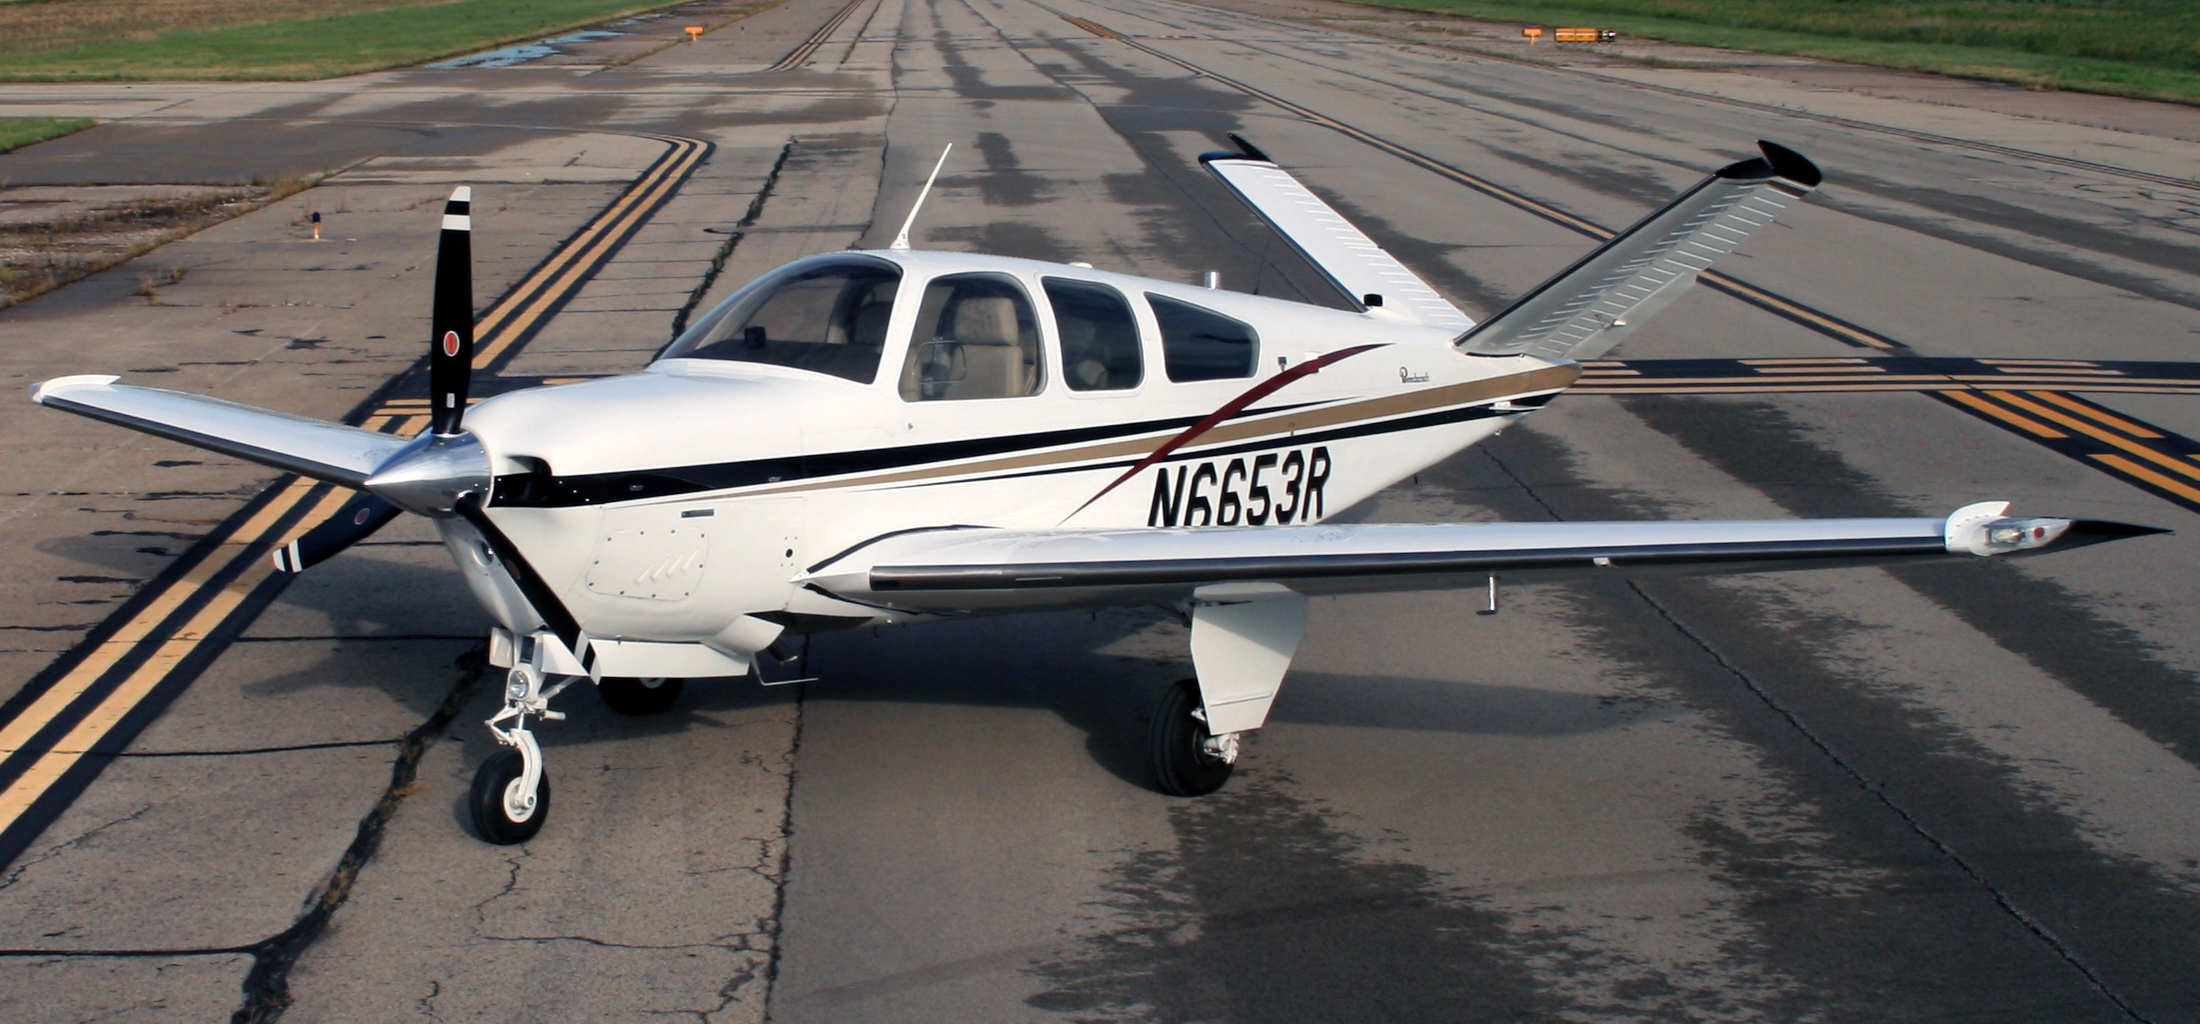
CAV Offers a Basic TKS system for the following single engine piston aircraft:

  • Beech Bonanza
  • Cessna 182, 206, 210, 350, & 400
  • Columbia 350 & 400
  • Piper PA32
  • Mooney M20

CAV Offers a full FIKI System for the following single engine piston aircraft:

  • Beech A36 & G36 Bonanza, and Baron
  • Cessna 210 & TTx
  • Commander 114
  • Mooney M20

For more information, check out CAV Ice Protection’s Website.

Ice Shield De-Icing Boots
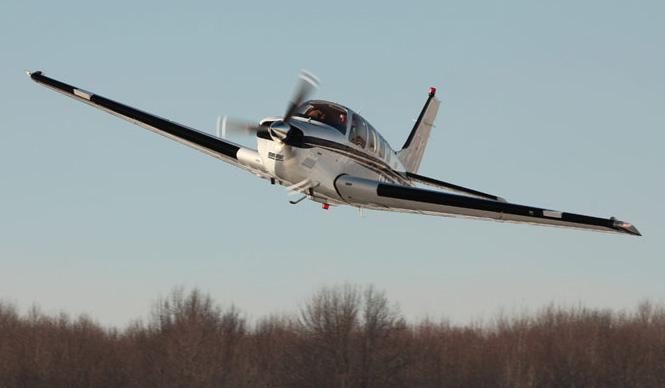
Ice Shield is another after market de-ice option.  Ice Shield makes boots for wing leading edges.  The advantage of boots is they activate instantaneously, getting rid of ice where it builds up first, on the wing leading edge.  No running out of fluid and only the added weight of the system.  Ice Shield also offers heated windscreens for several the Piper Saratoga line and the A36, B36, and G36 Bonanza line.

Ice Shield has boots for the following single engine piston aircraft:

  • Beech Bonanza F33A and -36 line
  • Cessna 210 line
  • Piper Pa46 line

For more information, check out Ice Shield’s Website.

One other company, Kelly Aerospace, makes an electric leading edge de-icer called the ThermaWing for the Cessna/Columbia 350/400 line.  You can read a review of the ThermaWing here, or check out Kelly Aerospace’s website.

Similar Posts

  • 2022 MMOPA Convention

    MMOPA announced the location for the 2022 MMOPA Convention. The 2022 Convention will be in Tucson, Arizona and will take place September 29th-October 2nd, 2022. The JW Marriott Starr Pass will be the host resort.

    Thursday, September 29th will kick off the convention with a safety event for pilots and companions, lunch with exhibitors, and the return of the charity golf tournament.

    Friday, September 30th and Saturday, October 1st will be when all the classes and seminars that make the MMOPA convention great are held. The Friday dinner will be at an aviation themed spot in Tucson while the annual auction and black tie affair will be Saturday night.

    Stay tuned to the event details page on the MMOPA website to see when registration is opened.

  • 2018 Great American Lancair Rally

    A brand-new event for Lancair owners, the 2018 Great American Lancair Rally will be a multi-stage “grand tour” of the Western US.  Starting and ending in Central Texas, the Rally will take place September 24th through October 5th 2018.

    The Rally will begin in Uvalde, TX (KUVA) on September 24th at the Lancair headquarters.  There will be 6 legs, with stops at:

    • Sedona, Arizona (KSEZ)
    • Paso Robles, California (KPRB)
    • Redmond, Oregon (KRDM)
    • Spanish Fork, Utah (KSPK)
    • Taos, New Mexico (KSKX)
    • San Marcos, TX (KHYI)

    At each stop, there will be food, drinks, and fun for everyone.

    Lancair plans on making instructors available to pilots who would like any kind of training along the way.  Hank Gibson from Texas Top Aviation will be one of the instructors available.

    Lancair plan to make the Great American Lancair Rally an annual event, with the 2019 Rally spanning the eastern half of the country.

    The Great American Lancair Rally is open to all Lancair owners, potential owners and interested aviators. Fly a different airplane?  All makes and models are welcome!

    For more information & to register, check out the 2018 Great American Lancair Rally’s website.

  • Cirrus CAPS Pull in Arkansas

    Cirrus CAPS pull #55 took place at the beginning of November over Fayatteville, AR.  From initial reports, it appears a clamp broke on the oil cooler, causing a loss of oil pressure.  It does not appear that the engine immediately quit, but an annunciator alerted the pilot that the engine was losing oil pressure.  At this point, it appears the pilot elected to do an emergency descent to an airport below him, but ended up not timing it right, missing the airport and pulling the parachute.

    As an experienced Cirrus flight instructor, there appears to be some suspect decision making in handling this operation.  I teach in a Cirrus that if an oil light comes on, given that a pilot has some altitude to work with, it is a better option to physically shut the engine down, leaving control of the situation in the pilot’s hands.  This way, the pilot knows when the engine is stopping and is prepared for it, instead of the engine acting erratically and causing problems on the descent.

    After checking the engine gauges and shutting the engine down, a pilot should establish best glide first, not nose down and descend at a high rate trying to make an airport.  Best glide gives the pilot many more options and a lot more altitude to work with, further allowing him/her to plan how to make an airport directly underneath the airplane.

    To pontificate, it seems that if the pilot had adjusted the plane to best glide, instead of performing an emergency descent, there is the possibility that Drake Field would have been reachable, the chute would not have been needed, and the driver of the truck would not have had to visit the hospital.  Hindsight is 20-20, but this may be an overall training and decision making issue that may need further emphasis.

    The initial NTSB report as well as a link to the CBS story is below.

    http://www.cbsnews.com/live/video/pilot-forced-to-deploy-emergency-parachute-in-arkansas/

    NTSB Identification: CEN16LA026
    14 CFR Part 91: General Aviation
    Accident occurred Tuesday, November 03, 2015 in Fayetteville, AR
    Aircraft: CIRRUS DESIGN CORP SR22T, registration: N857SW
    Injuries: 3 Minor, 1 Uninjured.
    This is preliminary information, subject to change, and may contain errors. Any errors in this report will be corrected when the final report has been completed. NTSB investigators may not have traveled in support of this investigation and used data provided by various sources to prepare this aircraft accident report.
    On November 3, 2015, at 0950 central standard time, a Cirrus SR22T airplane, N857SW, descended under the canopy of the cirrus airframe parachute system (CAPS) and landed on a road in Fayetteville, Arkansas. The pilot, pilot rated passenger and one person on the ground received minor injuries. One passenger in the back right seat was uninjured. The airplane was substantially damaged. The airplane was registered to WG Aviation LLC, Rogers, Arkansas, and operated by a private individual under the provisions of 14 Code of Federal Regulations Part 91 as a personal flight. Visual meteorological conditions prevailed at the time of the accident and an instrument flight rules (IFR) flight plan was filed. The flight departed from the Bentonville Municipal Airport (VBT), Bentonville, Arkansas, at 0934 and was en route to the Waco Regional Airport (ACT), Waco, Texas.

    According to the pilot, after departure from ACT he leveled off around 10,000 ft mean sea level (MSL) and was in “VFR on top” conditions. The pilot noticed that the crew alerting system (CAS) flashed a yellow caution light for oil pressure; the engine was still producing power. The pilot notified air traffic control (ATC) of the issue and received vectors to the nearest airport, Drake Field Airport (FYV), Fayetteville, Arkansas. The pilot descended and maneuvered toward FYV as the CAS indicated a red warning light for oil pressure, which had dropped below 10 psi. The engine was producing inconsistent power as the airplane descended to 3,300 ft and FYV was still not in sight due to cloud coverage. The pilot was unable to maintain altitude and the airplane’s stall warning horned sounded. The pilot deployed the Cirrus airframe parachute system (CAPS) and descended to the ground. During the landing the airplane collided with a truck and then came to rest on a four lane road.

    At 0953, the weather observation at FYV reported wind from 190 at 9 knots, gusting to 17 knots, 10 miles visibility, clear sky, temperature 61° F, dew point 57° F, and altimeter setting 30.11 inches of mercury.

    An initial postaccident examination was conducted on November 4, 2015, in Fayetteville. Engine oil was observed on the underside of the fuselage. The oil cooler cross fitting was broken and oil was observed in the engine compartment.

    The airplane’s recoverable data module and three data cards were removed and sent to the NTSB Vehicle Recorders Laboratory for download.

    The airplane has been retained for further examination.

  • Upgrading Avionics

    There are many different ways to upgrade an instrument panel.  Putting in a 696 here, a JPI engine monitoring system there, even an Electronic HSI.  But, if you want to swing for the fences and get a serious upgrade, you have to go for a complete glass instrument panel.  For good measure, you might as well throw in a touch screen GPS while you are at it.

    Which panel to go with?  There are two mainstream options (Garmin and Aspen) and a handful of other companies that make glass panel replacements (Avidyne being one, King for a short period of time at the end of the last decade being another with the KFD 840).  Around 2010, there were a lot of companies trying to get into the glass panel retrofit game, but many of the products didn’t gain a whole lot of popularity, leaving Garmin and Aspen at the top of the heap.

    What about the touch screen GPS market?  Garmin has this pretty much cornered as well, with Avidyne and King just getting into the game.  The gap between Garmin’s GTN series and Avidyne and King is pretty wide.

    Garmin GTN Series

    The answer is pretty easy when it comes to the GPS (go with Garmin!), but not so easy when it comes to the panel.  The G500 and the Aspen Evolution series are both excellent interfaces with strong reliability, so which one do you go with?  Feature-wise, both have a lot of the same features: traffic, weather, terrain, synthetic vision, to name a few.  The presentation for each feature is a little different between the two interfaces.  It just depends on what you like better.

    The nice thing about the Aspen system is you can go glass, but you have options on how much glass you want:  1 screen, 2 screens, or 3 screens?  With the single screen PFD, you have all your instrumentation, traffic, weather, and optional synthetic vision.  You don’t need the synthetic vision for the traffic and weather, as it shows up behind your HSI.  It is an honest to goodness glass panel retrofit.

    When you decide to upgrade to 2 screens, this is where Aspen has a leg up.  The second screen is a completely redundant PFD and, if you get the 2 hour emergency backup battery installed, acts as the backup instrumentation to the main PFD.  This means you can take out the old steam gauge standby instruments.  This helps clean the panel up.

    I personally don’t see the need for 3 screens, but maybe there is someone out there who needs it.

    One selling point that Aspen has over Garmin is the wide variety of autopilots and GPS units that Aspen units are compatible with.  The G500 is only compatible with King autopilots, it’s own GFC 700 autopilot (which would be a retrofit), some Collins autopilots, and the Century 21, 31, 41, and 2000.  This does cover a wide array of autopilots, but it keeps some on the outside.  Aspen, on the other hand, is compatible with most autopilots on the market.

    Finally, let’s talk price.  Going with an Aspen EFD 1000 PFD (this is the single screen Aspen) will run you somewhere in the area of $12,000.  The price will vary based on the shop and the airplane.  When you want to add a screen, it’s an additional $6,000.  This is for the base, so if you want to add weather or synthetic vision, it’ll run you a little more.

    The Garmin G500 comes in around $20,000, again depending on the shop and the airplane.  The screens are bigger on the G500, which is kind of nice, and you are buying a Garmin product, which has a fabulous track record in the aviation industry.

    Decisions, decisions.  There really is no wrong answer here.  Both are excellent products with very good track records.  Both have really nice features and don’t hardly fail.  Really, the choice comes down to what you want.

    Need training on your upgraded GPS or glass panel retrofit?  Contact Texas Top Aviation for thorough training on your new avionics today.

  • Garmin G1000 Updates

    You have just received the keys of your shiny new (to you) airplane complete with a beautiful Garmin G1000 glass panel flight deck. Synthetic Vision, WAAS, and ADS-B are all installed. You are ready to cruise in high technology.

    You turn on the PFD and MFD and notice one problem. All your databases are expired. No big deal, right? Your Garmin 530W was easy as pie to update with it’s single data card.

    You start looking around and can’t find the data card. Then you notice that there are several SD cards in slots on the panels. SD cards won’t fit in your Blue Jepp Skybound card reader. Confusion sets in which quickly leads to full on panic.

    What have you gotten yourself into?!

    No need to fear, Texas Top Aviation is here to help with your Garmin G1000 database update confusion (and hopefully not panic).

    Database Update Providers

    First, you have to choose who to get your Garmin G1000 updates from. You have two options. One is Garmin (fly.garmin.com; always use either Firefox or Chrome to update, don’t use Safari). The other is Jeppesen.

    Honestly, there is no difference between the data that each provides. If you had a 530 or 430 before, you used Jepp already. Just keep the Jepp account, call them, and have them get you set up for your Garmin G1000 updates.

    If you didn’t have a Jepp account before, I would use Garmin, for a couple of reasons. You get multiple downloads in case you mess something up (Jepp NavData gives 1 download per month, while Safe Taxi, etc. you get 2-3). On Jepp, you have to call in and have them reset the account, which can be a pain if it’s after hours or a Saturday or Sunday.

    The other problem with Jepp is since Boeing bought Jeppesen, I have found it extremely difficult to find online where to set up a new account and purchase databases. Yes, you can always call, but, again, problematic after hours or on a weekend.

    The only problem with Fly Garmin for your Garmin G1000 updates is Garmin is constantly updating their program. You have to update their downloader quite often, which can be a bit frustrating.

    I’m going to use Fly Garmin as my example.

    What to Buy

    Garmin gives you a couple of different bundle options for your Garmin G1000 updates, the OnePak and the PilotPak. The main difference between the two is the PilotPak includes approach charts that display on your PFD and the OnePak doesn’t. Therefore, the OnePak is about $200 cheaper.

    Both include Navigation Data, SafeTaxi, Obstacles, Airport Directory, Terrain, and the BaseMap.

    How to Update

    Once you have followed all the instructions on Garmin’s website (or gotten Jeppesen set up), here is what to put on which SD card.

    NOTE: YOU WILL NEED TO PURCHASE ONE OR TWO BLANK SD CARDS FOR THE NAVIGATION DATABASES. DO NOT PUT THE NAVIGATION DATA ON THE SD CARD THAT IS ALREADY IN THE TOP SLOT ON THE MFD. THAT IS FOR ENGINE DATA LOGGING ONLY. NO NAVIGATION DATA SHOULD EVER BE PUT THAT ON THAT CARD.

    Bottom Card, PFD

    • SafeTaxi
    • Obstacles

    Bottom Card, MFD

    • SafeTaxi
    • Obstacles
    • Airport Directory
    • Flite Charts

    Top Card, PFD & MFD (This is the new blank SD card(s) you bought)

    NOTE: REMOVE THE TOP SD CARD IN THE MFD THAT IS ALREADY IN THE SLOT AND DON’T PUT ANY DATABASE INFORMATION ON IT.

    • Navigation Data

    Garmin G1000 NXi Users (or Cirrus Perspective + Users)

    Ignore everything above and put all databases on the bottom card of the MFD. You have database sync, so you don’t have to mess with multiple cards. When you do an update though, go to the AUX chapter on the MFD and scroll down to the Databases page. Ensure that all dates match what you just put on the SD Card.


    For you Jeppesen users, check out the new Bad Elf Wombat updater that works with the iPad JDM app for updates.

  • The Go Around Button

    Back in the old days, when flying an approach in an early Cirrus SR22 (circa 2004; yes, in airplane technology, those were the old days), performing a missed approach procedure was a lot of work.  You were low to the ground and weren’t able to see the runway.  Then, you had to start climbing so you don’t hit the ground, then push a lot of buttons in order to get the GPS and autopilot set fly the missed approach procedure.  It was very easy to get distracted with button pushing, then forget to fly the airplane, putting yourself and passengers in very unsafe circumstances.  The go around button has changed all that.

    Going Missed the Old Fashioned Way

    Let’s stick with our example of the 2004 Cirrus.  The SR22 in 2004 was equipped with the Avidyne Entegra system, complete with dual Garmin 430 GPS units, and an STEC 55x Autopilot.  A very capable IFR flying machine (we could use the same example of a 2004 or 2005 Lancair Columbia 350 or 400 that was equipped the same way, except the screens were vertical instead of horizontal).

    Avidyne Cirrus Go Around Button

    We’ll use the ILS 15 at the Temple airport, KTPL, for our example.  You pass TPL, the outer marker at 1,683 with the glide slope already centered.  Everything is going well so far.  The number 1 Garmin 430 is set to VLOC and the autopilot is showing NAV and APR for the lateral guidance and GS on the vertical, tracking the glide slope.  The last weather report stated the clouds were Broken at 500 feet, so it appears like you’ll be able to get in on the approach.

    As you get closer to the Decision Altitude, the clouds aren’t letting up at all.  You hit 1,000 feet on your altimeter, 120 feet above the minimums, and you still can’t see a thing.  Another 100 feet lower doesn’t change anything, so you elect to proceed with the missed approach.  This means things are about to get busy.

    Here’s the process:

    • Fly the airplane first, meaning shut off the autopilot, pitch the nose up to about 7 degrees, TRIM, add full power, retract the flaps, and step on the right rudder
    • The Garmin 430 is now in SUSP mode, meaning the missed approach point is locked in as the active waypoint.  So, you have to press the OBS button to cause the GPS to cycle over to the missed approach procedure
    • You have to press the VLOC button on the Garmin 430 in order to change the CDI back to GPS
    • You have to re-engage the autopilot by pressing NAV twice (which engages GPS Steering mode)
    • You have to reset your altitude bug (if you hadn’t set it for the missed approach altitude previously)
    • You have to press VS and ALT on your autopilot to have the STEC continue the climb

    That’s a lot of work, isn’t it?  Plus, that’s an extensive amount of head down time in the cockpit, with your eyes looking elsewhere other than the instruments while hand flying.  All very low to the ground, I might add.  Can you see how this can be dangerous?  (Note:  The Avidyne IFD 550 has made this a little easier with automatically switching from VLOC to GPS and automatically engaging the missed approach procedure in the flight plan)

    The advent of the Go Around Button has streamlined the process, leading to safer operations where it matters most.  The functions of the Go Around Button vary based on the airplane, but here are three examples, the Garmin G1000 Cessna Corvalis TT, the Garmin G1000 Piper Mirage, and the Garmin Perspective Cirrus SR22.

    Cessna Corvalis TT

    We’ll take the above situation and swap out the airplanes.  Gone is the 2004 Cirrus SR22.  Insert a 2008 Cessna Corvalis TT, equipped with the Garmin G1000 suite and the GFC 700 autopilot.  The go around button is positioned directly above the twist in throttle.

    Cessna Corvalis G1000 Go Around Button

    When you push the Go Around Button, here’s what the system does:

    • Disconnects the Autopilot
    • Sets the Flight Director for 7.5 degrees pitch up (which is about your normal climb angle) and wings level
    • Switches the CDI back to GPS
    • Takes the GPS out of SUSP mode and cycles the flight plan to the first waypoint on the missed approach procedure

    Here’s what you have to do:

    • Follow the flight director by pitching the nose up and TRIM
    • Add full mixture, prop and throttle (prop & throttle should be full already)
    • Retract the flaps
    • Step on the right rudder
    • Re-engage the autopilot, then press NAV and VS (or FLC) and set your altitude bug if it isn’t already set

    Not too bad, eh?  Makes the whole situation streamlined and safer.

    Piper PA46-350P Mirage

    Same situation, different airplane.  You’ll notice the procedure for the Piper Mirage is almost exactly the same as the  Corvalis procedure.  The difference between the two airplanes is where the autopilot controller is.  In the Corvalis, the autopilot controller is positioned on the left side of the MFD, making it easy to scan back and forth while pushing buttons on the autopilot.

    The Piper Mirage autopilot controller is positioned below both screens and in front of the power quadrant. With this positioning, the pilot’s eyes have to go a lot further to see which autopilot button he is pushing. In this case, it becomes very important to get the airplane climbing and trimmed before going down to engage the autopilot.

    As in the Corvalis, here is what the Go Around button does:

    • Disconnects the Autopilot
    • Sets the Flight Director for 7.5 degrees pitch up (which is about your normal climb angle) and wings level
    • Switches the CDI back to GPS
    • Takes the GPS out of SUSP mode and cycles the flight plan to the first waypoint on the missed approach procedure

    And here’s what you have to do:

    • Follow the flight director by pitching the nose up, then TRIM
    • Add full mixture, prop and throttle (prop & throttle should be full already)
    • Retract the flaps
    • Step on the right rudder
    • Re-engage the autopilot, then press NAV and VS (or FLC) and set your altitude bug if it isn’t already set

    Cirrus SR22

    Cirrus Perspective Go Around Button

    This time, we’ll use the 2010 Cirrus SR22T with the Garmin Perspective and GFC 700 Autopilot. One thing I really like about how Cirrus configured their system is where the Go Around button is.  It’s actually on the throttle itself, making it much more intuitive.  This way, you can press the Go Around button while adding full throttle.

    There is one major difference between the Garmin Perspective in the Cirrus and the G1000 in the Corvalis. When you press the Go Around button in the Cirrus, the autopilot actually stays on.

    Here’s what happens when you press the Go Around button in the Cirrus:

    • Flight Director pitches to 7.5 degrees pitch up and wings level
    • AP Mode switches to Go Around mode, following the flight director
    • GPS comes out of SUSP mode
    • CDI switches back to GPS

    All the pilot really has to do is add power, take the flaps up, then press NAV on the GFC 700 to get the autopilot following the missed approach procedure.

    If you aren’t familiar with the Go Around button or haven’t used the one in your plane lately, it’s good to go up with a knowledgeable instructor and fly a couple of approaches where you perform the published missed approach afterward.  That way, he or she can assist you through the first missed approach, then give you pointers until  you get comfortable with the Go Around button.

Leave a Reply

Your email address will not be published. Required fields are marked *