The Garmin Perspective and Perspective + are awesome pieces of equipment. There is so much a pilot can do with this system that it can sometimes get overwhelming. There are two very important features of the Garmin Perspective that all IFR pilots need to know, but are tricky to do if the correct buttons aren’t pushed.
The two features of the Garmin Perspective I want to focus on today are the “Load Airway” feature and the “Hold at Waypoint” feature. The “Load Airway” feature is especially handy when flying IFR long distances with several airways as part of the clearance. Here’s how to utilize both on the Garmin Perspective.
Load Airway
On your flight plan page, insert the waypoint where you will be joining the airway, or, if your clearance was radar vectors to join an airway, then insert the waypoint on the airway that begins the leg you will be joining on
Press the Menu key on the keypad
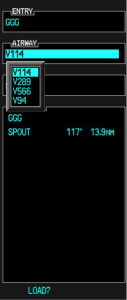
A menu will pop up. Scroll down to highlight Load Airway
Highlight the Airway you want from the next menu that pops up then press Enter
Then, a list of waypoints will display to exit the airway. Highlight the waypoint where you will be exiting the airway and Press Enter
The cursor will then move down to Load at the bottom of the menu. Press Enter to load the airway
The Airway and all the waypoints in between your entry and exit waypoints appear in your flight plan
If you are getting vectors to join the airway, you’ll need to use the Activate Leg function to activate the leg you will be joining the airway on
On the Flight Plan page, highlight the waypoint that ends the leg you want to activate
Look for the ACT LEG soft key on the lower right hand side of the MFD and press
This Activates the leg on the airway. Then, just simply fly the heading assigned by ATC until the CDI needle centers showing you are on the airway
Hold At Waypoint
The Garmin Perspective allows pilots to place a holding pattern at any waypoint that is in the Nav Database (or any user created waypoint). Here’s how to do it.
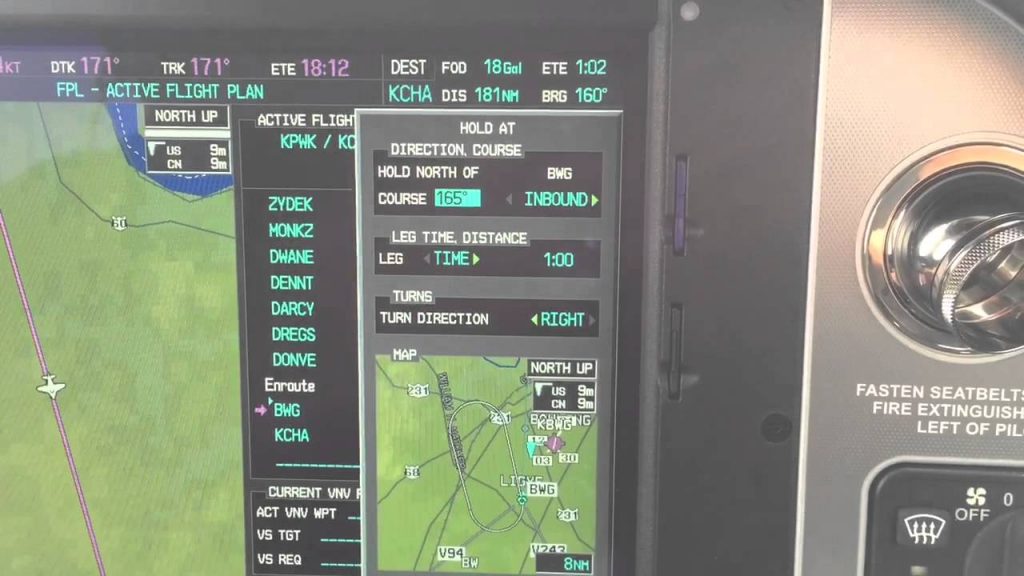
On the Flight Plan page, highlight the Waypoint that you want to hold over and press Menu on the keypad
On the menu that pops up, highlight Hold At Waypoint and press Enter
On the next menu that pops up, input either the inbound or outbound course, right or left turns, leg time or distance, and the EFC time, then highlight Load and press Enter
You will see the hold now as a Waypoint in your flight plan
Four things moved this market between July and the end of September, and each one changes the arithmetic on what your airplane is worth today. Inventory is thinner than it was a year ago and has stopped draining. Asking values have split. The Fed raised rates and has penciled in one more increase for December. And the FAA ended single-pilot operation in the legacy Citations. Here is the short version, and what I would do about it before December 31.
The short version
Turboprop inventory is running about 12% under last year, and the field stopped shrinking in September.
Piston asking values are still giving back. Turbine asking values have turned up.
The federal funds rate is 3.75–4.00%, with one more quarter-point increase projected for December.
The FAA rescinded the legacy Citation single-pilot exemptions on September 29, with no wind-down.
Accepted offer to closing runs 30 to 45 days. To close before December 31 you need an offer accepted by about November 15 — which means listing by October 31.
Inventory is thin, and it stopped draining
In September, used single-engine piston inventory in the U.S. and Canada was down 12.2% against last year. Turboprops were down 12.0% worldwide. Jets were down 23.6%, with the large-cabin end off 39.8%. The field your airplane competes against is smaller than it was a year ago.
The monthly direction is the other half. Piston inventory was flat in September, turboprops rose 3.5% and jets rose 5.1% — the second month running that inventory added rather than drained. So the field is thin by the standard of a year ago, and it is no longer getting thinner.
Asking values have split
The three categories stopped moving together. Piston singles fell 0.74% on the month and are down 2.36% against last year. Turboprops rose 0.22% on the month and are up 0.57% on the year. Jets rose 2.02% on the month and are up 0.71%, led by the super-mids at plus 5.29%.
Asking prices are not values, and I will keep saying that. What they give you is the leading edge — VREF and the closed comps follow a quarter or two behind. Right now that edge says the turbine market has turned the corner and the piston market has not.
Rates went up, and may go again in December
On September 16 the Federal Open Market Committee raised the federal funds rate a quarter point, to 3.75–4.00% — the first increase since 2023, on a unanimous vote. The Committee’s own projections point to one more quarter-point increase in December. A financed buyer’s payment is higher than it was in the spring, and his offer reflects it.
The FAA ended single-pilot flying in the legacy Citations
On September 28 the FAA published a policy change rescinding the training-provider exemptions that let a single pilot fly the transport-category Citations. Effective September 29, no wind-down. Thirteen of the fourteen exemption holders reviewed were rescinded or denied renewal.
It catches the two-crew airframes: the 500, 550, S550, 552, 560, 550 Bravo, 560 Encore and Encore+. It does not touch the 501, the 551, the CJ/525 family, the Mustang, or any turboprop.
A large share of those airplanes are owner-flown. That owner now hires a second pilot for every leg, or he stops flying. NBAA and Citation Jet Pilots asked for a 90-day pause on September 29. No answer yet.
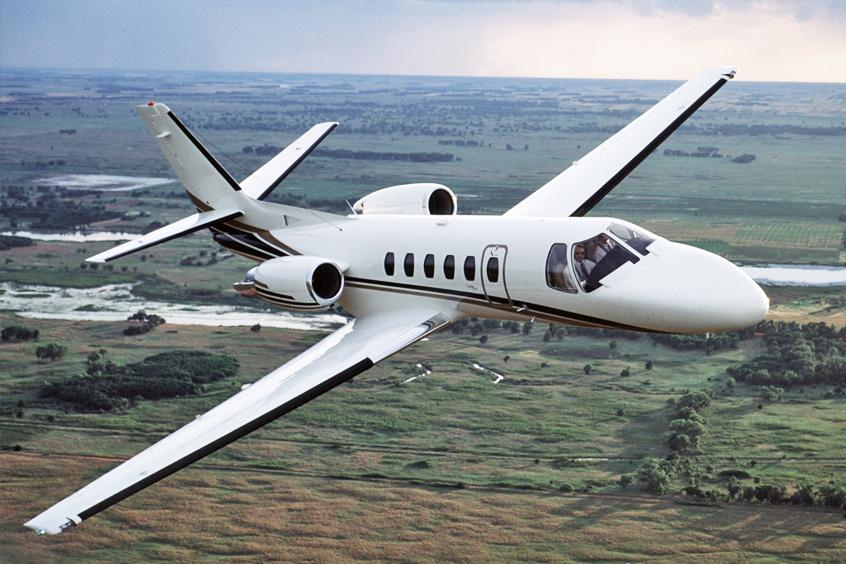
The 500-series Citations. The single-pilot exemption ended September 29, with no wind-down.
Why single-engine turboprops gain from it
The demand moves, it does not disappear. The owner-pilot still wants to fly himself, and what he can legally fly is a short list: the CJ family, the Vision Jet, and the single-pilot turbines — TBM, M500, M600, M700, PC-12, JetProp. Those are legal single-pilot by type certificate, not by exemption.
The budgets line up. A clean legacy Citation’s price buys a strong TBM or a good PC-12, so these buyers arrive at the top of the turboprop market, where supply is thinnest and inventory is already 12% under last year.
Expect it in the leading indicators first — inquiries, showings, days on market — with price following a quarter or two behind.
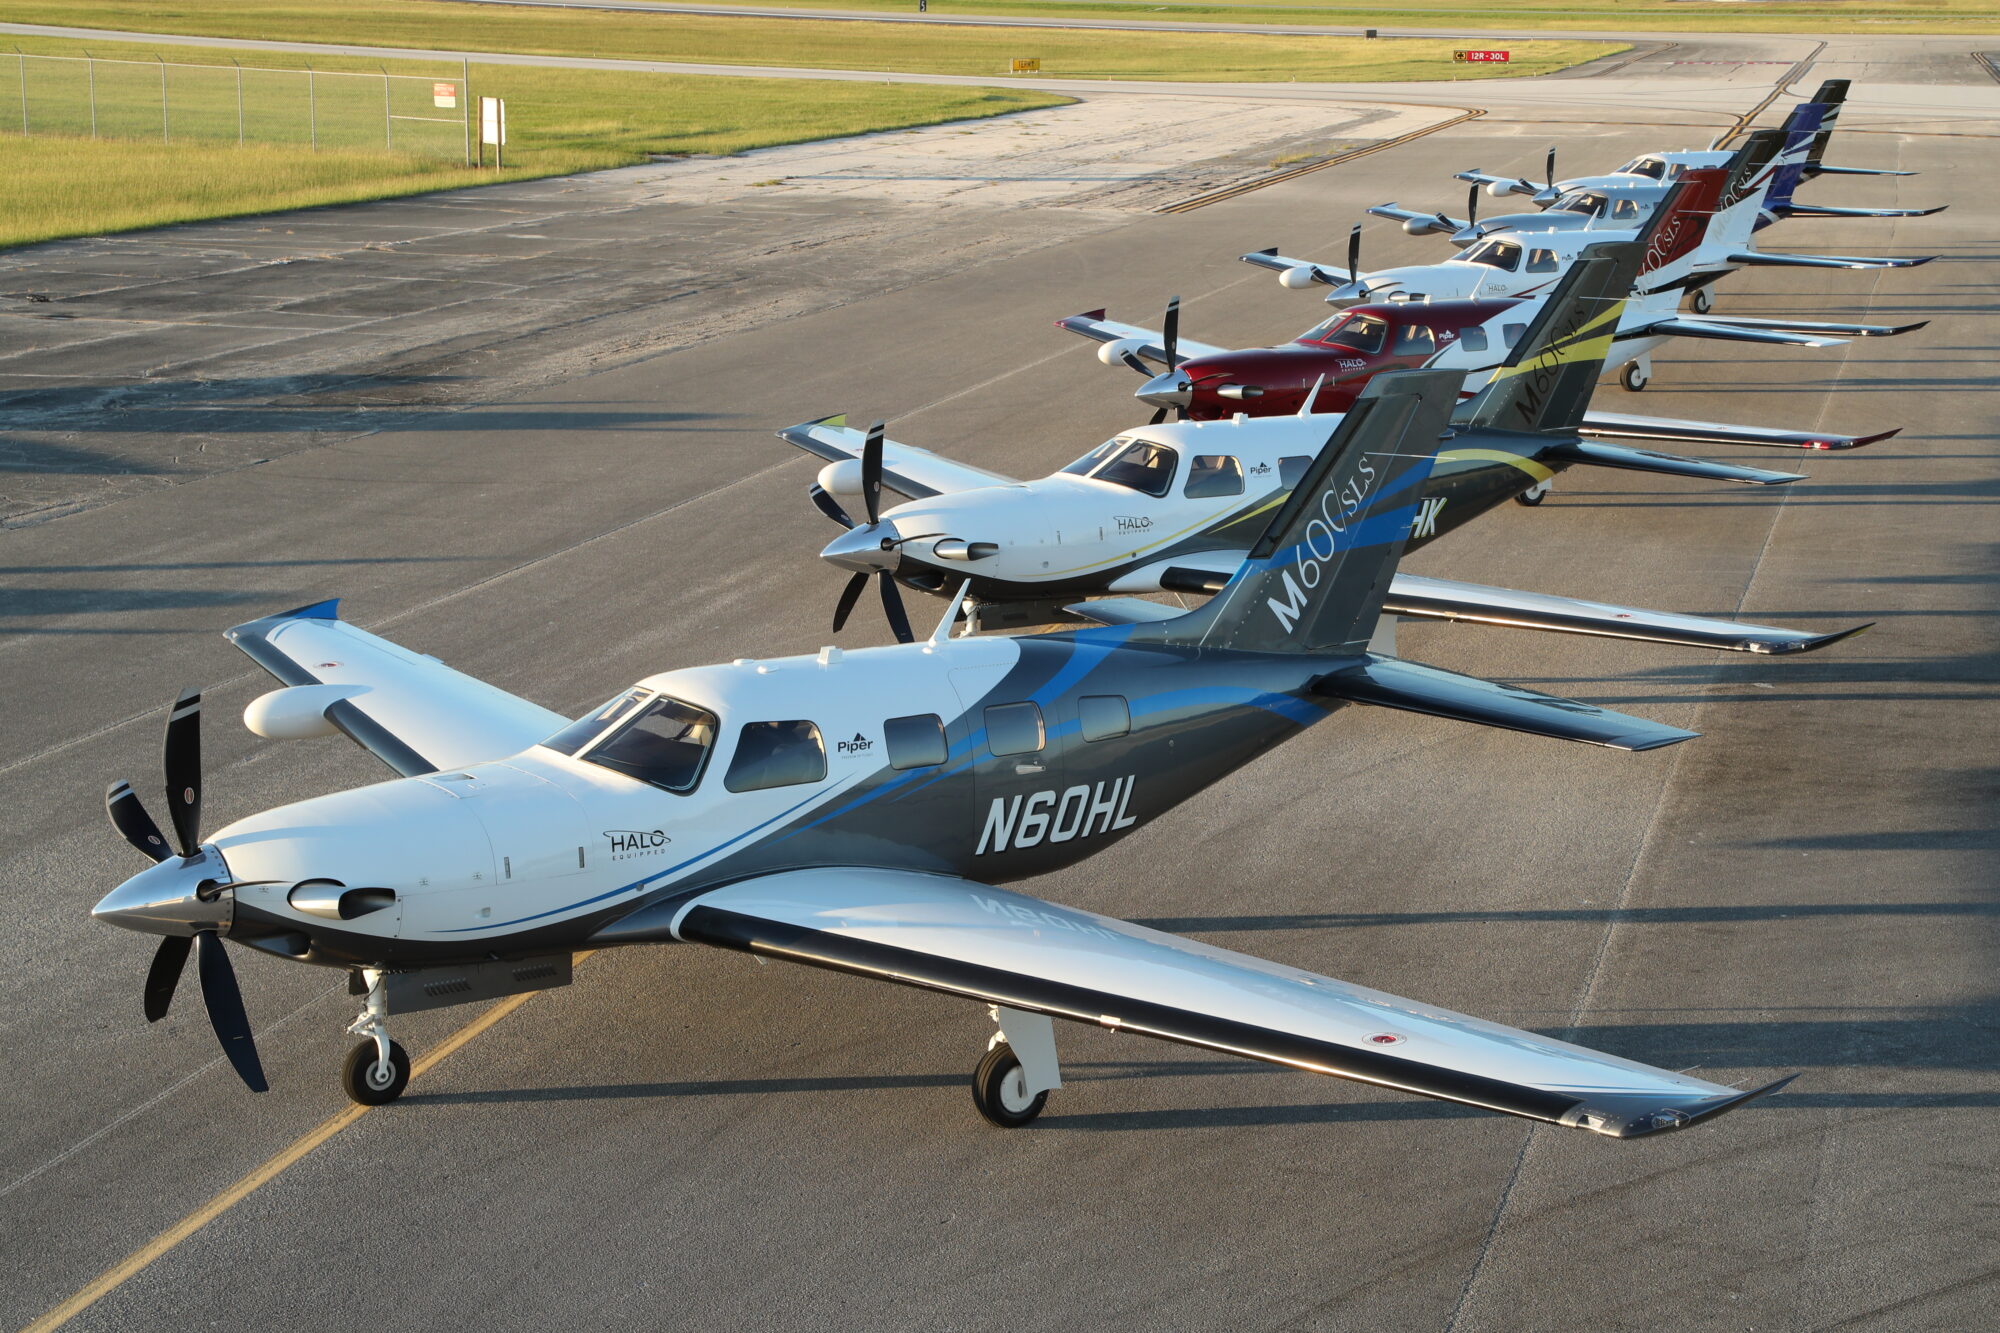
The single-pilot turbines are where the displaced Citation owner-pilots can legally land.
The number that should drive your decision
Our airplanes went from listing to closing in a median of 98 days last year. This year that median is 178 days, an 81% increase. Buyers take longer, financing takes longer, pre-buys are more thorough.
At that pace an airplane listed today closes in March, not December. The year-end buyer is the exception — he is working to a December 31 placed-in-service deadline and moves far faster than the median.
Work the calendar backwards from that deadline. From an accepted offer, 30 to 45 days covers scheduling the prebuy, the inspection itself, the acceptance window and then escrow and title. To close before December 31 the offer has to be accepted by about November 15. To have an offer in hand by then, the airplane needs to be in front of buyers by the end of October. That is the whole reason for the date.
Our closings this year came in a median of 4.8% under the ask the airplane carried when it sold, and 7.1% under its original list price. We reduce the ask; we do not haggle.
On the fence about selling? List by October 31
If you own a Meridian, M500, M600, JetProp, TBM, Epic, PC-12 or Vision Jet and you have been going back and forth, here is the case for the next three weeks.
The buyers are shopping now. The displaced Citation owner-pilots are working through their options this quarter, and what they can legally fly is close to that list. An October listing puts your airplane in front of them while the field is thin. A March listing puts it in the spring wave, beside every other owner who had the same idea over the winter.
We took a full-price offer on one of our single-engine turboprops after a week on the market.
The call is yours. The calendar is the part that is not negotiable.
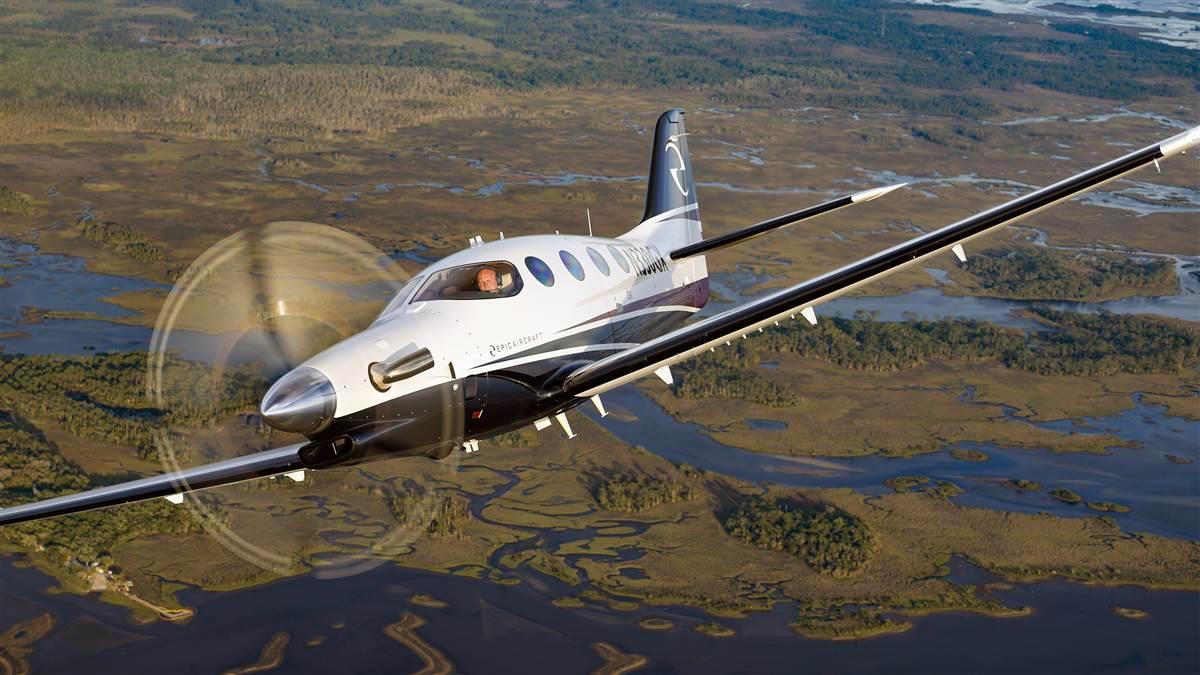
The Epic E1000, one of the eight types a year-end buyer is shopping right now.
So the Word became human and made his home among us. He was full of unfailing love and faithfulness. And we have seen his glory, the glory of the Father’s one and only Son (John 1:14).
From the Texas Top Aviation family (Hank, Kelsey, Everett, Cooper, and Cord) to your family, we wish you a Merry Christmas! We are thankful for how the Lord has blessed us this year. We pray for blessings on your family this coming year.
We spend time training for them, but real-world emergencies are rare enough that it’s easy to get complacent. They don’t always happen to “other pilots,” though, and preparation can make a big difference when things don’t go as planned:
• What if you lose 500 rpm during takeoff, but the engine is running smoothly?
• What if the ammeter drops to zero during a flight in IMC?
• What if your left aileron develops a strong vibration in flight?
Our new seminar is full of expert tips on handling those “up here, but wishing you were down there” scenarios. We focus on how to keep abnormal situations from becoming full-blown emergencies, offer advice on keeping critical problems under control, and give our best advice on off-airport landings.
Find an AOPA Emergency Seminar near you!
Monday January 11, 2016-The Woodlands Waterway, 7pm-9pm
1601 Lake Robbins Drive, The Woodlands, TX 77380
Tuesday January 12, 2016-Wyndham Houston West, 7pm-9pm
14703 Park Row Blvd., Houston, TX 77079
Wednesday January 13, 2016, Holiday Inn San Antonio Airport, 7pm-9pm
77 NE Loop 410, San Antonio, TX 78216
Thursday January 14, 2016, Omni Austin Hotel at Southwark, 7pm-9pm
Ah, fall is finally here. In Texas, it arrived about a month late, but showed up with a vengeance. A strong cold front caused a 40 degree temperature drop in 12 hours earlier this week, bringing rain, lower freezing levels, and lots of wind.
Fall means cooler temps, but fall also means less light. The sun begins to set sooner, plus the fall back time change in November cause darkness to spring upon an unaware pilot.
Before getting in to too many night landings tips, just a friendly reminder, passengers can only be carried at night if the PIC has completed 3 takeoffs and landings to a full stop in the last 90 days during the time period of 1 hour after sunset to 1 hour before sunrise.
Lots of us have been landing long before sunset for most of the past couple of months, so those night flying skills might be a little rusty. The best way to remedy night flying rustiness? Call an instructor and go get some practice.
In the meantime, here are some tips as to what to expect for your next night flying experience.
Your Eyes Are Very Important. This may seem like an obvious statement, but night vision can be affected by many things. Before you takeoff, you want to make sure you can see in the dark. The FAA recommends no bright lights 30 minutes prior to takeoff. They also recommend using oxygen at night as this greatly improves night vision, even at low altitudes. Use off center viewing to help spot traffic or other objects in the air. Finally, when preflighting, use a red flashlight as much as possible, but if you do have to use a white light, close one eye to keep one eye from being blinded.
Utilize Approach Lights onLanding. Night landings are very different then day landings. It is very difficult to get the proper depth perception, not too mention see obstacles below you on your final approach to a runway. PAPI’s, VASI’s, and instrument approach glide slope’s become very important. If you are VFR only pilot, if your airport has a PAPI or a VASI, keep 2 white and 2 red (or 1 white and 1 red) lights. If you see 3 red (or 2 red), climb. If you see 4 red, definitely climb. If you are an IFR pilot, I highly recommend always flying an approach at night. What if your airport doesn’t have a PAPI, VASI, or approach with a glide slope? You might not want to utilize it at night. One side note on VFR flight: Clouds are nearly invisible at night. If you do fly into a cloud (a clue is your strobe lights start reflecting back at you), don’t panic. If you have an autopilot, turn it on and execute a 180 degree level turn. If you don’t have an autopilot, start scanning your instruments, keep your attitude indicator blue side up, and make a shallow 180 degree while maintaining altitude. Then call ATC, advise them what happened, and ask for help. One more note: I highly recommend that if a pilot finds that he/she will fly at night at lot, get an instrument rating and fly IFR at night. It’s much safer.
Practice Landings Before Carrying Passengers. The tendency when landing at night is to level off too high before flaring, causing the airplane to bleed off speed and energy too high above the runway. This can lead to a stall, a hard landing, and/or too high of a pitch attitude at touch down causing a tail strike. A good tip is start your level off when you can see the tire marks on the runway. Make sure you practice night landings, preferably with an experienced instructor who is night current and proficient, before carrying any passengers on board, even if you are night current, but haven’t landed at night in a while.
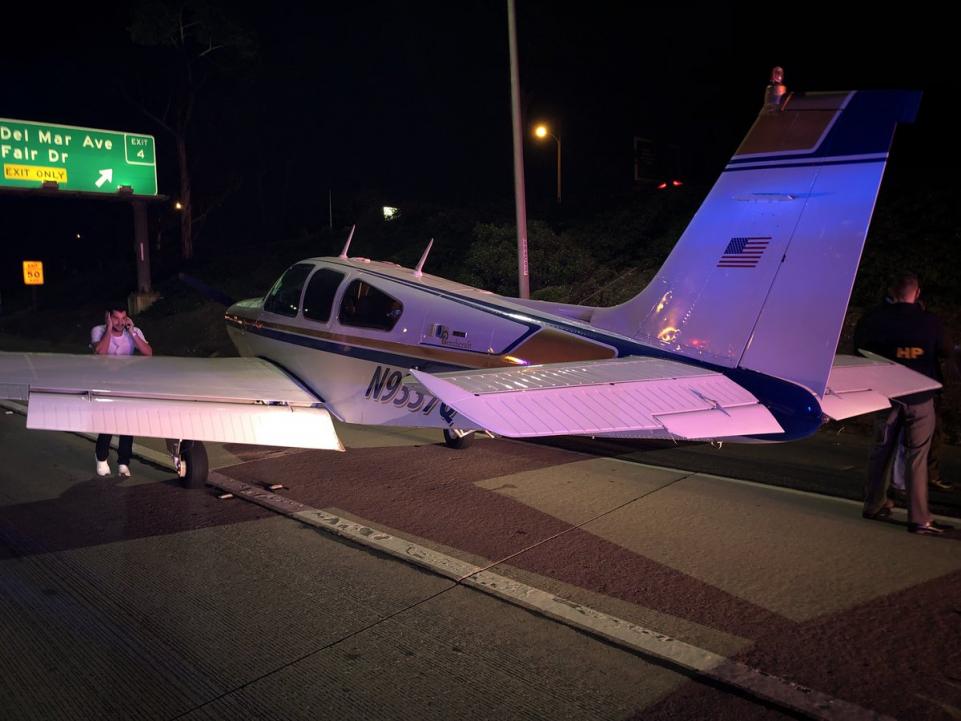
Night Emergencies. For engine failures at night, you are very limited on options. Unless you have a Cirrus equipped with a CAPS parachute system, you really have two options if an airport isn’t within gliding distance. Find a wide, lighted road that appears to be lightly trafficked. A word of caution, though: be careful of light poles, fences, concrete medians, cars, and buildings. The LA freeway would not be a good option (though there are exceptions to this rule as is evidenced by the picture below). The second option is find a dark spot and pray it’s a field (or the Hudson River). As you get closer, you can turn your landing light on to see what the ground looks like. If it looks good, keep the light on and continue. If you don’t like what you see, turn your landing light off and continue….
Flying at night can be the best time of day to fly. It’s usually smoother, cooler, and you get to see all the city lights. It is a very different environment, however, so make sure to get some training before darkness settles in on your next trip.
In the fall of 2021, Garmin announced the long awaited confirmation that the Garmin GFC 600 autopilot is now certified for the Piper Meridian. The Garmin GFC 600 autopilot has been certified for all other types of the Piper PA46 line of aircraft, but the Meridian was last in line. The airplane has to have been manufactured prior to 2009 and have Avidyne avionics, Meggitt, or have been retrofitted with a Garmin G500 (no G1000 aircraft since those already have the GFC 700 autopilot).
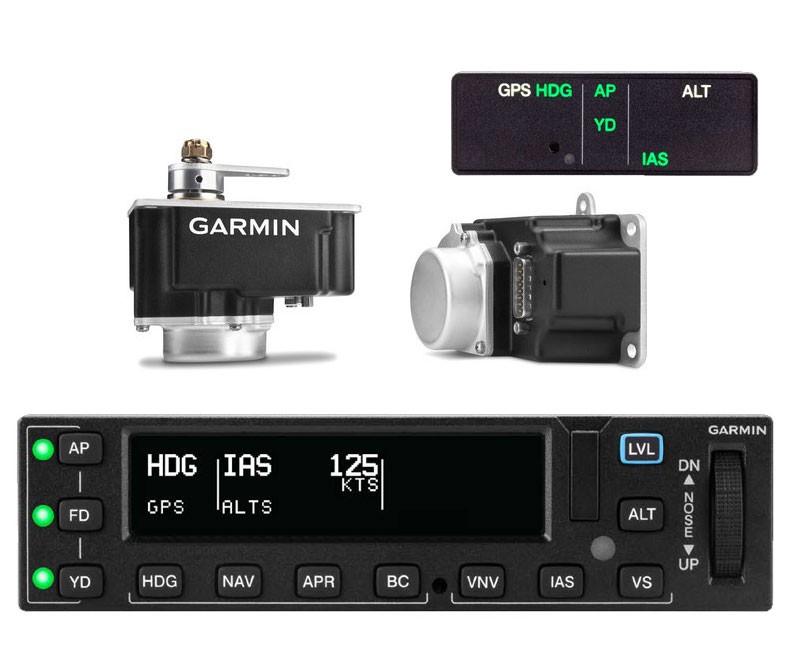
The Garmin GFC 600 autopilot is the ultimate digital autopilot. The integration with the Garmin G500, GTN 750 and GTN 650 units is a beautiful thing. The autopilot communicates with all the heading and altitude bugs, flies approaches smoothly, and even has a level button.
In the latest technological marvel from Garmin, Garmin Safe Glide, the GFC 600 autopilot is critical in reducing pilot workload in an engine failure situation. It flies the airplane for you and takes you to the nearest airport, reducing the stress and allowing the pilot to troubleshoot the situation.
Texas Top Aviation recommends Abilene Aero in Abilene, Texas for any and all avionics installs. They have worked with several of our customers in the last year, are extremely knowledgable and do excellent work. Call them for a quote on a new Garmin GFC 600 autopilot in your Piper Meridian.
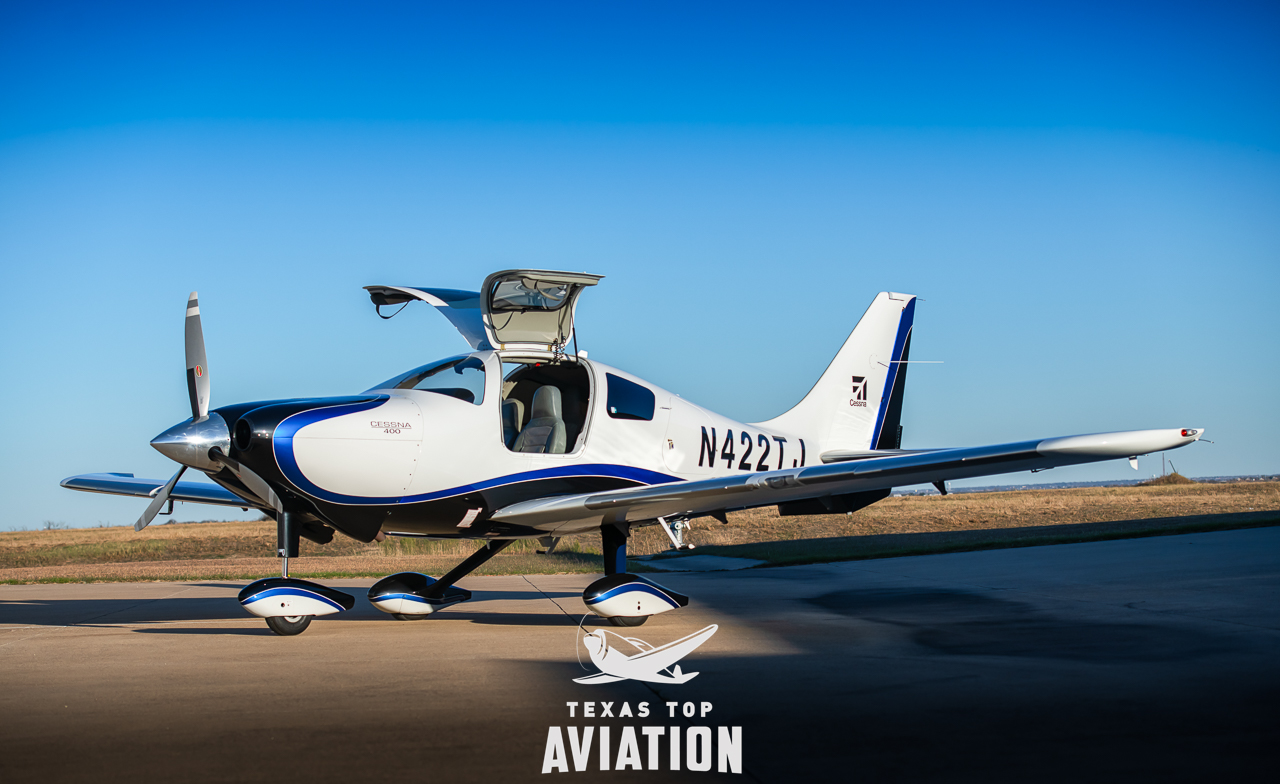
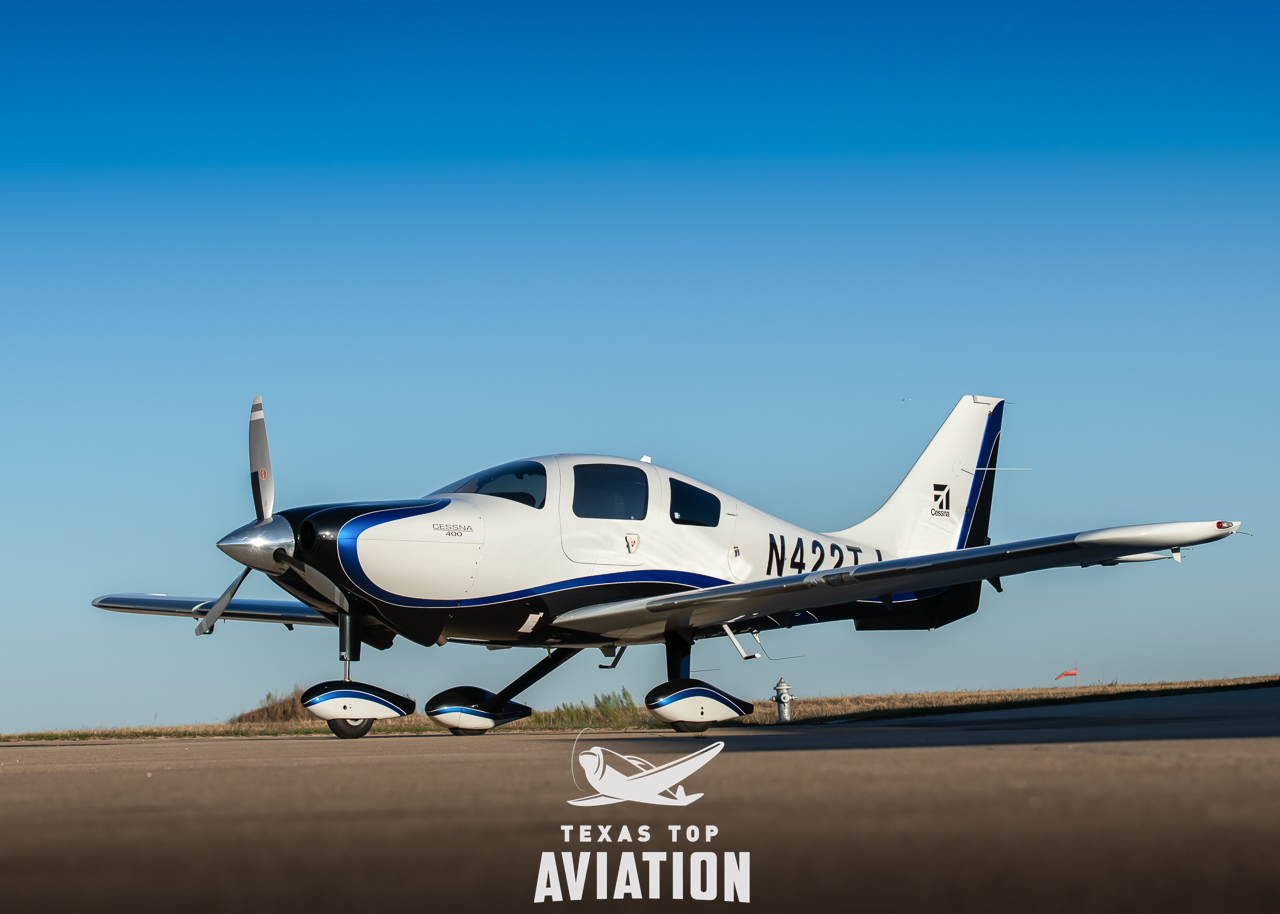
2008 Cessna 400 Corvalis TT (N422TJ) — 235 KTAS and Garmin G1000 glass, priced under a comparable Cirrus.
If you’re weighing a Cessna 400 vs Cirrus, start here. The 2008 Cessna 400 Corvalis TT cruises at 235 knots true — the fastest fixed-gear piston single ever certified. It’s faster than a turbocharged Cirrus on the same fuel and the same class of engine, and it costs less than a comparable SR22T. If you’re shopping a high-performance single for speed and value, N422TJ deserves a hard look.
The Airplane Cirrus Shoppers Overlook
The Cessna 400 is a Lancair design — a clean-sheet, all-composite airframe built to go fast. Cessna certified and refined it, and built N422TJ in 2008. It seats four, carries a real load, and handles weather. Most buyers shopping a high-performance single default to Cirrus, so airplanes like this one get overlooked. That’s where the value is.
Faster on the Same Fuel
The 400’s 235 KTAS is a true max cruise at 25,000 feet on oxygen. A 2011–2012 Cirrus SR22T (Gen 3) trues about 211 KTAS. Both burn 100LL and run turbocharged Continental engines in the same ~310-horsepower class.
That’s about 24 knots up high — roughly 45 minutes off a 1,000-nautical-mile leg — with no bigger engine and no more fuel. And it isn’t only a flight-levels number: at 10,000 feet the 400 still trues about 180 KTAS, roughly 10 knots faster than an SR22T at the same altitude.
Lancair-designed, all-composite, fixed-gear — the airframe that makes 235 knots possible.
The Value Gap
N422TJ is priced at $350,000. A comparable Gen 3 SR22T typically trades between $450,000 and $550,000 used. (A new SR22T is a $1M-plus airplane — not the comparison.) Against the newer turbo Cirrus, that’s roughly $100,000 to $175,000 less for a faster airplane.
N422TJ — no damage history, complete logs since new, Van Bortel-maintained.
Cross-Shopping a Turbonormalized Cirrus SR22
A lot of buyers looking at N422TJ also weigh a Cirrus SR22 with the Tornado Alley turbonormalized engine. It’s a fair comparison — the same ~310-horsepower-class Continental, the same all-composite fixed-gear layout, the same 100LL — so here’s the honest math.
Speed and engine: the turbonormalized SR22 trues around 211 KTAS; the 400 does 235. The 400 also runs a true twin-turbocharged TSIO-550-C, not a turbonormalized system — a true turbo makes boosted power up high, which is a big part of that speed edge.
Avionics and price — 2006–2008: those Cirrus came with the Avidyne Entegra panel. N422TJ’s Garmin G1000 with WAAS and Synthetic Vision is a clear step up — better glass for comparable or less money.
Avionics and price — 2009 and later: Cirrus moved to Garmin Perspective (G1000-class) glass, but the price moved with it. A 2009 SR22 turbonormalized with Perspective typically runs around $400,000 or more — one representative listing is $429,900. N422TJ is $350,000: less money, comparable glass, and 24 knots faster.
The SR22 still brings the CAPS parachute and the Cirrus owner community. But on speed, engine, and price, the Cessna 400 stays ahead.
Metric
Cessna 400 Corvalis TT (N422TJ)
Cirrus SR22T — Gen 3 (2011–2012)
Cirrus SR22 Turbonormalized (2006–2009)
Max cruise (25,000 ft)
235 KTAS
~211 KTAS
~211 KTAS
Cruise at 10,000 ft
~180 KTAS
~170 KTAS
~170 KTAS
Engine
Twin-turbocharged Continental TSIO-550-C (true turbo, ~310 hp class)
Turbocharged Continental (~310 hp class)
Turbonormalized Continental IO-550-N (~310 hp class)
Cessna 400 Corvalis TT vs. Cirrus SR22T (Gen 3) and the turbonormalized SR22. Speeds and prices are typical estimates; verify against the aircraft records and current market.
The fastest fixed-gear piston single ever certified — and it out-runs a turbo Cirrus on the same fuel.
The Avionics You Can’t Buy Anymore
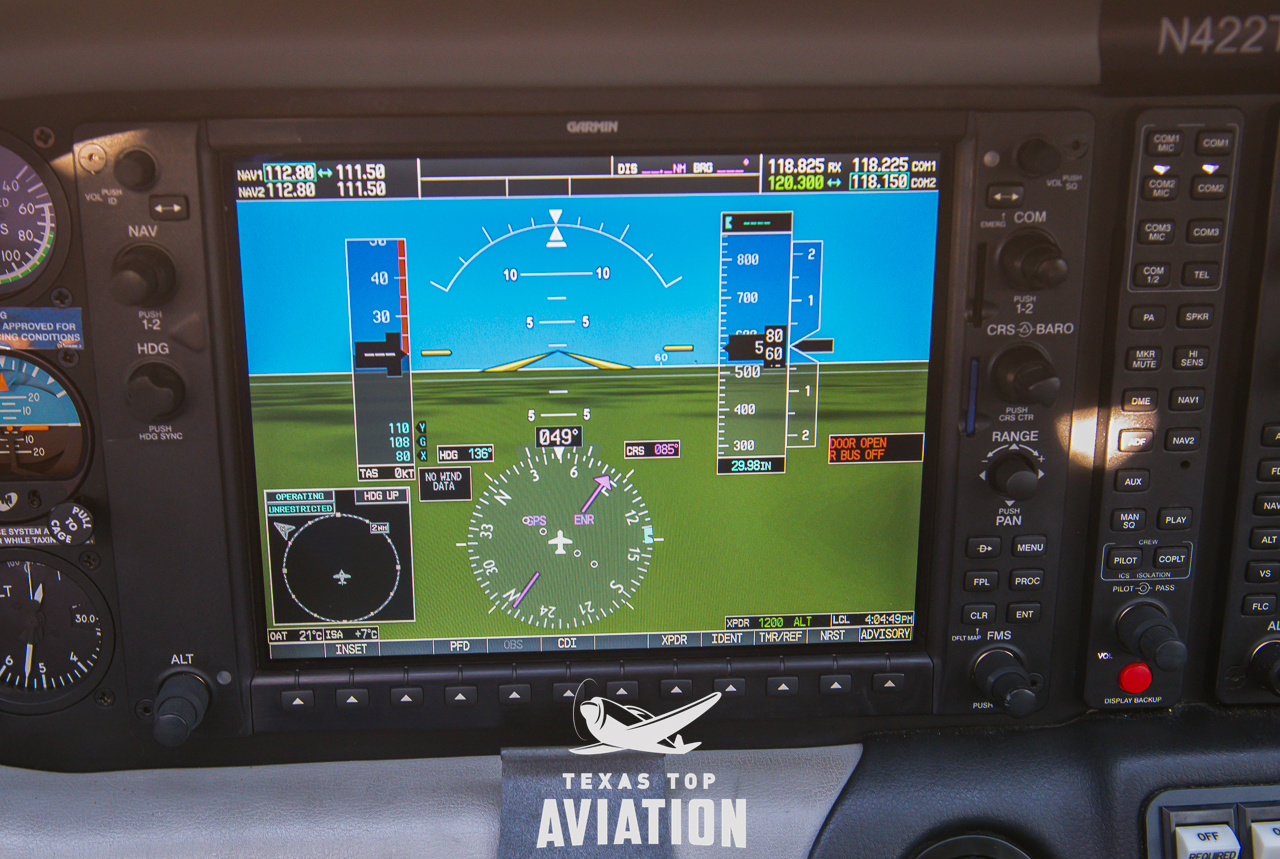
Garmin G1000 with WAAS and Synthetic Vision (SVT) and the GFC-700 autopilot.
N422TJ has a Garmin G1000 with WAAS and Synthetic Vision (SVT) and the GFC-700 autopilot. WAAS gives you LPV approaches — near-ILS precision at runways nationwide.
This matters because the WAAS upgrade path for the G1000 in these airframes is closed. A Cessna 400 that left the factory without WAAS can’t be upgraded — it will never fly an LPV approach. So a WAAS-plus-SVT 400 like this one is a scarce find. You either buy one that has it, or you don’t get it.
Both G1000 displays with synthetic vision — a modern, integrated flight deck.
Built to Actually Go
This airplane is equipped to be flown hard and often:
Thermawing electric de-ice with a backup alternator — a de-ice system (not certified known-ice)
Factory air conditioning
Speed brakes
Hot prop, built-in oxygen, and ADS-B Out
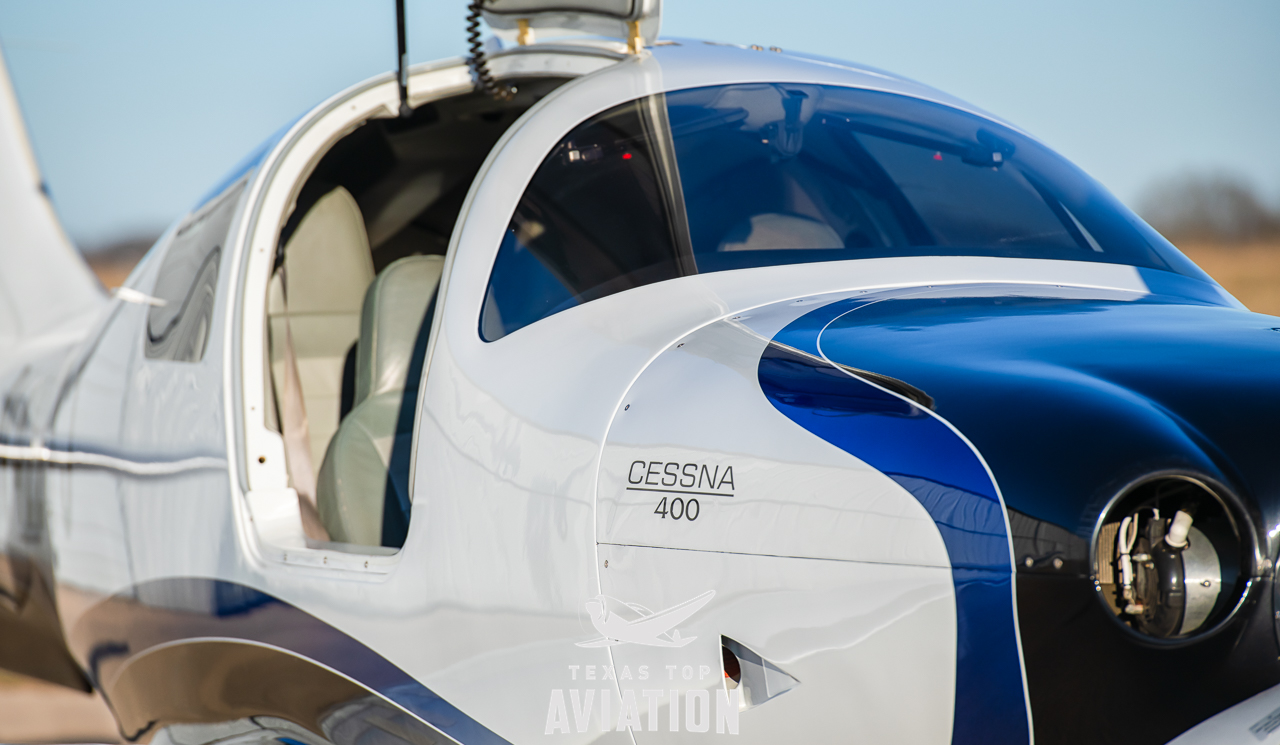
A comfortable four-seat cabin built for real trips.
The engine is a twin-turbocharged Continental TSIO-550-C with about 1,503 hours total time — the original engine, 1,503 since new. No damage history, complete logs since new, maintained by Van Bortel.
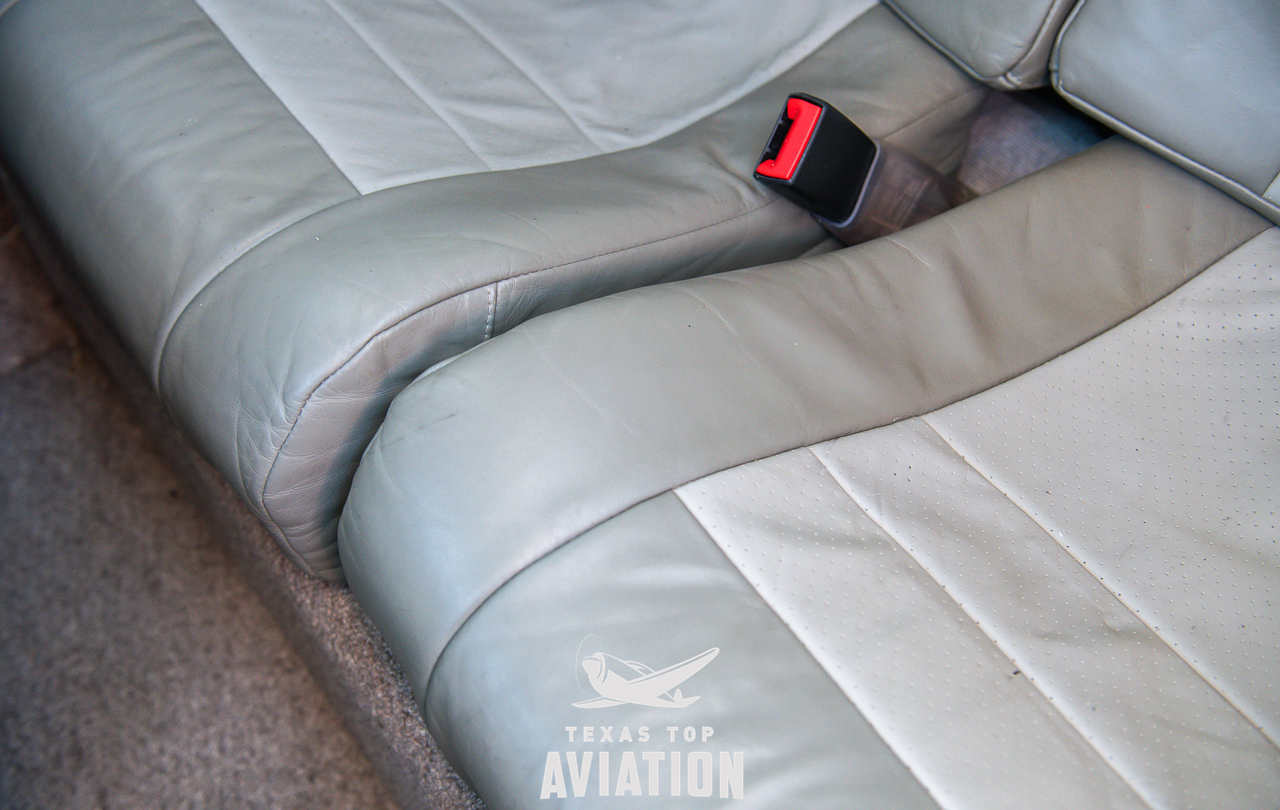
Leather interior, comfortable for four.
An Honest Word: What the Cirrus Does Better
One thing every Cirrus has that the 400 doesn’t: the CAPS whole-airframe parachute. Pull the handle and the airplane comes down under canopy. For a lot of buyers that’s the deciding factor, and it’s a fair reason to choose a Cirrus. Cirrus also has a large owner community and a strong support network.
Useful load is comparable across all three airplanes — the 400 is often equal or a little better. If the parachute and the community are your priorities, a Cirrus may be the right airplane, and we can help you find one. If your priorities are speed, avionics, and value, the 400 is hard to beat at this price.
Cessna 400 vs Cirrus: Quick Answers for Shoppers
Is the Cessna 400 faster than a Cirrus SR22T?
Yes. The Cessna 400 Corvalis TT trues up to 235 KTAS at 25,000 feet versus about 211 KTAS for a Gen 3 Cirrus SR22T — about 24 knots faster on the same 100LL and the same ~310-horsepower class of turbocharged Continental engine, or roughly 45 minutes saved on a 1,000-nautical-mile leg. At 10,000 feet the 400 still trues about 180 KTAS, roughly 10 knots faster than an SR22T at that altitude.
How does the Cessna 400 compare to a turbonormalized Cirrus SR22?
The Cessna 400 trues 235 KTAS versus about 211 KTAS for a turbonormalized SR22, and it uses a true twin-turbocharged Continental TSIO-550-C rather than a turbonormalized system. A 2006-2008 SR22 turbo has the older Avidyne Entegra panel, while the 400 has a Garmin G1000 with WAAS and Synthetic Vision. A 2009-and-later SR22 turbo with Garmin Perspective glass typically costs around $400,000 or more, versus $350,000 for N422TJ. The SR22 still offers its CAPS whole-airframe parachute.
Does the 2006-2008 Cirrus SR22 have a Garmin G1000?
No. Cirrus SR22s from 2006-2008 typically came with the Avidyne Entegra glass panel; Garmin-based Perspective glass arrived in 2009. The 2008 Cessna 400 came with the Garmin G1000, and N422TJ has the WAAS and Synthetic Vision version.
How much less is a Cessna 400 than a comparable Cirrus SR22T?
N422TJ is priced at $350,000, while a comparable 2011-2012 Cirrus SR22T (Gen 3) typically sells for about $450,000 to $550,000 used — roughly $100,000 to $175,000 less for a faster airplane.
What is the fastest fixed-gear single-engine airplane?
The Cessna 400 Corvalis TT, at 235 KTAS maximum cruise, is the fastest fixed-gear piston single-engine airplane ever certified.
Does the Cessna 400 have a parachute like the Cirrus?
No. A whole-airframe CAPS parachute is the one meaningful capability the Cirrus offers that the Cessna 400 does not. On speed, avionics, and useful load, the 400 matches or beats a comparable SR22 or SR22T.
Can the Cessna 400’s Garmin G1000 be upgraded to WAAS?
No. The WAAS upgrade path for the G1000 in these airframes is closed, so a non-WAAS Cessna 400 can never gain LPV approach capability. N422TJ already has WAAS plus Synthetic Vision, which makes it a scarce find.
Does the Cessna 400 carry less than a Cirrus SR22?
No. Useful load is comparable — the Cessna 400 is often equal to or a little better than a comparable SR22 or SR22T.