TBM Debuts the 960 at Sun N Fun

This is a Press Release from Daher’s website, the maker of the TBM 960.

Sun ‘n Fun Aerospace Expo, Lakeland, Florida, April 5, 2022 – Daher today unveiled the latest high-end version of its TBM pressurized single turboprop aircraft family – the TBM 960 – which incorporates Pratt & Whitney Canada’s advanced PT6E-66XT engine and a fully digital e-throttle, along with a digitally-controlled cabin that incorporates an all-new environmental control system, LED ambience lighting and electrically-dimmable windows.

The TBM 960 was introduced at the Sun ‘n Fun Aerospace Expo in Lakeland, Florida, where Daher is exhibiting the first production airplane (exhibit stand #MD-22B).

“The TBM 960 is the quintessential TBM, representing the fifth evolution of our very fast turboprop aircraft family since the TBM 900-series’ introduction in 2014,” commented Nicolas Chabbert, the Senior Vice President of Daher’s Aircraft Division. “It takes the maximum advantage of today’s turboprop technology to provide digital control of the engine and the propeller.”

The TBM 960 retains the rapid speed of Daher’s TBM family while enabling lower fuel consumption. At Daher’s recommended cruise setting of 308 kts., the fuel consumption is only 57 U.S. gallons per hour, which is a 10% fuel economy compared to maximum cruise setting for more sustainability.

At the heart of this latest TBM version is the intelligent PT6E-66XT powerplant and Hartzell Propeller’s five-blade RaptorTM composite propeller, both of which are linked to the dual-channel digital Engine and Propeller Electronic Control System (EPECS).

With the EPECS, the PT6E-66XT’s startup is fully automated after a single-switch activation. The cockpit’s power lever is an e-throttle, using a single forward position from takeoff to landing – with the EPECS optimizing powerplant performance throughout the flight envelope while

Daher unveils the TBM 960 at Sun ‘n Fun Aerospace Expo

reducing pilot workload by integrating all functions and protecting the engine’s life. Analysis of engine parameters is driven by 100-plus smart data inputs.

The RaptorTM propeller is fully integrated into the propulsion system. It is specifically designed to reduce overall weight and improve the TBM 960’s takeoff distance, climb and cruise speed. Turning at 1,925 rpm during maximum power output, the Raptor contributes to limiting noise and vibration. Its sound level during takeoff is just 76.4 decibels, meeting the most stringent international noise standards.

With its G3000® integrated flight deck, the TBM 960 retains Daher’s e-copilot® concentration of technological innovation and safety systems in the TBM, which can be compared to an “electronic copilot.” This includes an icing protection system, flight envelope monitoring through the Electronic Stability and Protection (ESP) and the Under-speed Protection (USP) systems, the Emergency Descent Mode (EDM) function, as well as the game-changing HomeSafeTM emergency autoland system.

New to the TBM 960 is the Garmin GWXTM 8000 doppler weather radar with advanced surveillance features such as lightning and hail prediction, turbulence detection, zero blind range for close-in returns, and ground clutter suppression. The TBM 960 also is the first application of Garmin’s GDL® 60 next-generation data transmitter for automatic database upload and interconnection with mobile devices.

The TBM 960’s Prestige cabin extends Daher’s use of digital power inside the aircraft, featuring an all-new environmental control system, LED ambience strip lighting integrated into both sides of the overhead ceiling panel, and electronically-dimmable windows – all controlled by a PassengerComfortDisplay(PCD). Enhancementsinthecabin’sstyleandcomfortalsoinclude new ergonomically enhanced seats, USB-A and USB-C power plugs, individual cupholders and headset hangers for each occupant.

For the TBM 960, a fifth TBM paint scheme – called Sirocco, based on the creativity of French designer Alexandre Echasseriau – has been added to the aircraft’s style customization possibilities.

The TBM 960 has been certified by EASA (the European Union Aviation Safety Agency); with certification by the U.S. FAA (Federal Aviation Administration) currently underway. Deliveries will begin in the first half of 2022.

With the new aircraft’s launch, Daher’s TBM family is now offered in two versions: the TBM 960 and TBM 910.

About Daher – www.daher.com

Similar Posts

  • Make The Upgrade to Pressurization

    Are oxygen cannulas rubbing your nostrils raw?

    Is turbulence giving you back problems?

    Would you like to be above the bumps, breathing without tubes stuck up your nose or a mask on?  Would you like a quiet ride?

    Sounds like you need pressurization.  Need more convincing?

    What’s that you say?  You don’t have a multi-engine rating?  You don’t want to spend the money on a turbo prop?

    Have no fear, there are options galore for you to choose from in the single engine piston marketplace, both certified aircraft and experimental.

    A word of caution, though; once you go pressurized, you don’t go back….

    Here is my review of the certified, pressurized single engine piston options.

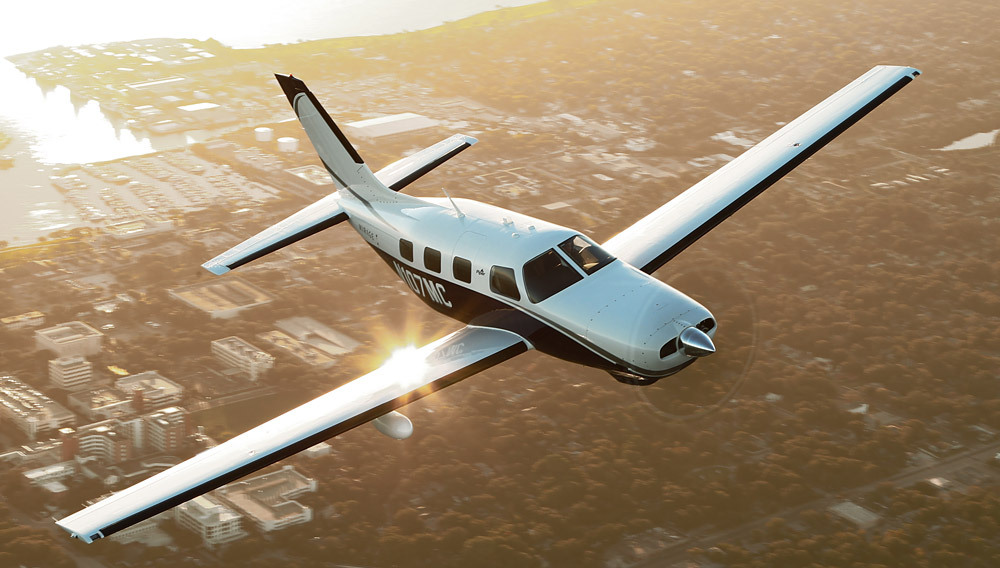
    Piper PA46 Malibu/Mirage/M350

    In 1983, Piper shocked the world with an amazing airplane.  The pressurized, Continental TSIO-520 (310 HP) powered PA46 Malibu hit the market in the fall of that year taking the piston world by storm.  A six seat, cabin class, pressurized single engine piston that easily cruised at 190-200 knots while only burning 16-17 GPH. It was awesome.  It even had an air stair door that felt like getting on a private jet.

    I love the original Continental powered Malibu, specifically the ’86-’88 models.  Piper initially had hydraulic flaps, which were clunky and had several issues (most notably, the hydraulic system would randomly kick offline while the flaps were in motion at very in-opportune moments).  Piper switched to the electric flaps in ’86, making the ’86-’88 year models very desirable.

    Unfortunately for Piper, the Continental TSIO-520 was not the engine manufacturer’s best product.  There were several Malibu crankshaft problems and engine failures, so much so that Piper decided to go with the Lycoming TIO-540 engine in 1989, creating the Malibu Mirage (all the current Malibu’s operating the -520 engine have been overhauled many times over, so there are no safety concerns with the -520 engine).  The Lycoming powered Mirage (350 HP), cruises a little bit faster than the Continental powered Malibu, but burns about 5 more GPH.  Piper still makes the Mirage, now dubbed the M350, complete with the Garmin G1000 NXi panel.

    The 4 seat, cabin class back seat is very roomy (unlike a Bonanza or Saratoga).  There is plenty of rooms for bags, both behind the back seat and in the handy nose compartment, which is wide enough to fit golf clubs, minus the driver.  The 1600 pound useful load (880 pound payload with full fuel), allows for a lot of people and gear to be loaded on board.  The airplane is a little stingy on CG, though.  You do not want to have a CG that is out of the rear limits.

    The airplane is fun to fly.  It has a heavy elevator, similar to a Bonanza, which requires a lot of trim on landing.  It’s very long wings cause it to float a bit on landing if the pilot comes in too fast.  It’s very docile in stalls and extremely comfortable for cross country flying.  The air conditioning system works very well, though it is still hot on the front seats when sitting on the ramp on a Texas July afternoon.

    Many of the airplanes have upgraded to glass panels.  Most are still equipped with the King KFC 150 autopilot, some with a Yaw Damper, some not.  The KFC 150 is a good autopilot, but when Garmin certifies their GFC 600 for the PA46, that will be a popular retrofit.

    If I had my pick, I would buy an ’86-’88 Malibu with an upgraded Continental TSIO-550 engine.  Climbs a bit better and does a bit better in cruise than the original -520 engine.  See why here.

    I would rate the PA46 line as the best pressurized single engine piston option out there.

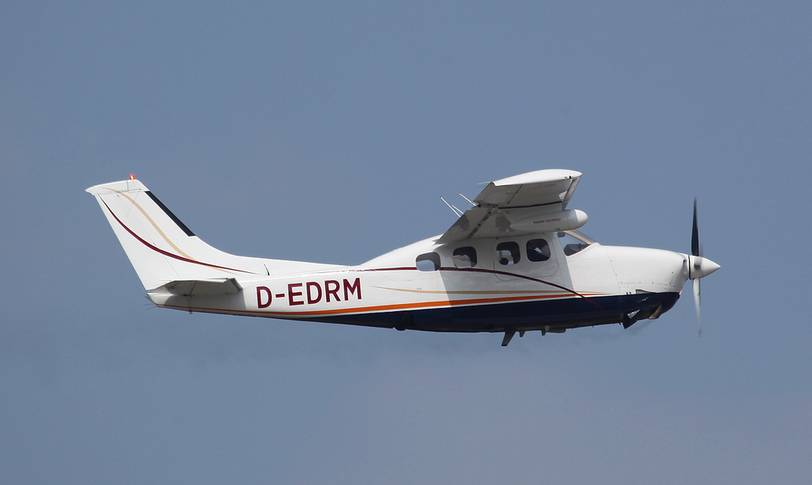
    Cessna P210 Centurion

    The P210 was introduced by Cessna in 1978.  It also came with the Continental TSIO-520 engine that the Malibu was certified with.  Climbing at about 700-800 fpm (equal to the Malibu), the P210 cruises at around 190 KTAS as well, burning around 17-18 GPH.  Like the Malibu, the P210 had a Continental TSIO-520 power plant, but, unlike the Malibu, the P210 makes the pilot work to keep the CHTs cool.  With smaller cowl openings and a tighter cowl, cooling isn’t as good as the Malibu.

    Even though the P210 has six seats, the forward facing, Cessna style 3 rows aren’t quite as comfortable as the Malibu.  The single door on the pilot’s side makes loading and unloading a bit of a chore (especially compared to the air stair door in the Malibu).  The third row of seats isn’t extremely useful, as the ceiling is lower and the proximity of the second row of seats decreases the amount of leg room, making it uncomfortable for a full size adult.  Most operators remove the pilot’s side second row seat to add an aisle to get to the back row for people and bags.  It also has a smaller cabin then the Malibu.

    There is less baggage in the P210, with the singular baggage compartment accessed through a baggage door behind the cabin.  The Air conditioning system is also not as good as the Malibu.

    It’s hard to get the P210 out of CG and overloaded.  A useful load of 1500 pounds (with 90 gallons of fuel, it drops to only 960 pounds) allows the airplane to be loaded to the gills without being overweight.

    There are some engine upgrades out there for the P210 (the Silver Eagle conversion puts a Rolls Royce turboprop on it).  The best piston conversion is the Vitatoe Conversion that swaps the engine out for a Continental Turbo-Normalized IO-550, which is a much better engine than the -520.  You still have to monitor the CHTs, but cooling is less of an issue.  These are much higher priced on the market, though.

    Because of the size of the cabin and the true reputation the P210 has of being a maintenance hog, I would rate it below the PA46 line.

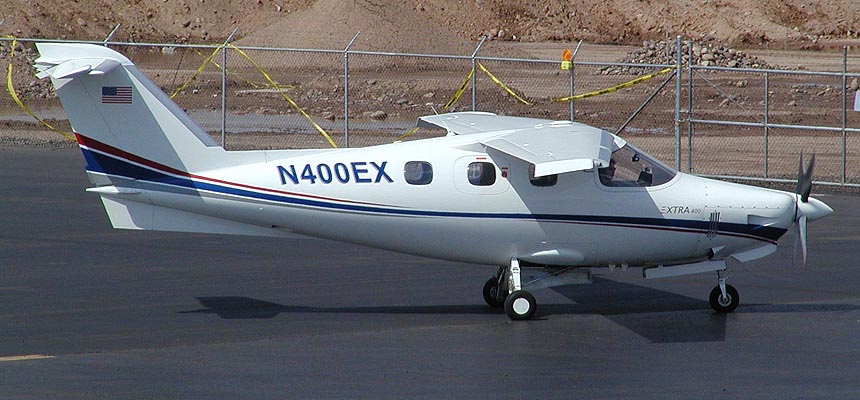
    Extra EA-400

    There are 3 pressurized, single engine piston airplanes out there today: the Piper PA46, the Cessna P210, and the Extra EA-400.  Extra is the famous German aerobatic aircraft manufacturer that created the Extra 300 and 330.  In the early 2000s, Extra tried it’s hand at the pressurized single market with the EA-400 (Extra also tried to get into the single engine turbo-prop market with the EA-500, but the project fizzled before much progress was made).  Sadly, only 27 EA-400s were built before the company ran into financial trouble.

    The concept sounds cool.  A fully composite, pressurized, liquid cooled, cabin class piston.  The engine was the Continental TSIOL-550, liquid cooled power plant.  Liquid cooling means no concern about hot CHTs while you are climbing.  The problem with the engine is that there are so few liquid cooled Continental engines out there, finding a mechanic familiar with one could be an issue.

    I have never flown an Extra 400, but there are several floating around out there.  Most have steam gauges and the STEC-55x autopilot.  The price on the only one on Controller right now is comparable to the P210N but above the Continental powered Malibu.

    If you are in the market, an Extra 400 might be fun to test fly and who knows, you might fall in love with it!

    Experimental Options

    There are a handful of experimental pressurized singles out there.  I have not flown any of them, so I can’t be a good resource on recommending them.  Here is the list, however.

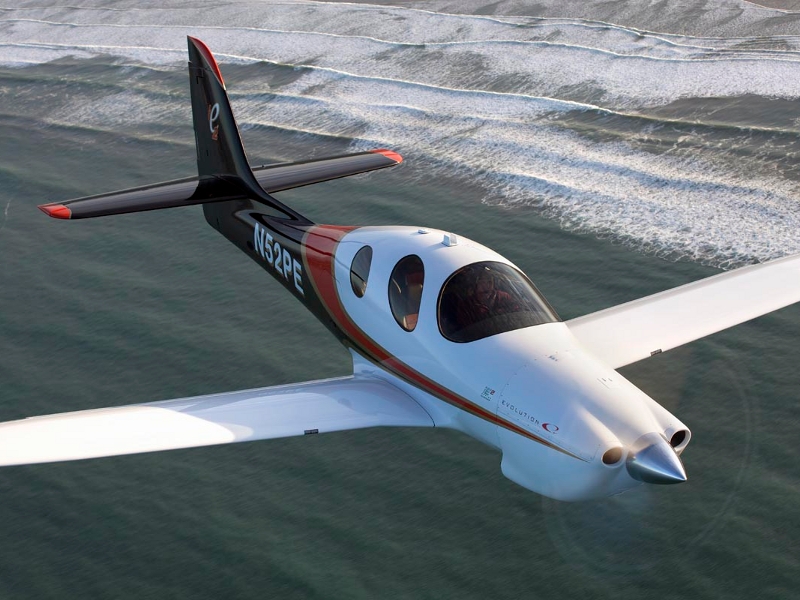
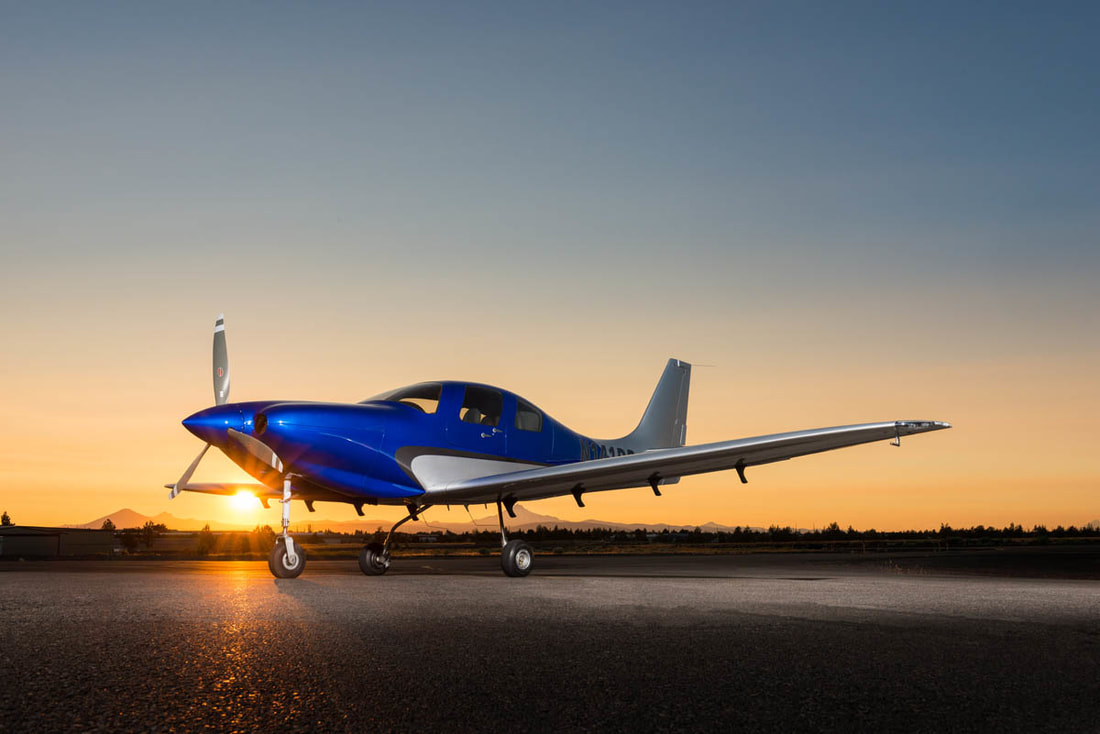
    Lancair Evolution Piston

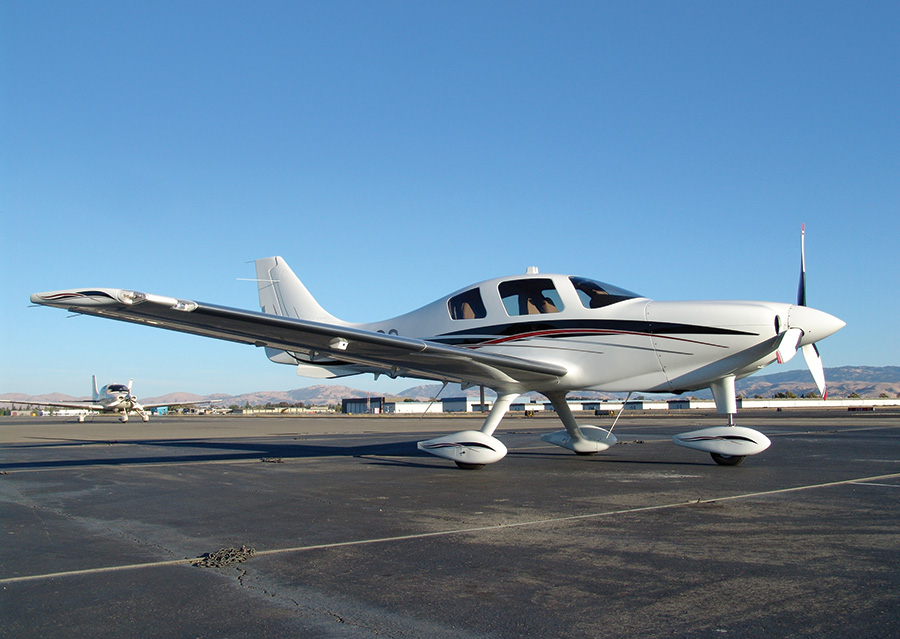
    Lancair IV-P

    Lancair ES-P

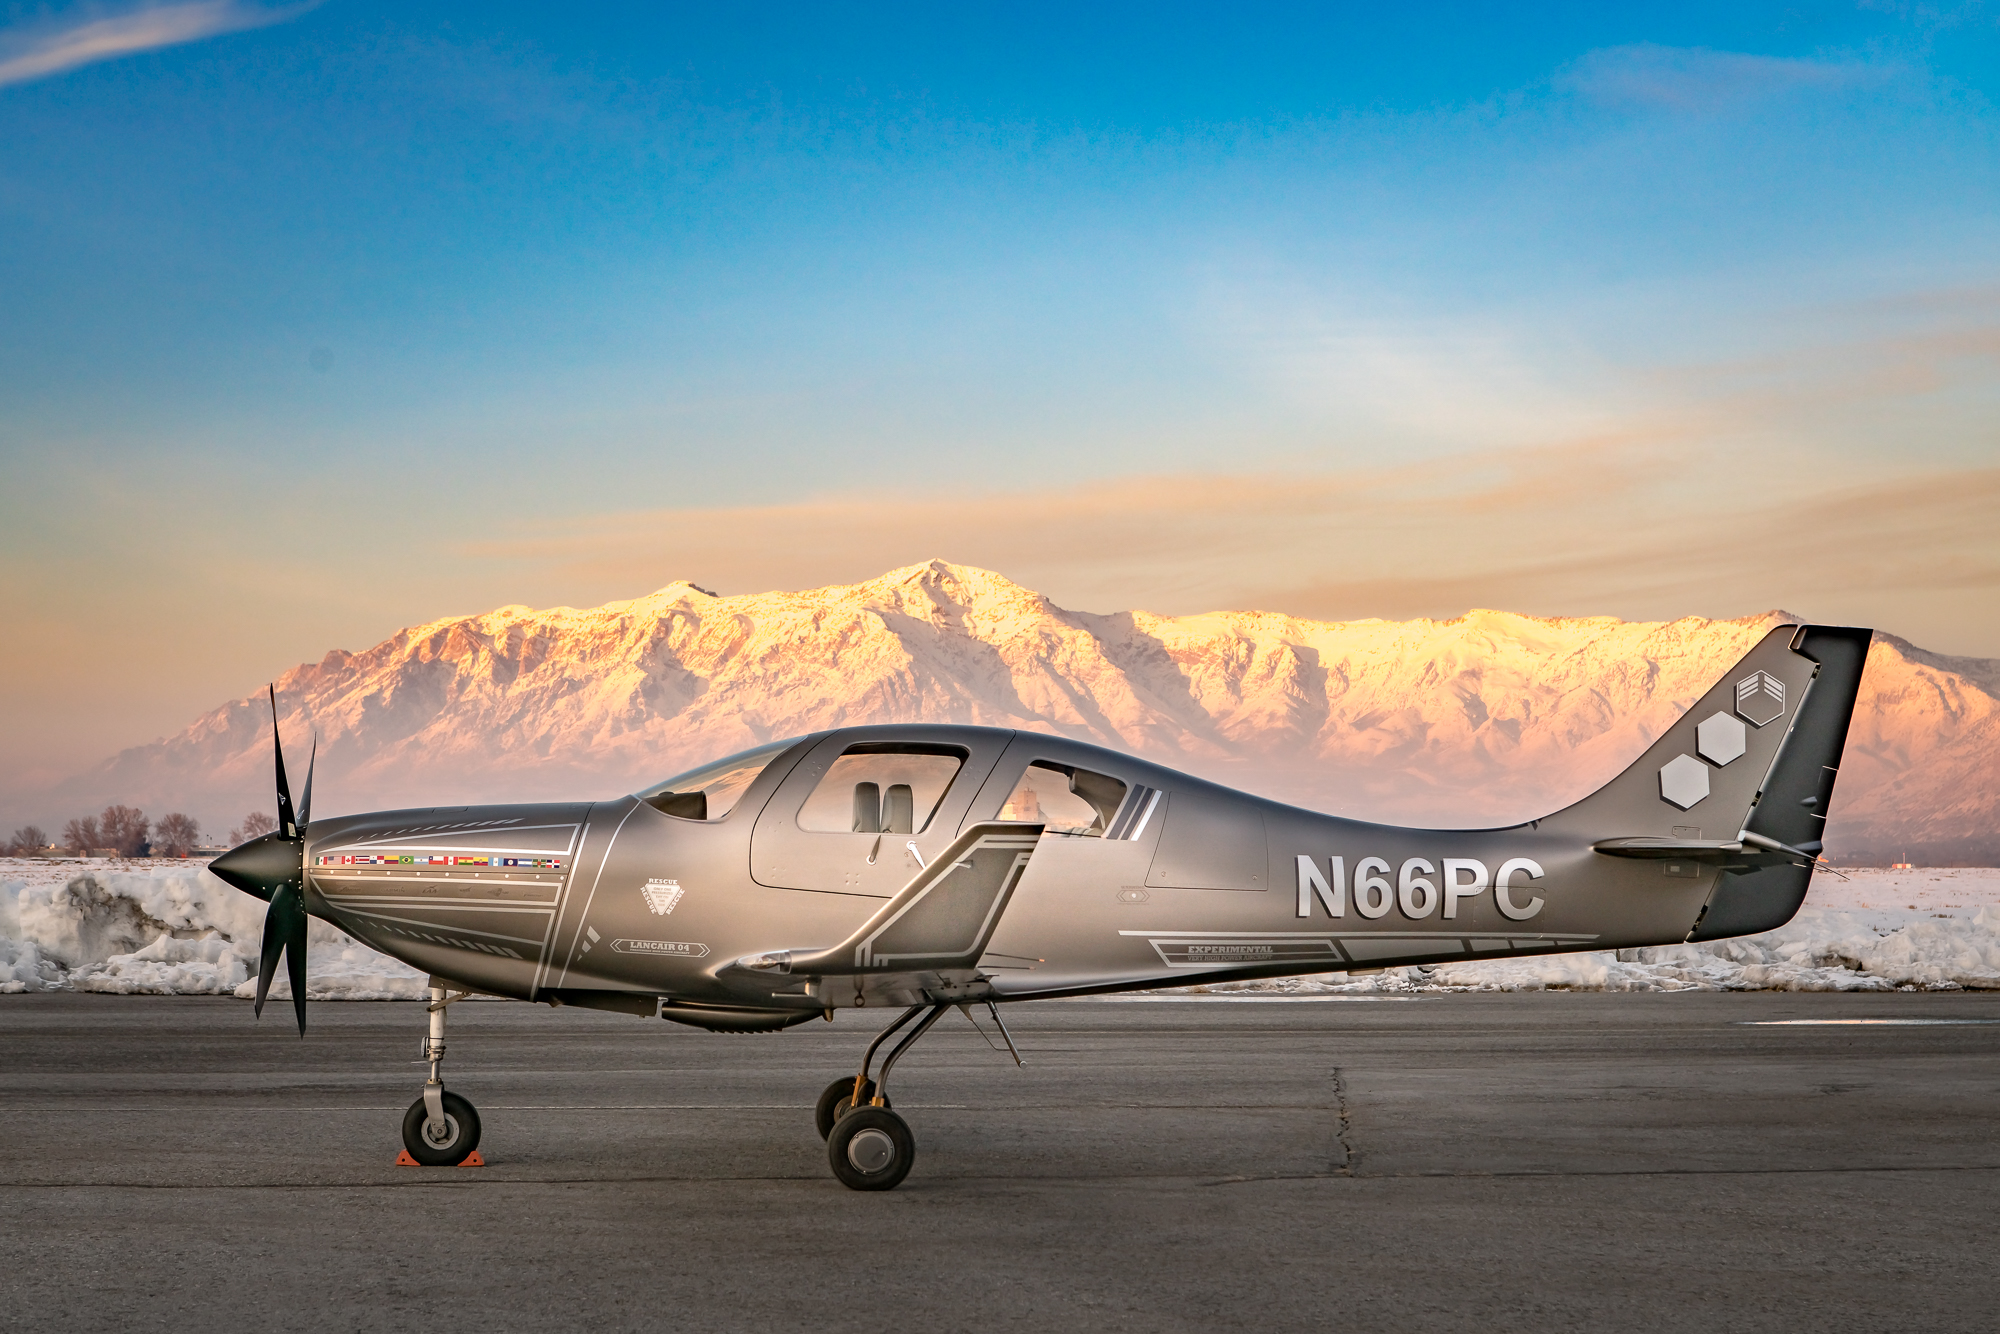
    Lancair LX7

    As far as availability on the market goes, there are 8 Malibus on Controller (1 1986 model) ranging from $315,000 and down, 24 Mirages ranging from $705,000 (equipped with the Garmin G1000) and down, 25 P210s ranging from $405,000 and down, and 2 Extra EA 400s, priced at $369,000 and down.  Check out the available Experimental Lancair options here.

    Have you decided to upgrade, but don’t know what to buy or how to buy it?  Check out Texas Top Aviation’s Acquisition Services.  We’ll get you the best airplane for you, your mission, and your budget.  Contact Us today to find out more information.

  • MMOPA Safety Stand Down Rescheduled for Online

    April 18th, 2020 was supposed to mark the MMOPA Spring Safety Stand Down, an event held around the country for PA46 owners which counted toward the Master Aviator program. Sadly, due to the COVID-19 repercussions, the in person event had to be canceled.

    Thankfully, due to modern technology, the event has been rescheduled to a nationwide webcast. The date for the Online MMOPA Safety Standdown in Saturday, August 8th. Joe Casey and Travis Holland will be hosting the MMOPA Safety Standdown.

    The cost is free. To register, please click here.

  • PIREP: Austin Executive Opens a Control Tower

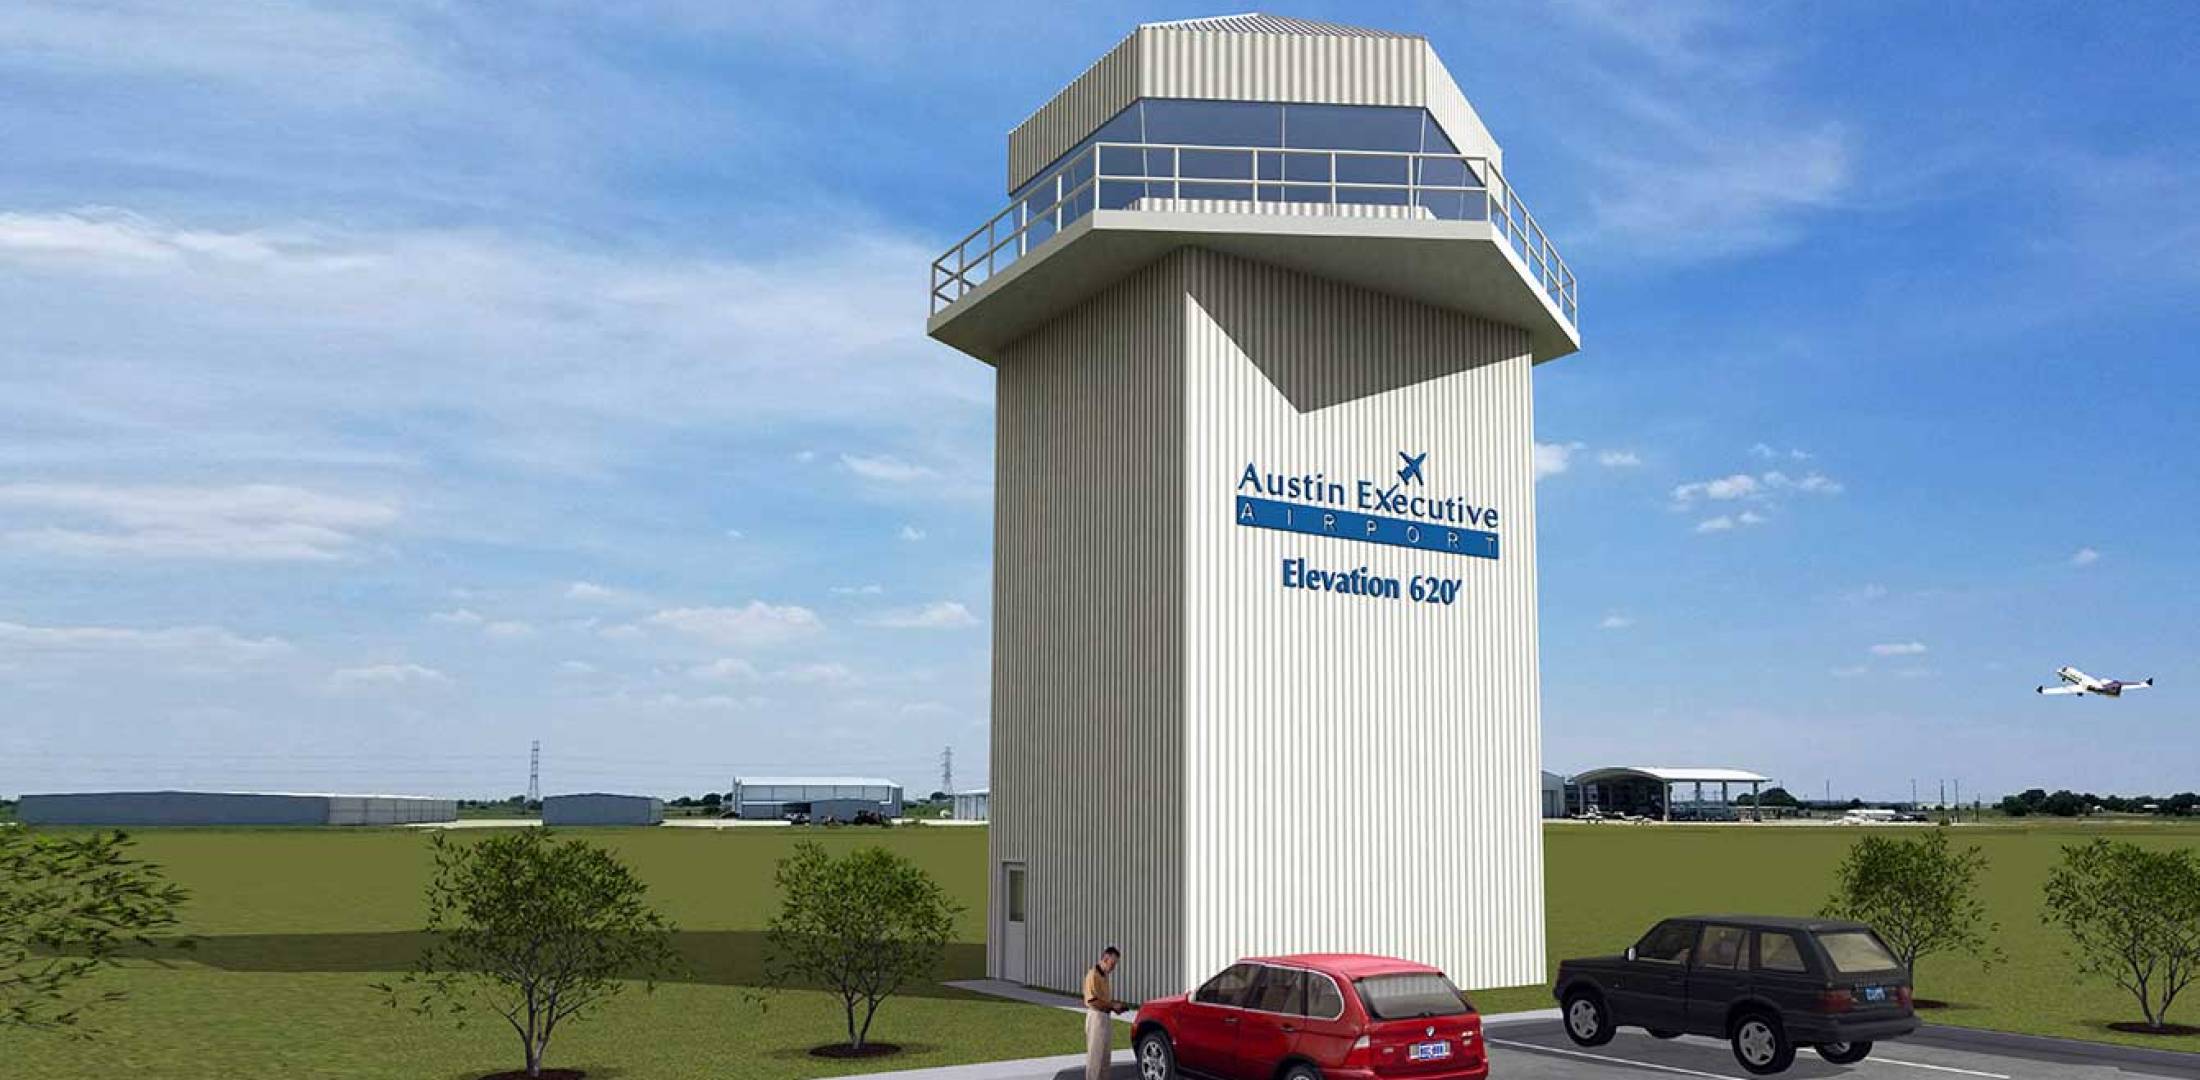
    Austin Executive Airport opened a control tower on Friday, February 23rd 2018.  The airport is now officially Class D airspace.  The charts and A/FD are not updated yet to reflect the tower, but there is a NOTAM with the tower and ground frequency information.  The tower hours are from 6am to 10pm.  The weather frequency remains the same.

    Make sure you check those NOTAMs if you are headed to KEDC anytime soon!

    KEDC Tower Frequency:  120.3

    KEDC Ground:  119.45

  • Contact Approaches

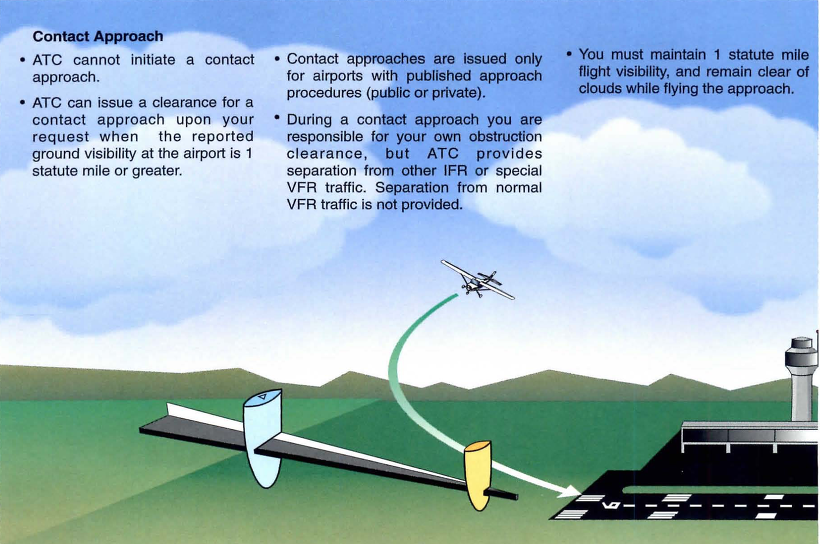
    Almost all IFR pilots are familiar with visual approaches and what the requirements are in order to fly a visual approach. As a refresher, the Instrument Procedures Handbook defines a Visual Approach as “an ATC authorization for an aircraft on an IFR flight plan to proceed visually to the airport of intended landing; it is not an [Instrument Approach Procedure]” (page 4-56).

    For ATC to issue a Visual Approach, the pilot must have the airport or the traffic to follow in sight. Once the pilot reports the airport or the traffic in sight, ATC can clear the aircraft for a visual approach.

    A limiting factor for a visual approach is ATC’s Minimum Vectoring Altitude. “This altitude, based on terrain and obstruction clearance, provides controllers with minimum altitudes to vector aircraft in and around a particular location” (Instrument Procedures Handbook page 1-42). ATC has to restrict aircraft to these MVAs, which can sometimes be quite high due to terrain or obstacles in the vicinity of the airport.

    Every pilot has been in a situation with a high MVA that ATC can’t get them below, but it’s solidly MVFR or VFR at the destination airport. The MVA keeps the pilot in the clouds, so a visual approach isn’t possible since the pilot can’t see the airport or the traffic to follow. This can lead to extra time to go out and fly an approach.

    Enter a Contact Approach. A Contact Approach is different then a Visual Approach. “The main differences between a visual approach and a contact approach are: a pilot must request a contact approach, while a visual approach may be assigned by ATC or requested by the pilot; and a contact approach may be approved with 1sm visibility if the flight can remain clear of clouds, while a visual approach requires the pilot to have the airport in sight, or a preceding aircraft to be followed, and the ceiling must be at least 1,000 feet AGL with at least 3sm visibility” [Instrument Procedures Handbook page 4-57].

    Here’s the simplified explanation: A pilot does not have to have the airport in sight to request a contact approach. All that is required is for the airport to be reporting at least 1sm visibility and for the pilot to remain clear of clouds.

    When would this be helpful for an IFR pilot? Good question. Here’s a scenario.

    Pilot Smalls is about 20 minutes from his destination, which is an uncontrolled airport with only one approach to runway 17. He is approaching from the south and the initial approach fix for the approach to 17 is about 15 miles north of the airport. The airport is under Center control. When he has arrived at this destination in the past, Center usually could only vector him down to 4,000 AGL. He is very familiar with this airport and the surrounding area as he comes to this destination at least 2-3 times a month for business.

    Pilot Smalls listens to the AWOS, which is reporting a 2500 foot scattered layer and 10 miles visibility. He knows it is right traffic for 17 since there is a 2,000 foot antenna on the east side of the field. There is some hilly terrain around, but all the terrain is well below pattern altitude and doesn’t cause a safety issue.

    Looking out at the clouds, Pilot Smalls observes that the cloud layer is scattered to broken, but more scattered on the west side of the airport, with several large openings that he can see the ground through. Center asks for his approach request and Pilot Smalls requests a visual approach. Center gives him a descent to 4,000 AGL, their MVA for the area. They tell him to report the airport in sight for the visual approach.

    At 4,000 AGL, Pilot Smalls is going through the scattered layer of clouds, but can see the ground in between the clouds and deems he has room to maneuver safely between the clouds and stay clear of them. He can’t see the airport, so a visual approach seems unlikely. He can’t cancel IFR because then he would have to keep the VFR cloud clearance and visibility requirements in Class E airspace (1,000 feet above, 500 below and 2sm horizontally), which isn’t possible in this case.

    5 miles from the airport, ATC states, “N12345, I’m going to have to send you out for the approach since you don’t have the airport in sight.” Pilot Smalls then requests a Contact Approach. ATC clears him for the Contact Approach to his destination, so Pilot Smalls descends through a break in the clouds, remaining clear of clouds, until he gets below the base of the ceiling. He maneuvers onto the right downwind, lands and cancels IFR.

    Contact approaches can be useful at controlled and uncontrolled airports. The first time you request one, do so with a higher ceiling and some room to maneuver to keep your safety margins. After you’ve done a few, you can determine what your personal minimums are for a Contact Approach.

    I would not recommend doing a Contact Approach at an airport you are unfamiliar with. It’s vital to know what obstacles are around since on a Contact Approach, the pilot is now responsible for traffic avoidance and terrain avoidance, whereas on a visual approach, ATC resumes that responsibility.

    For more reading on Contact Approaches and another good scenario, check out Bold Method’s article on Contact Approaches.

  • The Go Around Button

    Back in the old days, when flying an approach in an early Cirrus SR22 (circa 2004; yes, in airplane technology, those were the old days), performing a missed approach procedure was a lot of work.  You were low to the ground and weren’t able to see the runway.  Then, you had to start climbing so you don’t hit the ground, then push a lot of buttons in order to get the GPS and autopilot set fly the missed approach procedure.  It was very easy to get distracted with button pushing, then forget to fly the airplane, putting yourself and passengers in very unsafe circumstances.  The go around button has changed all that.

    Going Missed the Old Fashioned Way

    Let’s stick with our example of the 2004 Cirrus.  The SR22 in 2004 was equipped with the Avidyne Entegra system, complete with dual Garmin 430 GPS units, and an STEC 55x Autopilot.  A very capable IFR flying machine (we could use the same example of a 2004 or 2005 Lancair Columbia 350 or 400 that was equipped the same way, except the screens were vertical instead of horizontal).

    Avidyne Cirrus Go Around Button

    We’ll use the ILS 15 at the Temple airport, KTPL, for our example.  You pass TPL, the outer marker at 1,683 with the glide slope already centered.  Everything is going well so far.  The number 1 Garmin 430 is set to VLOC and the autopilot is showing NAV and APR for the lateral guidance and GS on the vertical, tracking the glide slope.  The last weather report stated the clouds were Broken at 500 feet, so it appears like you’ll be able to get in on the approach.

    As you get closer to the Decision Altitude, the clouds aren’t letting up at all.  You hit 1,000 feet on your altimeter, 120 feet above the minimums, and you still can’t see a thing.  Another 100 feet lower doesn’t change anything, so you elect to proceed with the missed approach.  This means things are about to get busy.

    Here’s the process:

    • Fly the airplane first, meaning shut off the autopilot, pitch the nose up to about 7 degrees, TRIM, add full power, retract the flaps, and step on the right rudder
    • The Garmin 430 is now in SUSP mode, meaning the missed approach point is locked in as the active waypoint.  So, you have to press the OBS button to cause the GPS to cycle over to the missed approach procedure
    • You have to press the VLOC button on the Garmin 430 in order to change the CDI back to GPS
    • You have to re-engage the autopilot by pressing NAV twice (which engages GPS Steering mode)
    • You have to reset your altitude bug (if you hadn’t set it for the missed approach altitude previously)
    • You have to press VS and ALT on your autopilot to have the STEC continue the climb

    That’s a lot of work, isn’t it?  Plus, that’s an extensive amount of head down time in the cockpit, with your eyes looking elsewhere other than the instruments while hand flying.  All very low to the ground, I might add.  Can you see how this can be dangerous?  (Note:  The Avidyne IFD 550 has made this a little easier with automatically switching from VLOC to GPS and automatically engaging the missed approach procedure in the flight plan)

    The advent of the Go Around Button has streamlined the process, leading to safer operations where it matters most.  The functions of the Go Around Button vary based on the airplane, but here are three examples, the Garmin G1000 Cessna Corvalis TT, the Garmin G1000 Piper Mirage, and the Garmin Perspective Cirrus SR22.

    Cessna Corvalis TT

    We’ll take the above situation and swap out the airplanes.  Gone is the 2004 Cirrus SR22.  Insert a 2008 Cessna Corvalis TT, equipped with the Garmin G1000 suite and the GFC 700 autopilot.  The go around button is positioned directly above the twist in throttle.

    Cessna Corvalis G1000 Go Around Button

    When you push the Go Around Button, here’s what the system does:

    • Disconnects the Autopilot
    • Sets the Flight Director for 7.5 degrees pitch up (which is about your normal climb angle) and wings level
    • Switches the CDI back to GPS
    • Takes the GPS out of SUSP mode and cycles the flight plan to the first waypoint on the missed approach procedure

    Here’s what you have to do:

    • Follow the flight director by pitching the nose up and TRIM
    • Add full mixture, prop and throttle (prop & throttle should be full already)
    • Retract the flaps
    • Step on the right rudder
    • Re-engage the autopilot, then press NAV and VS (or FLC) and set your altitude bug if it isn’t already set

    Not too bad, eh?  Makes the whole situation streamlined and safer.

    Piper PA46-350P Mirage

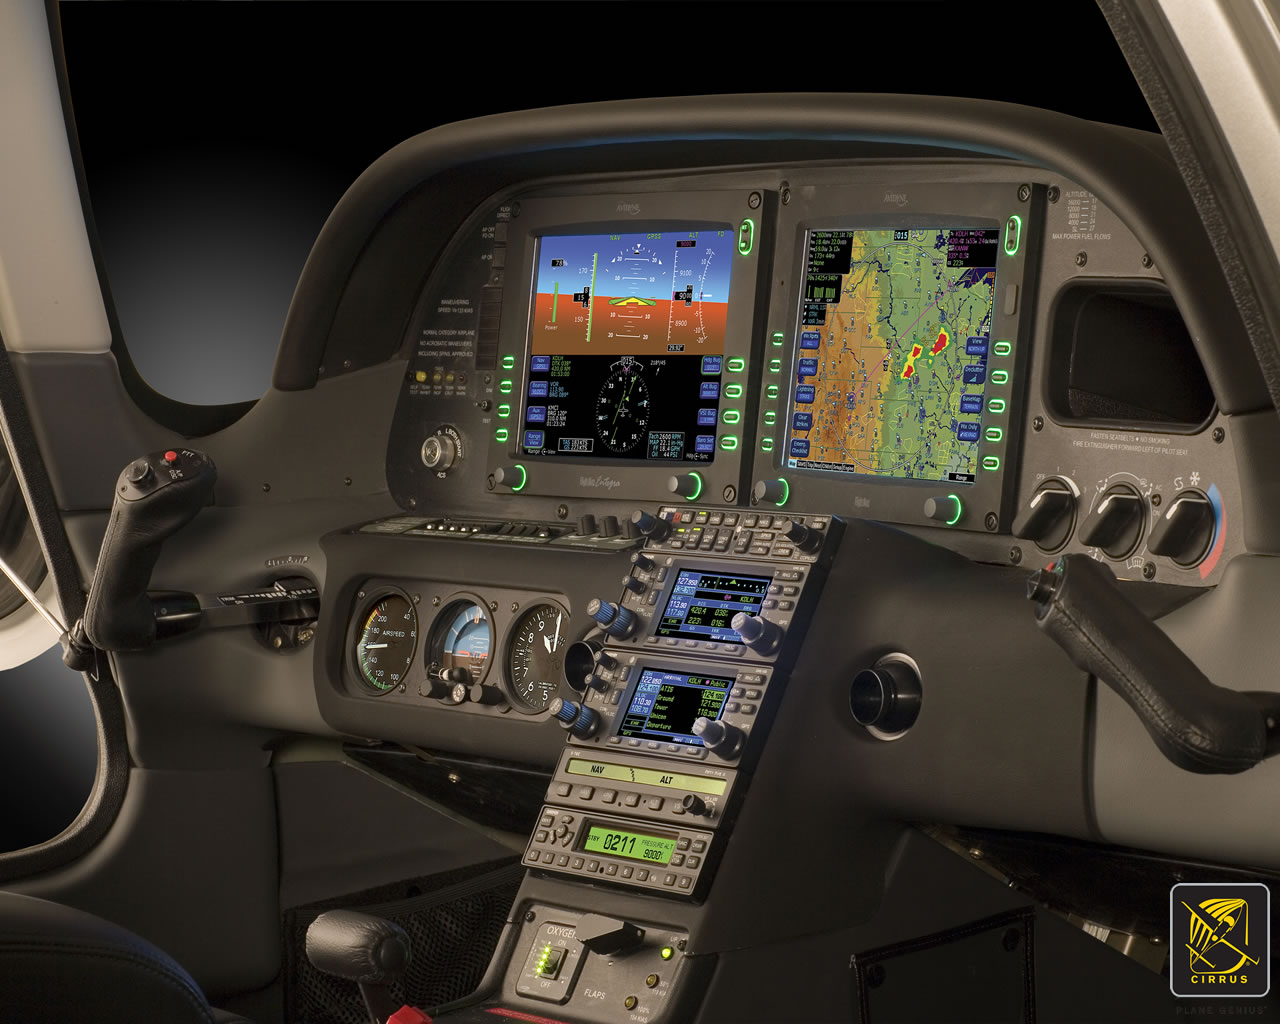
    Same situation, different airplane.  You’ll notice the procedure for the Piper Mirage is almost exactly the same as the  Corvalis procedure.  The difference between the two airplanes is where the autopilot controller is.  In the Corvalis, the autopilot controller is positioned on the left side of the MFD, making it easy to scan back and forth while pushing buttons on the autopilot.

    The Piper Mirage autopilot controller is positioned below both screens and in front of the power quadrant. With this positioning, the pilot’s eyes have to go a lot further to see which autopilot button he is pushing. In this case, it becomes very important to get the airplane climbing and trimmed before going down to engage the autopilot.

    As in the Corvalis, here is what the Go Around button does:

    • Disconnects the Autopilot
    • Sets the Flight Director for 7.5 degrees pitch up (which is about your normal climb angle) and wings level
    • Switches the CDI back to GPS
    • Takes the GPS out of SUSP mode and cycles the flight plan to the first waypoint on the missed approach procedure

    And here’s what you have to do:

    • Follow the flight director by pitching the nose up, then TRIM
    • Add full mixture, prop and throttle (prop & throttle should be full already)
    • Retract the flaps
    • Step on the right rudder
    • Re-engage the autopilot, then press NAV and VS (or FLC) and set your altitude bug if it isn’t already set

    Cirrus SR22

    Cirrus Perspective Go Around Button

    This time, we’ll use the 2010 Cirrus SR22T with the Garmin Perspective and GFC 700 Autopilot. One thing I really like about how Cirrus configured their system is where the Go Around button is.  It’s actually on the throttle itself, making it much more intuitive.  This way, you can press the Go Around button while adding full throttle.

    There is one major difference between the Garmin Perspective in the Cirrus and the G1000 in the Corvalis. When you press the Go Around button in the Cirrus, the autopilot actually stays on.

    Here’s what happens when you press the Go Around button in the Cirrus:

    • Flight Director pitches to 7.5 degrees pitch up and wings level
    • AP Mode switches to Go Around mode, following the flight director
    • GPS comes out of SUSP mode
    • CDI switches back to GPS

    All the pilot really has to do is add power, take the flaps up, then press NAV on the GFC 700 to get the autopilot following the missed approach procedure.

    If you aren’t familiar with the Go Around button or haven’t used the one in your plane lately, it’s good to go up with a knowledgeable instructor and fly a couple of approaches where you perform the published missed approach afterward.  That way, he or she can assist you through the first missed approach, then give you pointers until  you get comfortable with the Go Around button.

  • The Importance of Density Altitude

    Density Altitude:  Pressure Altitude corrected for non-standard temperature.

    That’s the book definition of density altitude.  The problem is, that definition leaves a lot of general aviation pilots scratching their heads.  What really is density altitude?

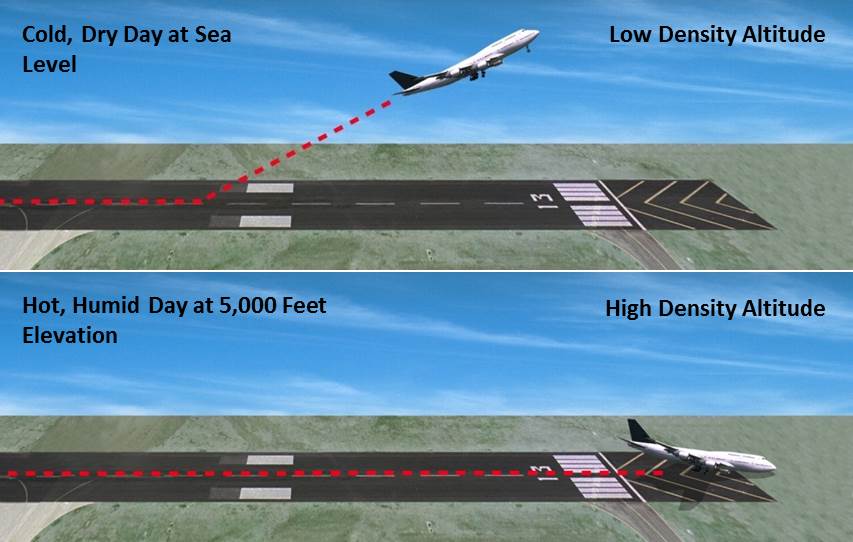
    All airplane engines rely on air and fuel mixing together, then that mixture is ignited to create combustion. Normally aspirated piston engine airplanes get their best performance at sea level, where the air is nice and thick, allowing plenty of air molecules to get sucked in the engine intake.  As a normally-aspirated airplane climbs, the ambient air pressure drops with an increase in altitude (the air gets thinner, less dense), thereby reducing airplane takeoff, climb, and landing performance.  There just isn’t as much air at higher altitudes, to put it simply.

    Turbo charged piston engines assist with this air density problem.  A turbo charger boosts the air coming into the engine and fools the engine into thinking it is at sea level pressure all the time.  The higher the altitude, the faster the turbo charger spins, spinning the compressor faster, which compresses more air to continue to give the engine sea level pressure air.  This gets faster cruise speeds the higher you go.

    Both normally aspirated & turbo charged engines do experience longer takeoff rolls and reduced climb rates at higher airport elevations & higher altitudes.

    How does this all relate to density altitude?

    When the outside air temperature rises, the air becomes thinner, less dense.  This means that when an airport elevation is 1,000 feet, but the density altitude is reported as 3,000 feet, the airplane engine thinks it is at 3,000 feet.  It won’t accelerate as fast.  The airplane’s climb rate will also be reduced.  That means that the normal climb pitch attitude a pilot is used to seeing won’t be accurate at higher density altitudes. It will lead to slower indicated airspeeds, slow enough to potentially lead to a stall if a pilot isn’t paying attention.

    Where does this get dangerous?  High elevation airports.  Whenever the OAT creeps above 85 or 90 at an airport that is higher elevation (I would classify higher elevation as 2,500 feet or higher), the corresponding density altitude sky rockets.  If a pilot isn’t paying attention to airspeed or angle of attack (if the airplane is equipped with an AOA), a stall can come very quickly on climb out.

    What to take home from this?  Monitor your climb speed and angle of attack, especially right after takeoff, when you hear density altitude on the ATIS or AWOS.

Leave a Reply

Your email address will not be published. Required fields are marked *