Checking The Stall Warning Horn

When a pilot first glances at the title of this article, the first thought that probably goes through that pilot’s head is, well that’s easy.

And it is, if you are flying a high wing Cessna. On other airplanes, there are a few tricks to checking the stall warning horn. If you get them wrong, you’re liable to get a bill from your maintenance shop for an hour of labor for a problem they couldn’t duplicate.

Cirrus SR22

Let’s start with the Cirrus. On the pre-FIKI Cirrus aircraft, there was a small little hole in the wing that contained a diaphragm. That diaphragm sensed a change in airflow at a certain angle of attack just below the critical angle of attack and set off the stall warning horn. Unfortunately, the only way to check that is to suck on the hole during pre-flight.

I don’t. I verify the hole is clear and that’s about it.

On the FIKI Cirrus aircraft, there is actually a stall warning vane. It looks like a high wing Cessna vane, but if you turn the batteries on and try and get it to come on during your light and pitot heat check, nada.

Here’s the trick, and the checklist doesn’t do a good job of describing this.

  • Turn on the Avionics Master
  • Turn on the speaker
  • Put the flaps to full
  • Then move the stall warning vane and you’ll hear the horn
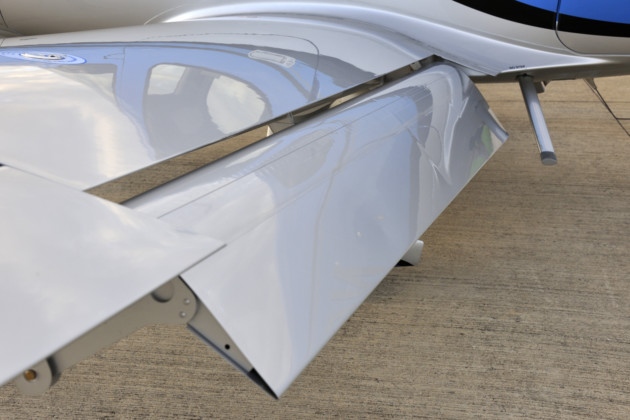
The speaker and the Avionics Master are so you can actually hear the horn (if you had the headset on while you were doing this, the speaker would be unnecessary). The flaps have to be full because the pitch attitude for the critical angle of attack is lower with the flaps down, so the horn goes off when at a different angle. You then don’t have to use as much force to push the vane.

Piper PA46

The early -310P Malibus are pretty simple and straight forward. Move the vane, get the horn.

In the -350P, you can’t get the horn to come on by moving the vane. So, Piper put a stall test button that’s hidden underneath the upper left side of the instrument panel. Push that to test the horn. On the G1000 PA46, it is located directly above the PFD. On the Avidyne, it’s below and to the left of the pilot’s yoke.


Testing the stall warning horn is a very important part of pre-flight. A pilot needs to know if the aircraft is close to a stall. The advent of Angle of Attack indicators in small, GA aircraft, have added a greater awareness to the angle of attack during all phases of flight to avoid those stall spins.

If the stall warning horn goes off or the AOA shows yellow, lower that nose immediately.

Similar Posts

  • The RDD LX7

    Have a Lancair IV-P?

    Want to make it better than a Cirrus or a Cessna TTx?

    Meet the team at RDD creating the LX7.  Just make sure you are sitting down as you are about to be blown away.

    RDD (Research. Design. Development) is a professional building company for the Lancair line of experimental aircraft (Lancair unveiled the Mako at Osh Kosh this summer, which performs slightly less than the advertised values of the LX7, but is available as a new kit).  For those unfamiliar with the experimental world, when an experimental kit is bought, the owner/builder can build the entire aircraft himself, partially build it then send it to a completion center, or have a professional build company put it together.  This last option is what RDD did with Lancair aircraft before Lancair moved from Oregon to Uvalde, TX.

    Once Lancair was sold, RDD started thinking on how to make the IV-P better.  Boy, did they.  What resulted is the LX7.

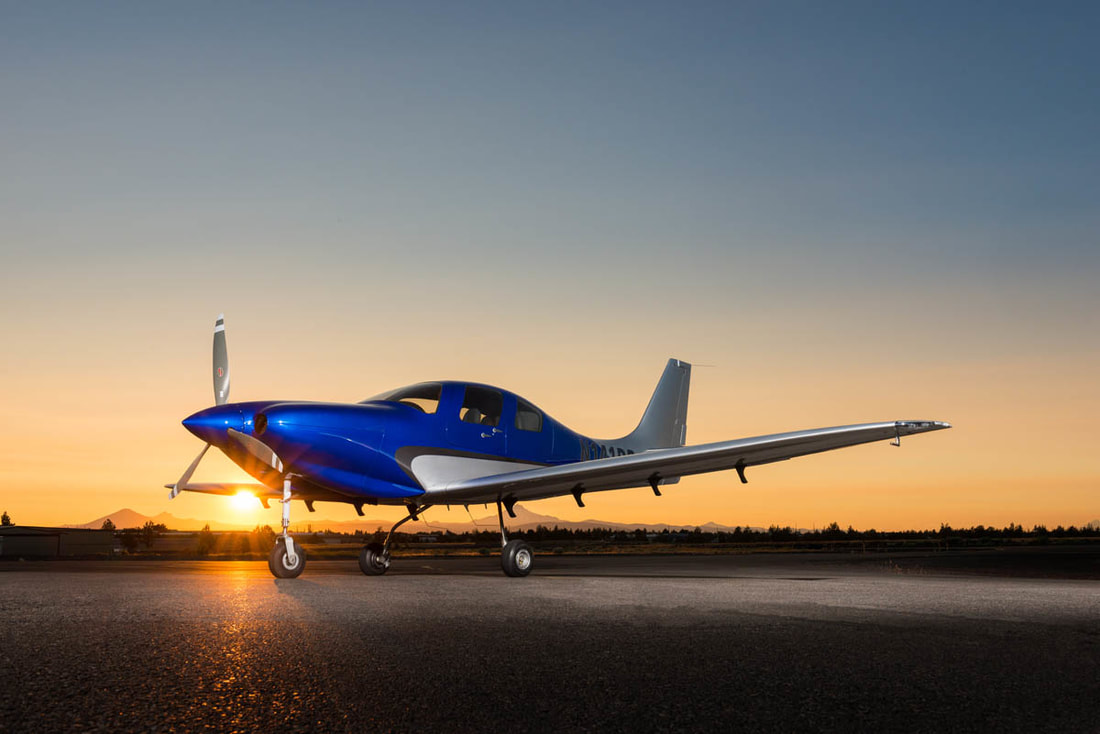
    The LX7 is a retractable gear, single engine piston, pressurized aircraft that sits 4.  See it on the ramp and it looks like a Lancair or a Columbia.  Sit in the cockpit and you’ll know something is different.

    Starting with the power plant, RDD put a Continental TSIO 550-E engine in the IV-P airframe, giving the airplane 350 HP.  They redesigned the wing to hold 180 gallons of usable fuel and a much better stalling envelope (anyone who has looked at a Lancair IV or IV-P wing knows that there isn’t much wiggle room with angle of attack on those airplanes), lowering the stall speed to 62 knots dirty.

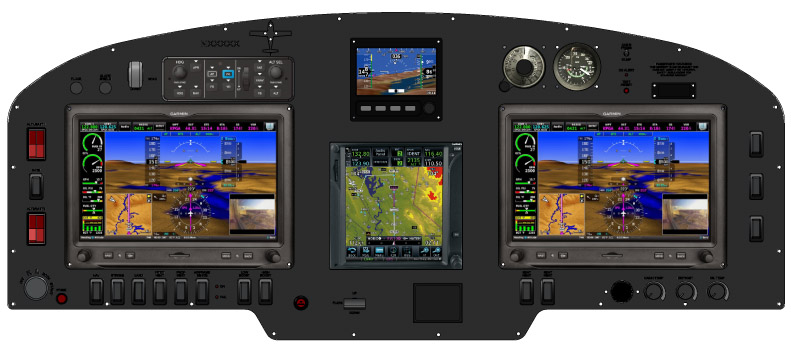
    The cabin is roomier and the panel is beautiful.  Equipped with 2 or 3 Garmin G3X Touch panels (the experimental equivalent of the G2000), plus a GTN 750 and a fully digital backup flight instrument from Grand Rapids, plus ESP technology built in to the autopilot, this plane seems like a pilot’s dream.

    I haven’t even gotten to the best part:  the speed.  Being pressurized, the LX7 has a 25,000 foot service ceiling where it can achieve cruise speeds of 260 knots at best power (24 GPH) and 250 knots at best economy (18 GPH).

    Yes, I did just say 250 knots at 18 GPH in a single engine piston.

    With 180 gallons of fuel.

    Make sure you bring a Travel John.

    Worried about an experimental?  The airframe is equipped with a full BRS system similar to the Cirrus SR22, keeping everyone safe and sound.

    There is one flying LX7 currently and RDD is working on 3 more.  The price tag for the full conversion is $550,000.  The kicker is, the owner has to provide the Lancair IV-P airframe.  There are currently 10 Lancair IV-Ps for sale on Controller, varying in price from $200,000-$400,000, bringing the total price of the project to $750,000-$950,000.  Owners who already have a IV-P or a IV-P kit can send it on over to RDD to get started on their project.

  • Fly Away Destination: Sedona, AZ (KSEZ)

    Looking for somewhere to take a trip this fall?  Sedona, Arizona should warrant strong consideration.  Just shy of 100 miles north of Phoenix, Sedona is one of the most beautiful areas in the southwest United States.  From Texas, depending on how fast your airplane travels, you could make it to Sedona in a day, with a couple of stops in between.  You’d definitely want to spend a few days to enjoy the scenery and maybe jump over to the Grand Canyon while you’re in the area.

    The Airport

    As you approach the Sedona Airport (KSEZ), you become somewhat distracted by the scenery around you.  Don’t be too distracted as the approach is a little tricky.  If you are landing north, on Runway 3, the calm wind runway, don’t let the surroundings fool you.  Stay on that PAPI and don’t be short, as the runway is on a 500 foot mesa.  In instrument conditions, the MDA for the RNAV approach to Runway 3 dumps you out about 1,300 feet above the airport elevation, giving you plenty of time to set up to land.

    When using runway 21, don’t make your pattern too wide as there are some pretty tall rocks (around 7,000 feet) north of the field.  The Airport/Facilities Directory gives a warning to pilots in strong southwesterly wind conditions.  Be aware of strong downdrafts coming in on final for runway 21.

    The runway itself is in excellent condition, and plenty long at just over 5,000 feet.  The FBO is a little dated, but the folks there are great.  They were redoing the ramp this summer, so beware of that.  Airplane parking is no problem, but actually getting to the FBO is a little tricky.  The Mesa Grill is a very nice good restaurant just a short walk from the FBO.  When I was there, I chowed down on a buffalo burger.  It definitely hit the spot.

    What To Do

    Sedona is the outdoorsman’s paradise.  Starting off, to get a great overview of the area, hop on the Red Rock Scenic Byway (SR 179) about an hour before dusk.  You’ll get to see some spectacular views while it’s still light, then you can’t beat the sunsets in Sedona.

    For hiking, you have a myriad of options, from the Cathedral Rock, to the Oak Creek Canyon, to the Devil’s Bridge Trail, all are beautiful, though most are not for the faint of heart (especially the Devil’s Bridge).  Even though the fall is cooler, make sure you pack plenty of water for the hikes.

    Sedona

    Want something to do in the evening?  Go up to the Chapel of the Holy Cross to watch the sunset.  After the sun goes down, go do some stargazing.  You’ll get to take a tour of the stars at the Sedona Star Gazing location in Oak Creek.  You are shown all the constellations and stars by professional astronomers, and blankets and chairs are provided.

    Art connoisseur?  You’ll find plenty of art galleries around town with a ton of beautiful, original artwork.  There are also several theaters and golf courses around Sedona, giving everyone a little bit of everything.

    If you’re up for it, the Grand Canyon is about a 2 hour drive north of Sedona, or a quick flight up to the Grand Canyon Airport (KGCN).

    In search of a good getaway?  Try Sedona.  You’ll be sore from lots of hiking and sight seeing, but it will definitely have been worth it.

  • Cirrus Embark

    Free training?

    Yes, you heard correctly.  Last fall, Cirrus released a program called Cirrus Embark.  The Cirrus Embark program offers 3 Free Days of Training to new purchasers of used Cirrus aircraft.  The 3 Days is equivalent to the Cirrus VFR Transition Training Course.

    Previously, Cirrus offered free factory training to anyone who purchased a new Cirrus from the Cirrus factory. Now, anyone buying a used Cirrus gets the same offer through Cirrus Embark at their home airport with a local CSIP training provider.

    IFR pilot?  No problem.  The Cirrus IFR Advanced Transition Training Course is 5 days in length, but the Cirrus Embark program covers the first 3, reducing the out of pocket pay to only 2 days.

    Want more information?  Check out the Cirrus Embark website.

    To get more information on both the VFR and IFR Cirrus Transition Training Courses, visit the Texas Top Aviation Cirrus Training Page.

  • Free iPad Webinar

    Are you thinking of buying an iPad and going to a paperless cockpit?  Have you just recently purchased an iPad and are unsure of how to use Foreflight to it’s fullest extent?  Check out this free webinar on Monday, January 19th.  Gary Reeves, a Master CFI from California, will be hosting the 90 minute seminar, which begins at 1800 Z.  He will be able to point you in the right direction for what type of iPad to purchase, how to set up your Foreflight account, and the basics of using the App.

    You can finally get rid of those paper charts, saving clutter in the cockpit.  Just make sure you bring along a charger for those extended flight in case your battery dips low!

    To sign up for this webinar, click here.  There is no cost associated with the webinar.

  • Hank Gibson Earns ABS Instructor Designation

    ABS Instructor

    Texas Top Aviation is proud to announce that Hank Gibson has completed the training to become an American Bonanza Society Instructor, or ABS Instructor.  He is now qualified to give instruction in Beech Aircraft.

    As an ABS Instructor, Hank brings over 2800 hours of flying experience in a variety of aircraft to the cockpit of Beechcraft. Along with his ABS Instructor Designation, Hank is also a Cirrus Standardized Instructor Pilot (CSIP) and a Cessna FITS Accepted Instructor in both Cessna high and low wing piston aircraft (CFAI+). Hank is proud to add the ABS Instructor designation to his list of qualifications.

    The process of becoming an ABS Instructor is quite comprehensive. The coursework consists of 20 powerpoint lessons covering anything and everything related to flying Debonairs, Bonanzas, Travel Airs, and Barons.  The ABS Instructor course is quite in depth and detailed, giving the graduate a full understanding of the Beechcraft piston line of aircraft.  To find out more about ABS Instructors, see the ABS website.

    Hank is now giving initial and recurrent training in Beech Debonairs and Bonanzas.  Please visit the Texas Top Aviation Bonanza Training page for more information on Bonanza and Debonair initial and recurrent training.  Interested in Bonanza or Debonair training with a qualified ABS Instructor?  Contact Texas Top Aviation today!


  • An Innovative ADS-B Solution from uAvionix

    The closer we get to 2020, the more innovative companies are getting with ADS-B out solutions.  There are a myriad of transponders out there that have been released in to meet the ADS-B out requirement and to offer ADS-B in options.  L3 has the Lynx transponder line (and hardware to upgrade an already installed GTX 327 or GTX 330), Garmin has the GTX 345 and offers upgrades to the GTX 330, Appareo has it’s Stratus ESGi ADS-B out transponder, and Avidyne offers it’s AXP340 transponder, among others.

    Most of the ADS-B solutions require some kind of panel work, whether it’s pulling out the Garmin GTX 330 to send off, or making panel modifications to fit the L3 Lynx in.  Very few are actual slide in replacements, so there is some labor involved in swapping transponders.

    Want a simpler and more innovative solution?  uAvionix, a Montana based company that makes the recently released Scout portable ADS-B In solution, has a product for you.  Meet the SkyBeacon.

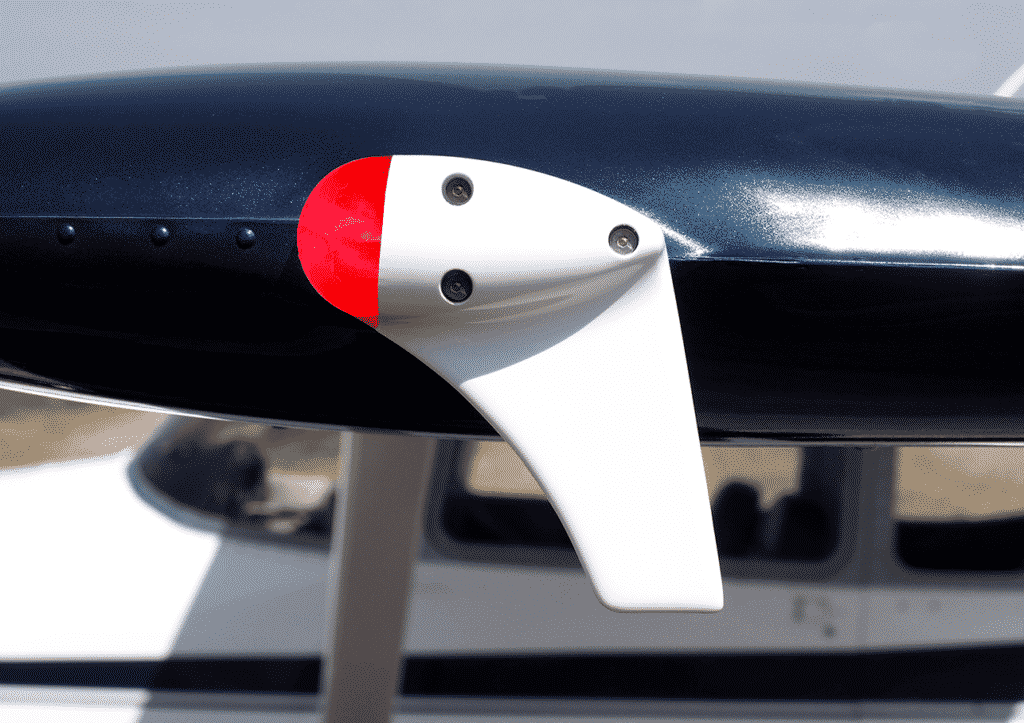
    What is it?  The uAvionix SkyBeacon is simply a navigation light replacement that bolts on your wing with a fin that hangs down.  All the ADS-B out transmitting equipment is placed behind the nav light on the device.  It has an integrated WAAS GPS unit, can work with any Mode C or Mode S transponder wirelessly, and it mounts directly in to where the original nav light was, same screws and everything.  No additional hardware needed.  uAvionix claims installation should take 10 minutes.

    Configuration is super easy too, as it is all done on a smart phone on the uAvionix app.

    Right now, the uAvionix SkyBeacon is only approved for experimental aircraft, but, according to their website, uAvionix expects FAA certification in early spring.  With a price tag of only $1,500 and a strobe light to be added as well, this is your simplest and easiest ADS-B compliance solution.

Leave a Reply

Your email address will not be published. Required fields are marked *